 |
|
|
|
|
#1 |
|
DiablosWeldingFabrication
Join Date: Jun 2009
Location: Elverta ,CA
Posts: 201
|
Heater Delete Panel
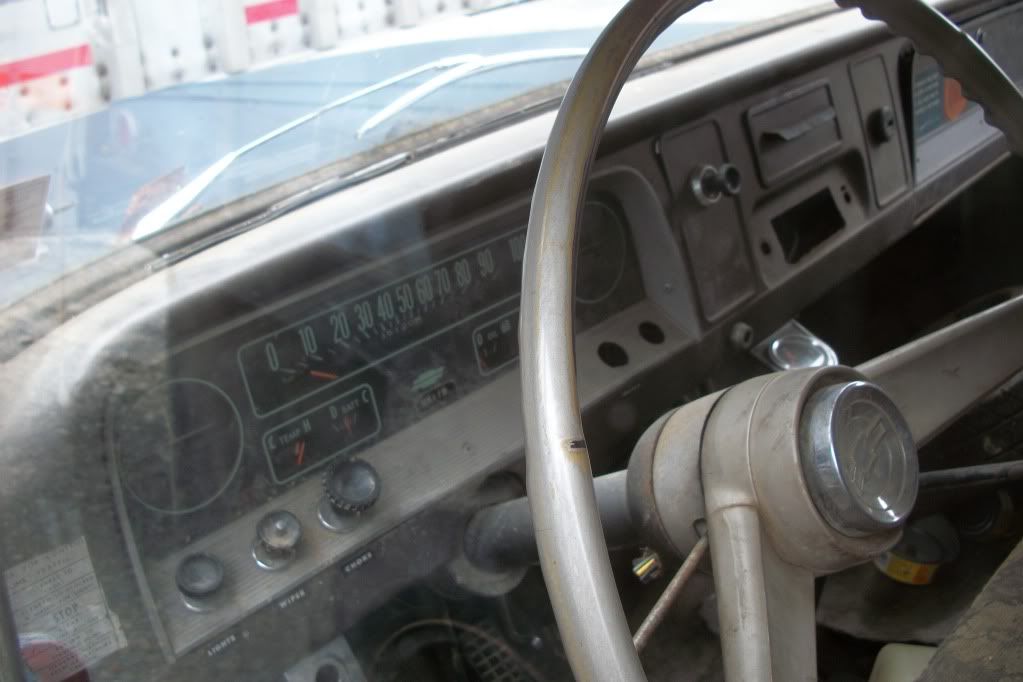
Im made a heater delete panel and want to see what you guys have made or added on to fill the hole. I was thinking of putting some switches and maybe a air gauge.

|
|
|

|
|
|
#2 |
|
Registered User
Join Date: Apr 2009
Location: Rochester, NY
Posts: 1,458
|
Re: Heater Delete Panel
I don't have one, but I did see this factory looking one in a C60:

__________________
1970 Blazer 350/SM465/205 SOLD! | 1998 Z3 |
|
|

|
|
|
#3 |
|
Registered User
Join Date: Apr 2001
Location: DALLAS,TX
Posts: 22,086
|
Re: Heater Delete Panel
^^^ That's all my 64 has.
__________________
67SWB-B.B.RetroRod 64SWB-Recycle 89CCDually-Driver/Tow Truck 99CCSWB Driver All Fleetsides @rattlecankustoms in IG Building a small, high rpm engine with the perfect bore, stroke and rod ratio is very impressive. It's like a highly skilled Morrocan sword fighter with a Damascus Steel Scimitar..... Cubic inches is like Indiana Jones with a cheap pistol. |
|
|

|
|
|
#4 |
|
meowMEOWmeowMEOW
Join Date: Sep 2009
Location: MKE WI
Posts: 7,128
|
Re: Heater Delete Panel
i just have the single knob as well.
__________________
'66 Short Step / SD Tuned / Big Cam LQ4 / Backhalfed /Built 4l80e / #REBUILDEVERYTHING  |
|
|

|
|
|
#5 |
|
DiablosWeldingFabrication
Join Date: Jun 2009
Location: Elverta ,CA
Posts: 201
|
Re: Heater Delete Panel
huh!.....mine had all the heather knobs!

|
|
|

|
|
|
#6 |
|
Registered User
Join Date: Dec 2008
Location: sanford,fl
Posts: 185
|
Re: Heater Delete Panel
I removed my heater controls and left it open planning on welding a plate in. Drove it for a couple of years like that, then My friend picked up a rusted out parts truck and it just happend to have a perfect heater delet plate that is only a slight shade diffrent from my dash. changes the whole look of the dash with it in.
|
|
|

|
|
|
#7 |
|
Senior Enthusiast
Join Date: Feb 2007
Location: Spokane Valley, WA
Posts: 8,356
|
Re: Heater Delete Panel
My dash is the earlier configuration, but I had my son machine some aluminum plates to look similar to the originals shown in the first picture. Then I could mount whatever I wanted on them.
 
__________________
My Build Thread: http://67-72chevytrucks.com/vboard/s...d.php?t=444502 |
|
|

|
|
|
#8 |
|
Registered User
Join Date: Apr 2001
Location: DALLAS,TX
Posts: 22,086
|
Re: Heater Delete Panel
I'm curious, what did you use for the textured appearance? I did some test panels w/the VHT wrinkle finish rattlr can stuff & it looks very similar.
__________________
67SWB-B.B.RetroRod 64SWB-Recycle 89CCDually-Driver/Tow Truck 99CCSWB Driver All Fleetsides @rattlecankustoms in IG Building a small, high rpm engine with the perfect bore, stroke and rod ratio is very impressive. It's like a highly skilled Morrocan sword fighter with a Damascus Steel Scimitar..... Cubic inches is like Indiana Jones with a cheap pistol. |
|
|

|
|
|
#9 |
|
DiablosWeldingFabrication
Join Date: Jun 2009
Location: Elverta ,CA
Posts: 201
|
Re: Heater Delete Panel
This is the stuff i used! it comes in different colors but you can paint right over it! i did the whole inside of the cab and were the stereo goes...oh and the inside of the glove box door

|
|
|

|
|
|
#10 |
|
DiablosWeldingFabrication
Join Date: Jun 2009
Location: Elverta ,CA
Posts: 201
|
Re: Heater Delete Panel

|
|
|

|
|
|
#11 |
|
Senior Enthusiast
Join Date: Feb 2007
Location: Spokane Valley, WA
Posts: 8,356
|
Re: Heater Delete Panel
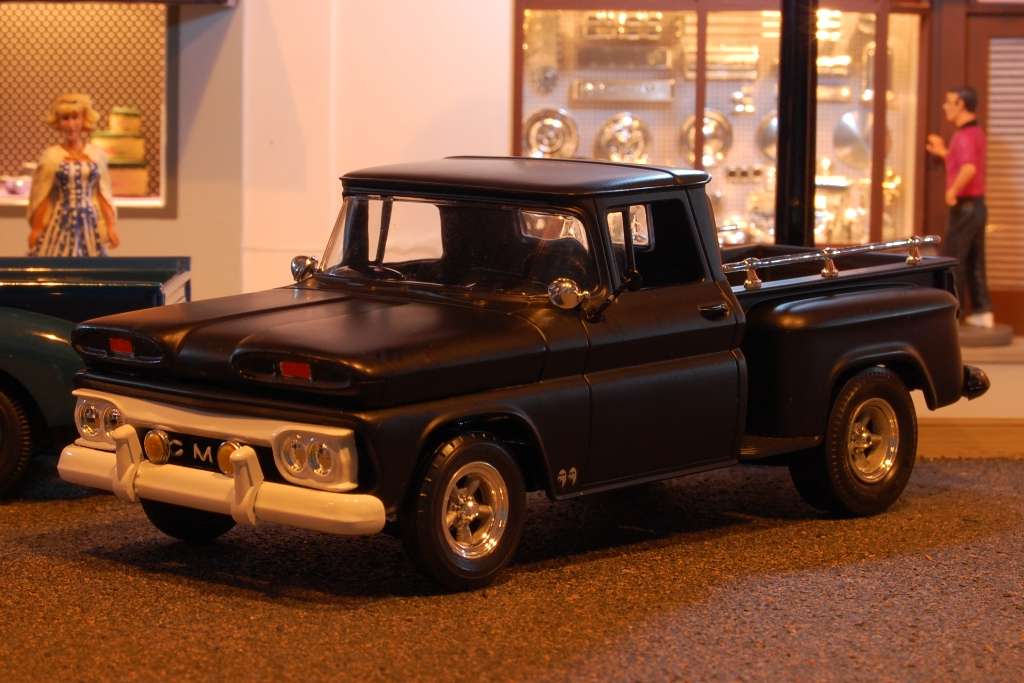
That looks really cool, I like the color. I just realized the textured paint you used is the same stuff (different color) I used to create the street surface in my Universal set diorama. It's really versatile.

__________________
My Build Thread: http://67-72chevytrucks.com/vboard/s...d.php?t=444502 Last edited by markeb01; 06-28-2010 at 03:22 PM. |
|
|

|
|
|
#12 | |
|
Senior Enthusiast
Join Date: Feb 2007
Location: Spokane Valley, WA
Posts: 8,356
|
Re: Heater Delete Panel
Quote:
  After disappointment with some inconsistency problems years ago, I always use heat lamps when applying this paint, no matter what time of year. I have 2 heat lamps mounted about 3 feet apart, about 20" above the work surface, with the beams converging in the center. I preheat the metal for about 20 minutes until it is really warm, then flow on the paint. After spraying I let the lamps cure the paint completely for several more hours. Then it's just a matter of how much paint gets applied depending on how shallow or deep I want the wrinkled finish.
__________________
My Build Thread: http://67-72chevytrucks.com/vboard/s...d.php?t=444502 |
|
|
|

|
 |
| Bookmarks |
| Thread Tools | |
| Display Modes | |
|
|