
 |
Register or Log In To remove these advertisements. |
|
|
|
|||||||
 |
|
|
Thread Tools | Display Modes |
|
|
|
|
#1 |
|
Registered User
Join Date: Sep 2012
Location: Oregon
Posts: 3,303
|
Adding body side molding from Mar-K
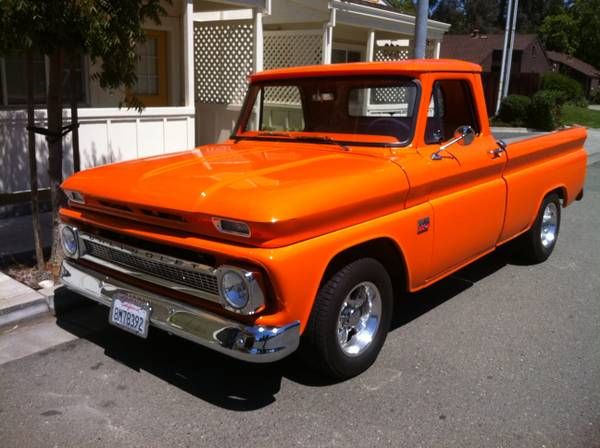
Just ordered a set of full side trim for my truck today. Its a 65 non trim truck and needs something to break up all of the single color. My question: have any of you installed the trim with 3M tape vs. Drilling holes and using the clips? How has it held up etc? All newer vehicles have used 3M adhesives to retain larger mouldings with success , I'm not looking forward to creating more spots for moisture to get behind panels.
 Posted via Mobile Device |
|
|

|
|
|
#2 |
|
Registered User
Join Date: Sep 2010
Location: Winchester Oregon, formerly Vancouver BC
Posts: 2,949
|
Re: Adding body side molding from Mar-K
I think you might want to do the clips, the pieces are very small and I don't know if the tape would hold them. Come down and measure for holes and I will have these wheels ready, you forgot your visors BTW.
|
|
|

|
|
|
#3 |
|
Registered User
Join Date: Sep 2012
Location: Oregon
Posts: 3,303
|
Re: Adding body side molding from Mar-K
Grrr-holes
I did forget the visors! dang it. Thanks again for the shop tour and may take you up on the measurements for drilling if nobody steps up with some insight on 3M tape. I pulled the trigger on Disc brake set ups and now need later 73 and up disc brake wheels. Those wheels would be PERFECT for a drum/drum rig and the right price for newly powdercoated! |
|
|

|
|
|
#4 | |
|
Registered User
Join Date: Sep 2010
Location: Winchester Oregon, formerly Vancouver BC
Posts: 2,949
|
Re: Adding body side molding from Mar-K
Quote:
|
|
|
|

|
|
|
#5 |
|
Registered User
Join Date: Apr 2010
Location: Hattiesburg Ms
Posts: 235
|
Re: Adding body side molding from Mar-K
I used the 3M tape and I've gone through the gas station car wash once or twice per month for the last 3 years and I haven't lost a single pice of trim.
|
|
|

|
|
|
#6 |
|
Enjoy your truck
Join Date: Oct 2007
Location: Newmarket, Ontario, Canada
Posts: 1,066
|
Re: Adding body side molding from Mar-K
I did my trim with 3m tape. They have been on for 4 years now without issue.
Greg.
__________________
1 Corinthians 10:13 1963 Chevrolet 1/2 ton 2010 Camaro SS/RS 2014 Jeep Grand Cherokee 2016 Jeep Cherokee |
|
|

|
|
|
#7 |
|
Registered User
Join Date: Jul 2013
Location: Portland, Maine
Posts: 219
|
Re: Adding body side molding from Mar-K
Where are you guys putting the tape exactly? Just on the return on the back of the trim or are you mounting clips that the trim attaches to?
|
|
|

|
|
|
#8 |
|
Enjoy your truck
Join Date: Oct 2007
Location: Newmarket, Ontario, Canada
Posts: 1,066
|
Re: Adding body side molding from Mar-K
I added a piece of the 3M tape to the backside of the trim, added a 1/4" thick piece of plastic as a filler, and then the 3M tape again. I used 1" long pieces of plastic, spaced about 12" apart along the length of the trim pieces. That made up enough thickness to grab the trim and adhere it to the body panels.
Greg.
__________________
1 Corinthians 10:13 1963 Chevrolet 1/2 ton 2010 Camaro SS/RS 2014 Jeep Grand Cherokee 2016 Jeep Cherokee |
|
|

|
|
|
#9 | |
|
Registered User
Join Date: Apr 2010
Location: Hattiesburg Ms
Posts: 235
|
Re: Adding body side molding from Mar-K
Quote:
Posted via Mobile Device |
|
|
|

|
|
|
#10 | |
|
Enjoy your truck
Join Date: Oct 2007
Location: Newmarket, Ontario, Canada
Posts: 1,066
|
Re: Adding body side molding from Mar-K
Quote:
Greg.
__________________
1 Corinthians 10:13 1963 Chevrolet 1/2 ton 2010 Camaro SS/RS 2014 Jeep Grand Cherokee 2016 Jeep Cherokee |
|
|
|

|
|
|
#11 |
|
Registered User
Join Date: Jul 2013
Location: Portland, Maine
Posts: 219
|
Re: Adding body side molding from Mar-K
Good idea. I was just curious...my truck has holes in it already.
|
|
|

|
|
|
#12 |
|
Registered User
Join Date: Sep 2012
Location: Oregon
Posts: 3,303
|
Re: Adding body side molding from Mar-K
My moldings showed up! whoop whoop, but no instructions i.e. marks to line them up and Mar-K is closed. I was going to install them tonight.
Spacing, measurements etc. |
|
|

|
|
|
#13 |
|
Registered User
Join Date: Nov 2009
Location: Galt, Calif
Posts: 2,437
|
Re: Adding body side molding from Mar-K
Newfisher here you go..
__________________
`64 C10 vortec 350/350/373 posi `69 RS/SS 350/350/308 `37 Ford 406/350/324 traclock `68 Dart 370/904/323 suregrip |
|
|

|
|
|
#14 |
|
Registered User
Join Date: Sep 2010
Location: Winchester Oregon, formerly Vancouver BC
Posts: 2,949
|
Re: Adding body side molding from Mar-K
Your welcome to come by and look at mine if you need to, beer is always cold.
|
|
|

|
|
|
#15 |
|
Registered User
Join Date: Sep 2012
Location: Oregon
Posts: 3,303
|
Re: Adding body side molding from Mar-K
Thanks Rich 5150 69~!
LT1 BURB, I'll bring the pizza! |
|
|

|
|
|
#16 |
|
Registered User
Join Date: Sep 2010
Location: Winchester Oregon, formerly Vancouver BC
Posts: 2,949
|
Re: Adding body side molding from Mar-K
Mmmm, pizza
Posted via Mobile Device |
|
|

|
|
|
#17 |
|
Registered User
Join Date: Sep 2012
Location: Oregon
Posts: 3,303
|
Re: Adding body side molding from Mar-K
Just some FYI for future searches. When the moldings are mounted, the distance from the body crease down to the top edge of the upper molding is 1.5 inches installed.
|
|
|

|
|
|
#18 |
|
Moderator
 Join Date: Dec 2012
Location: ON, Canada
Posts: 2,176
|
Re: Adding body side molding from Mar-K
Great info, thanks guys!
|
|
|

|
|
|
#19 |
|
Registered User
Join Date: Sep 2012
Location: Oregon
Posts: 3,303
|
Re: Adding body side molding from Mar-K
So far so good. I have the left side done. I opened all of the moldings to do the right side and the upper rt bedside molding has some visible compressions in it. Called Mar-K and emailed some pic's. Not what I was planning on, oh well. Right side will have to wait a bit.
Stopped at Multicraft plastic and picked up some 1/4" plastic, ripped it into 3/8 wide strips to set down into the molding. Cleaned , scuffed and applied 3/8 .040 3M tape, attached molding and added another 3/8 .040 piece. wiped the side with alcohol and measured down 1 1/2 inch to the top and slapped them on. Easy peasy no holes. |
|
|

|
|
|
#20 |
|
Registered User
Join Date: Feb 2009
Location: A****er, CA
Posts: 5,594
|
Re: Adding body side molding from Mar-K
Waiting for photo's,
 It's going to look like a totally different truck once you're done. It's going to look like a totally different truck once you're done. 
__________________
C/10 Rene 1966 Short Fleet "The Hag" 1967 CST Short Fleet "Dark Poly" 1971 Short Fleet 1970 Jimmy Custom 2 WD "Golden Ticket" 1972 Blazer 2 WD "Retro Blaze" |
|
|

|
|
|
#21 |
|
Registered User
Join Date: Sep 2012
Location: Oregon
Posts: 3,303
|
Re: Adding body side molding from Mar-K
|
|
|

|
|
|
#22 | |
|
Registered User
Join Date: Feb 2009
Location: A****er, CA
Posts: 5,594
|
Re: Adding body side molding from Mar-K
Quote:
 
__________________
C/10 Rene 1966 Short Fleet "The Hag" 1967 CST Short Fleet "Dark Poly" 1971 Short Fleet 1970 Jimmy Custom 2 WD "Golden Ticket" 1972 Blazer 2 WD "Retro Blaze" |
|
|
|

|
|
|
#23 |
|
Registered User
Join Date: Sep 2012
Location: Oregon
Posts: 3,303
|
Re: Adding body side molding from Mar-K
A little bit of tech for those who want side moldings:
You will need: Table saw Razor blade 3/4 masking tape Tape measure 1/4 scrap sheets of clear plastic/acrylic 1/8 scrap sheets of clear plastic/acrylic 3M 1/4 wide .30 or .045 emblem tape 3M 3/8 wide .30 or .045 emblem tape Alcohol wipes or wax and grease remover. 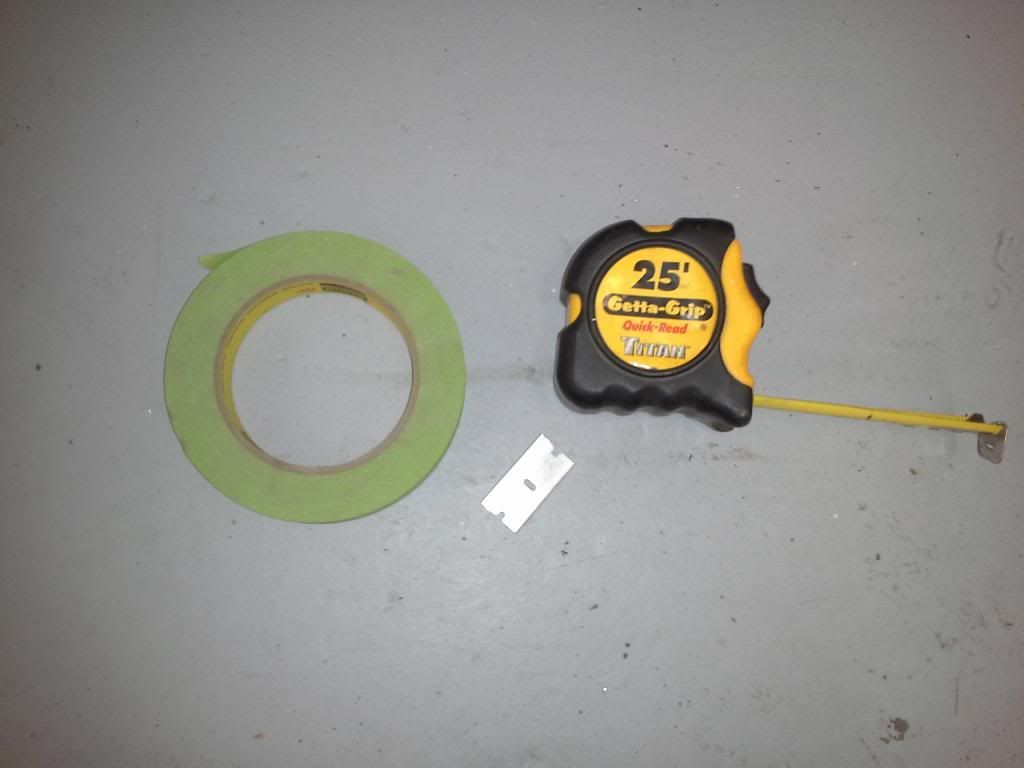 . . I used clear plastic so I could see through it to ensure the 3m tape was sticking. Wipe the sides of the truck down with alcohol wipes or wax and grease remover to clean the surface. Rip the 1/4 and 1/8 plastic down into strips that will fit inside the moldings. Remove the protective paper and wipe both sides with cleaner. Wipe the insides of the moldings with cleaner. . 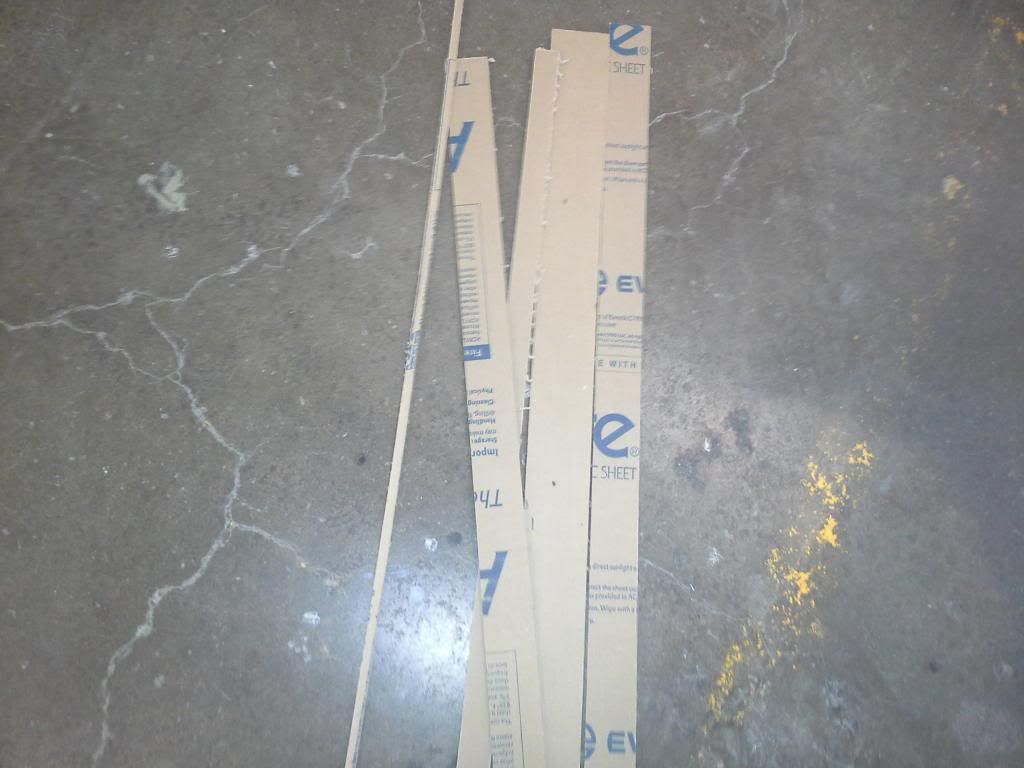 . 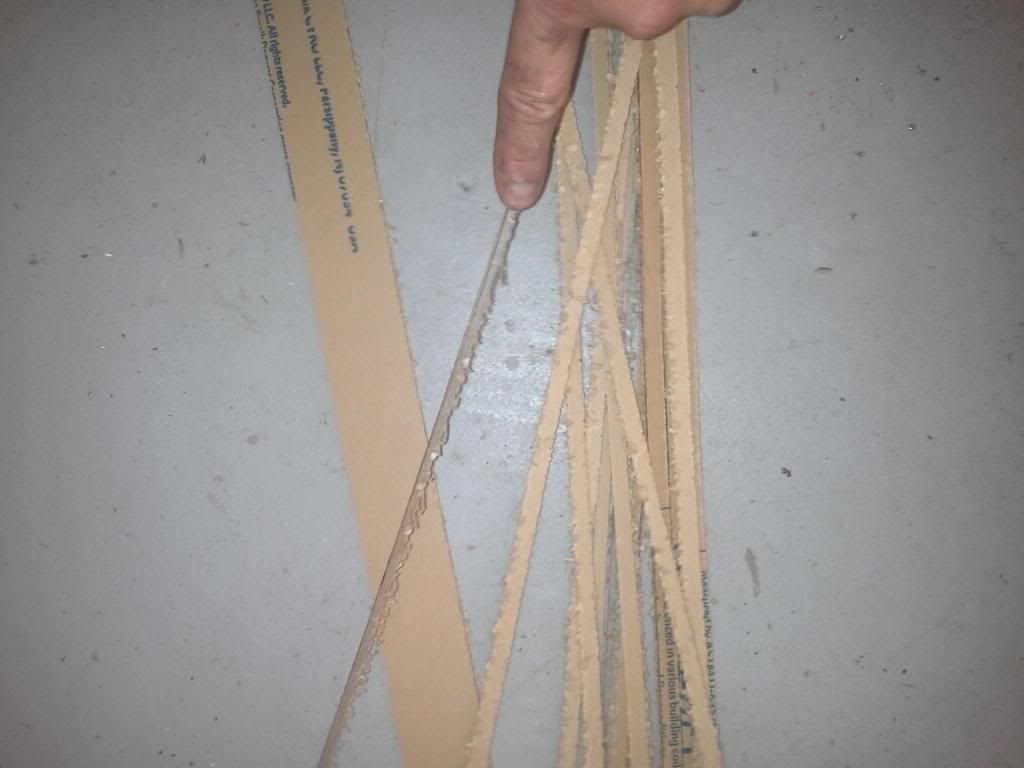 . This is the smaller molding, the larger was a breeze. Lay it upside down, clean with alcohol and apply the 3M inside the back of the molding. . 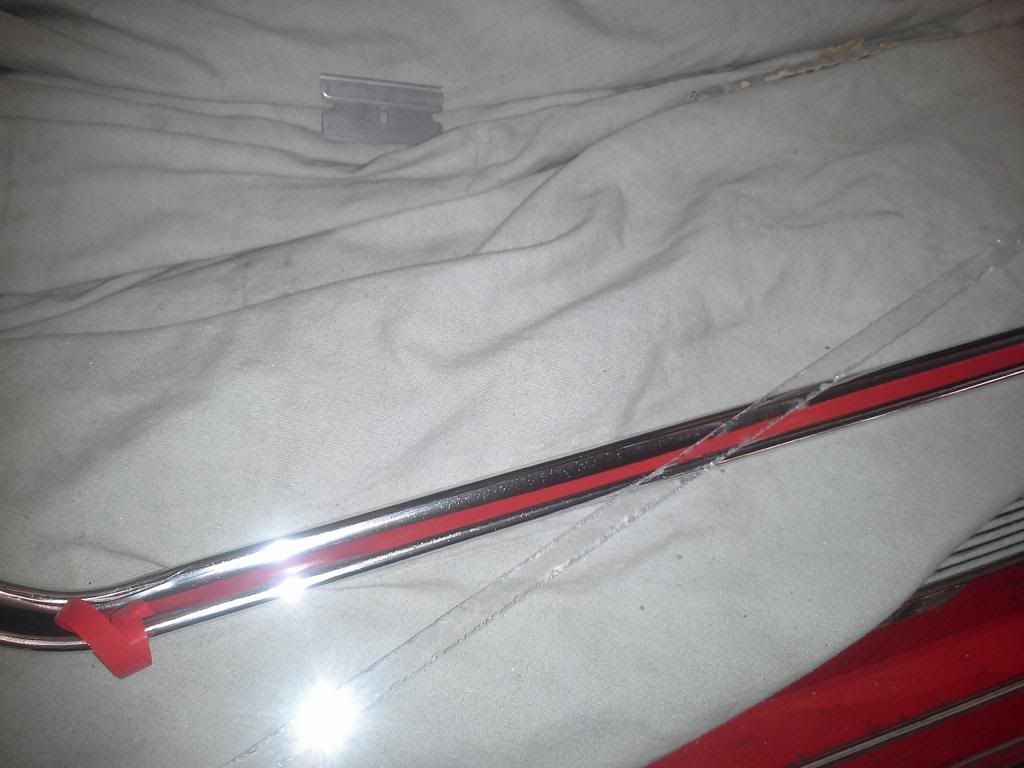 . Here it is "loaded" with the plastic spacer. You can see through the plastic to ensure the 3M is adhering to the plastic. . 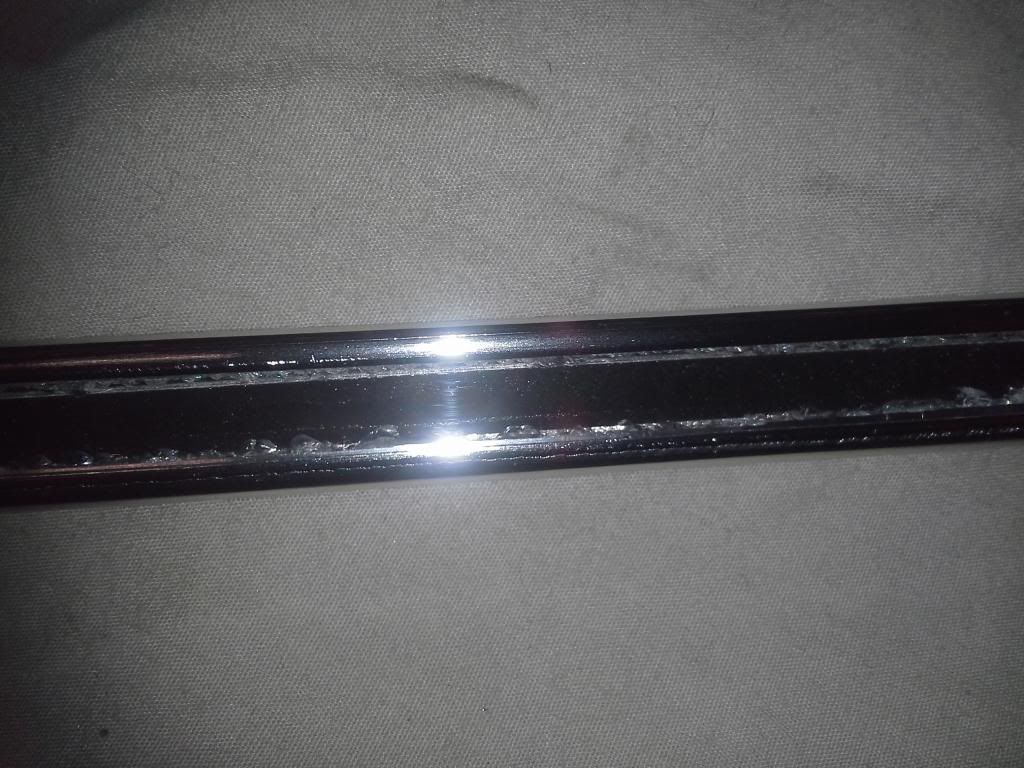 . on edge showing the thickness-just barley visible and enough to stick, but not show the tape when installed. . 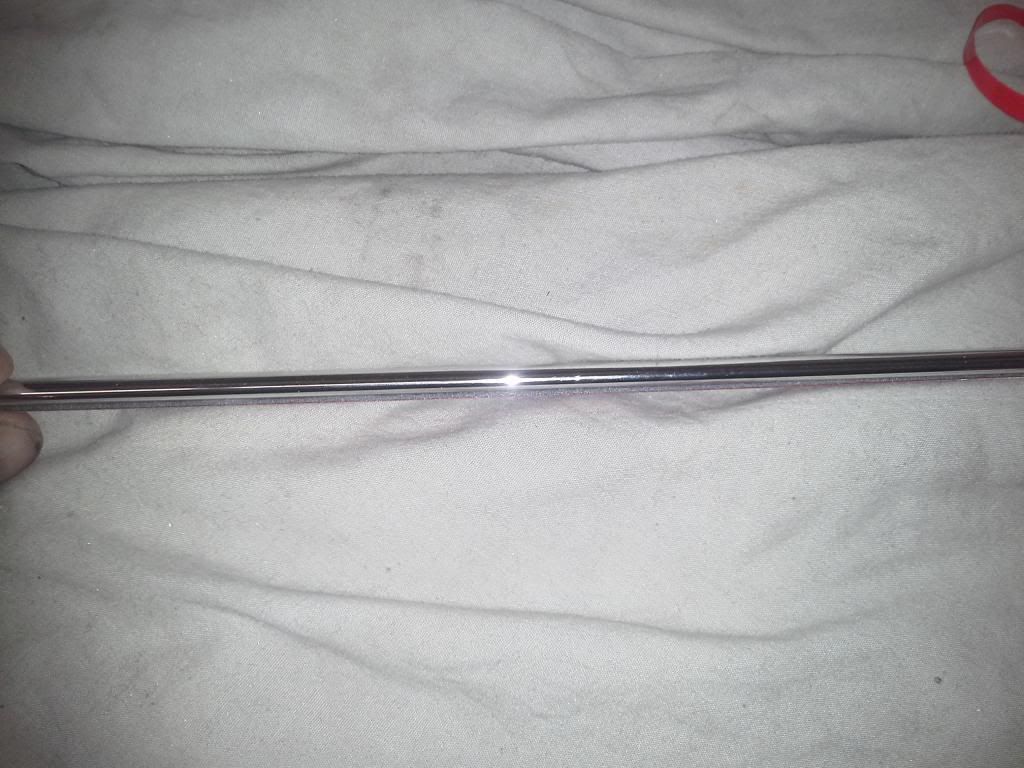 . Lay a second strip of 3M on top of the plastic strip so you have :: molding, 3m, plastic strip, 3m . Wait to pull the red plastic backing until you have measured the sides of the truck. I started with the larger molding on the door. Measure 1 1/2" down from the body crease and mark with masking tape at both ends. Peel your red film from the molding and line up one end with your tape. Be very carefull to only stick the very edge of the molding as you get one chance to do this. Peeling them back off will damage the molding! Use a second set of hands if needed. Now line up the other end and apply pressure across the face of the molding with your palm. They are very delicate so you don't need much pressure, just enough to get the tape to stick across the whole length. I started with the door because it was the shortest , easiest to deal with and measure by myself and I could stage the others from each end of the door molding if I knew it was 100% correct. The smaller moldings start from the door also and they sit 1 1/2" below the large molding. Once you have the large moldings installed, start with the small door molding. Slip the forward tip under the large molding and work back towards the rear of the truck. Set the back of the taped molding at your masking mark and apply pressure. I waited until I had the long moldings installed before installing the cab corners in case I had a visual difference in cab or bed mounts that would throw off the measurements, I could fudge the continuous look with the smaller cab ones. It all worked out and they are straight as an arrow. Nice product from Mar-K and no holes drilled in the body. If you ever have to pull one off you can use 10lb fishing line wrapped around both index fingers like dental floss and "saw" the 3M from behind with the fishing line and it will not damage the paint. pulling them will only damage the moldings. . 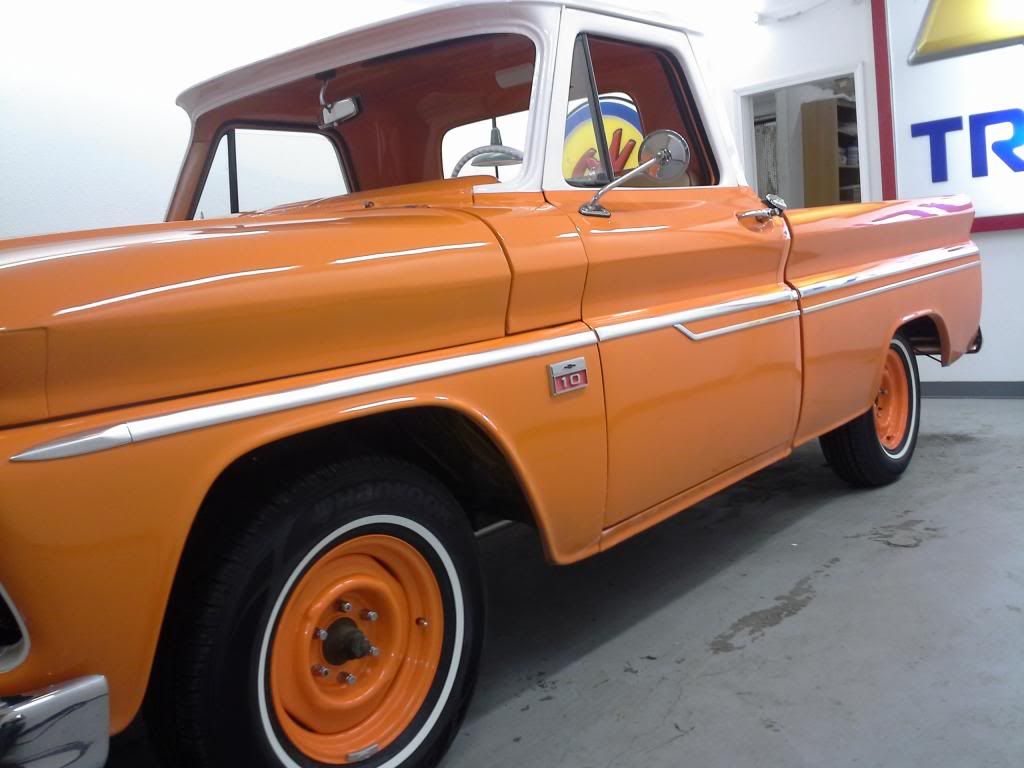 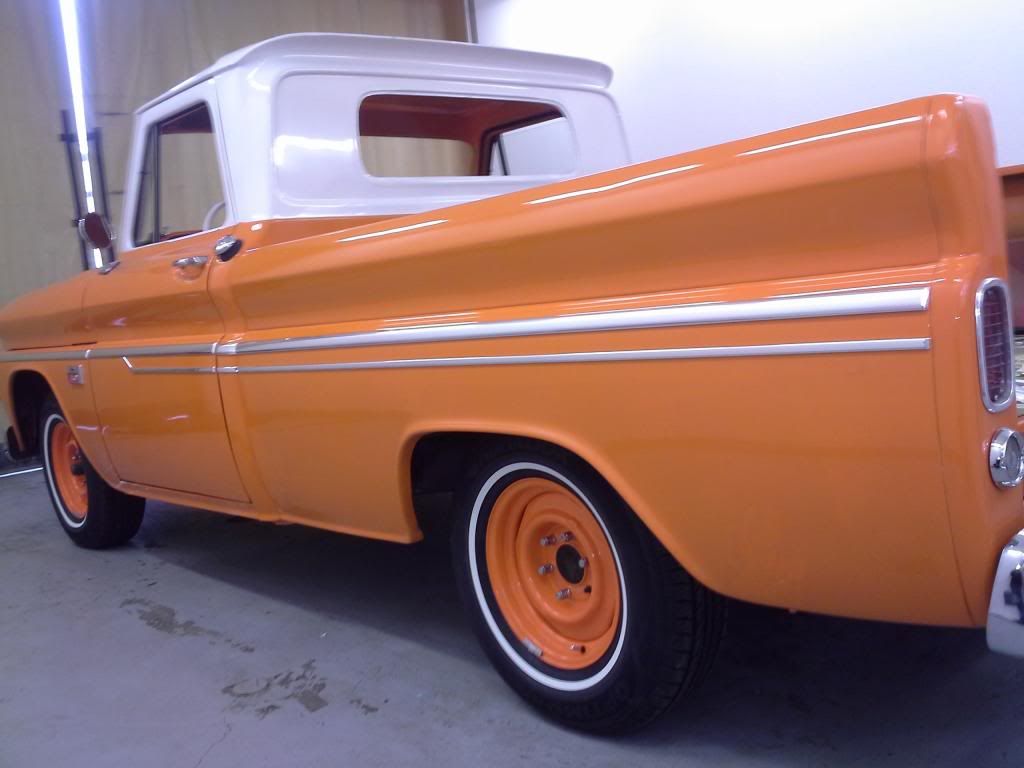
|
|
|

|
|
|
#24 |
|
C10 CLUB Y QUE!
Join Date: Mar 2010
Location: Here
Posts: 2,770
|
Re: Adding body side molding from Mar-K
Quote:
Thanks Buddy |
|
|

|
|
|
#25 |
|
Senior Member
 Join Date: Sep 2011
Location: Hanford, CA
Posts: 1,027
|
Re: Adding body side molding from Mar-K
That looks sooo good! Great write-up!
__________________
Poor and content is Rich...and Rich enough! - William Shakespeare 1966 C10 Custom Cab "Luigi" Big Window - SWB Fleetside 350 V-8 - Powerglide My not so much a build thread as a "Slow Progression Thread":http://67-72chevytrucks.com/vboard/s...d.php?t=486894 |
|
|

|
 |
| Bookmarks |
|
|