
 |
Register or Log In To remove these advertisements. |
|
|
|
|||||||
 |
|
|
Thread Tools | Display Modes |
|
|
|
|
#1 |
|
Registered User
Join Date: Jul 2010
Location: Bellville, TX
Posts: 107
|
LSJRL07 C20 Build "Tarnished Penny"
I have wanted a 67-72 C10 for years. 6 Months ago, I traded my 1970 VW Bus for a 1971 C20. It has a 350 Engine and 350 Trans. Interior is decent and the only rust is on the door sills. I already have replacement panels, but I am leaving it for now.
Current Plans are as follows: Leave Patina & Clear Coat over - Custom Pinstriping by Joe "Kar2Lo" Cartullo Convert to 6 Lug & bag - CPP Modular Spindles - CPP Trailing Arm Crossmember - CPP 1.5" Drop blocks - CPP Rear Deluxe Panhard Bar - Stock C10 Trailing Arms (Reinforced) - New Trailing Arm Bushings - Rearend out of a 6-lug C10 - Wilwood Calipers (Still Need to purchase) - Rear Disc Conversion (Still Need to purchase) - Front & Rear Shock Relocation Brackets - Beltech Nitrogen Shocks - All New Ball Joints & Tie Rods - Front & Rear Bag Brackets - New Tubular Control Arms (Still Need) - New Sway Bars Front & Rear (Still Need) - Viair Compressor Tank Kit - 200 PSI - Slam Specialties RE-7 Front Bags - Slam Specialties RE-8 Rear Bags - 3/8" Push to Connect DOT Fittings all the way around - Little Larry's "Touche" Valve setup - Viair Black faced Air Gauges (Custom Gauge Panel) Update Interior: - Newer Tahoe Seats (Custom Seat Bracket) - New Billet Steering Wheel - Black Carpet & Sound Deadener - Black Dash Pad (Still Need) - Black Door Panels (Still Need) - Black Visors (Still Need) - Dakota Digital or Dolphin Gauges set (Still Need) - JL Audio 8.8 Speakers - JL Audio 400/4 Amp with Bluetooth Connection - Removes need for Head unit in dash. - Little Custom Touches Where I can (Suggestions Welcome!) LS Swap or Cummins Swap - Move Gas Tank to rear Framerails (Still Need) - MORE TO COME>>> The Day I got it...  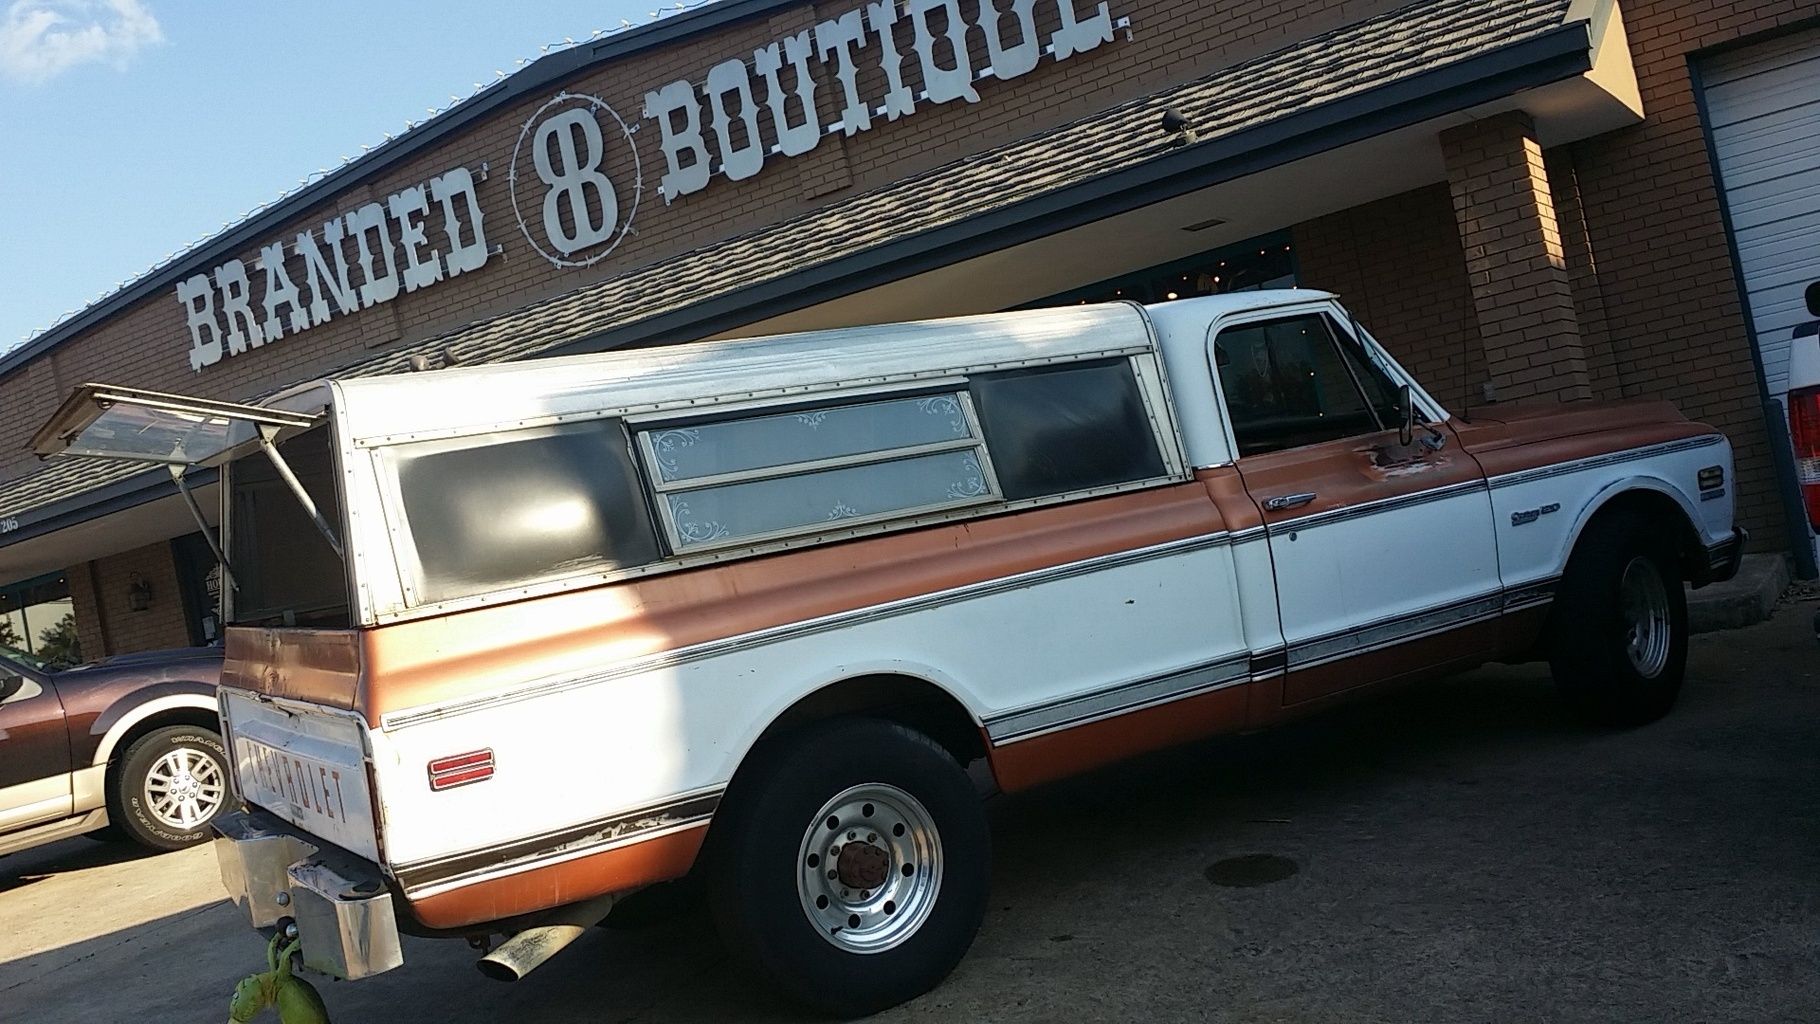  I only had it a month, and I ordered a drop kit. After installing the 3/5 drop kit, I realized it wasn't low enough. 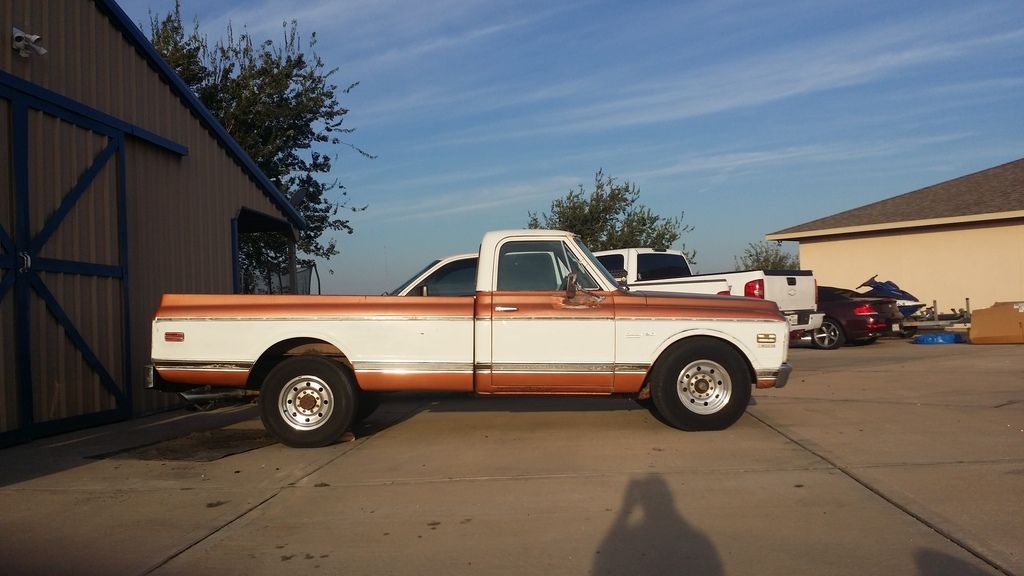 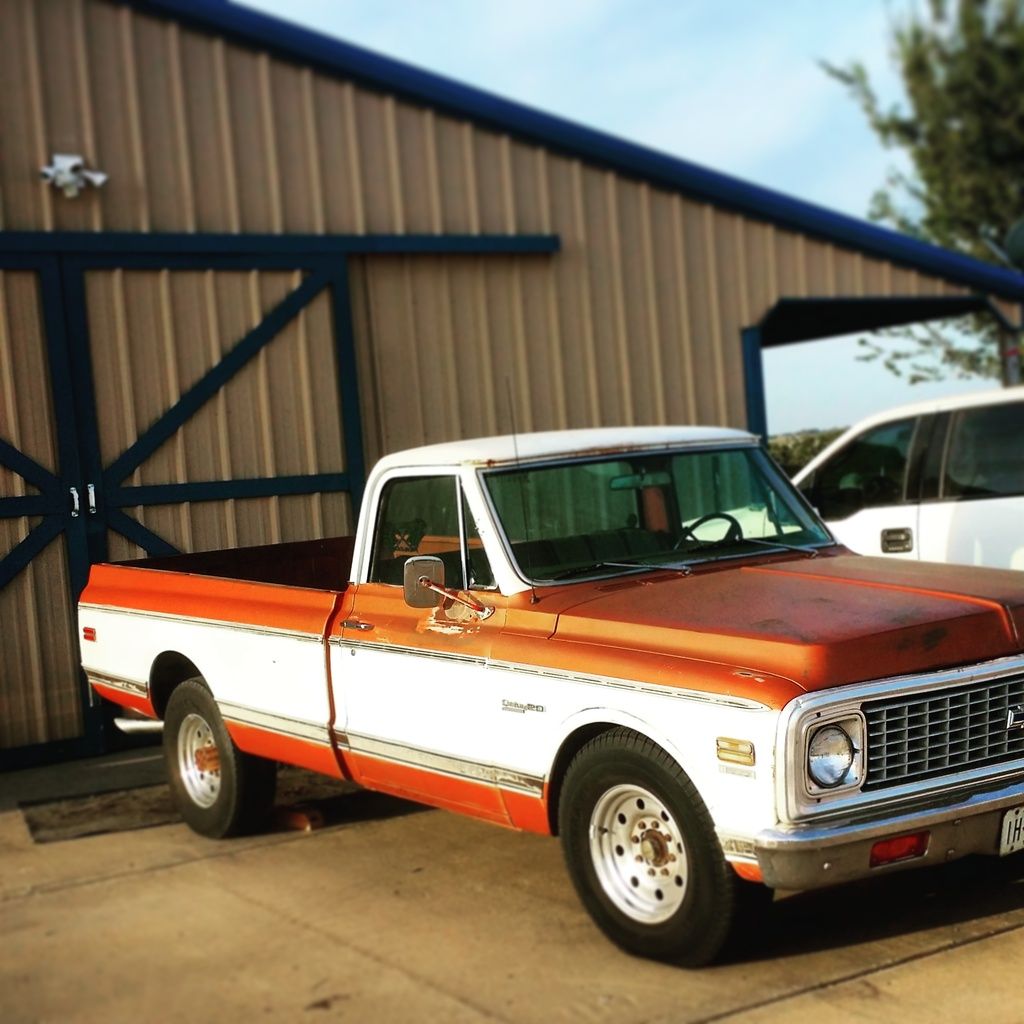  So I began researching and buying parts here and there to get it even lower. I finally got close to finishing up the front bags. 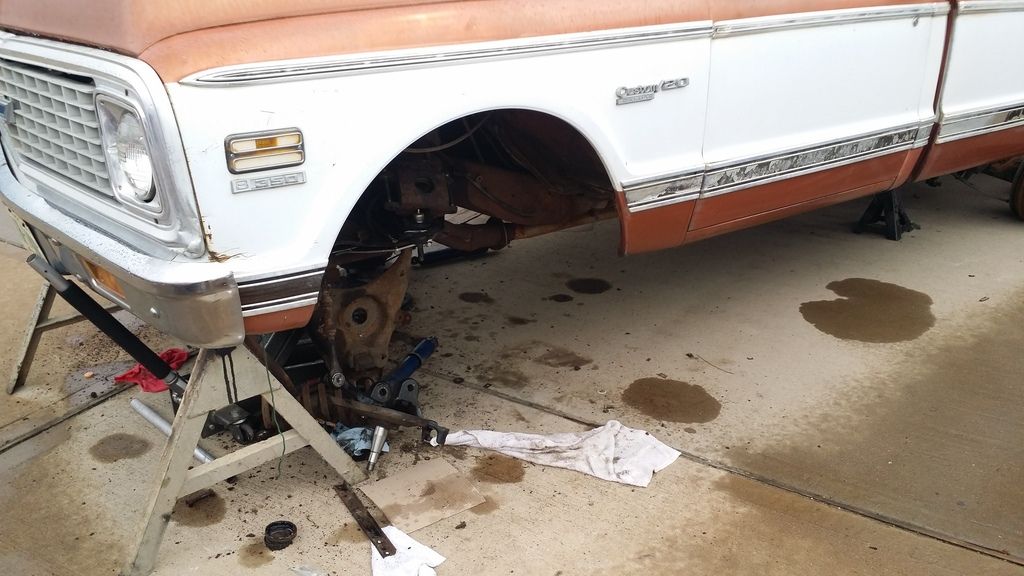 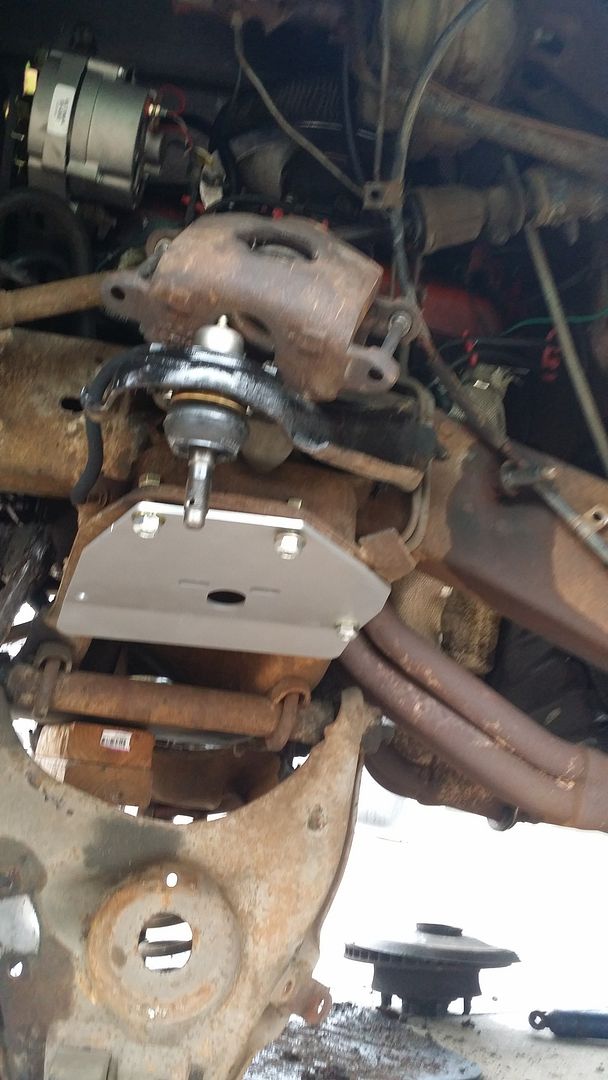 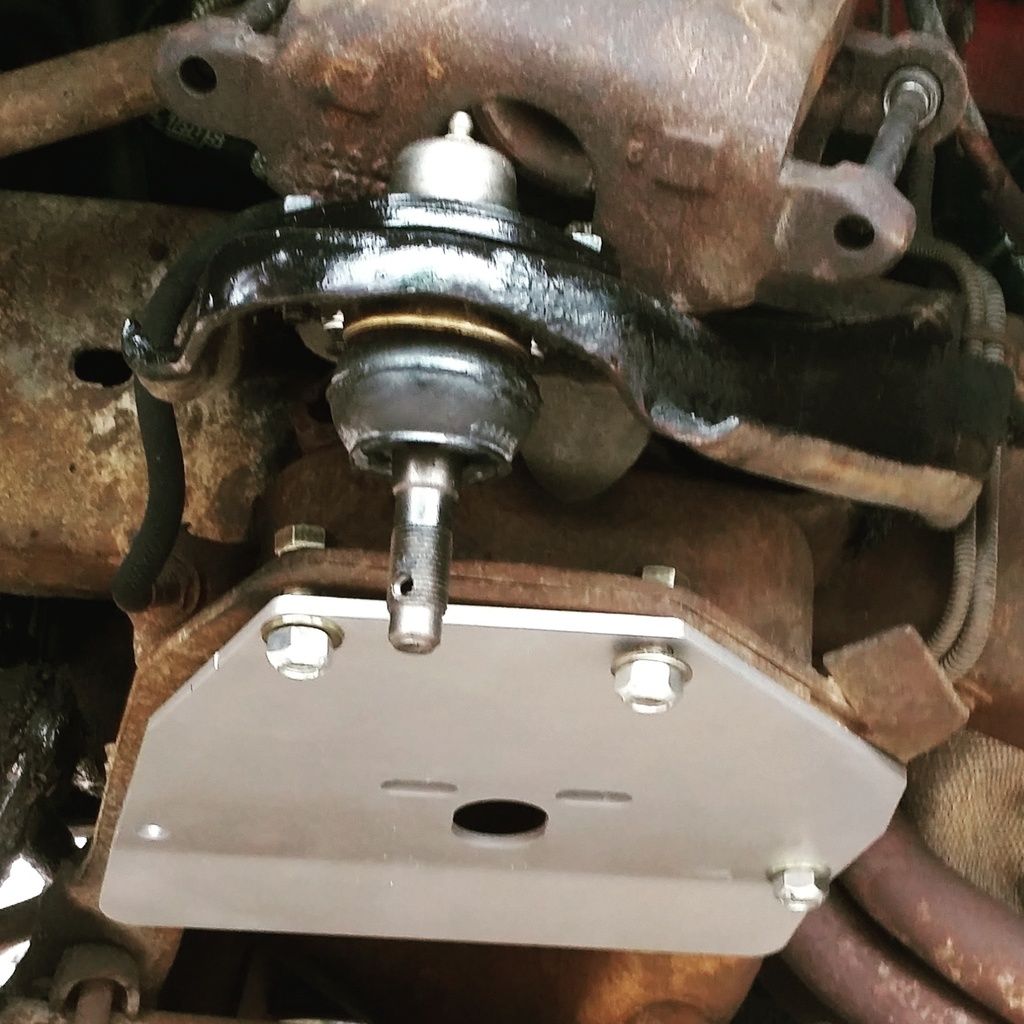 Last night I bolted the front end up and realized that the CPP Modular spindles did not fit my ball joints. 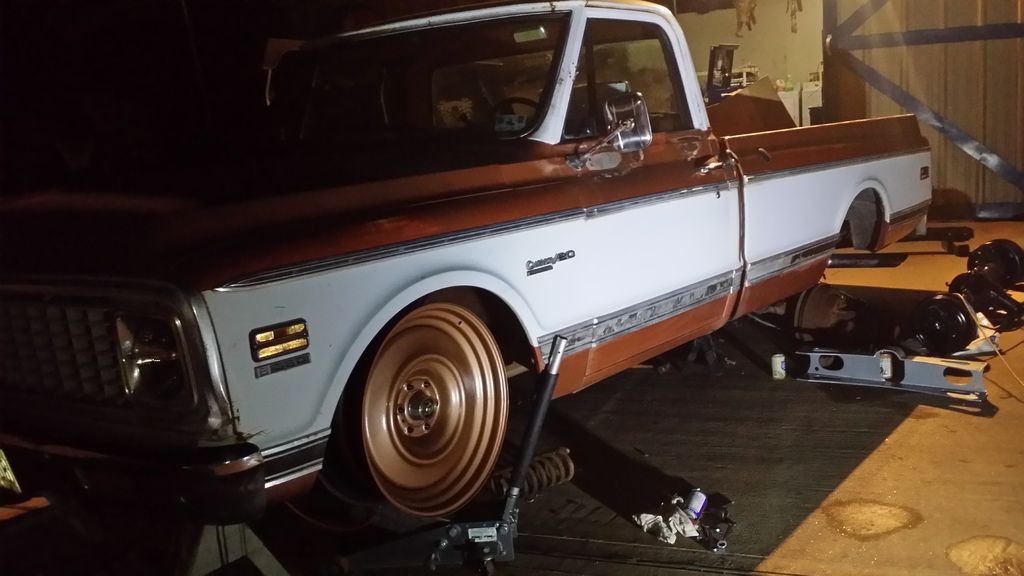 I will be running some 22" transports with some chrome center caps. I have already ordered the Cap Clips from Struggle55 off of Instagram. I can't wait to continue this build. 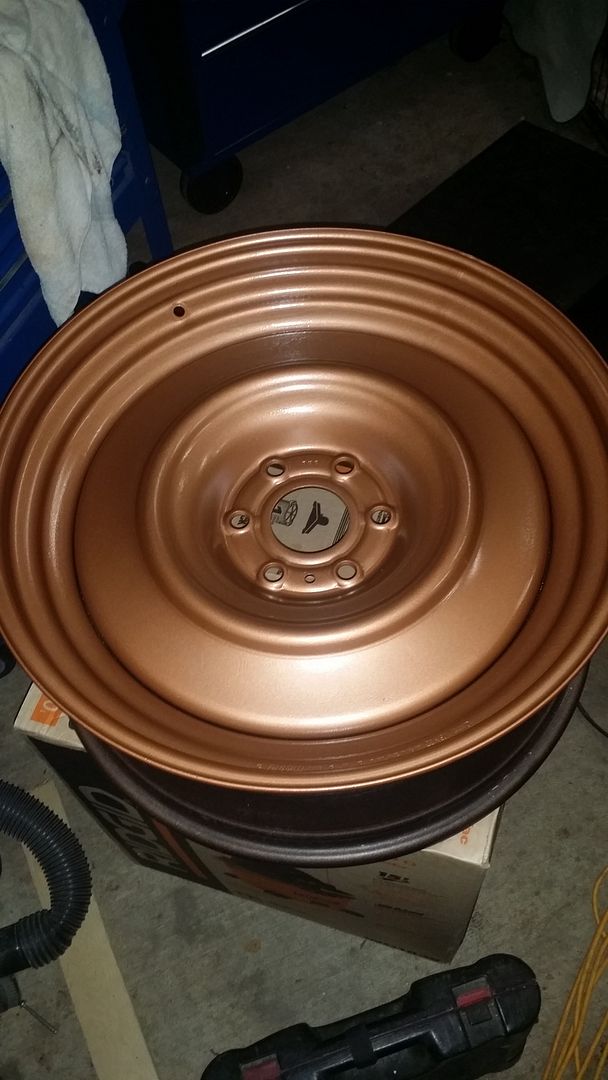 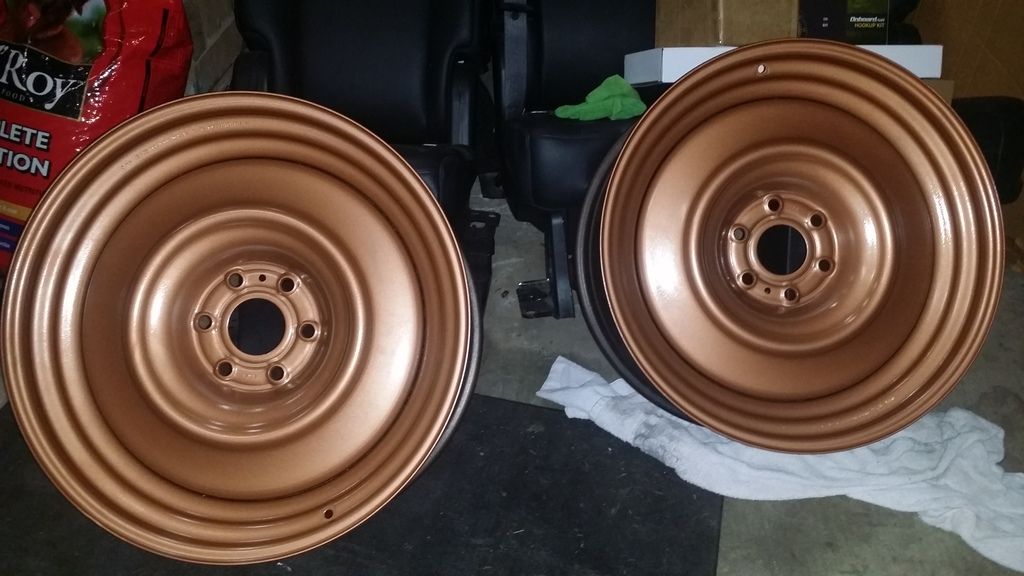  More to Come... It has taken me a while to finish the bagging. My wife and I welcomed our baby girl on December 16th, so I have been balancing that with work. I plan to take it to the Lonestar Throwdown in Conroe for my first big show... Any/All Questions & Advice is welcome. |
|
|

|
|
|
#2 |
|
Registered User
Join Date: Jul 2010
Location: Bellville, TX
Posts: 107
|
Re: LSJRL07 C20 Build "Tarnished Penny"
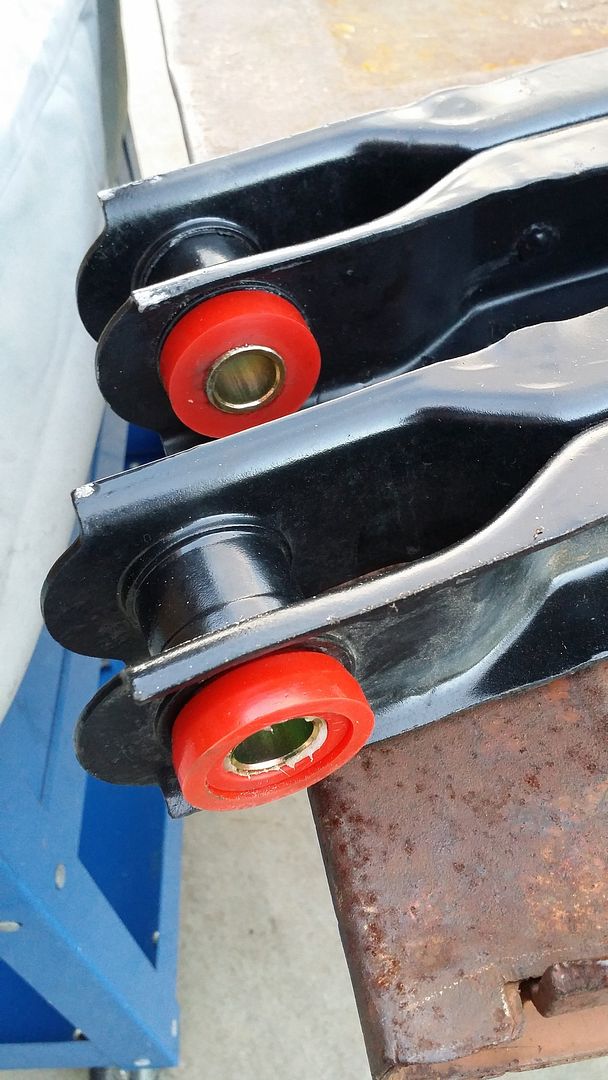
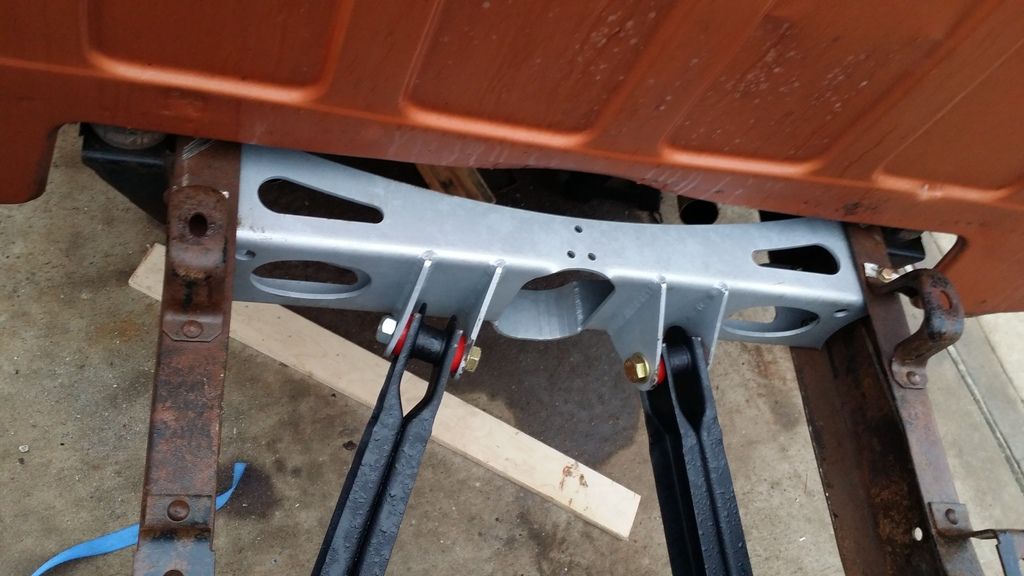
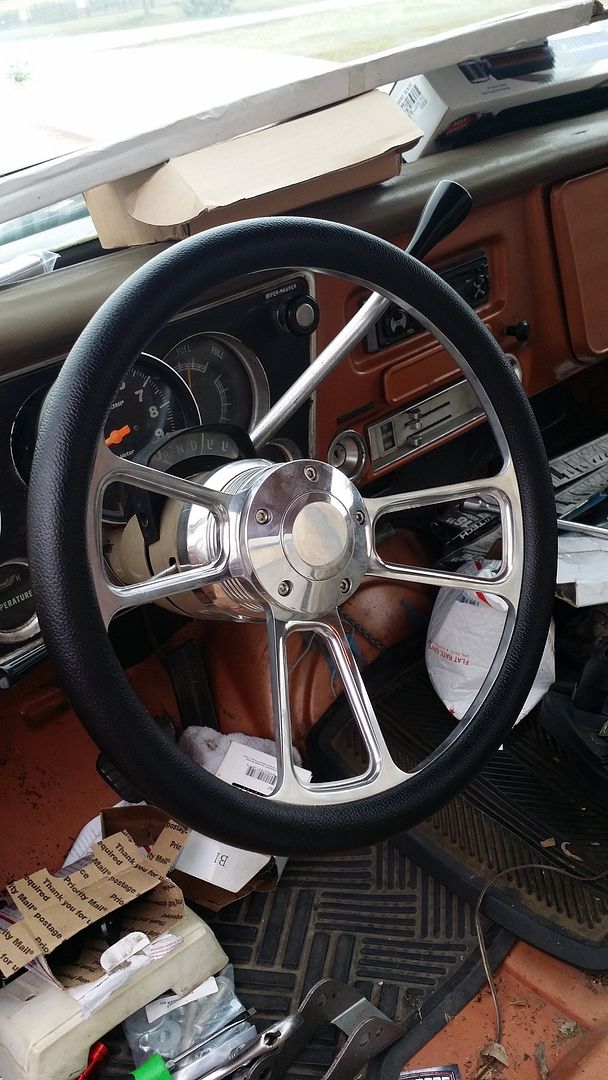
Finally got it finished. Here are the rest of the build pictures.
|
|
|

|
|
|
#3 |
|
Registered User
Join Date: Jul 2010
Location: Bellville, TX
Posts: 107
|
Re: LSJRL07 C20 Build "Tarnished Penny"
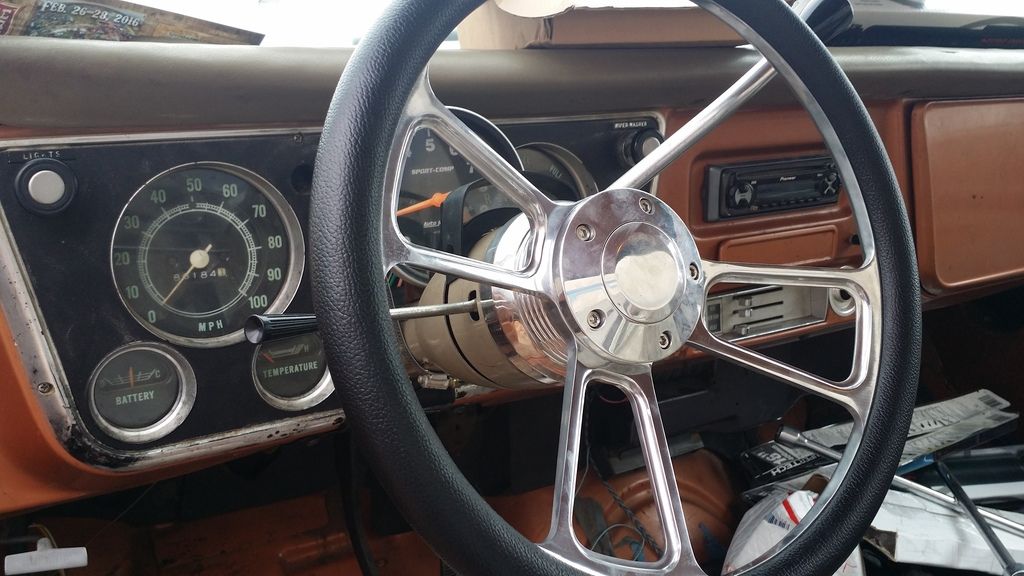
Changed out my Gauge Cluster.
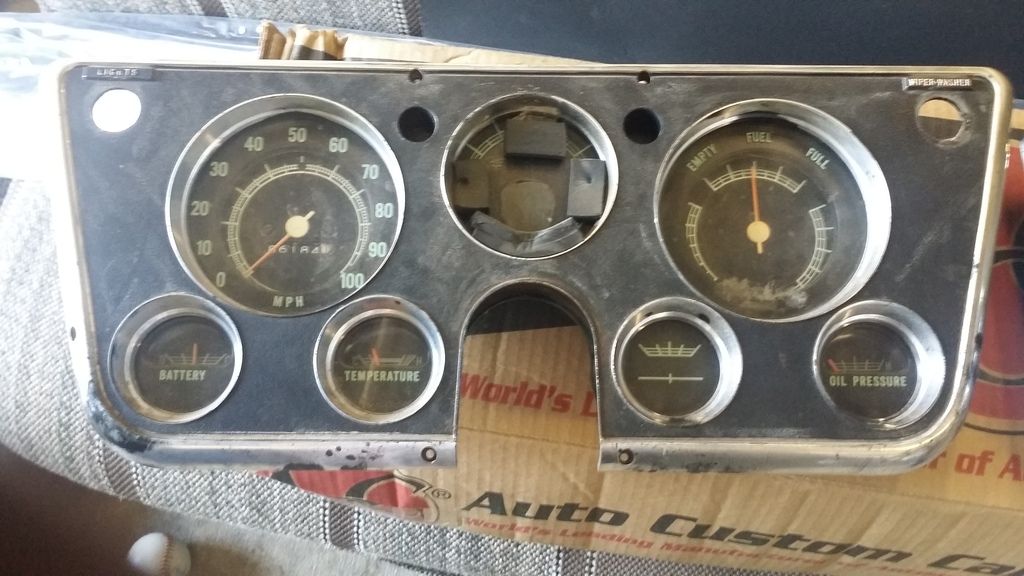 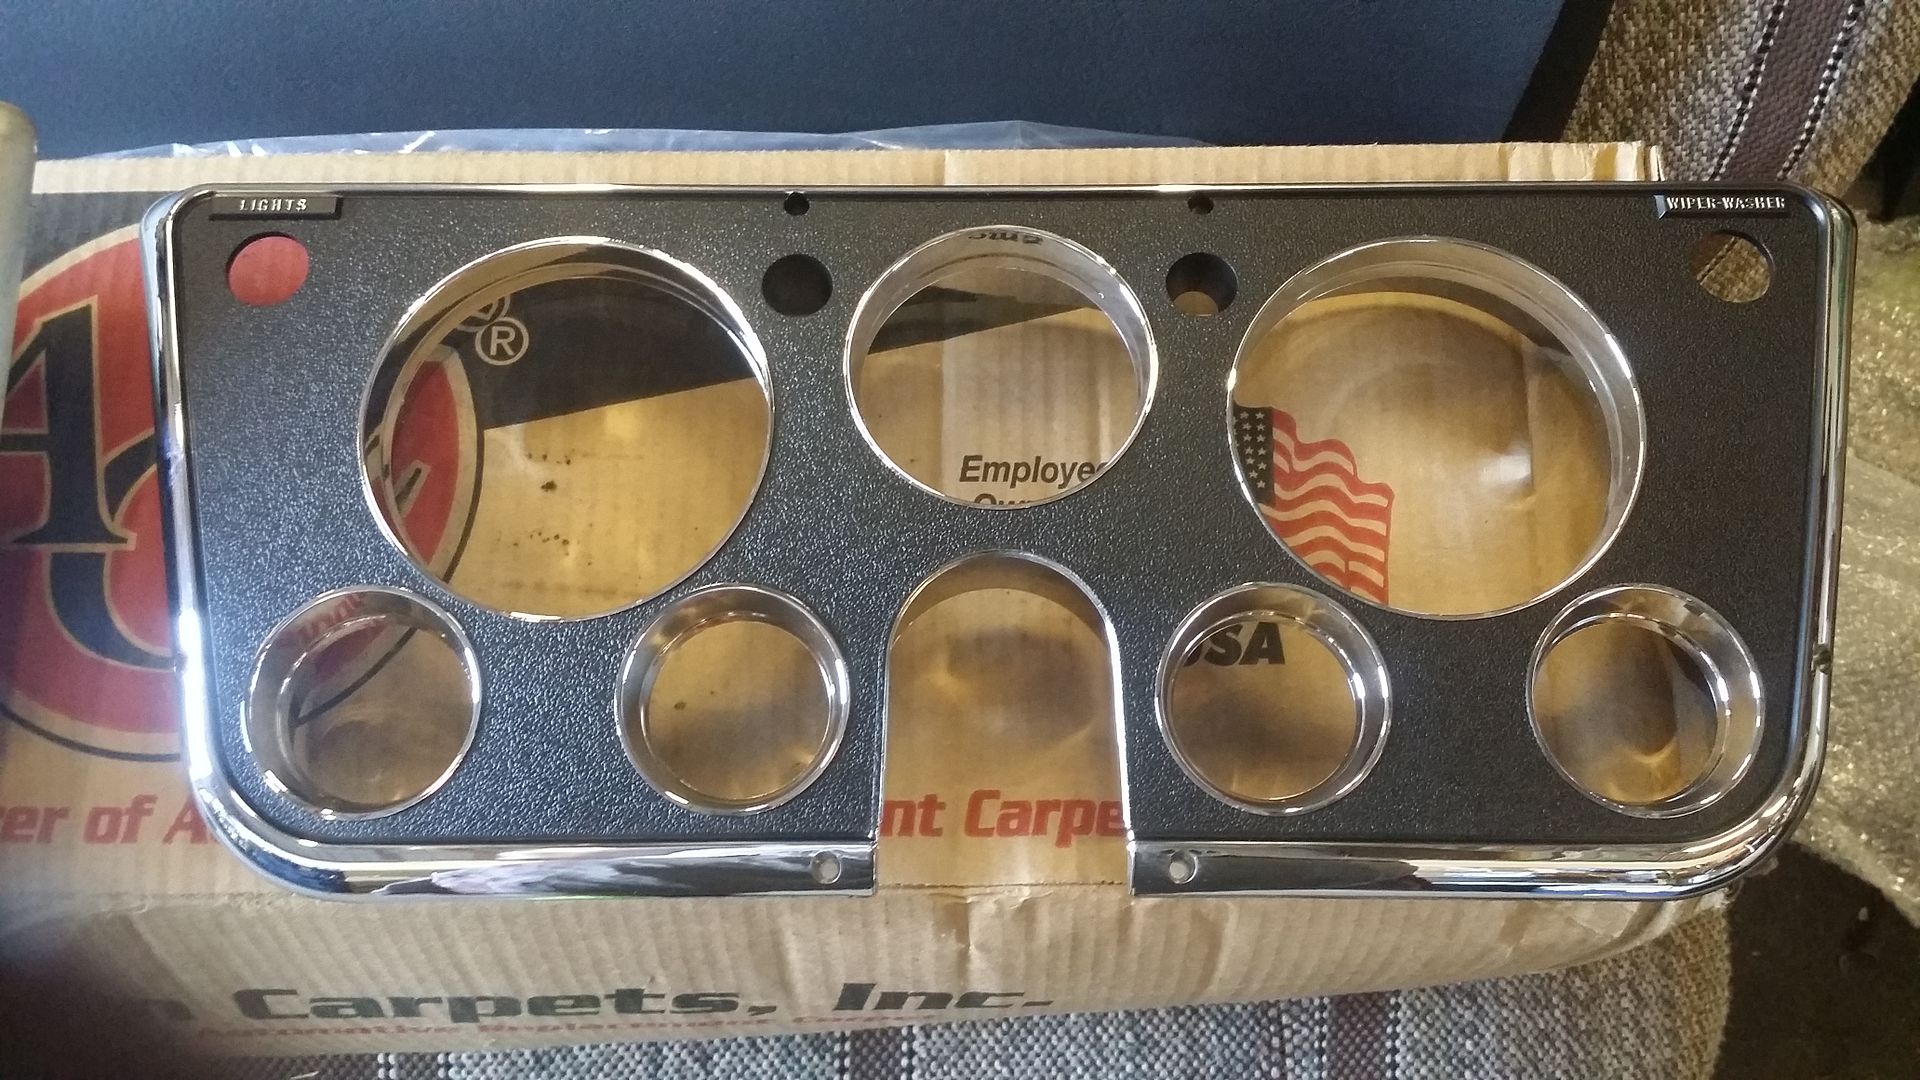 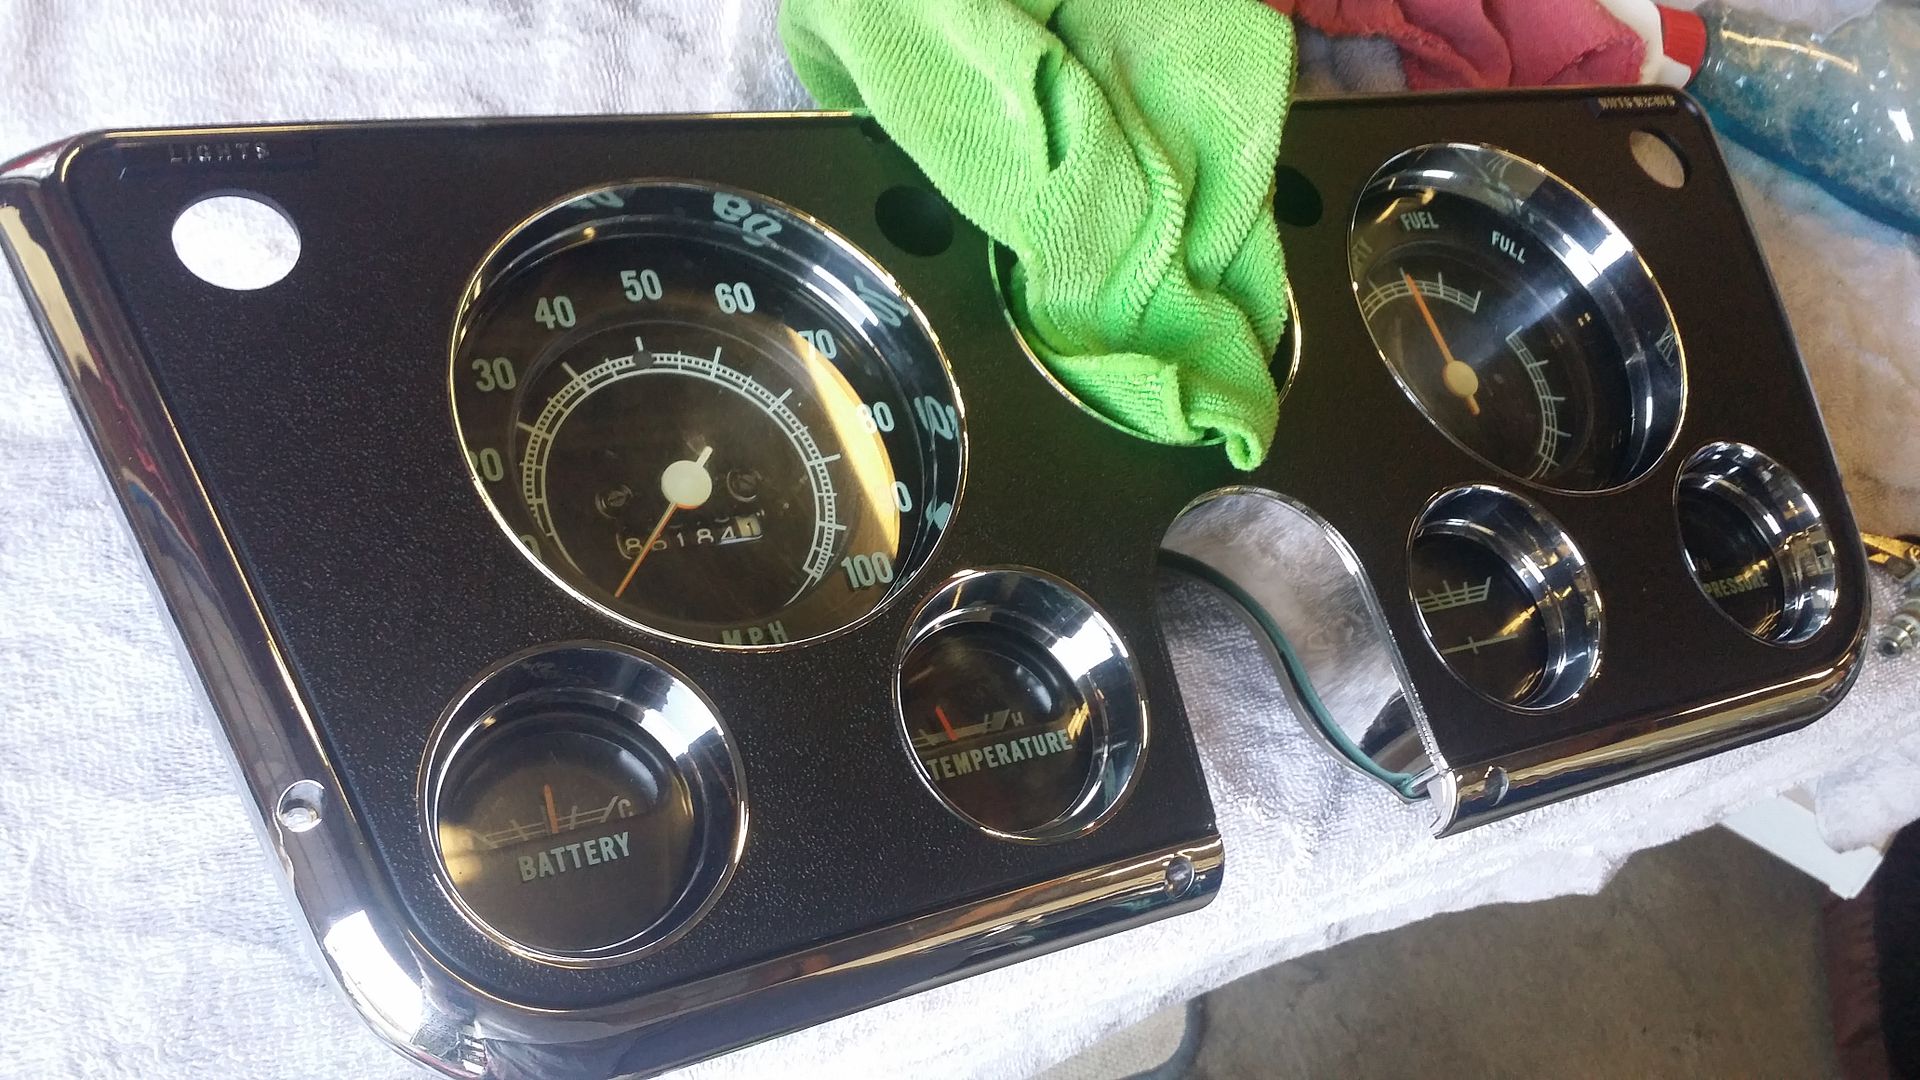 Installed with new Dash Pad... 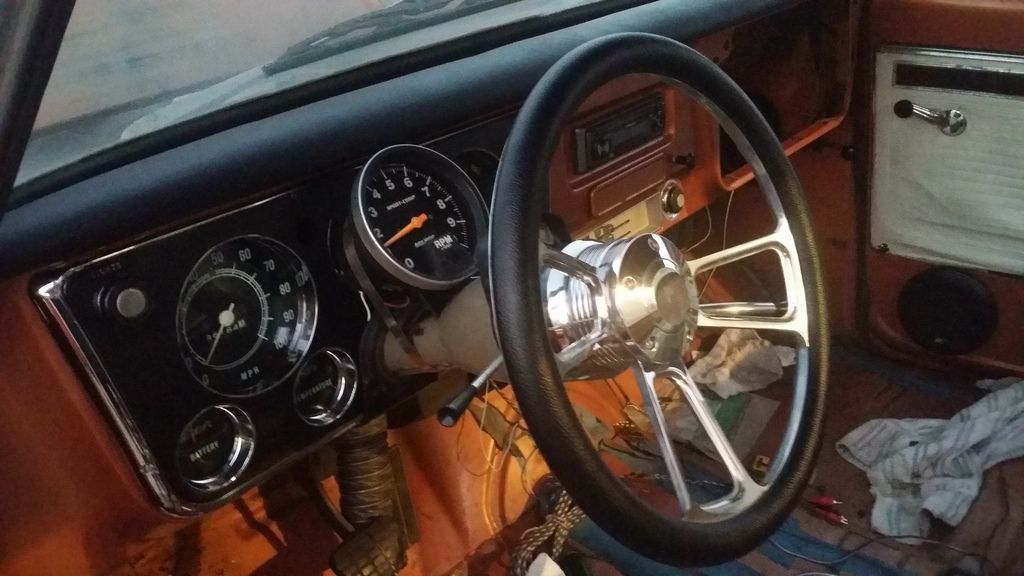
|
|
|

|
|
|
#4 |
|
Registered User
Join Date: Jul 2010
Location: Bellville, TX
Posts: 107
|
Re: LSJRL07 C20 Build "Tarnished Penny"
LST Crunch... Trying to finish a million little things.
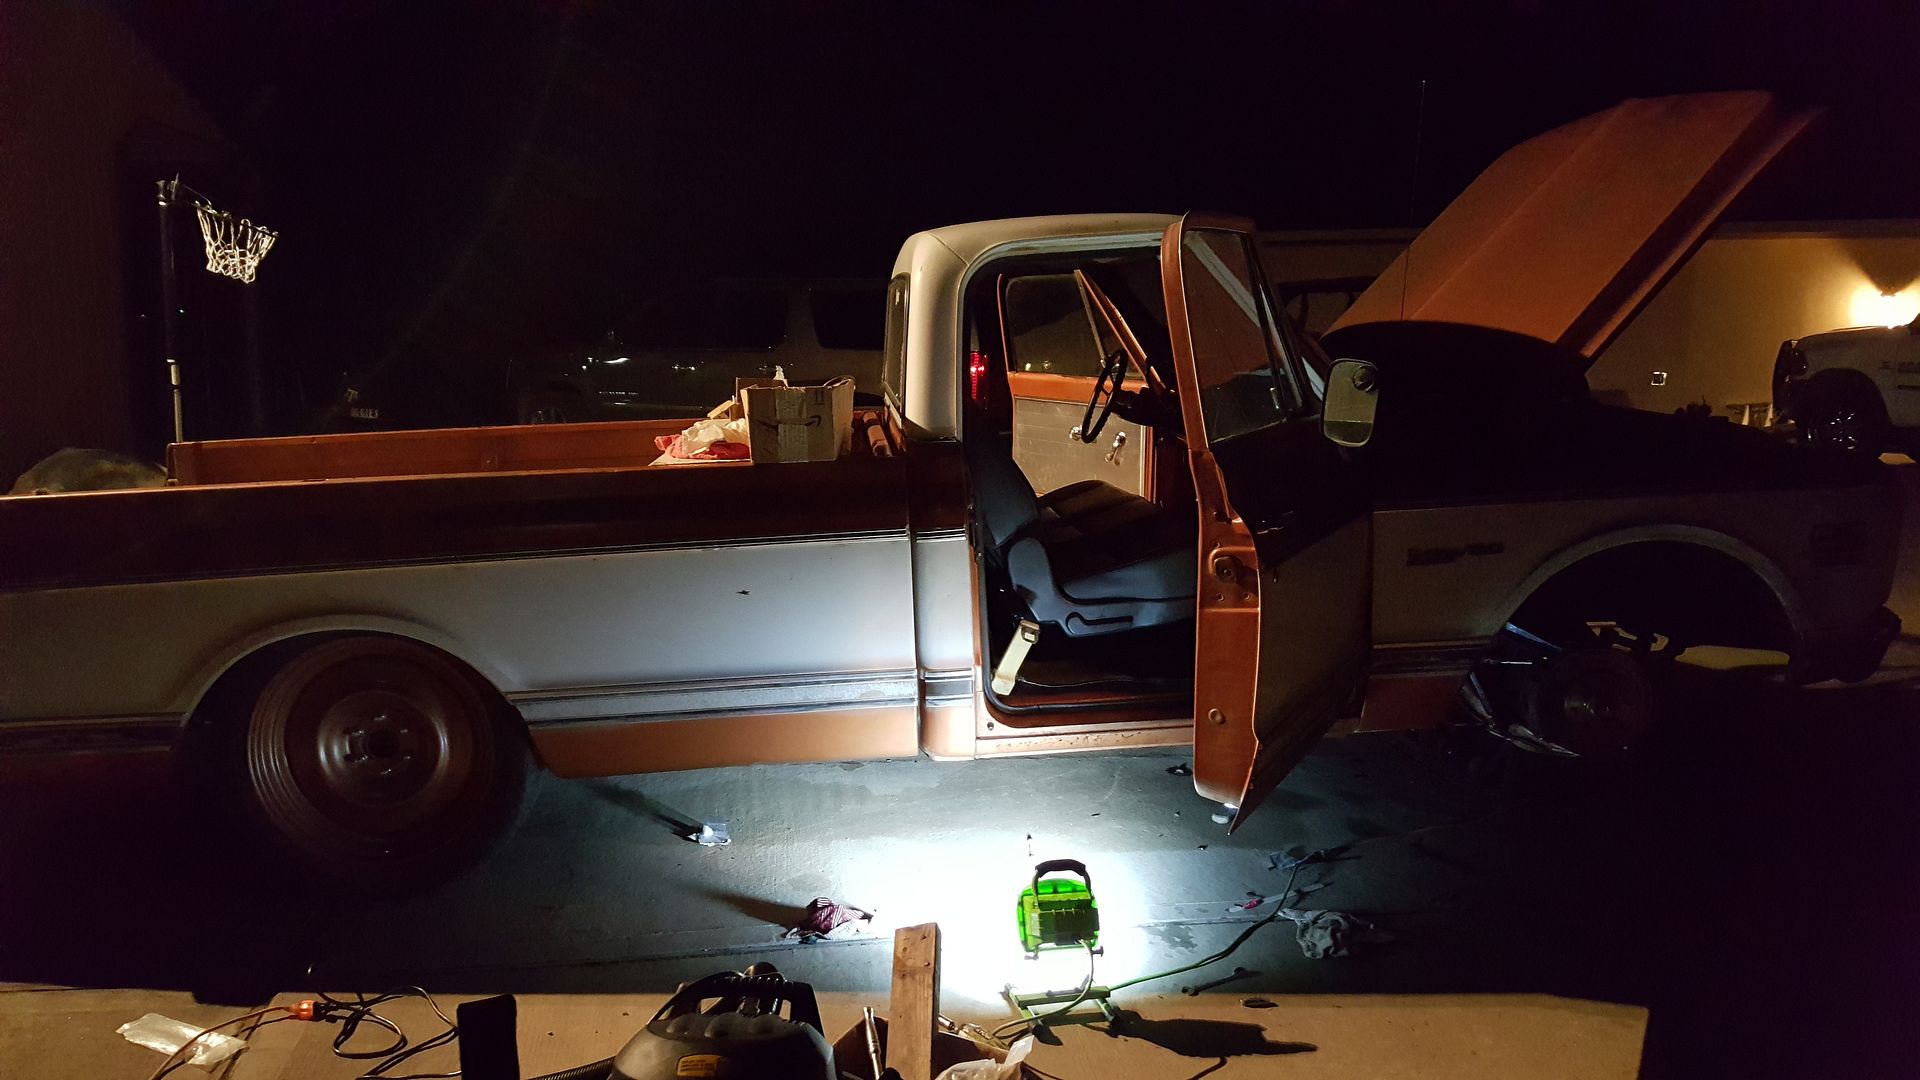 Fitted my 2012 Tahoe Seats. I used the stock brackets, cut them up and modified them to work. It took some fitting. 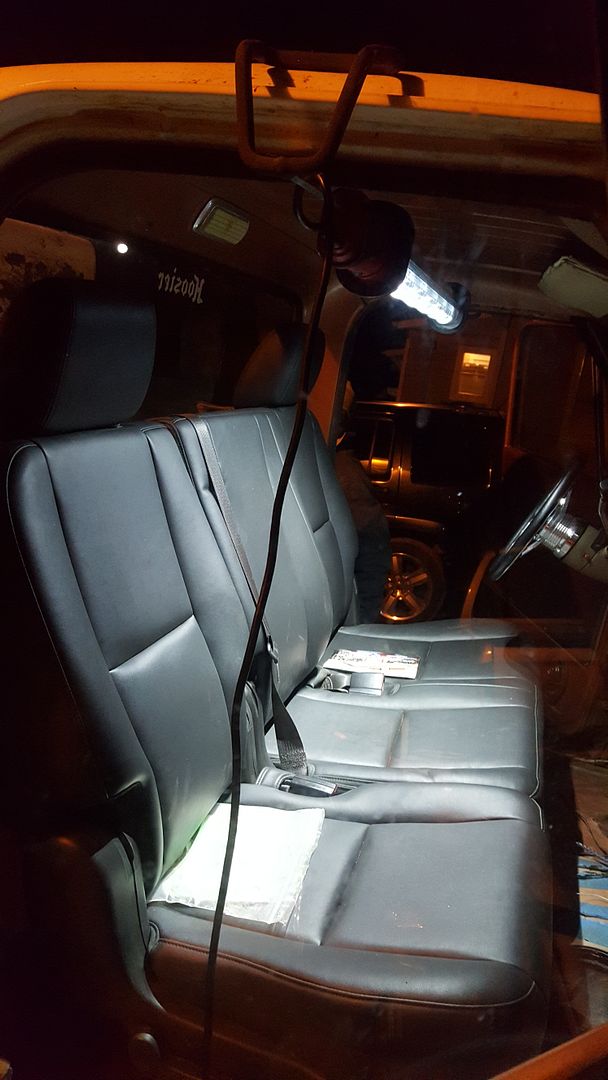  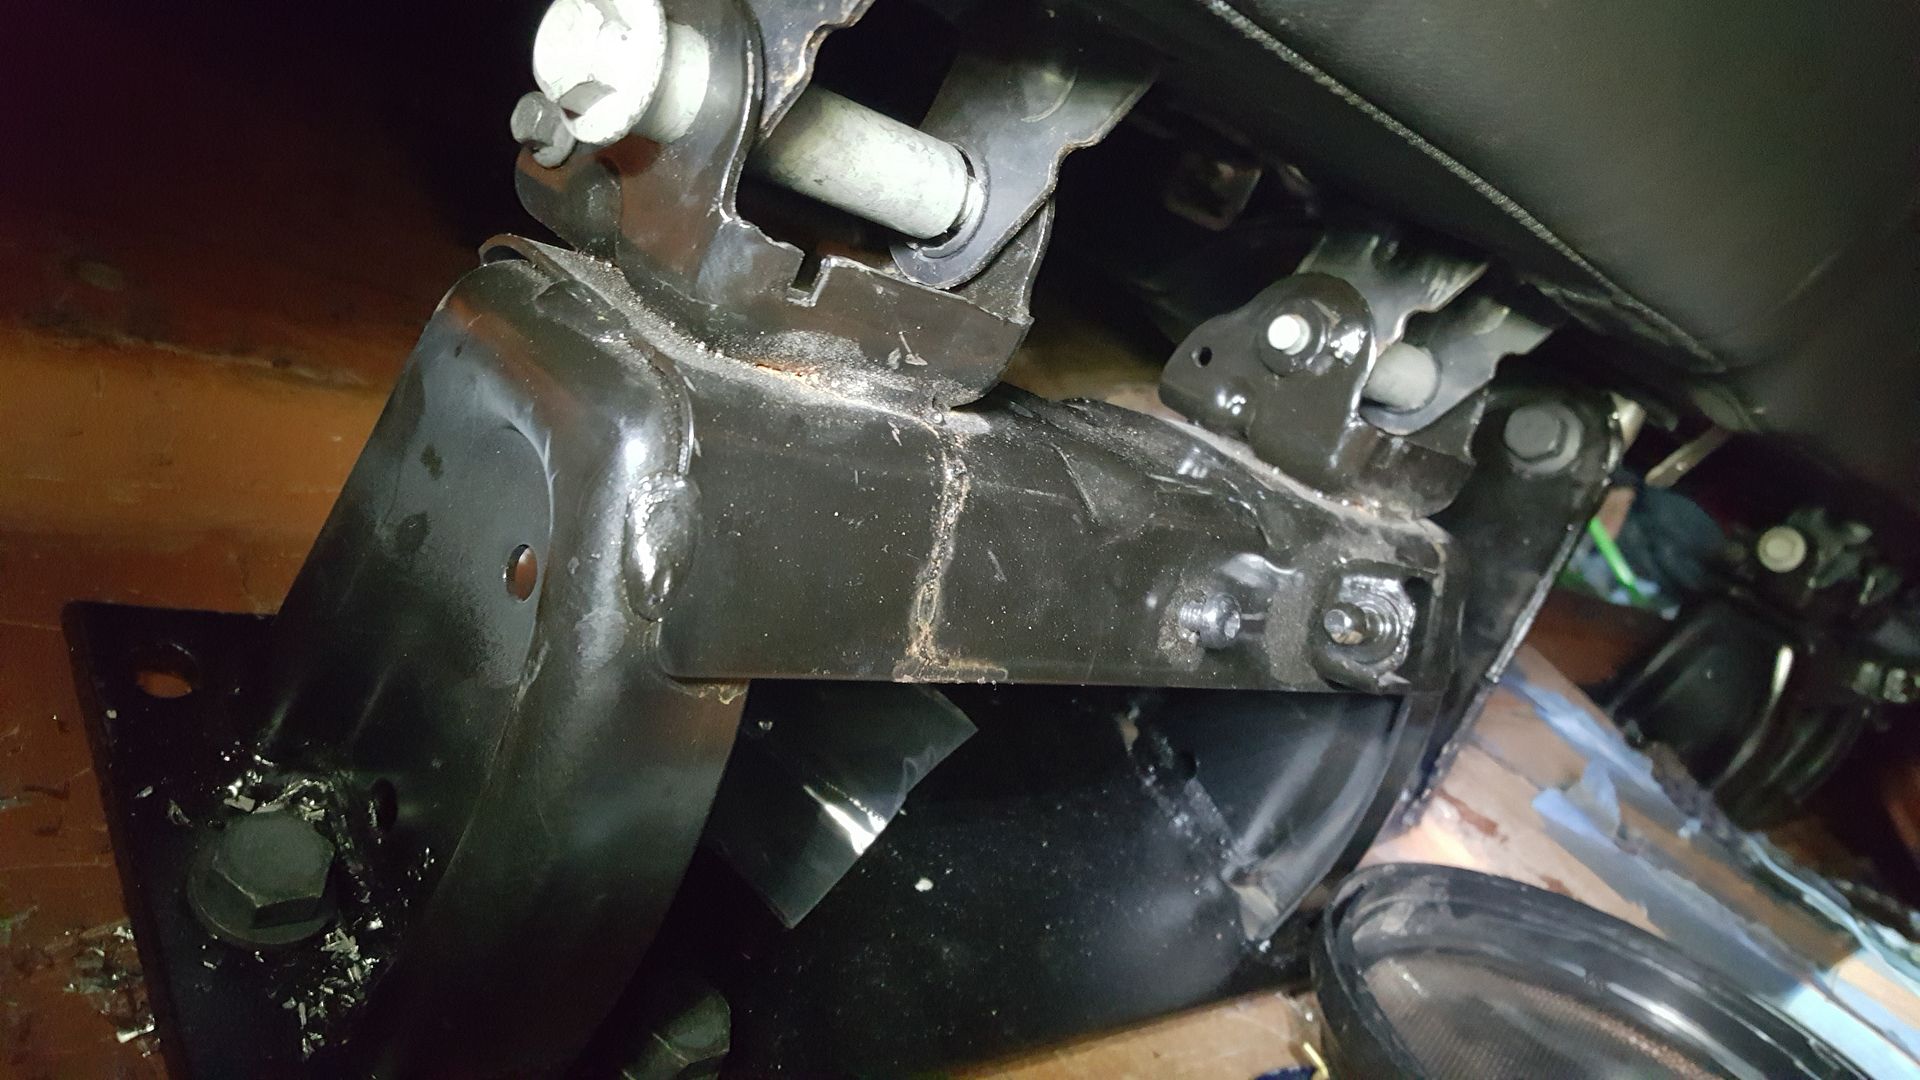 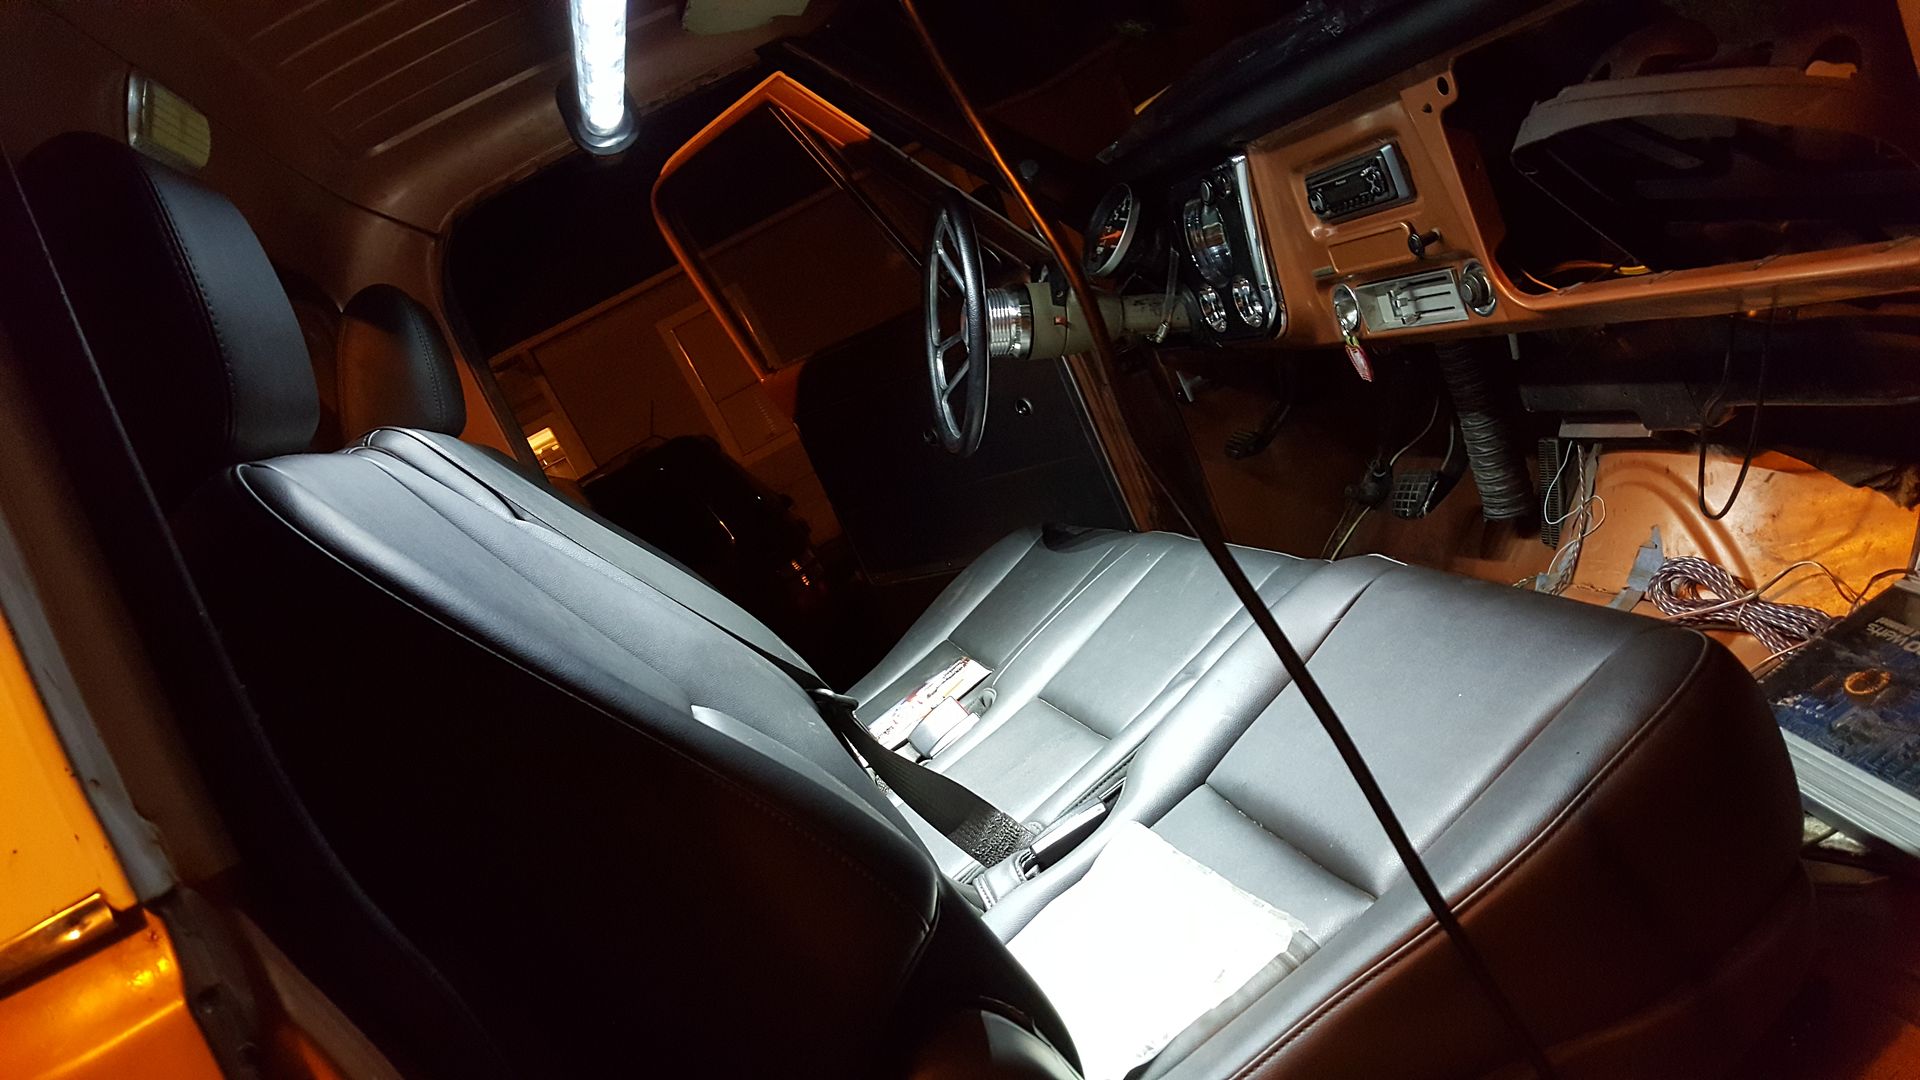
Last edited by lsjrl07; 03-15-2016 at 05:20 PM. Reason: Added interior Picture |
|
|

|
|
|
#5 |
|
Registered User
Join Date: Jul 2010
Location: Bellville, TX
Posts: 107
|
Re: LSJRL07 C20 Build "Tarnished Penny"
I got some custom sheetmetal door panels mounted. Carpet in. And made it to LST... Great time.
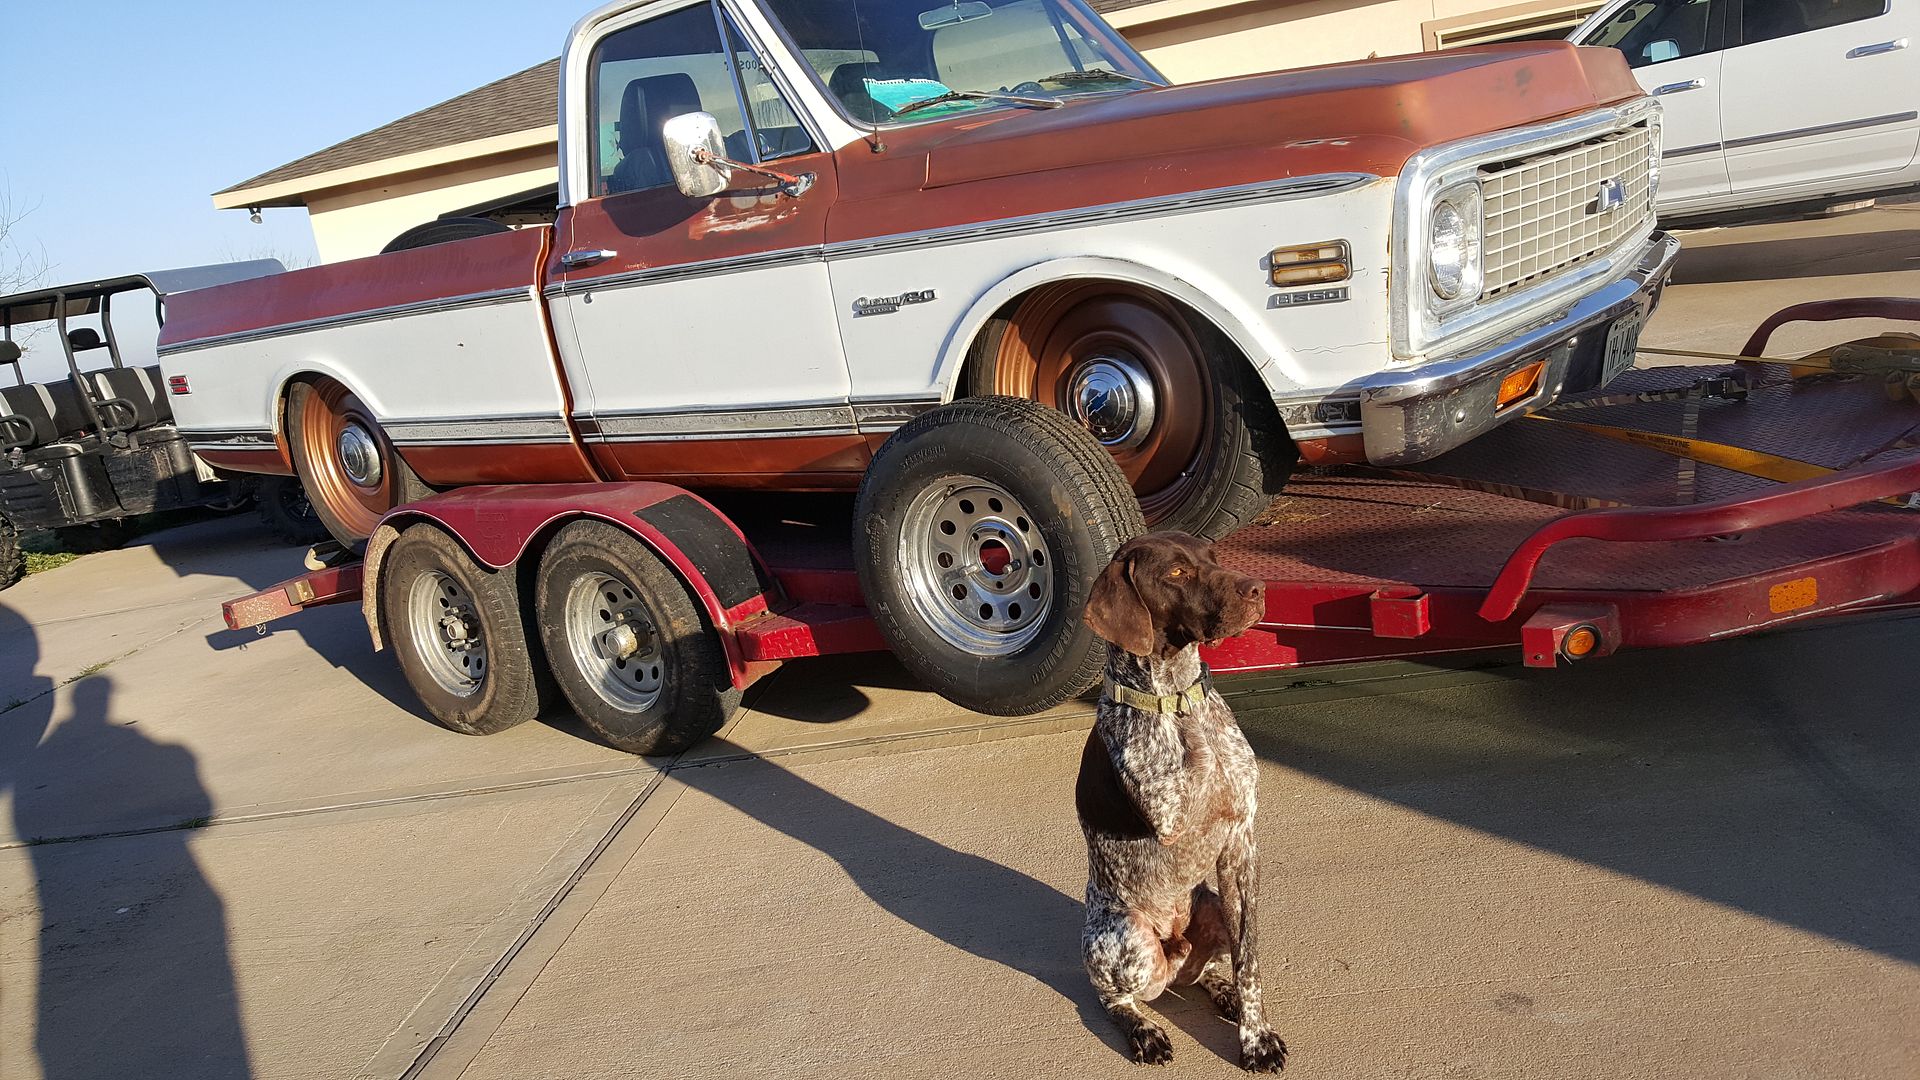 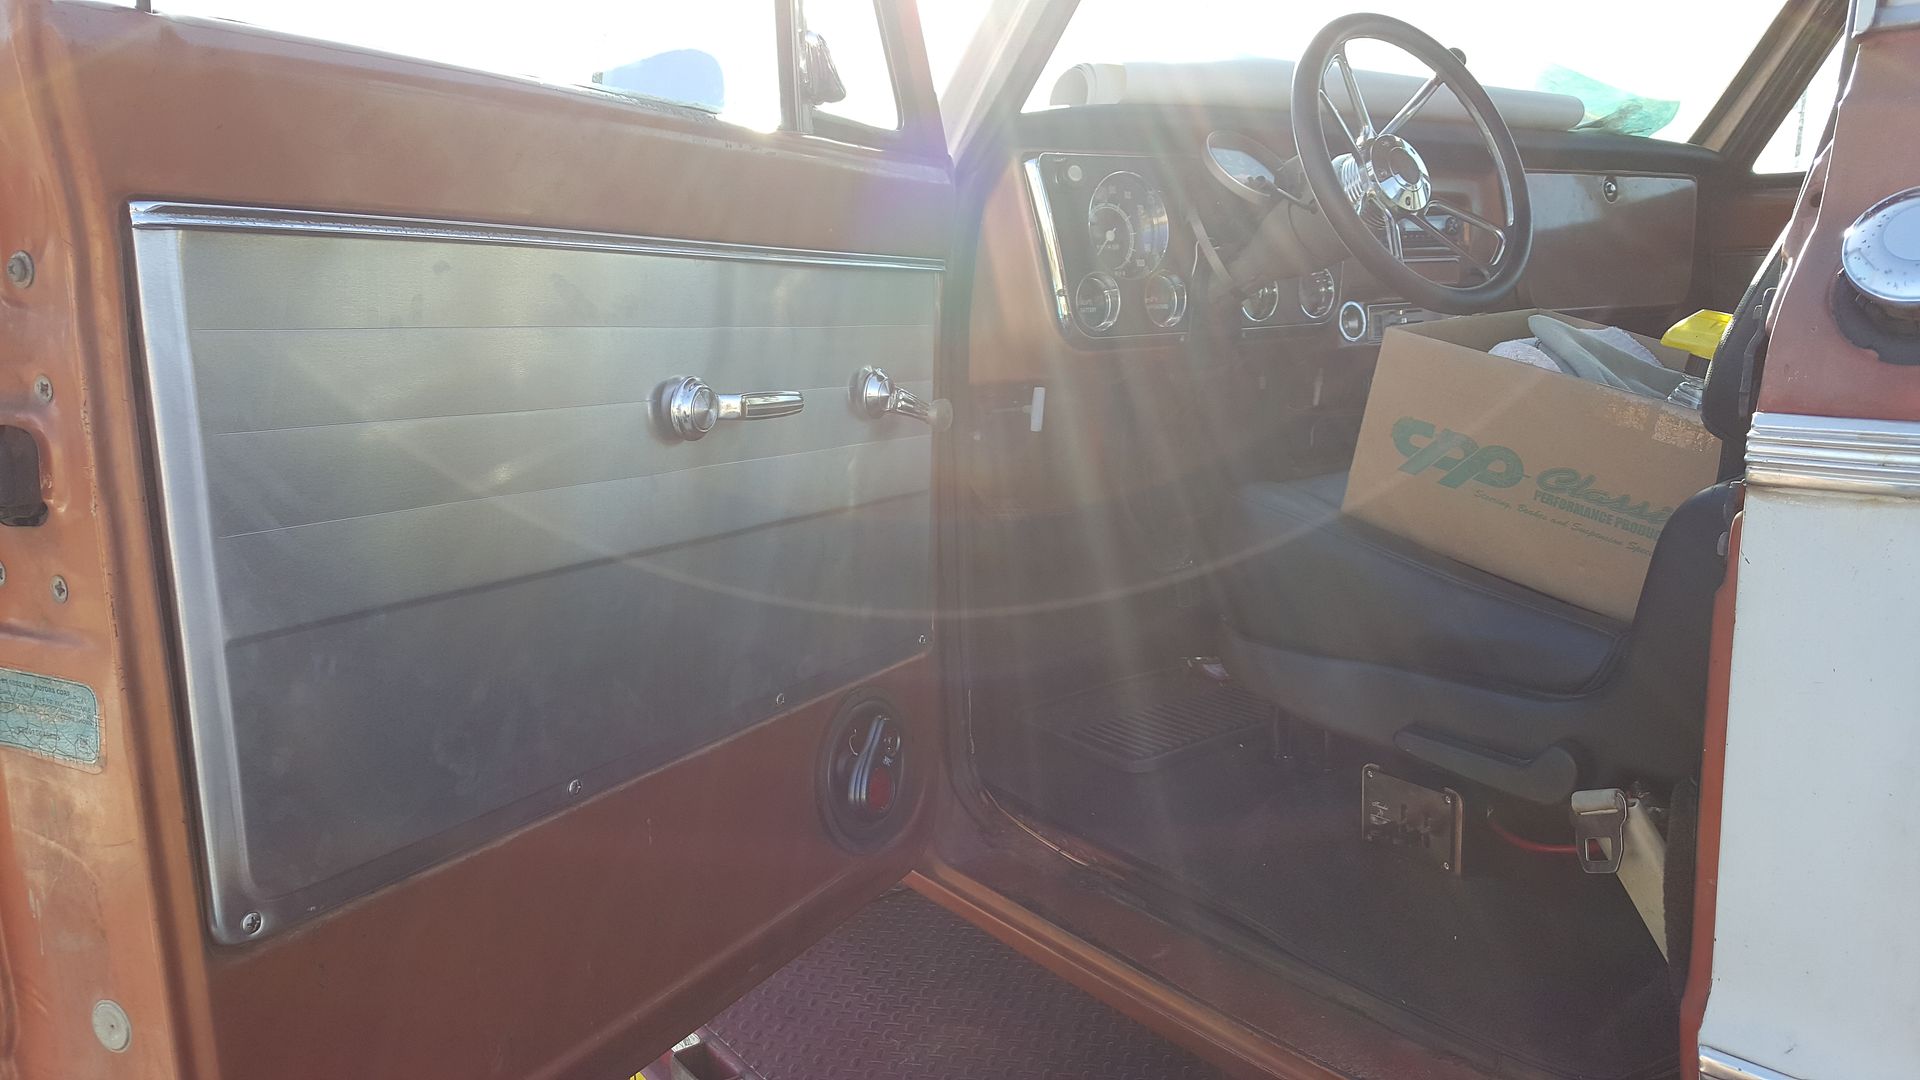 Here is my Little Larry's "Touche" Air Valve for my Bags. I Like this mounting location. 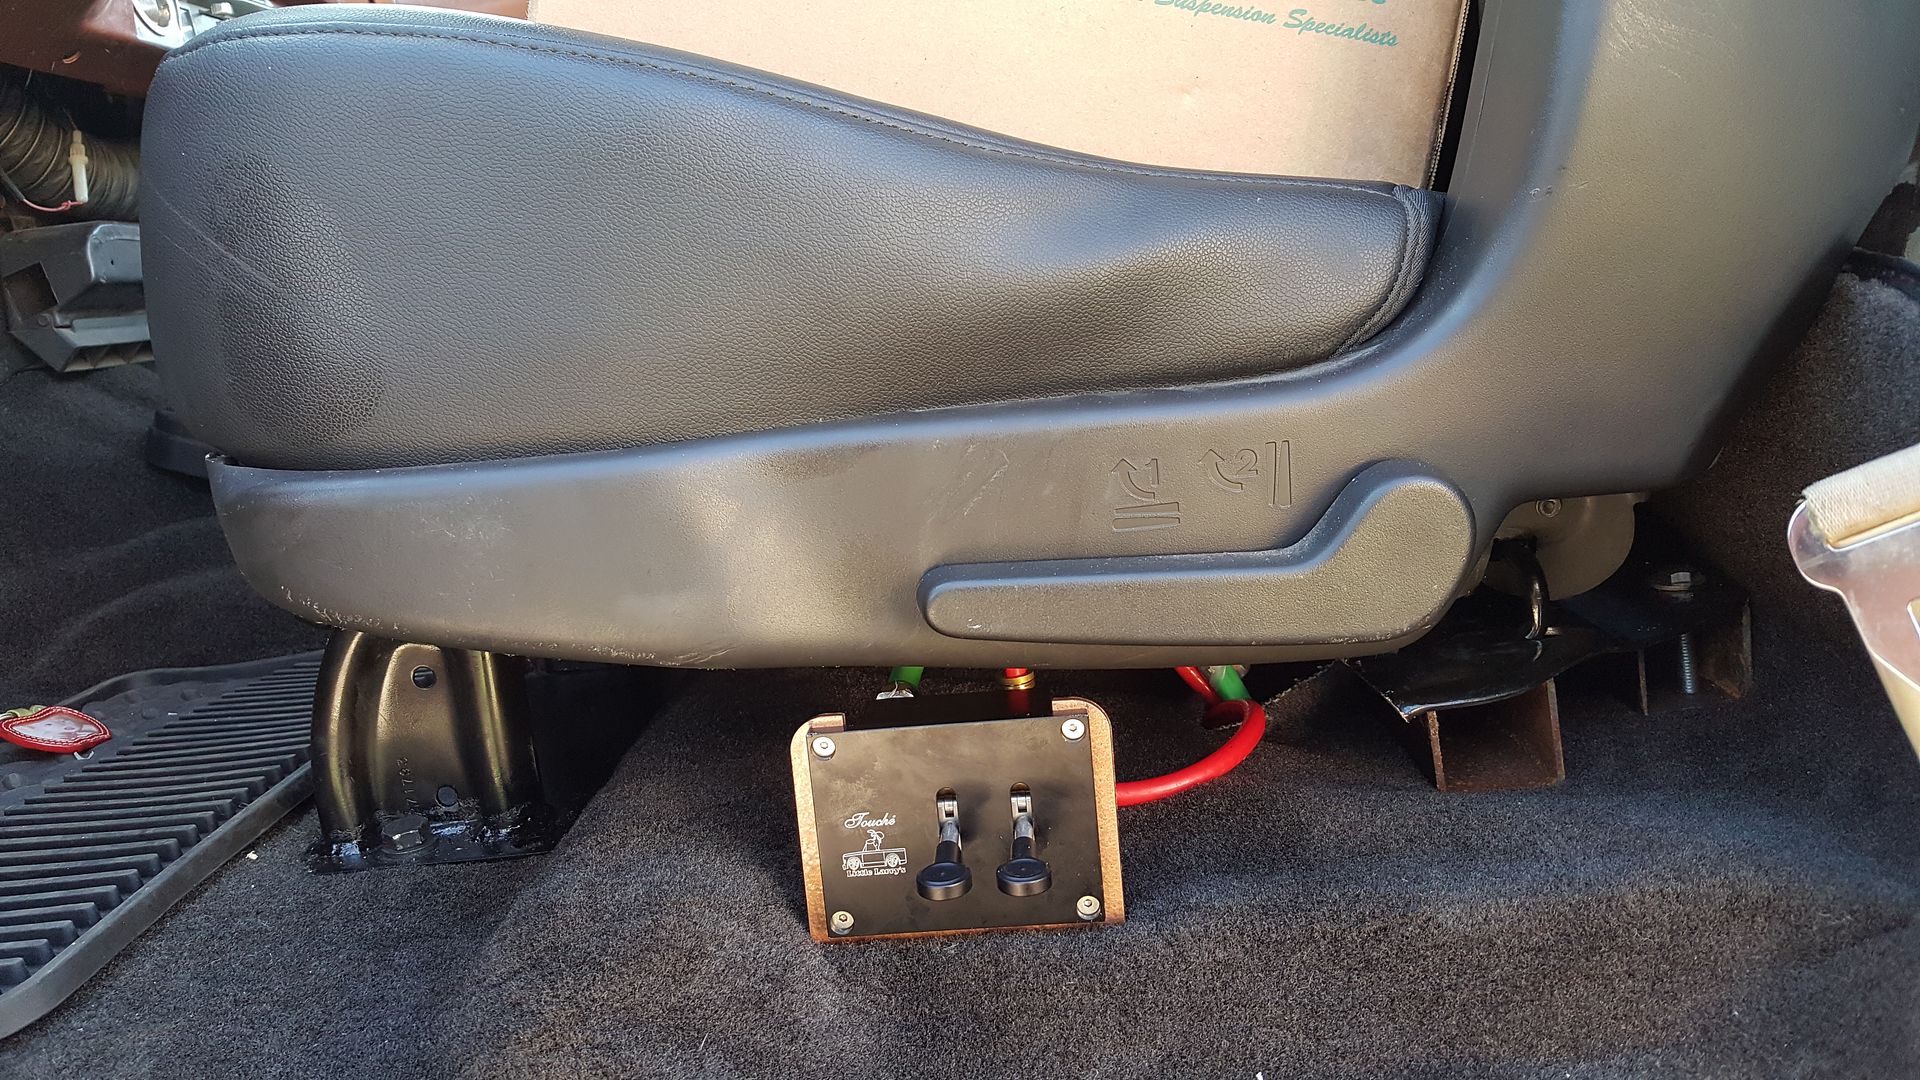 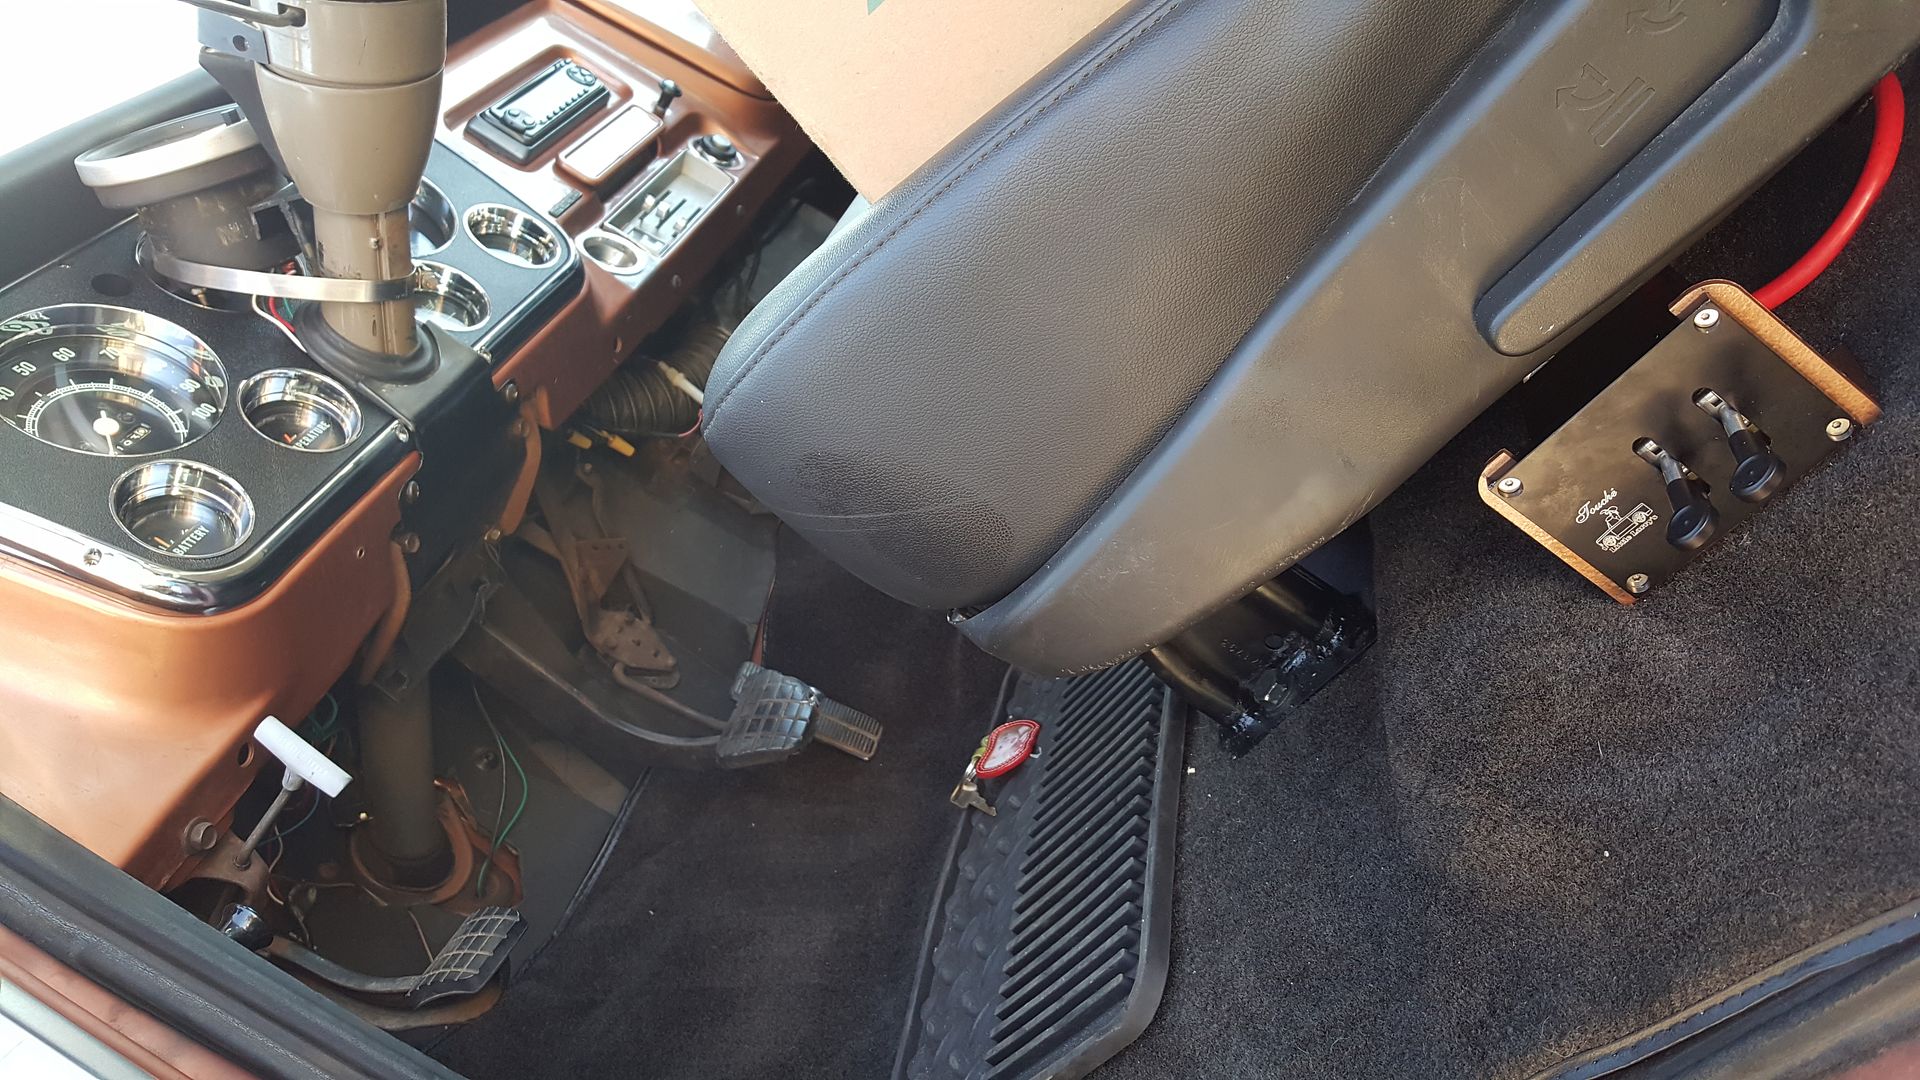 Bracket I made to hold the mount. 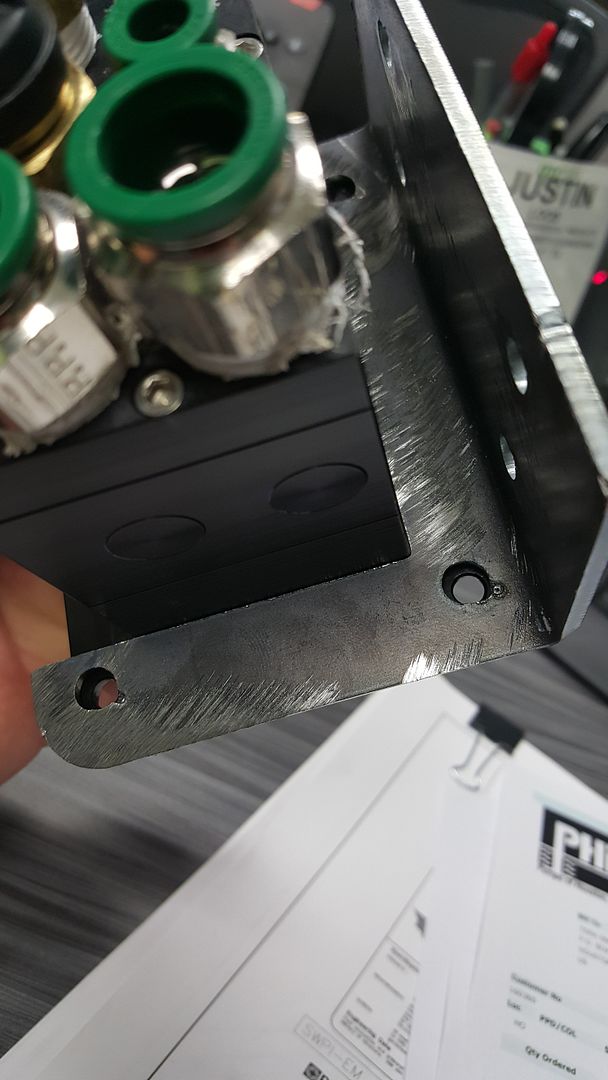 
|
|
|

|
|
|
#6 |
|
Registered User
Join Date: Jul 2010
Location: Bellville, TX
Posts: 107
|
Re: LSJRL07 C20 Build "Tarnished Penny"
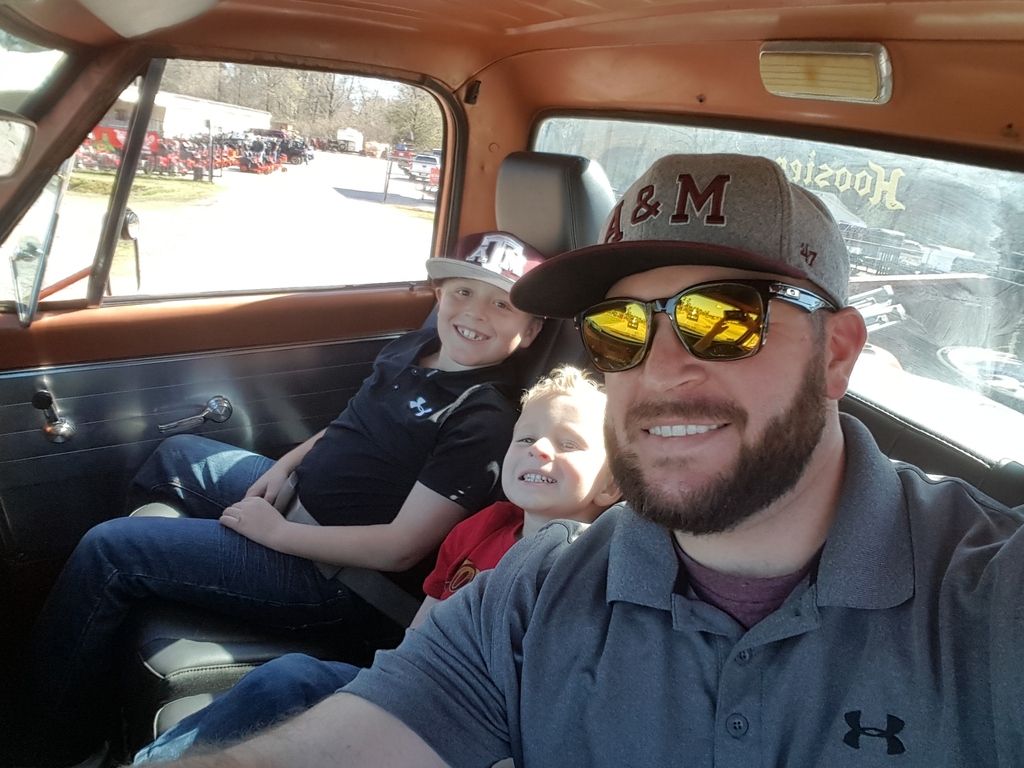
Here is the reason I built this truck...
|
|
|

|
|
|
#7 |
|
Registered User
Join Date: Jul 2010
Location: Bellville, TX
Posts: 107
|
Re: LSJRL07 C20 Build "Tarnished Penny"
And some finished pictures. I am still trying to decide on Center Caps for this thing...
The 1949 Suburban is my new family Cruiser. I am about to start a build thread for it. It is a former Army Suburban. It still has the clipboard mounted on the dash for holding orders. The only thing I have done to it is began degreasing and pressure washing it. It was filled with Ratholes, dirt, dust, spider webs... It has a few cancer spots. My plan is to leave the original Army Green & Patina, S10 Swap, LS Motor, Bagged, and enough seating for 5 people. I want a cool driver that my wife, two sons, and my daughter can cruise with me... anywhere. I want to do the Power Tour with it one day... 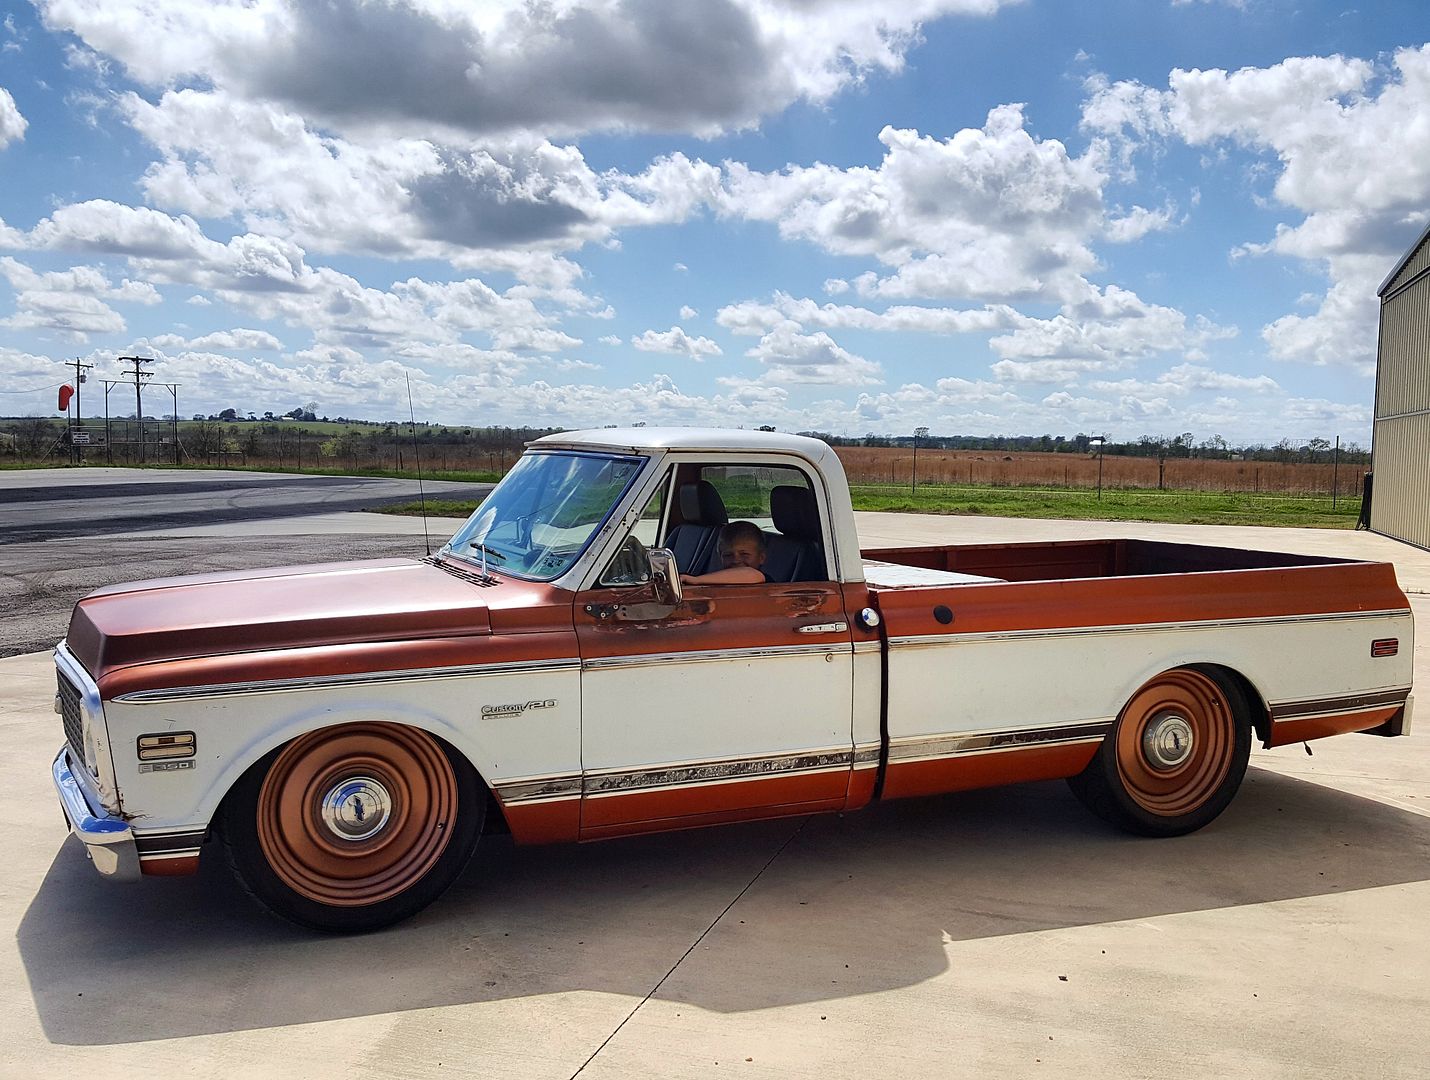 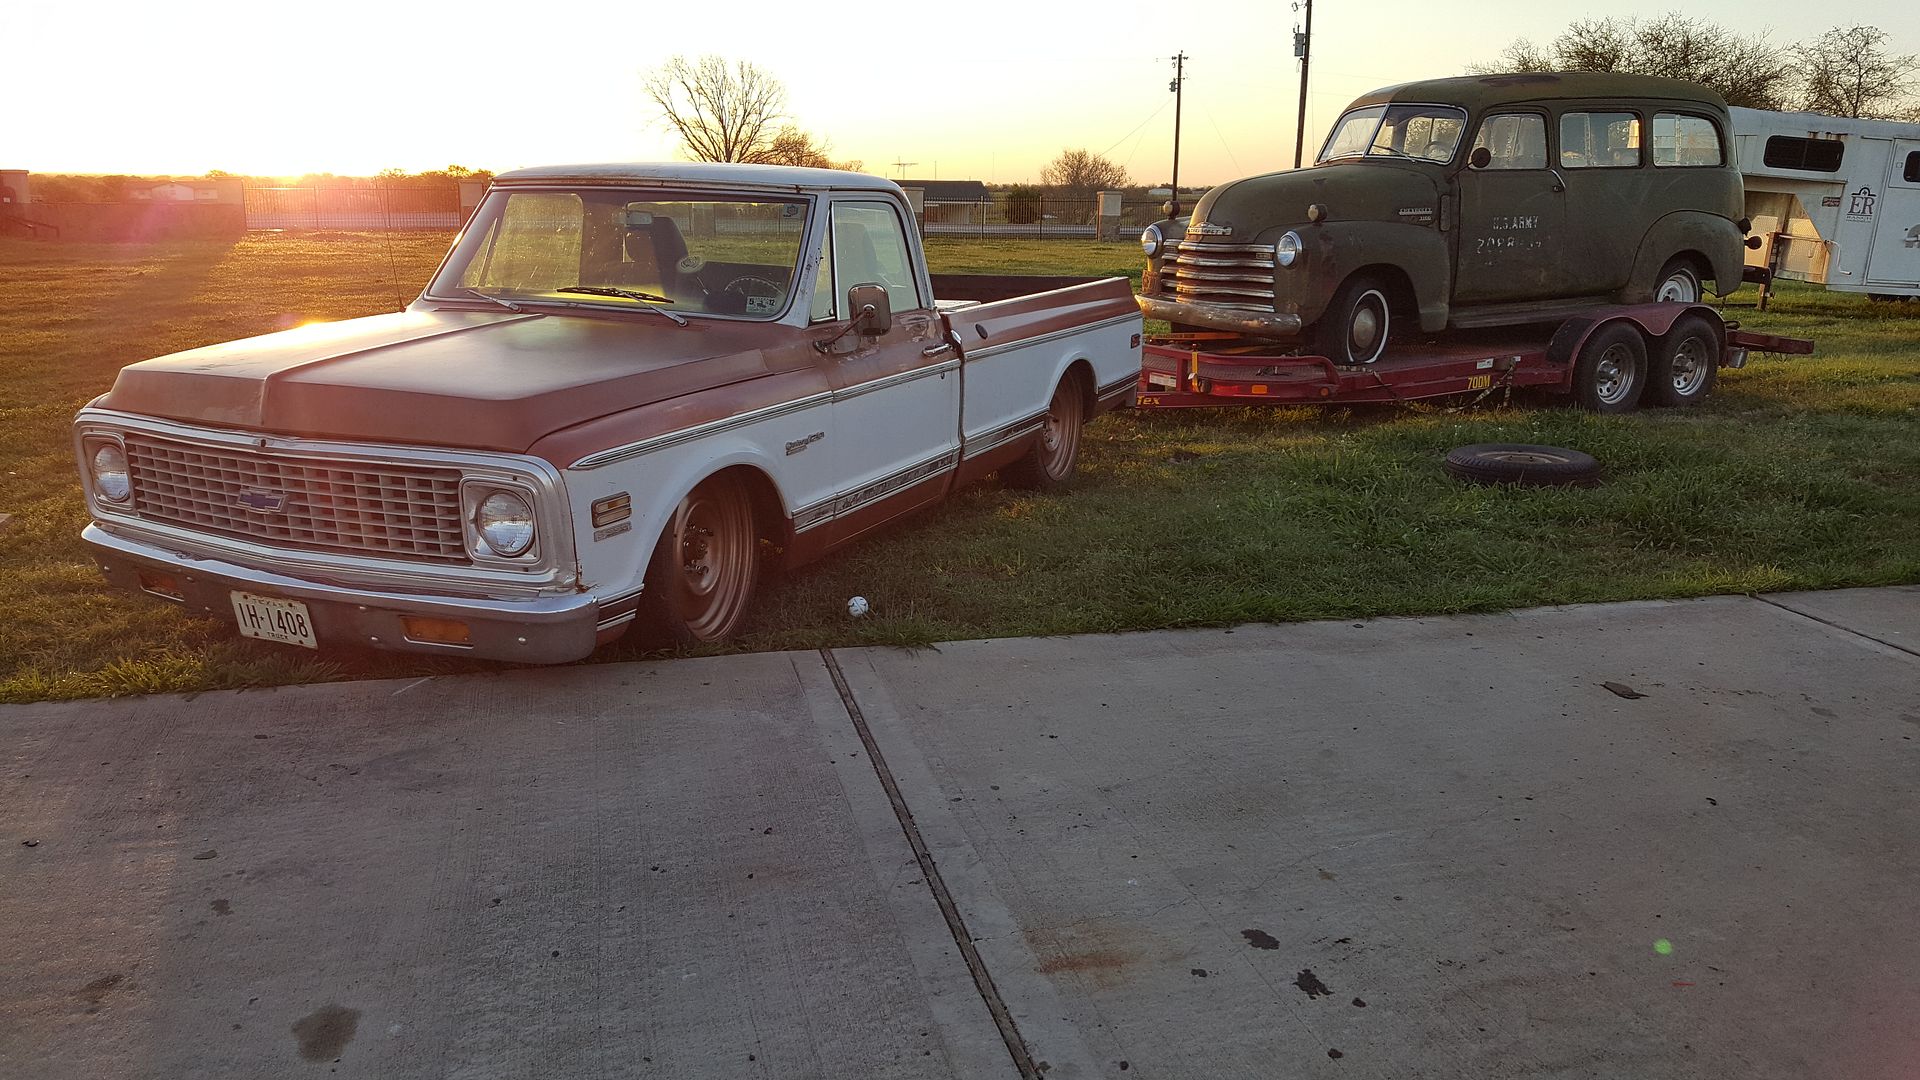  
|
|
|

|
|
|
#8 |
|
Registered User
Join Date: Jul 2010
Location: Bellville, TX
Posts: 107
|
Re: LSJRL07 C20 Build "Tarnished Penny"
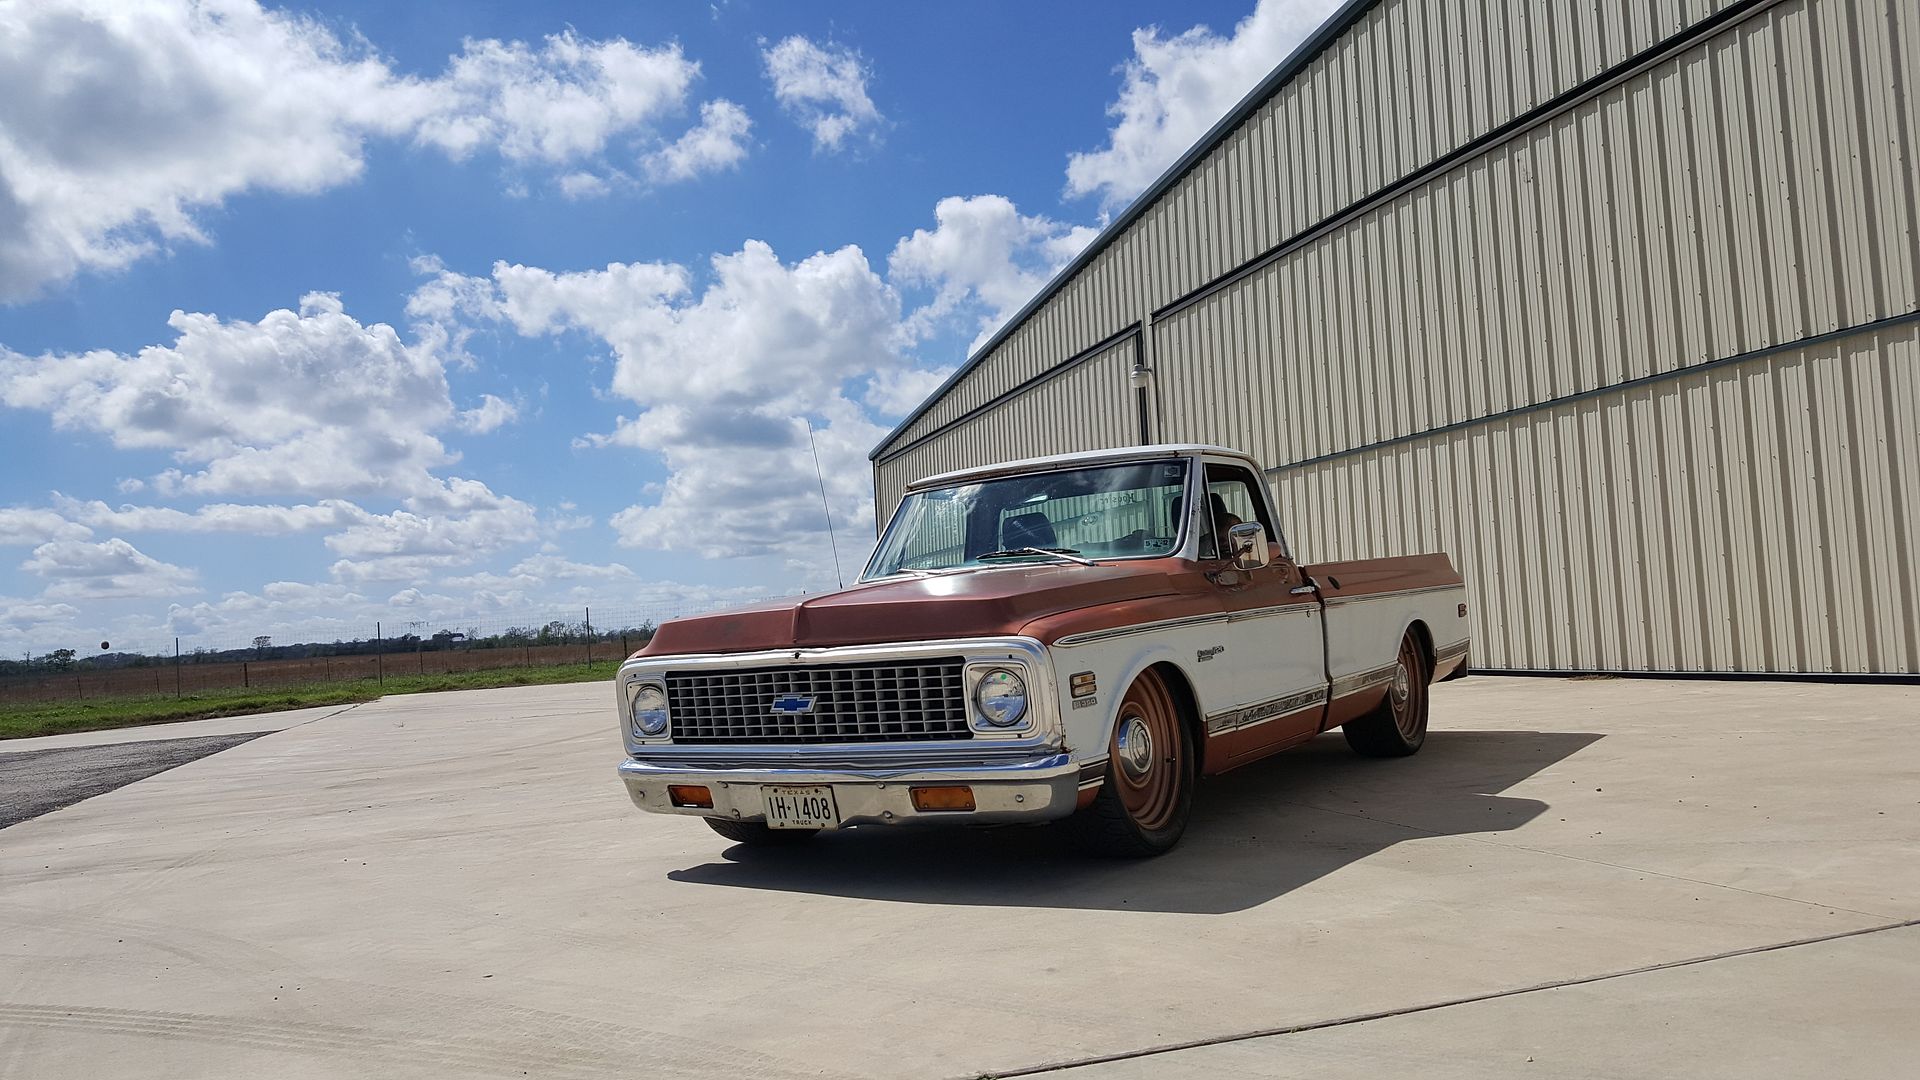  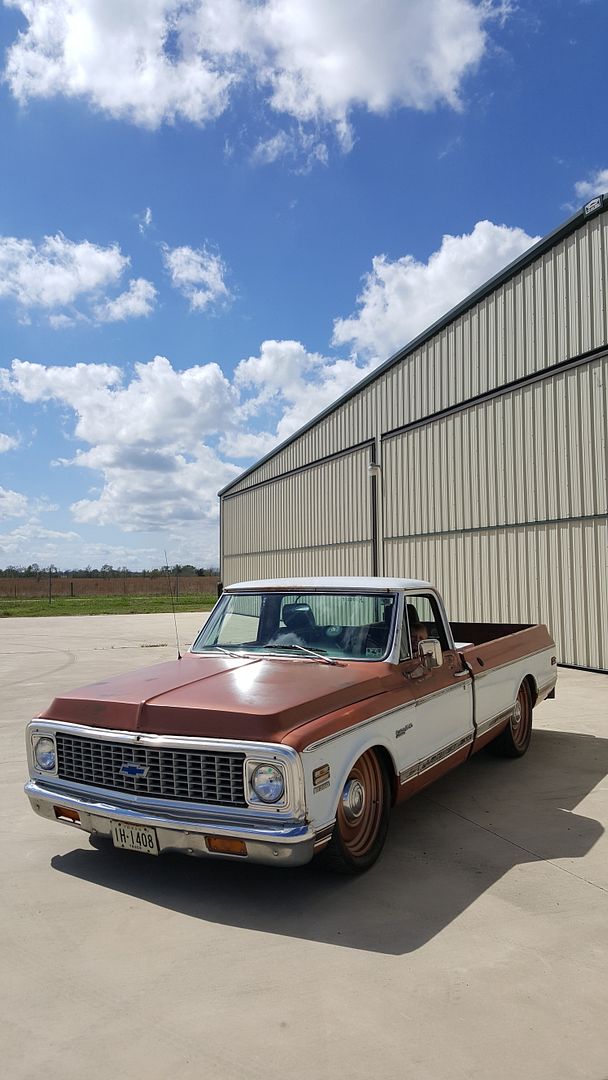 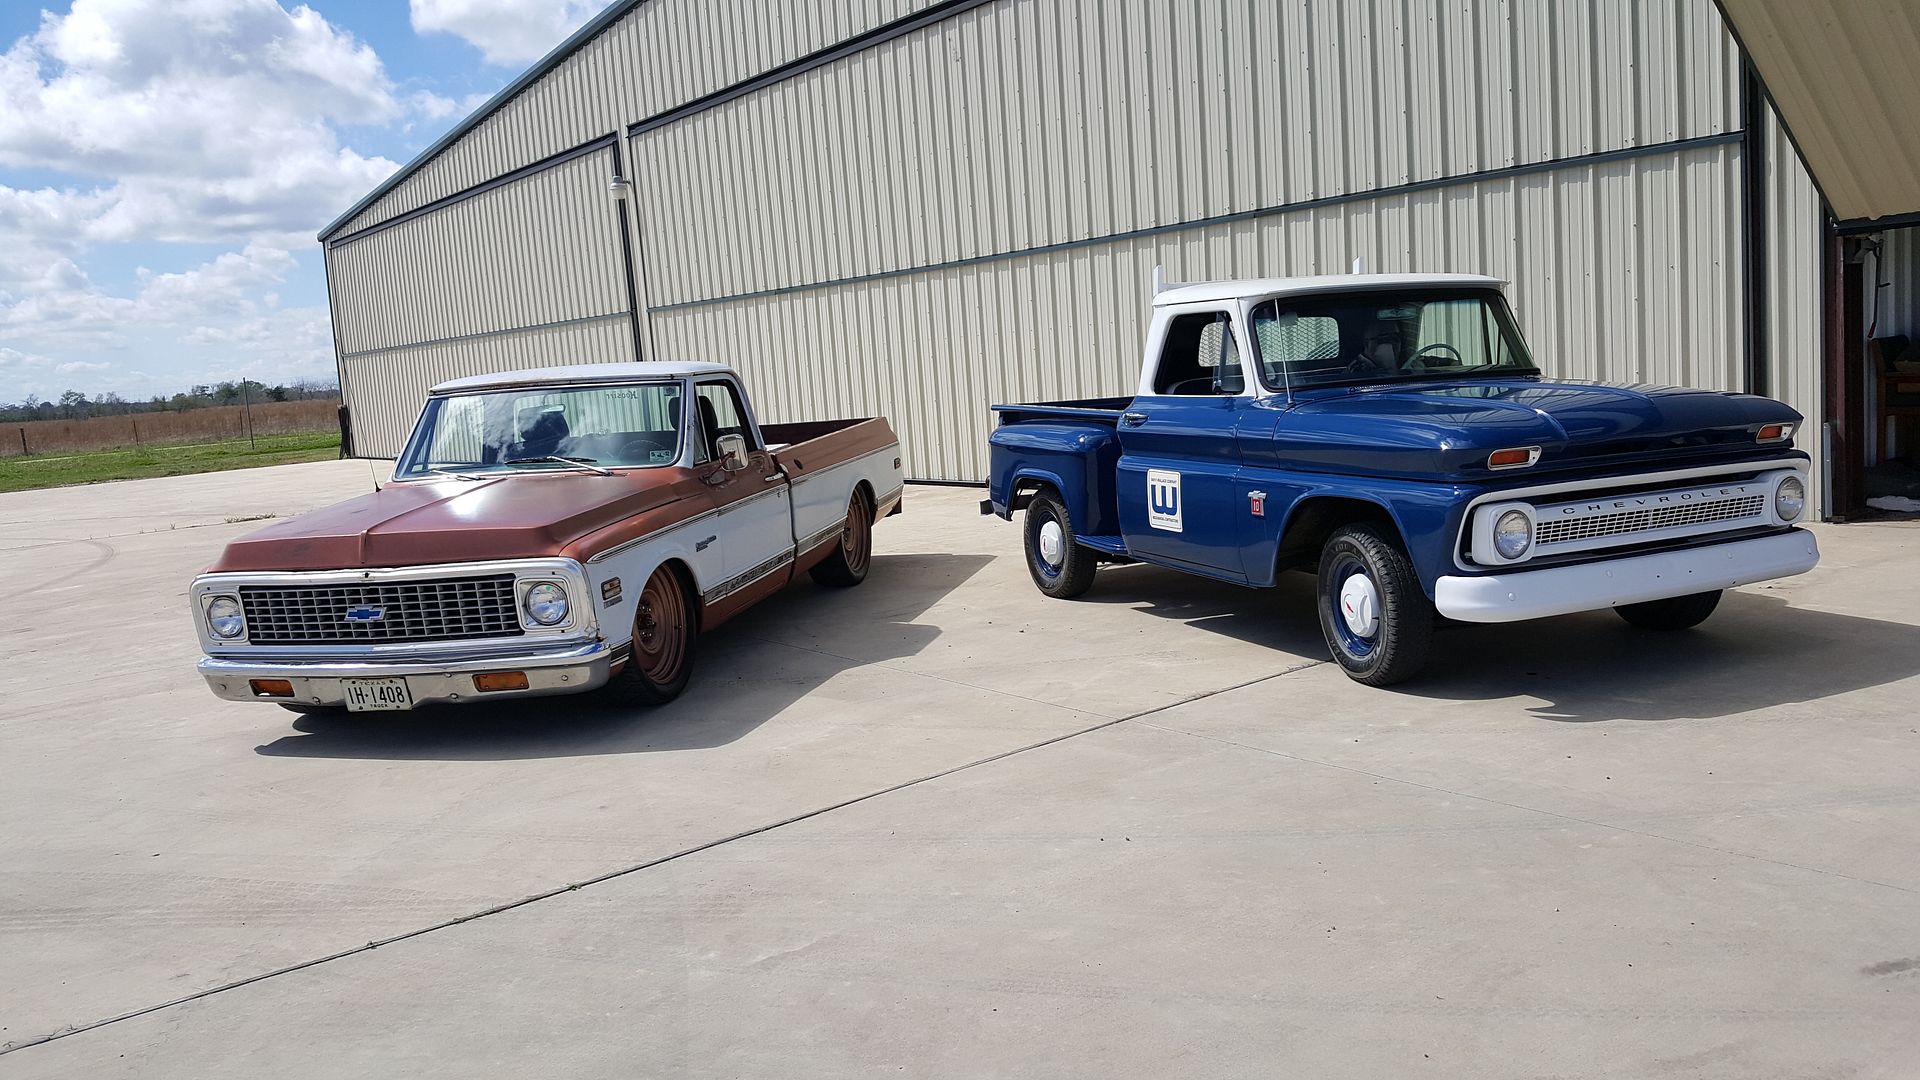    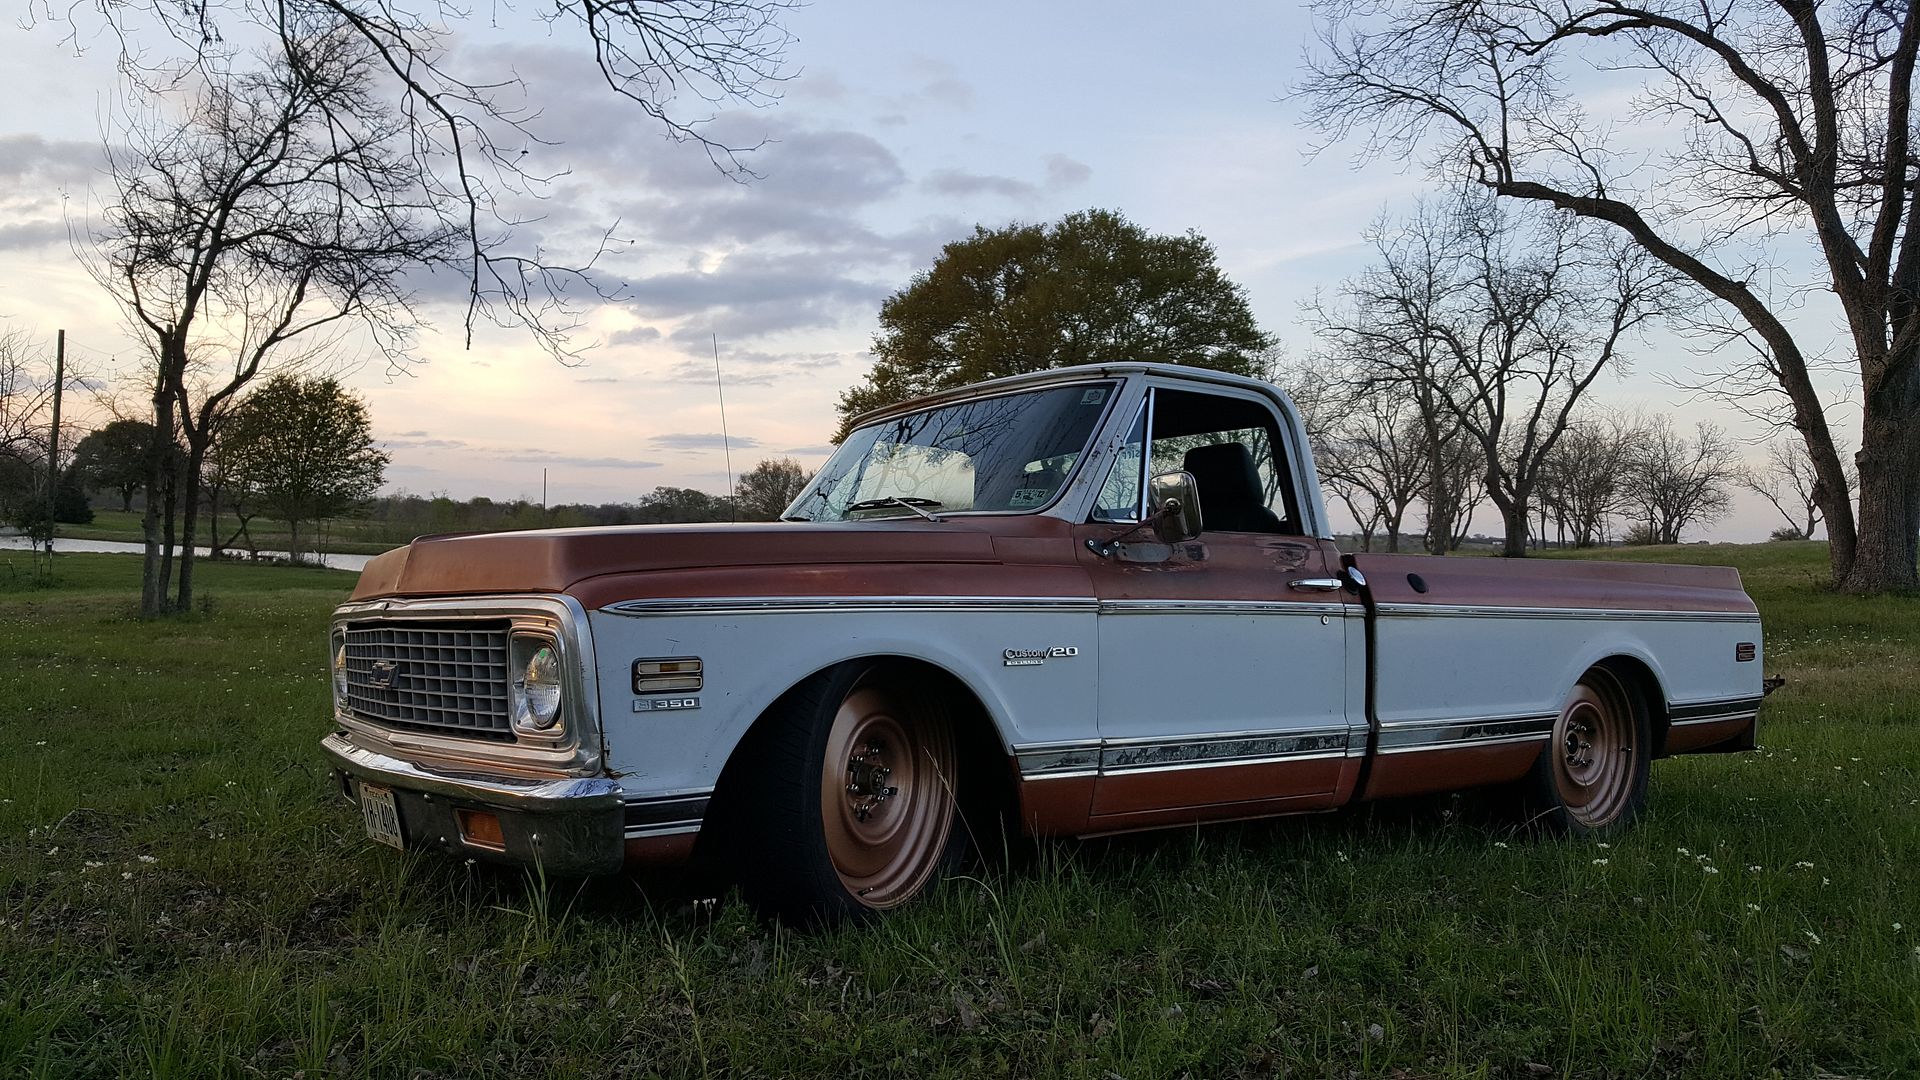 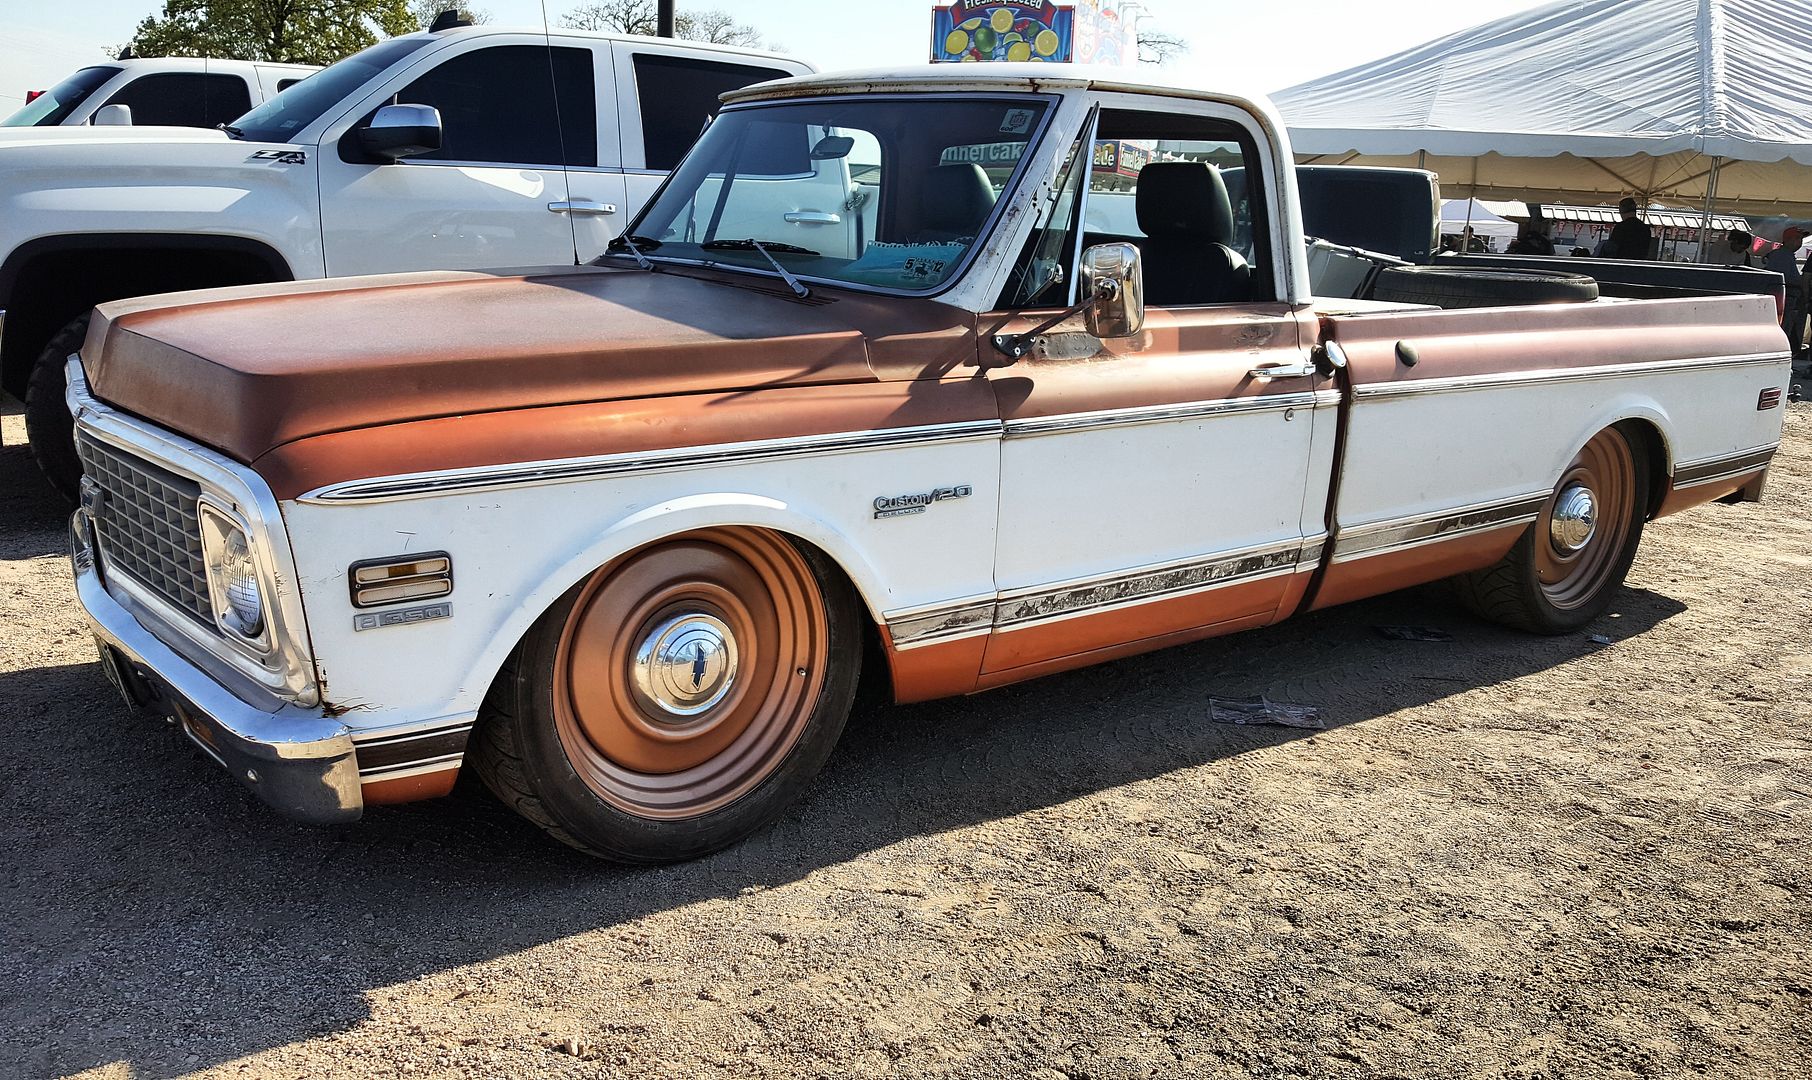
|
|
|

|
|
|
#9 |
|
Registered User
Join Date: Oct 2007
Location: Spanaway
Posts: 8,451
|
Re: LSJRL07 C20 Build "Tarnished Penny"
Nice work on the truck, nice family, nice burb, nice dog, glad to see you didn't give up on the dog, i'm sure it wasn't the best thing to deal with.

__________________
Mike. Swamp Rat build thread : http://67-72chevytrucks.com/vboard/s...d.php?t=595019 72 3/4T 4X4 4" BDS Lift 33" BFG's |
|
|

|
|
|
#10 |
|
Registered User
Join Date: Jul 2010
Location: Bellville, TX
Posts: 107
|
Re: LSJRL07 C20 Build "Tarnished Penny"
Thanks Swamp Rat!
Yeah it was a hard decision. Many people told us to "not waste our money" on fixing his leg and just put him down. We never waivered from him. Our hard decision was spending $900 on amputation or $3500 on surgery to pin and plate to POSSIBLY save his leg. He does great with only 3 legs. He is my little buddy, although he loves finding skunks during the day, so we dont get to spend much time together... |
|
|

|
|
|
#11 |
|
Registered User
Join Date: Nov 2013
Location: Spring Hill,Fl
Posts: 223
|
Re: LSJRL07 C20 Build "Tarnished Penny"
Nicely done !!
|
|
|

|
|
|
#12 |
|
Registered User
Join Date: Aug 2015
Location: Champaign, IL
Posts: 491
|
Re: LSJRL07 C20 Build "Tarnished Penny"
I think I like it better without caps.
|
|
|

|
|
|
#13 |
|
Registered User
Join Date: May 2006
Location: North of Houston, TX
Posts: 39
|
Re: LSJRL07 C20 Build "Tarnished Penny"
Nice ride, bro!! Luv it with the caps..

|
|
|

|
|
|
#14 |
|
Registered User
Join Date: Jul 2010
Location: Bellville, TX
Posts: 107
|
Re: LSJRL07 C20 Build "Tarnished Penny"
Me too Big O!. I just ordered some different ones off of ebay today!
|
|
|

|
|
|
#15 |
|
Registered User
Join Date: Oct 2014
Location: Kitchener, Ontario, Canada
Posts: 3,254
|
Re: LSJRL07 C20 Build "Tarnished Penny"
Great looking truck!!! Glad you kept the dog around. What happened to him?
__________________
http://67-72chevytrucks.com/vboard/s...d.php?t=648459 https://67-72chevytrucks.com/vboard/...d.php?t=769441 1951 MG TD 1967 Jeep CJ5 1.9L TDI 33X13.5X15 Mud Grapplers. 1952 GMC 9700 p/u 7.3L diesel on air, dually |
|
|

|
|
|
#16 |
|
Registered User
Join Date: Jul 2010
Location: Bellville, TX
Posts: 107
|
Re: LSJRL07 C20 Build "Tarnished Penny"
He was running loose on our ranch, so I think he fell into a cattle guard. It was a compound fracture and open wound for over 24 hours. We're glad that we kept him around too.
|
|
|

|
|
|
#17 |
|
Registered User
Join Date: Oct 2014
Location: Location:
Posts: 8,451
|
Re: LSJRL07 C20 Build "Tarnished Penny"
.
. Awesome job w/ this C-20, it turned out looking fresh w/ the stance, paint and wheel selection! . .
__________________
... Click here to see thousands of 'Abandoned & Neglected' Chevy trucks rotting away... ... |
|
|

|
 |
| Bookmarks |
|
|