
 |
Register or Log In To remove these advertisements. |
|
|
|
|||||||
|
|
Thread Tools | Display Modes |
|
|
#11 |
|
Registered User
Join Date: May 2011
Location: Anderson SC
Posts: 3,903
|
Re: '55 International Metal/Body/Paint Work
Once the front of the bed sides were straightened and squared I fitted the header panel, primed it, and drilled holes for the plug welds.
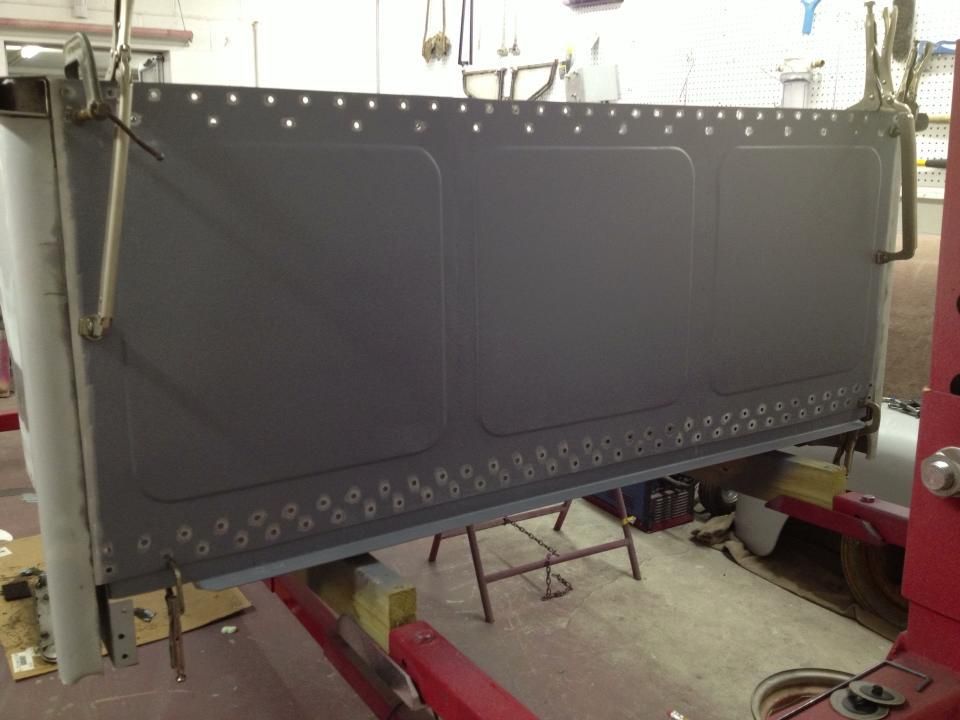 The original header panel had extended bottom corners that I needed to replicate. 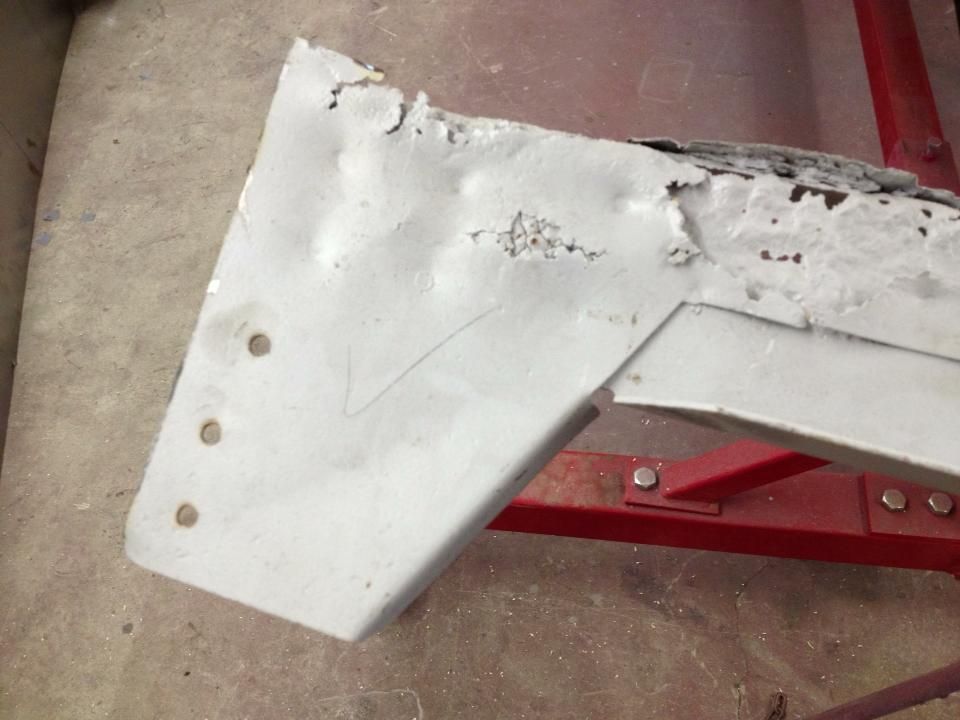 The corners fill in these gaps on either end of the header. 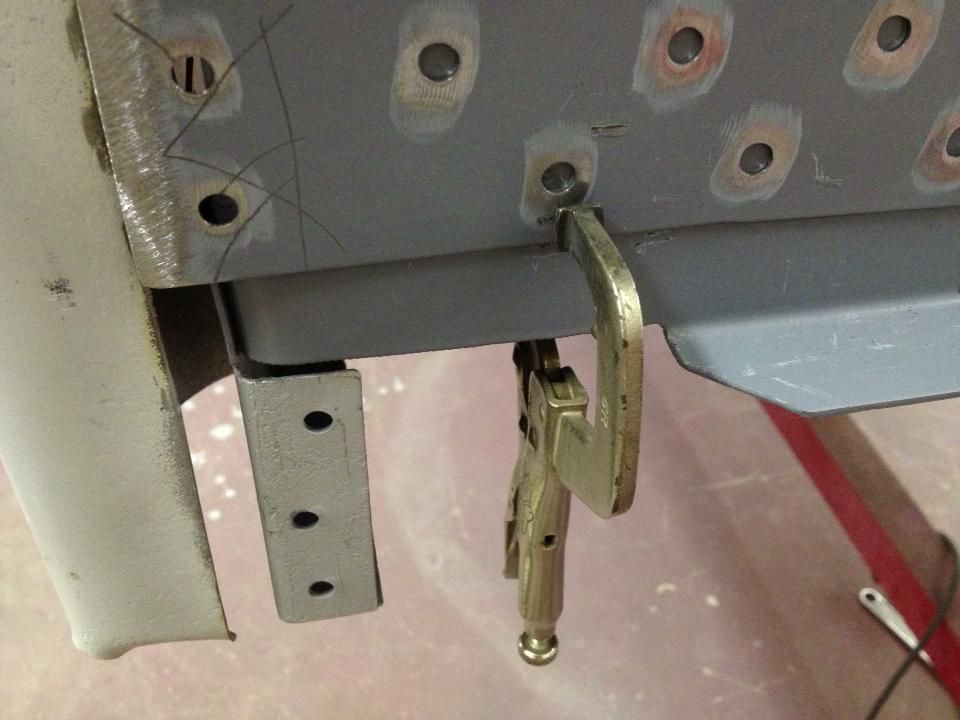 New pieces welded on. 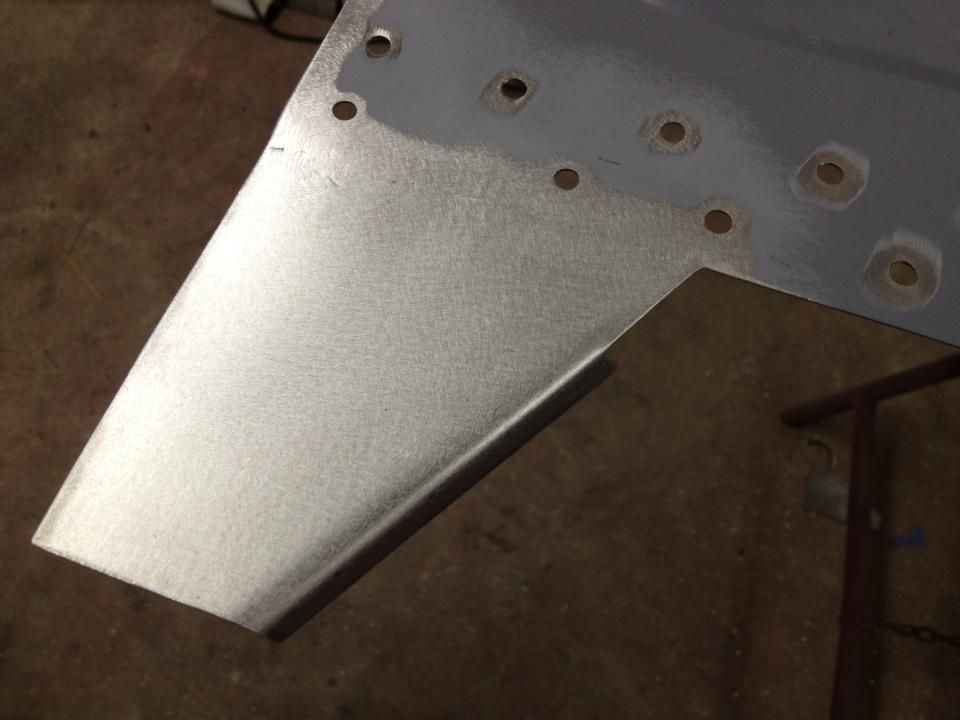 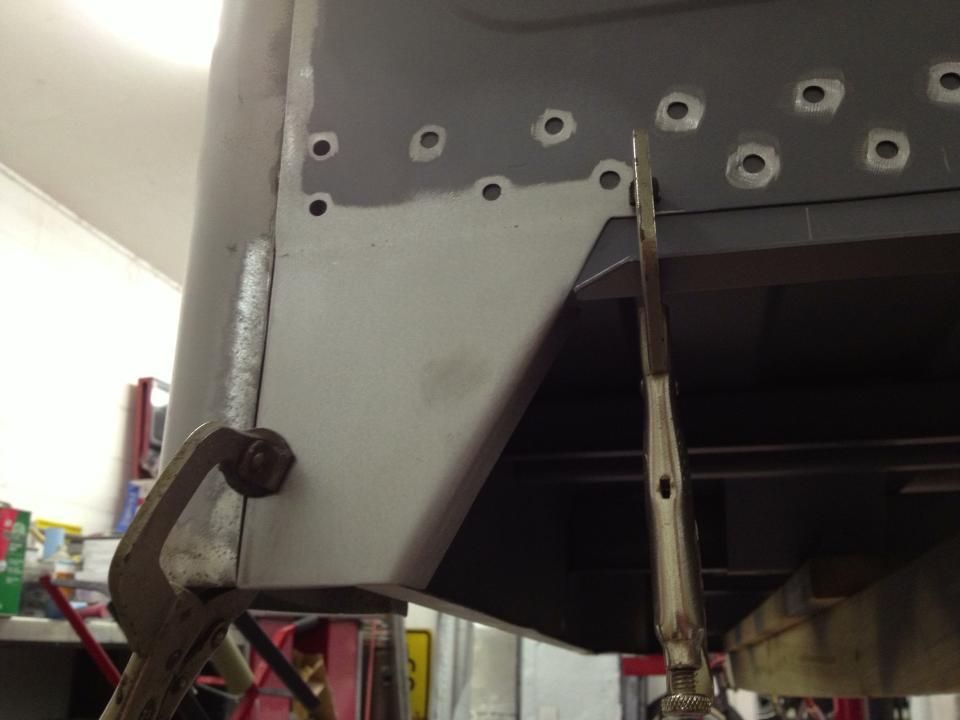 With the bottom corners finished it was time to weld the header in place. I started from the bottom center and worked outward, keeping clamps on either side of each plug weld spot while welding. 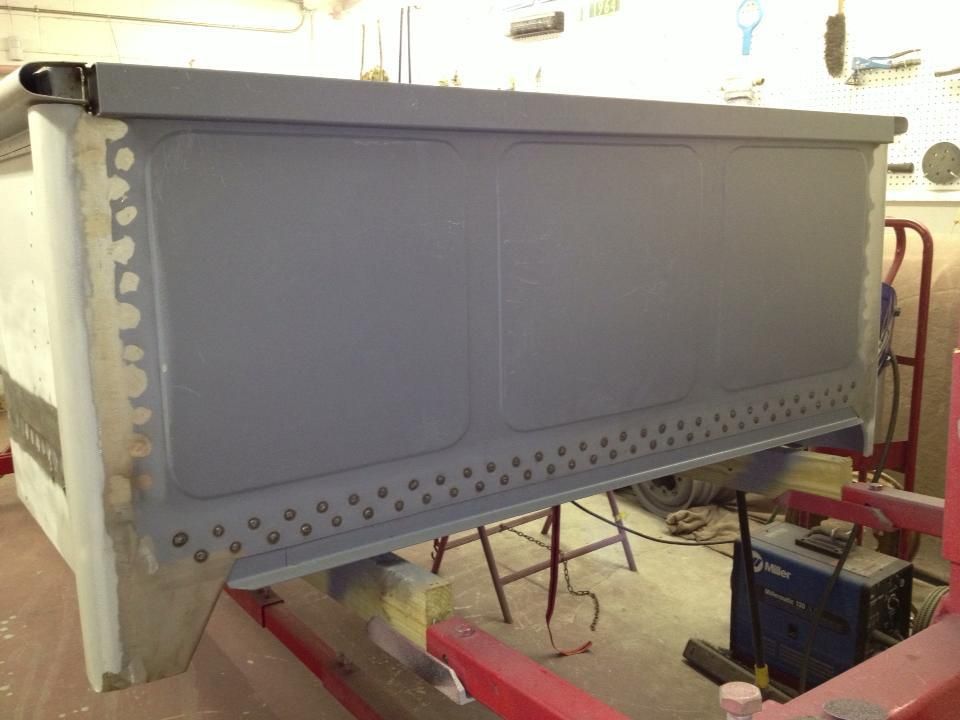 The sides were butt welded to the bed corners. 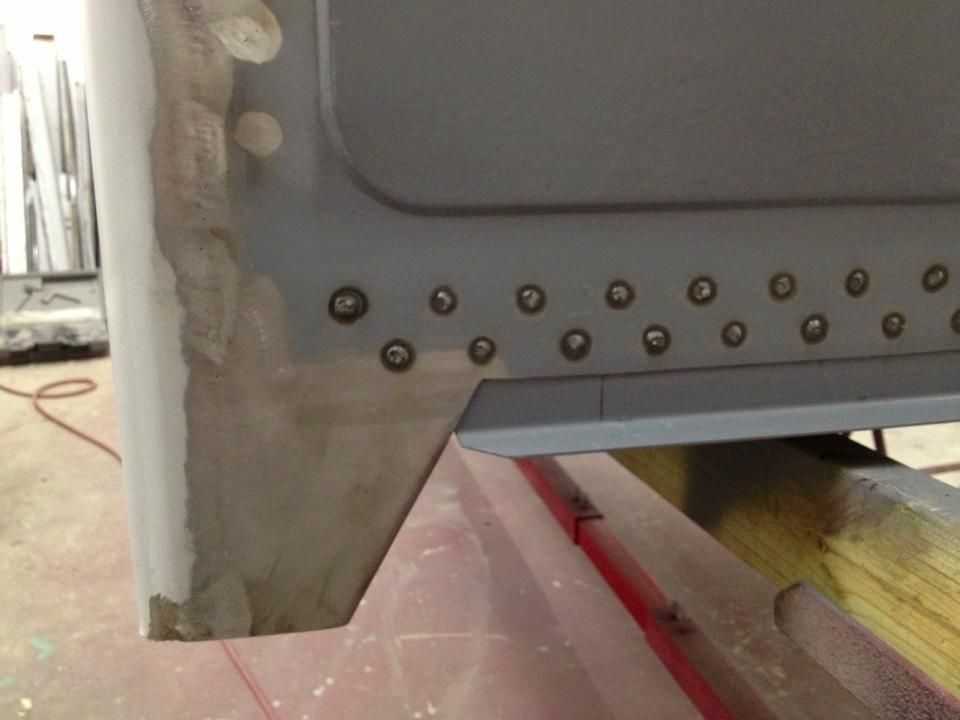 And a tube was welded across the top to replicate the boxed section on the original header. The gap between the floor and header will be seam sealed just like the bed sides were. . 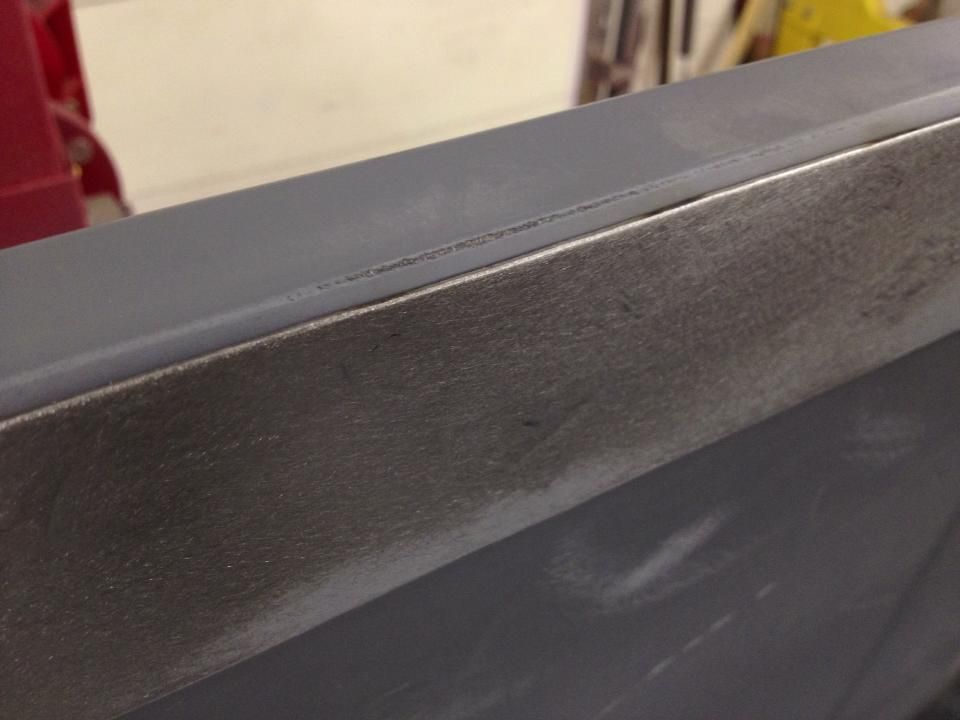 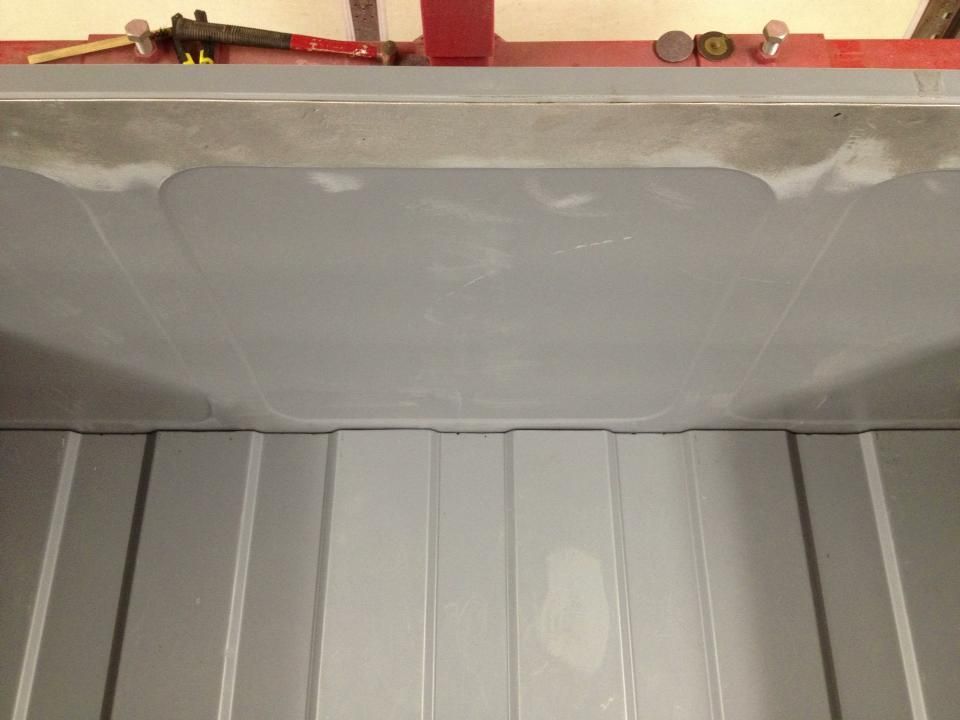
__________________
Project Goldilocks '66 C10 Short Fleet BBW Build '65 C10 Highly Detailed Stock Restoration Thread '78 Camaro Targa Roof Build '55 International Metal/Body/Paint Work '66 F100 Full Rotisserie Restoration '40 Packard 120 Convertible Coupe Restoration How To Restore and Detail an Original Gauge Cluster How To Detail Sand Body Panels, Edges, Corners, Etc |
|
|

|
| Bookmarks |
| Thread Tools | |
| Display Modes | |
|
|