
|
Register or Log In To remove these advertisements. |
|
|
|
|||||||
|
|
Thread Tools | Display Modes |
 09-26-2018, 03:19 PM
|
#1 |
|
Registered User
Join Date: Jan 2017
Location: Panama City, FL
Posts: 120
|
72 K5 with 87-91 K5 Gas Tank Install
My K5 needed a new tank, I have plans for FI or and LS motor down the road so why not go ahead and put a bigger 31 gallon tank in that's set up for fuel injection. I had a hard time finding a complete write up on this tank install, so here's mine to help others who are thinking about this swap. Thanks for looking
Cost Advanced auto online, had a $50 off coupon so i used that, all with lifetime replacement, free shipping also, total came to $248.21 after tax for the 3 items below -tank, carquest pn 576-313, retail $135.99 -tank straps, carquest pn 578-011, retail $41.99 -sending unit (no fuel pump), carquest pn HS2542571, retail $103.99 Purchased the rest locally -misc nuts, bolts for new cross members, ss hose clamps $42 -4' of 3/8" & 5'16" fuel line, inline fuel filter $22 -misc steel stock, 2" , 1.5" and 1" angle ~$50 -1 3/4" I.D. x 20" long fuel filler hose, 1/2" rubber for tank to frame contact and 1/16" rubber for all other contact points $36 Options for purchasing if you don't have these locally https://www.millsupply.com/rubber-in...960.php?p=4155 https://www.fillernecksupply.com/1-3...oodyear-59201/ https://www.millsupply.com/1-34-flex...954.php?p=9287 Total cost tank install: ~$400 Started by draining the old gas and dropping the tank 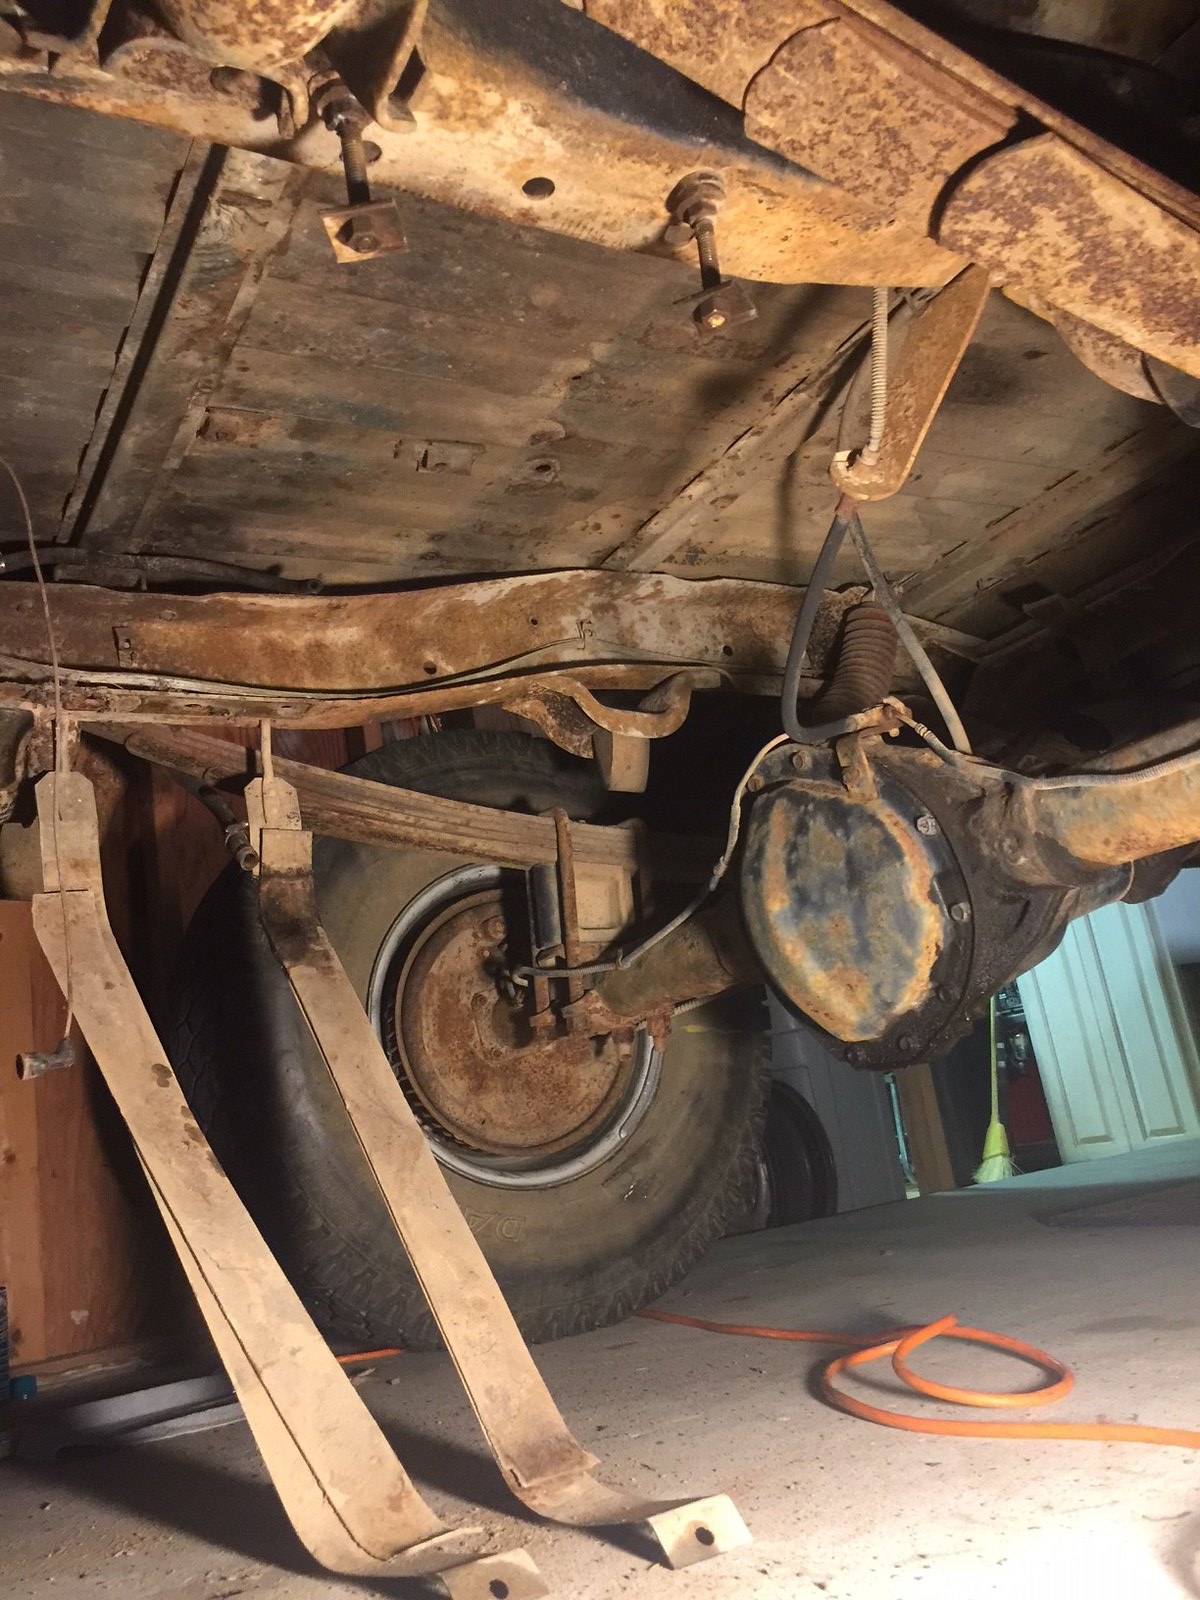 Cut the tank filler neck off because i wasn't sure if i'd need it to be welded to the new tank, didn't end up using it though 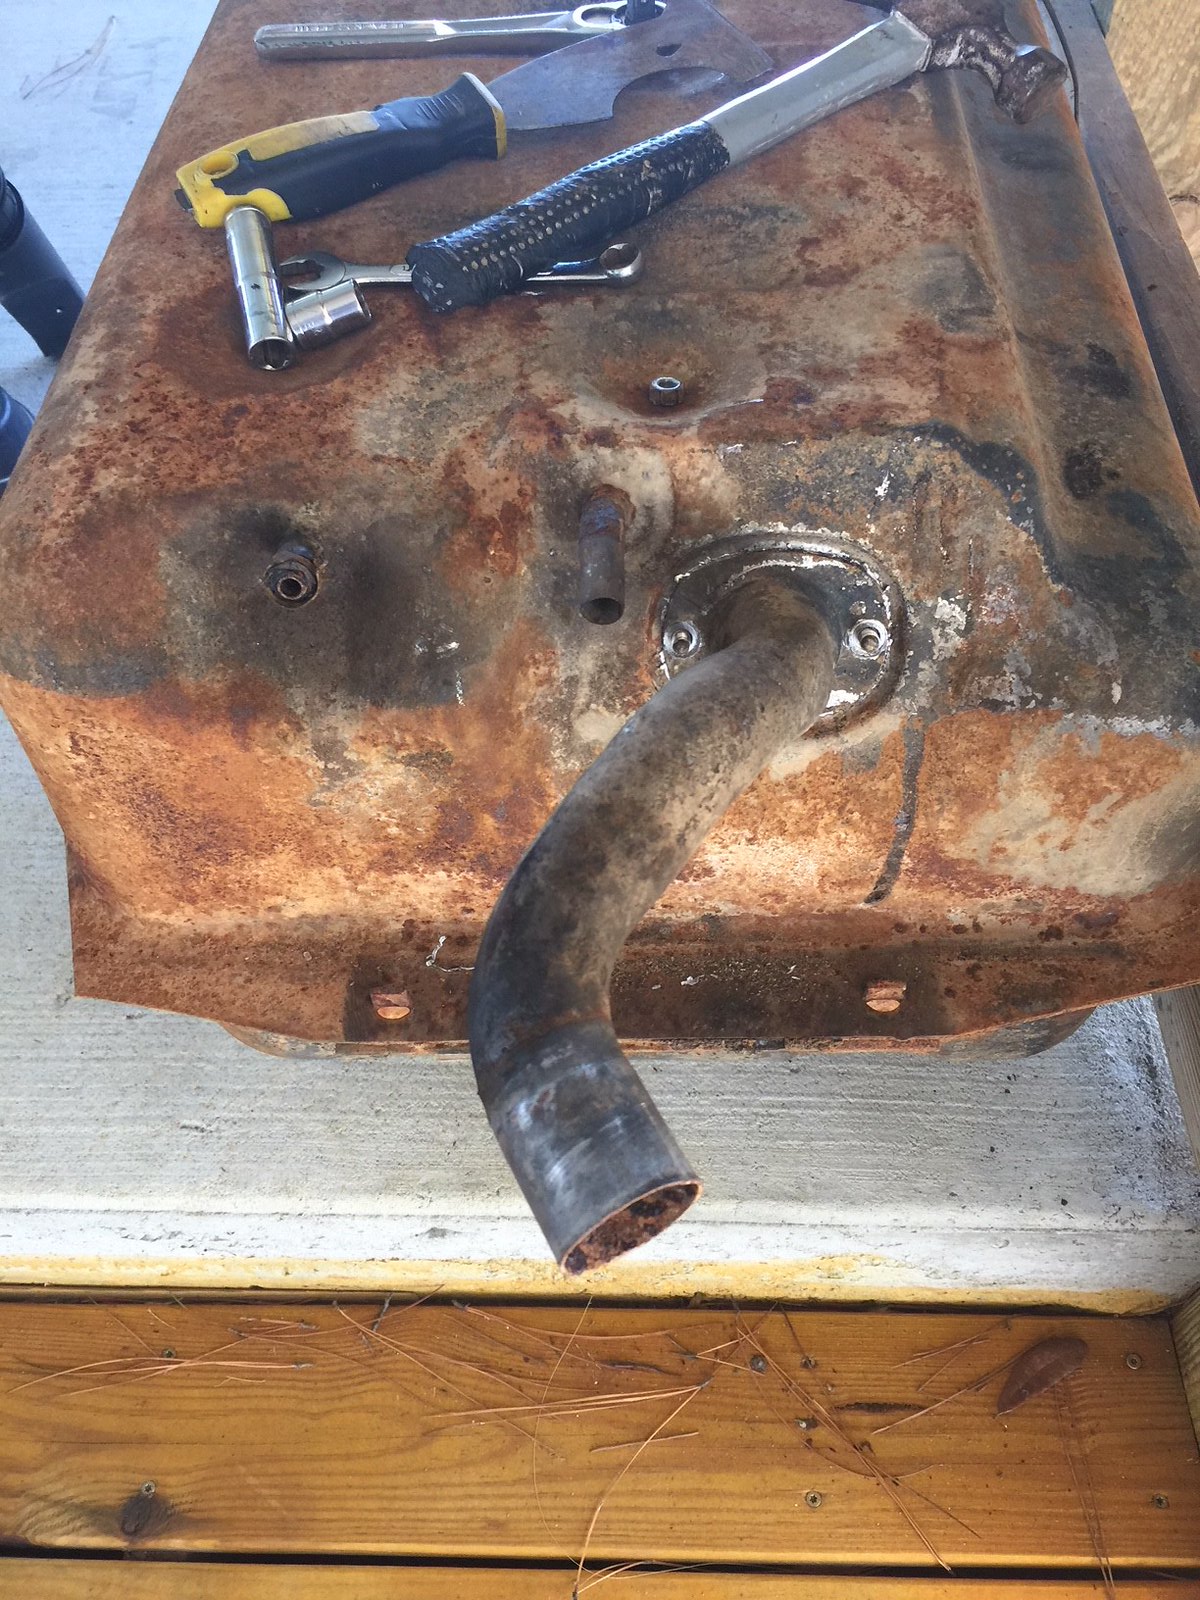 Had to grind the rivets and punch them out for the rear cross member, bracket that held the rear rubber brake line to the frame and the axle bump stop brackets on both sides. Also removed all the old tank mount brackets, as well as the vent system that runs along the rear body channel 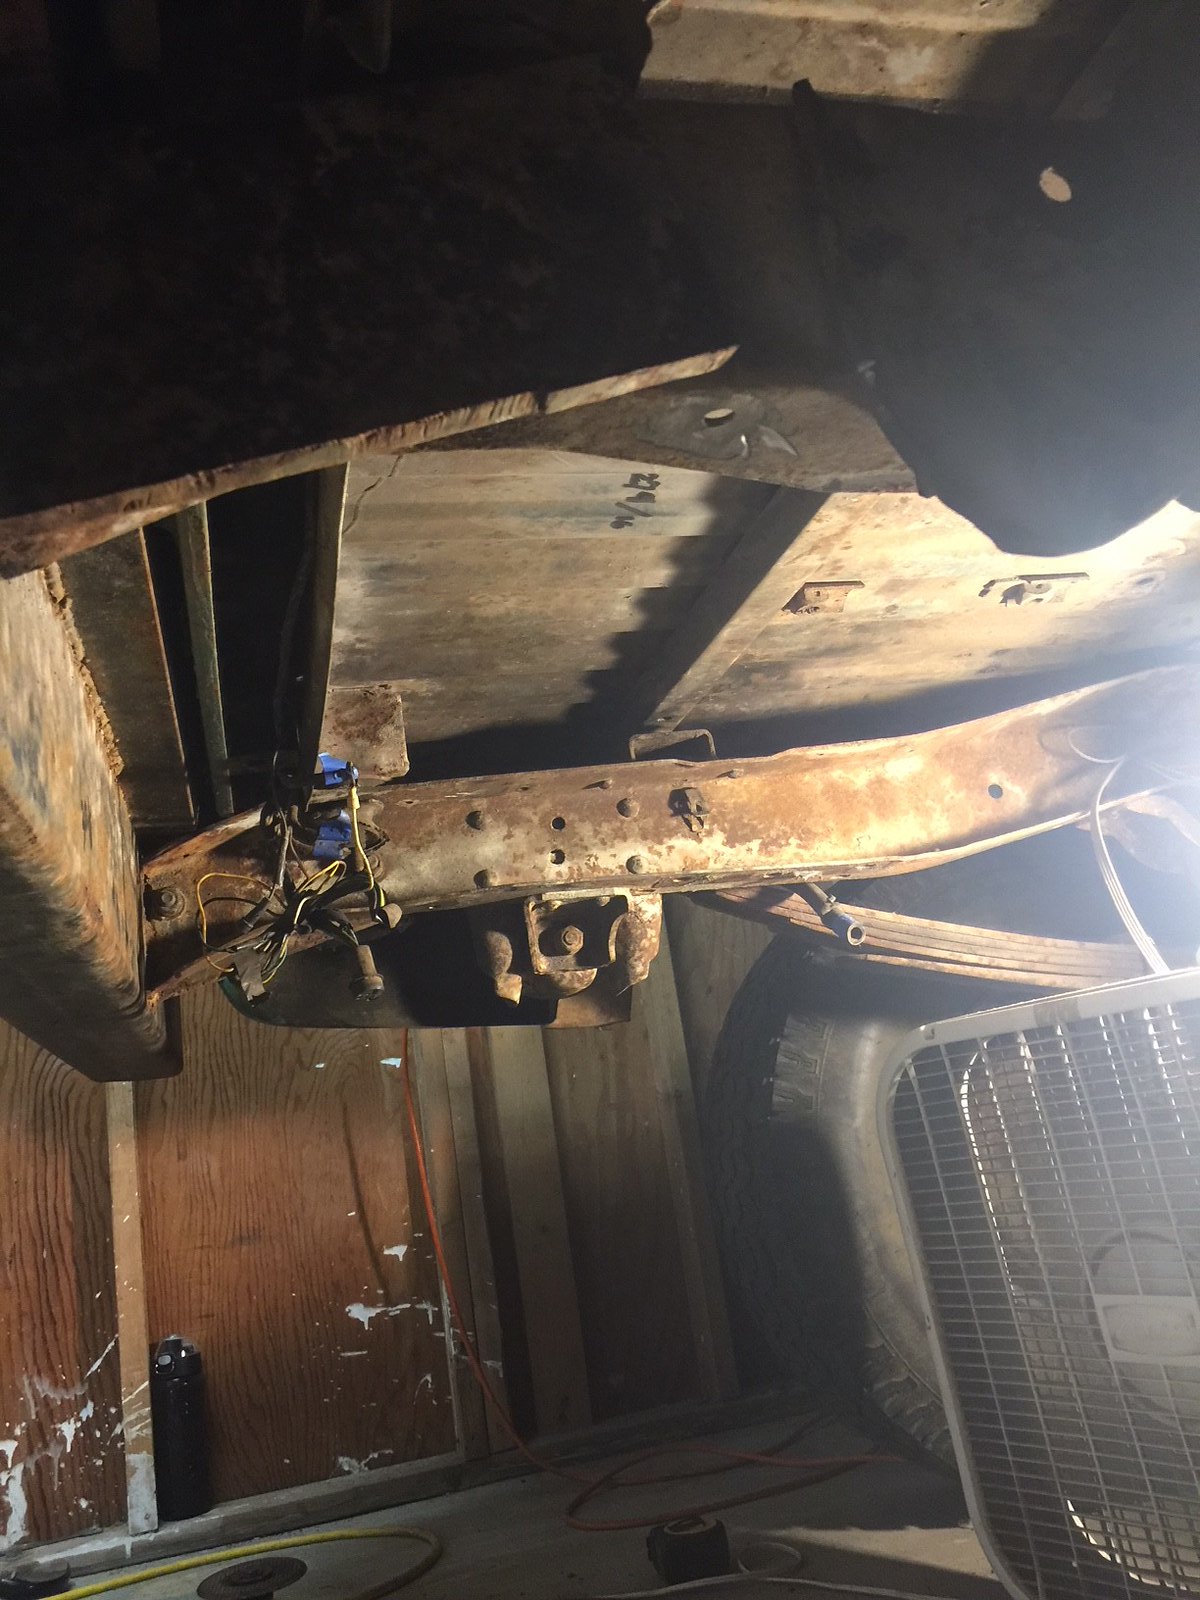 driver side 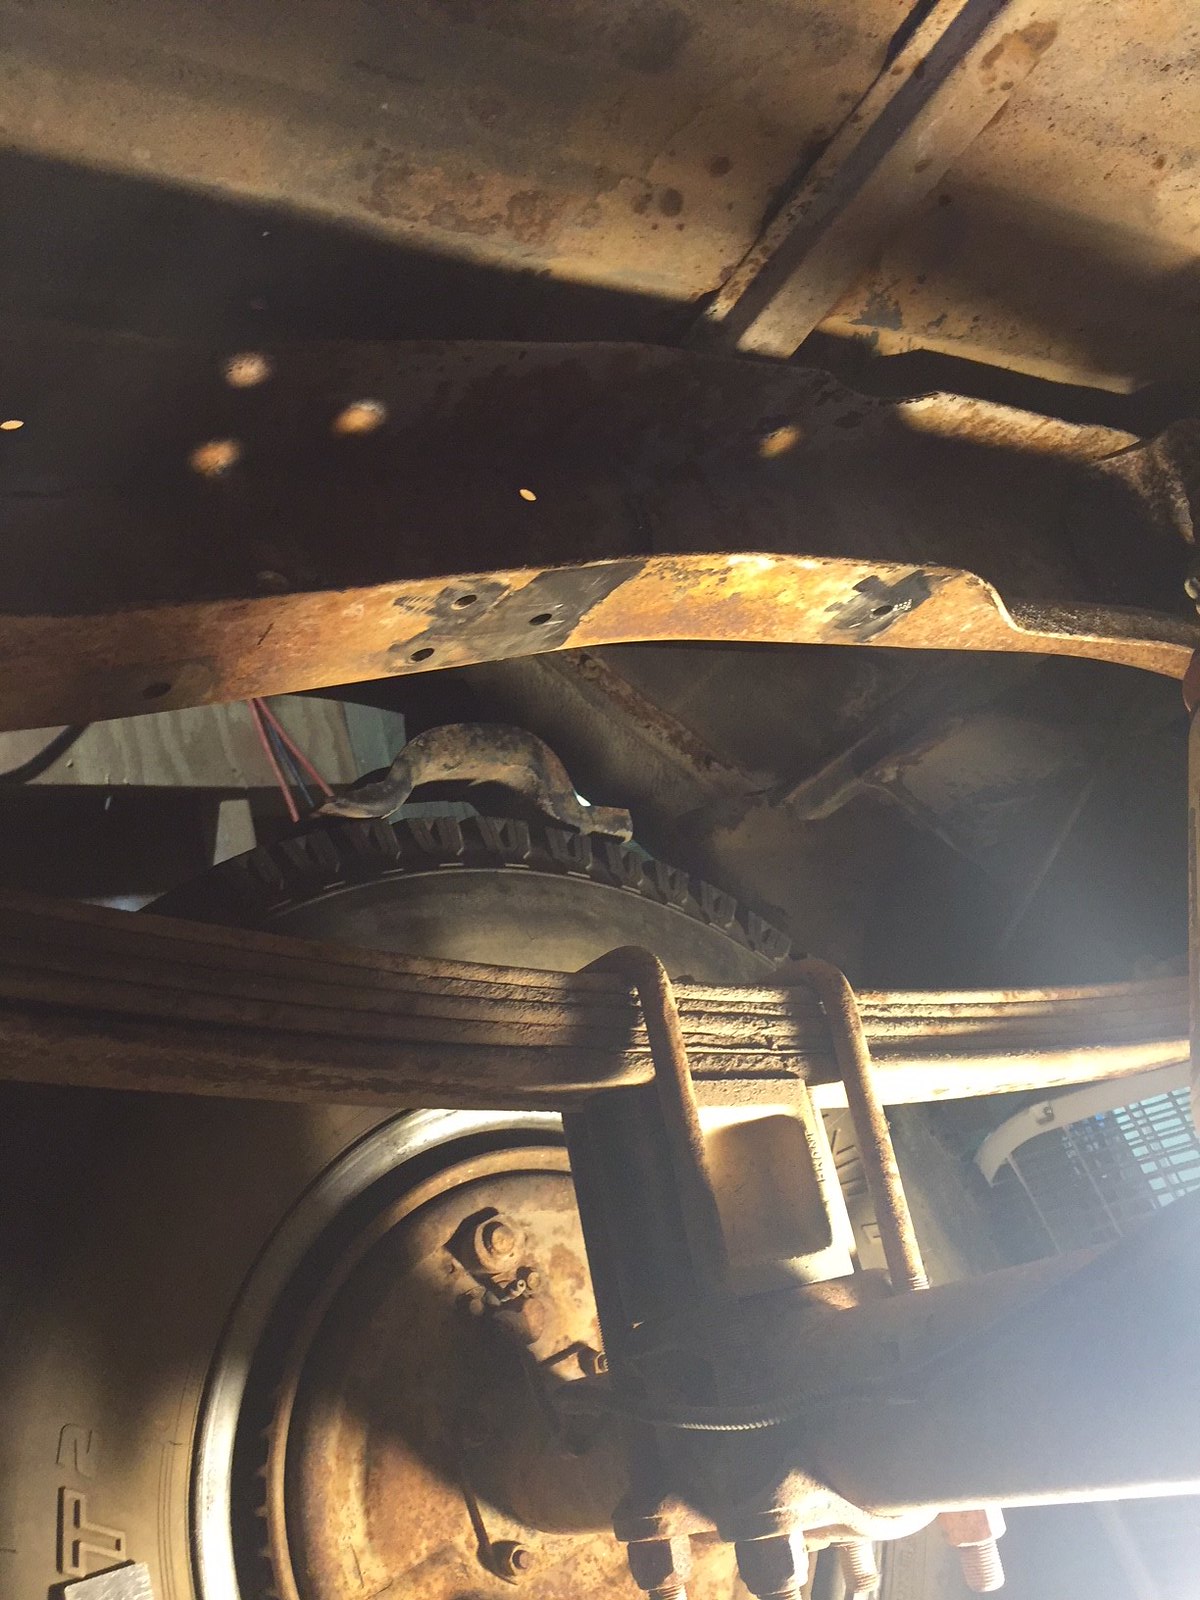 passenger side, was playing with using the rear cross member in front but ended up making new supports from angle iron. i did not use the rear cross member. it just made things more difficult in my situation 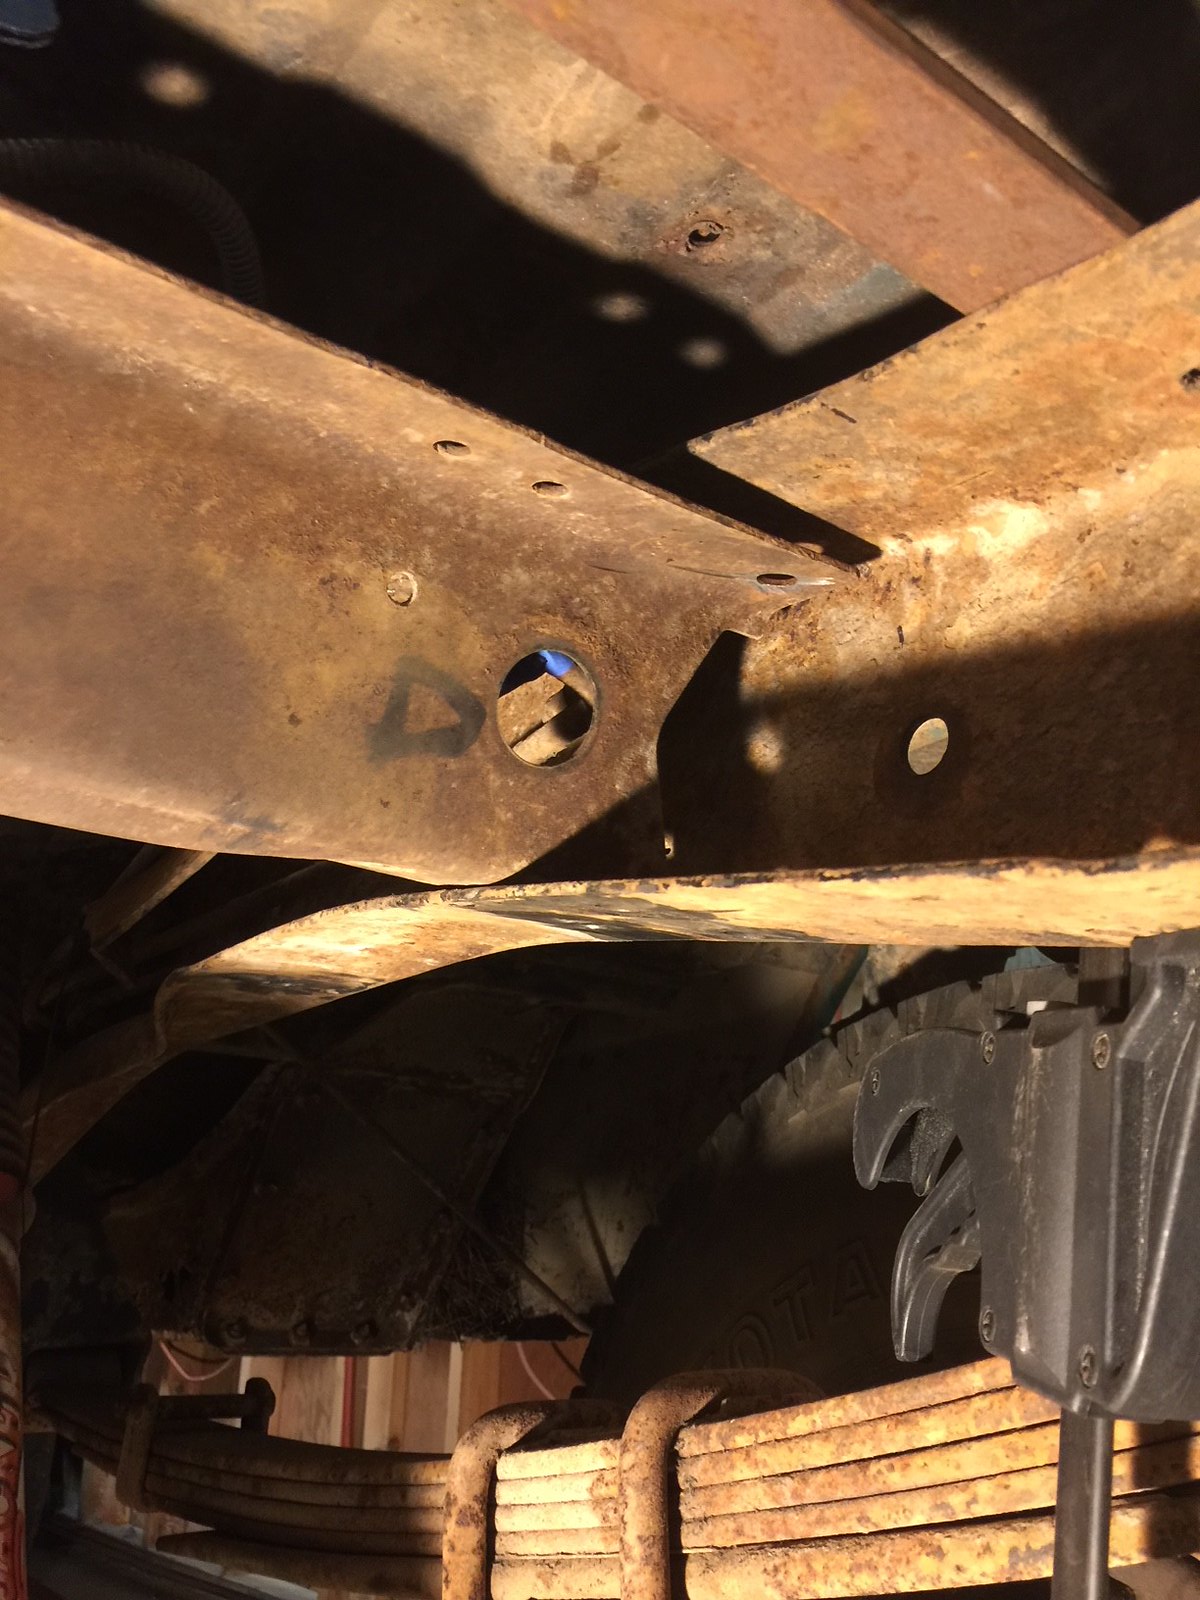 Protected the tank for the mock up phase 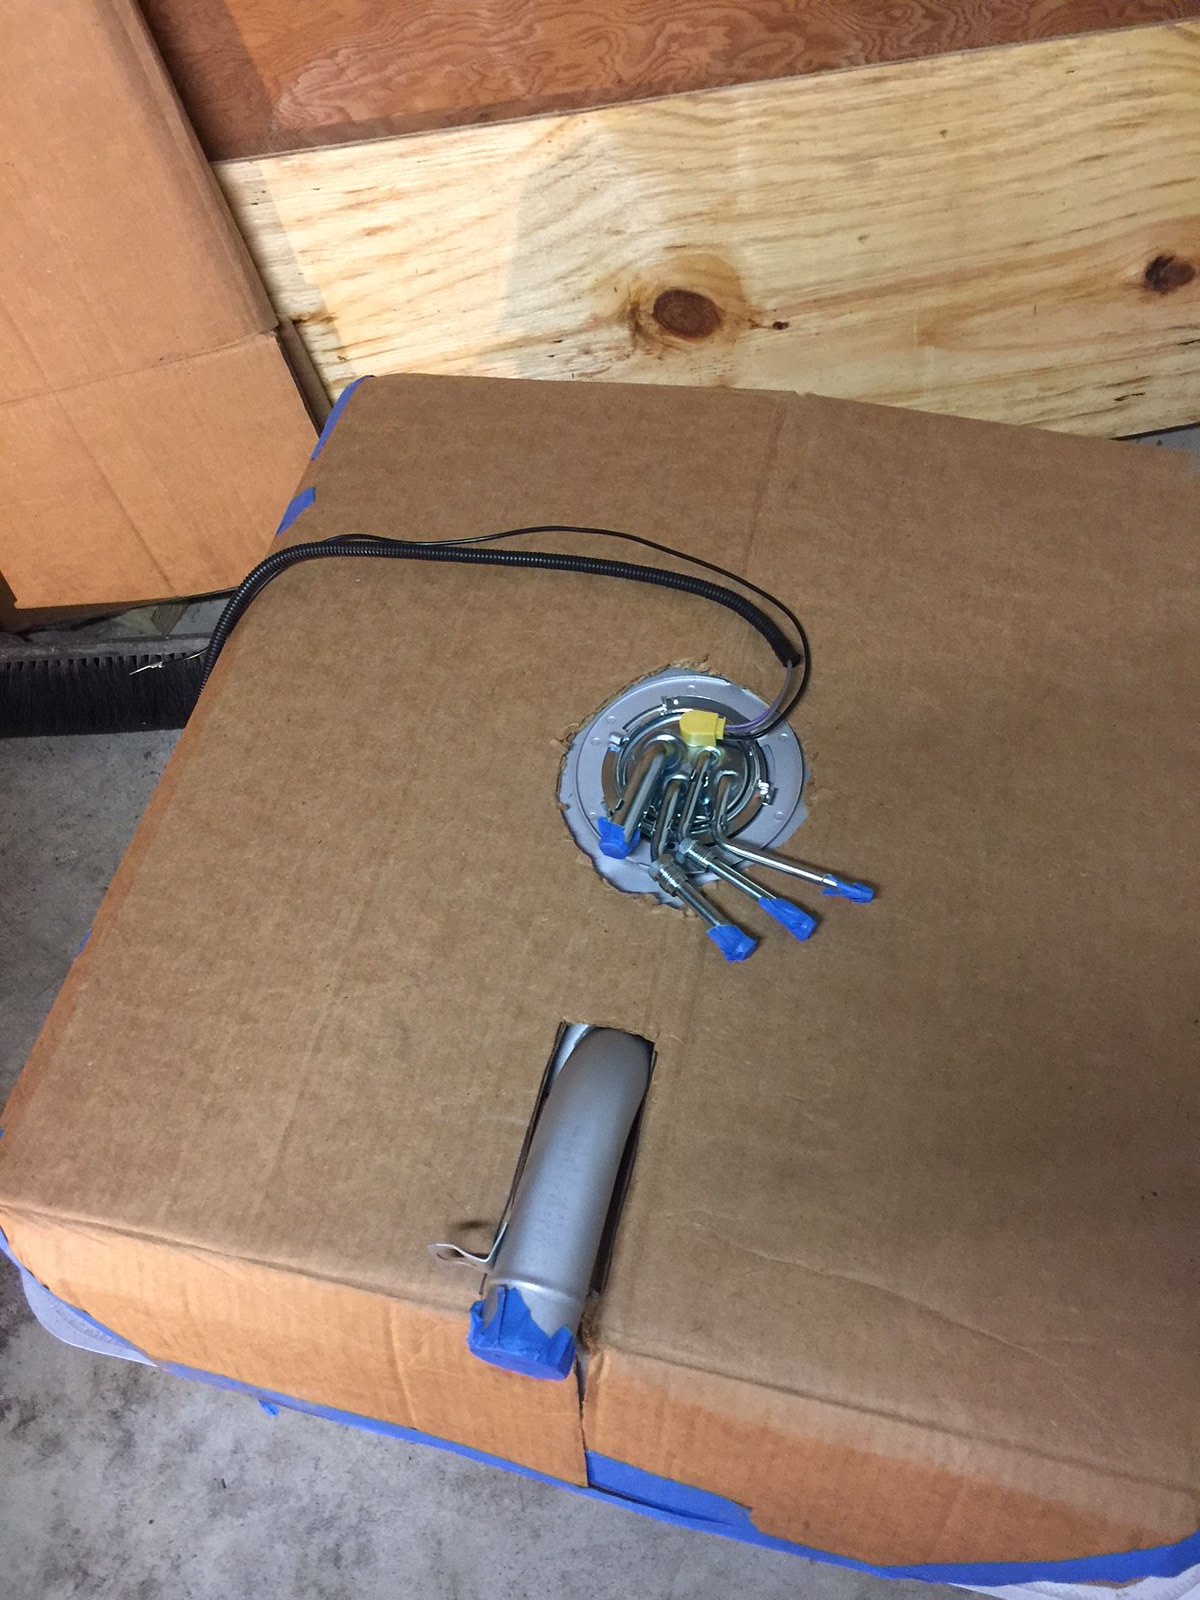 Cross member specs and pics -Lower rear 2" angle x 3/16" thick, sits on the lower portion of the frame rail, goes inside frame to frame, this is the only cross member i drilled new holes for in order to attach it. the tank straps will bolt to this in the rear. used 3/8" bolts to attach this to the frame 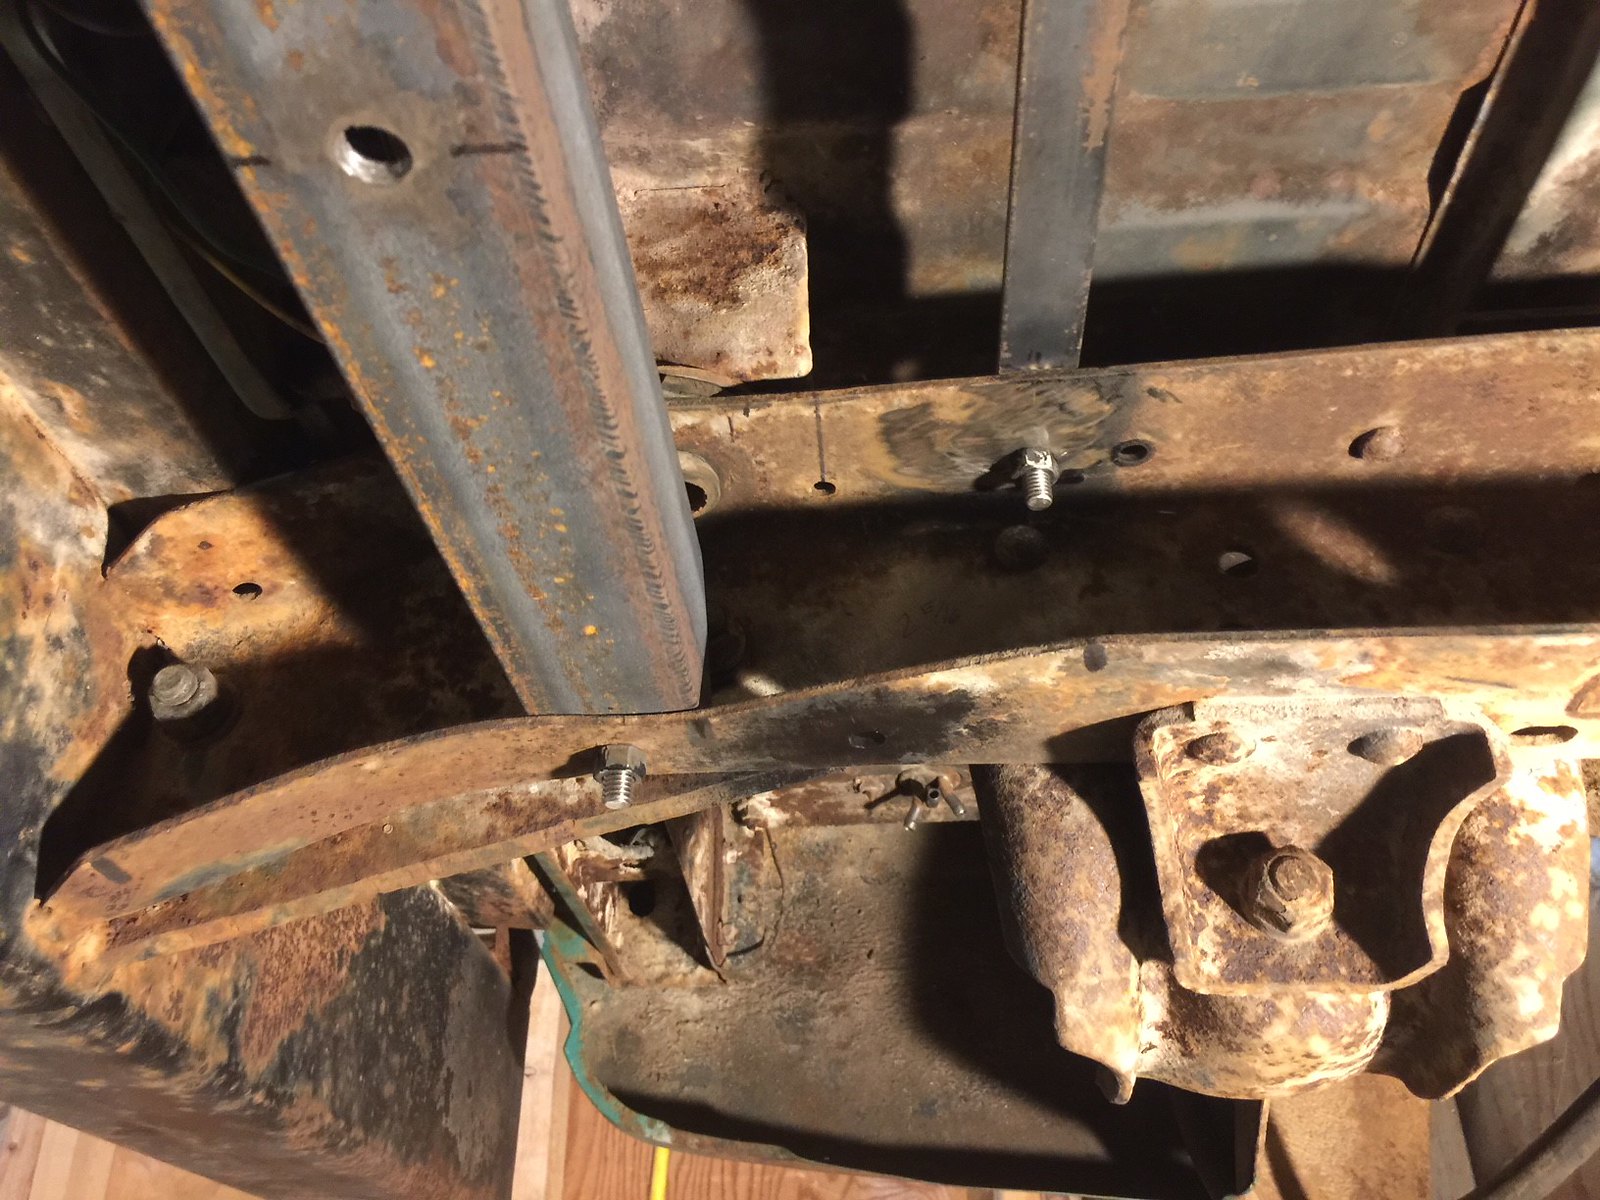 -Lower front 2" angle x 3/16" thick, sits on the lower portion of the frame rail, goes inside frame to frame, uses the rear holes of the axle bump stop bracket. the tank straps will bolt to this in the front. used 3/8" bolts to attach this to the frame 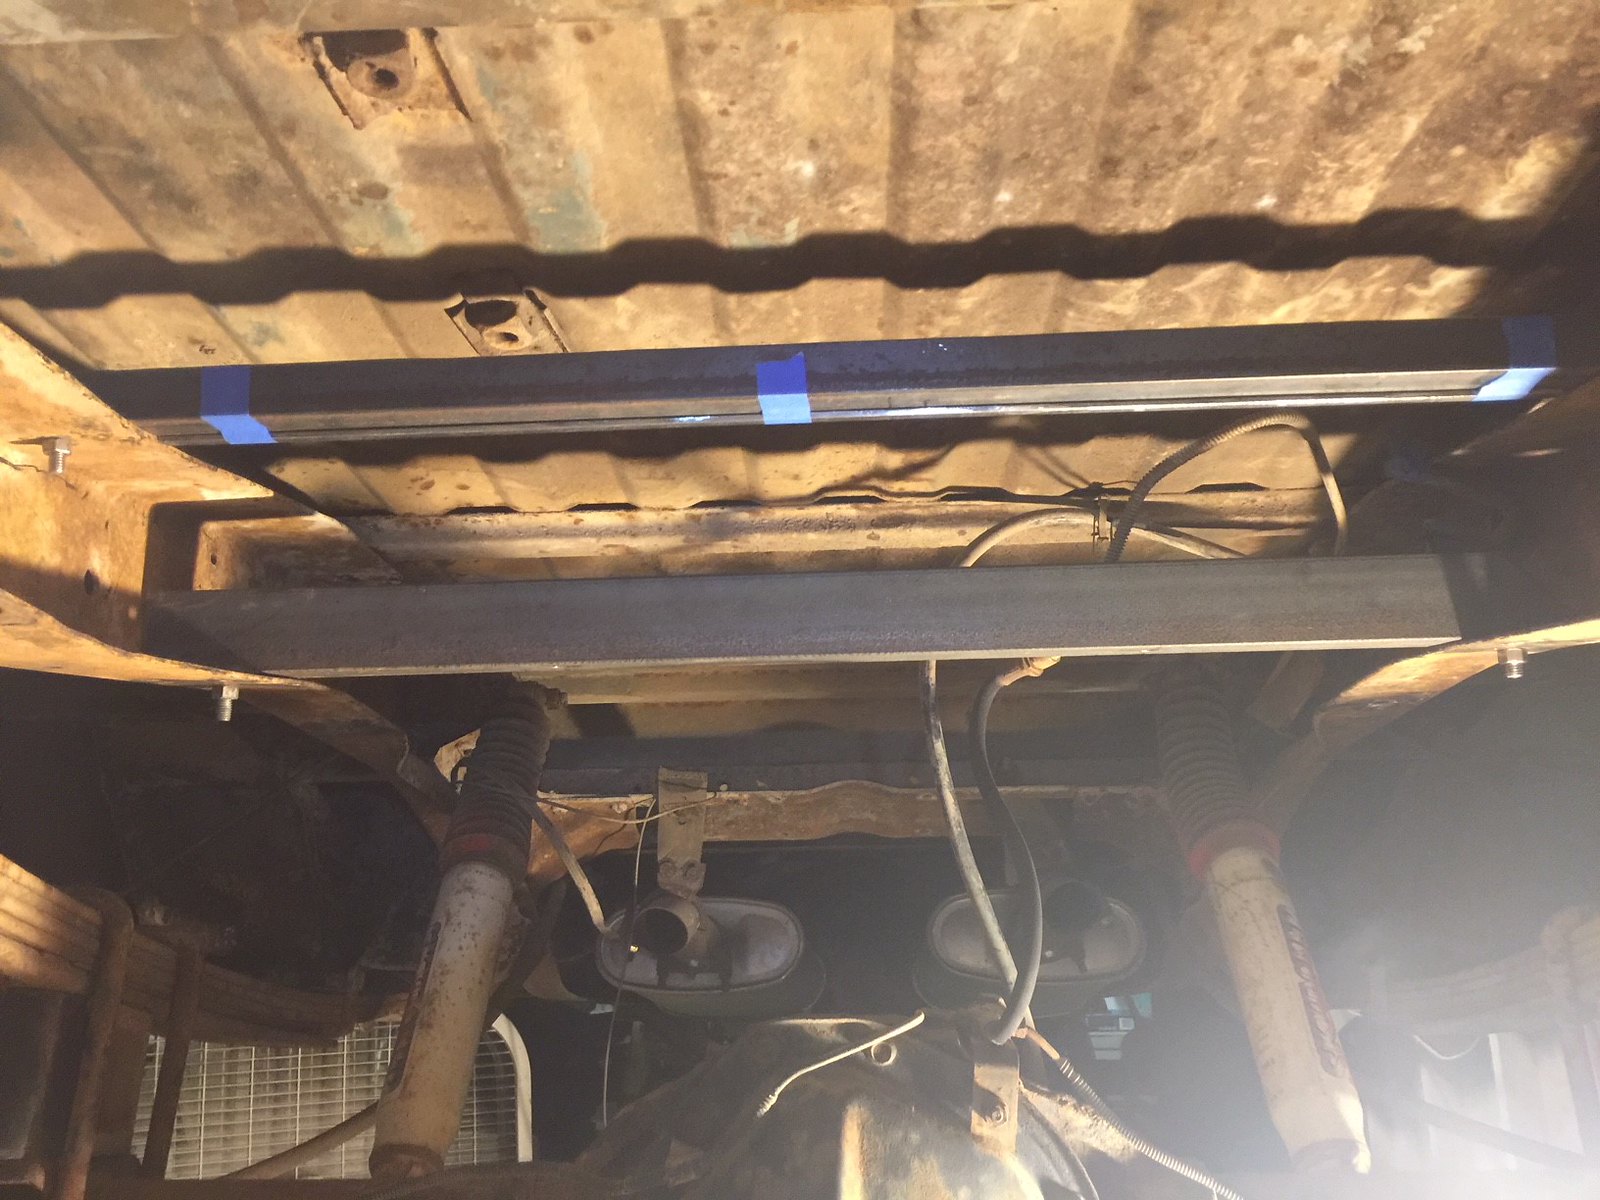 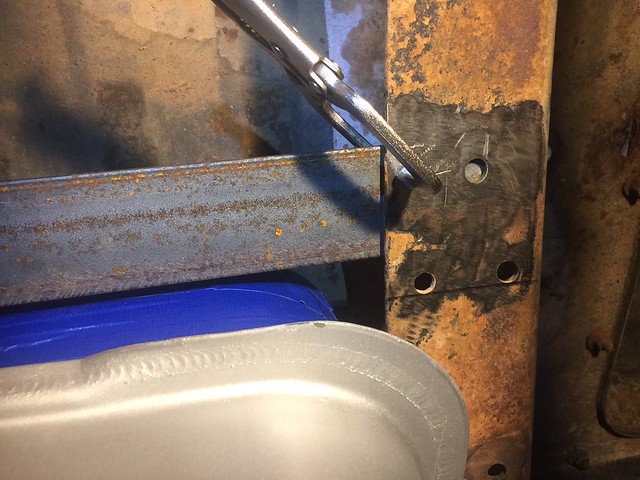 -Upper rear (stops the tank from contacting the bed basically, 1" angle x 3/16" thick, sits on the upper portion of the frame rail, uses the upper holes for the old rear cross member location. used 3/8" bolts to attach this to the frame 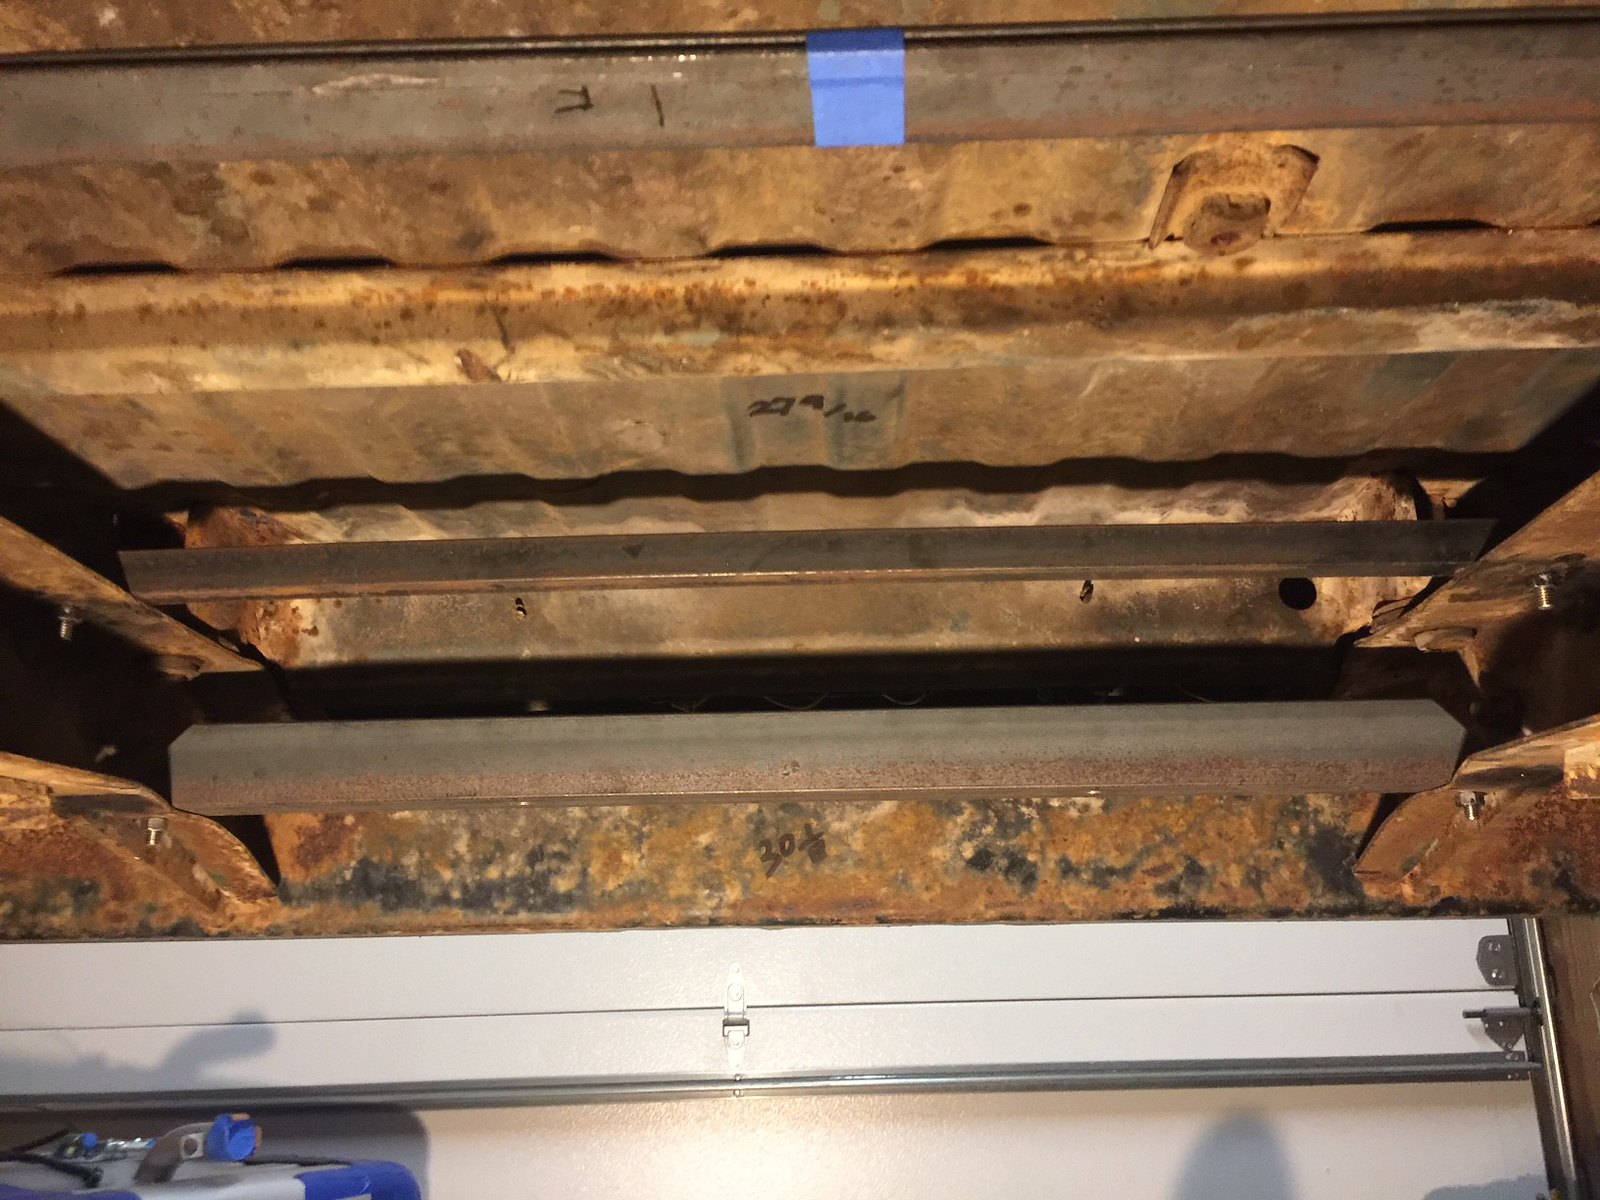 -Upper front (stops the tank from contacting the bed basically, 1.5" angle x 3/16" thick, sits on the upper portion of the frame rail, uses some existing holes on the top of the frame, right where it starts its upward bend to go over the axle. I did cut 1/2" off of the angle on the side to sit vertically once installed, welded this to the underside (tank contact point) to help the tank sit level. see pics. used 5/16" bolts to attach this to the frame, because that's what size the hole was and i didn't have a way to drill a new hole in that tight location since i didn't take the body off to do this 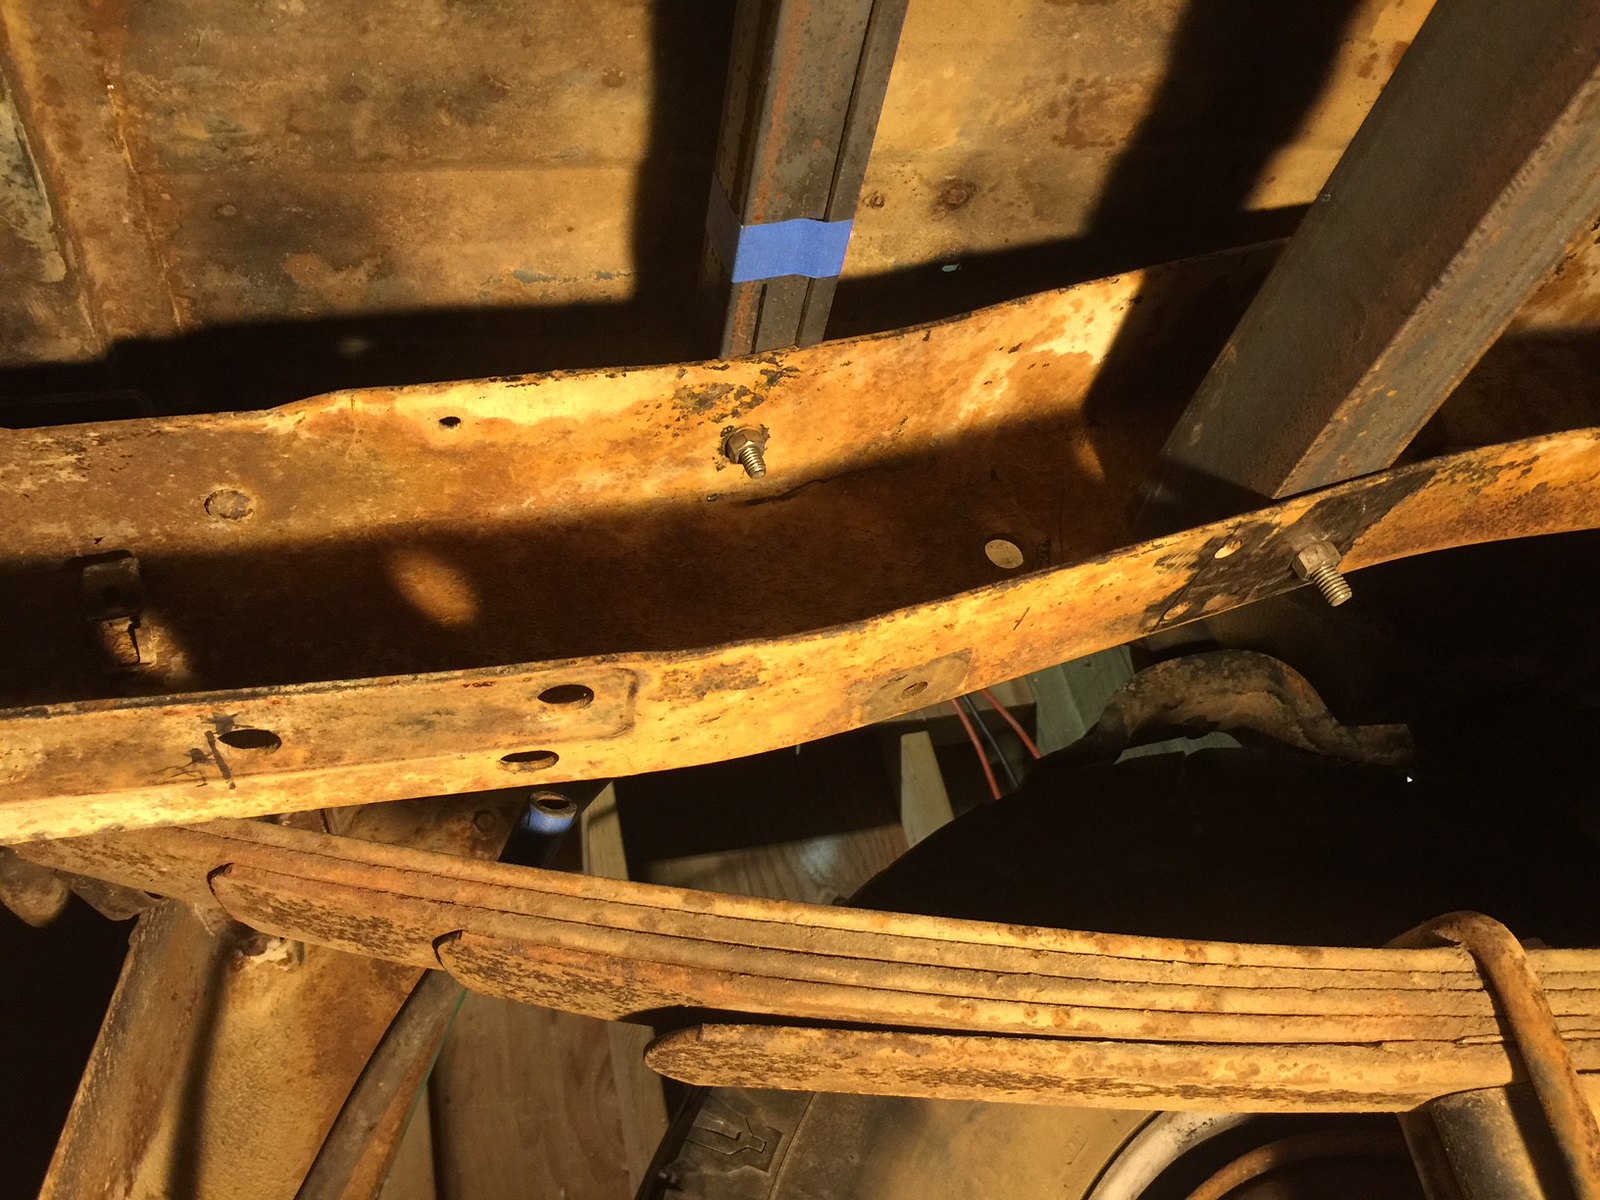 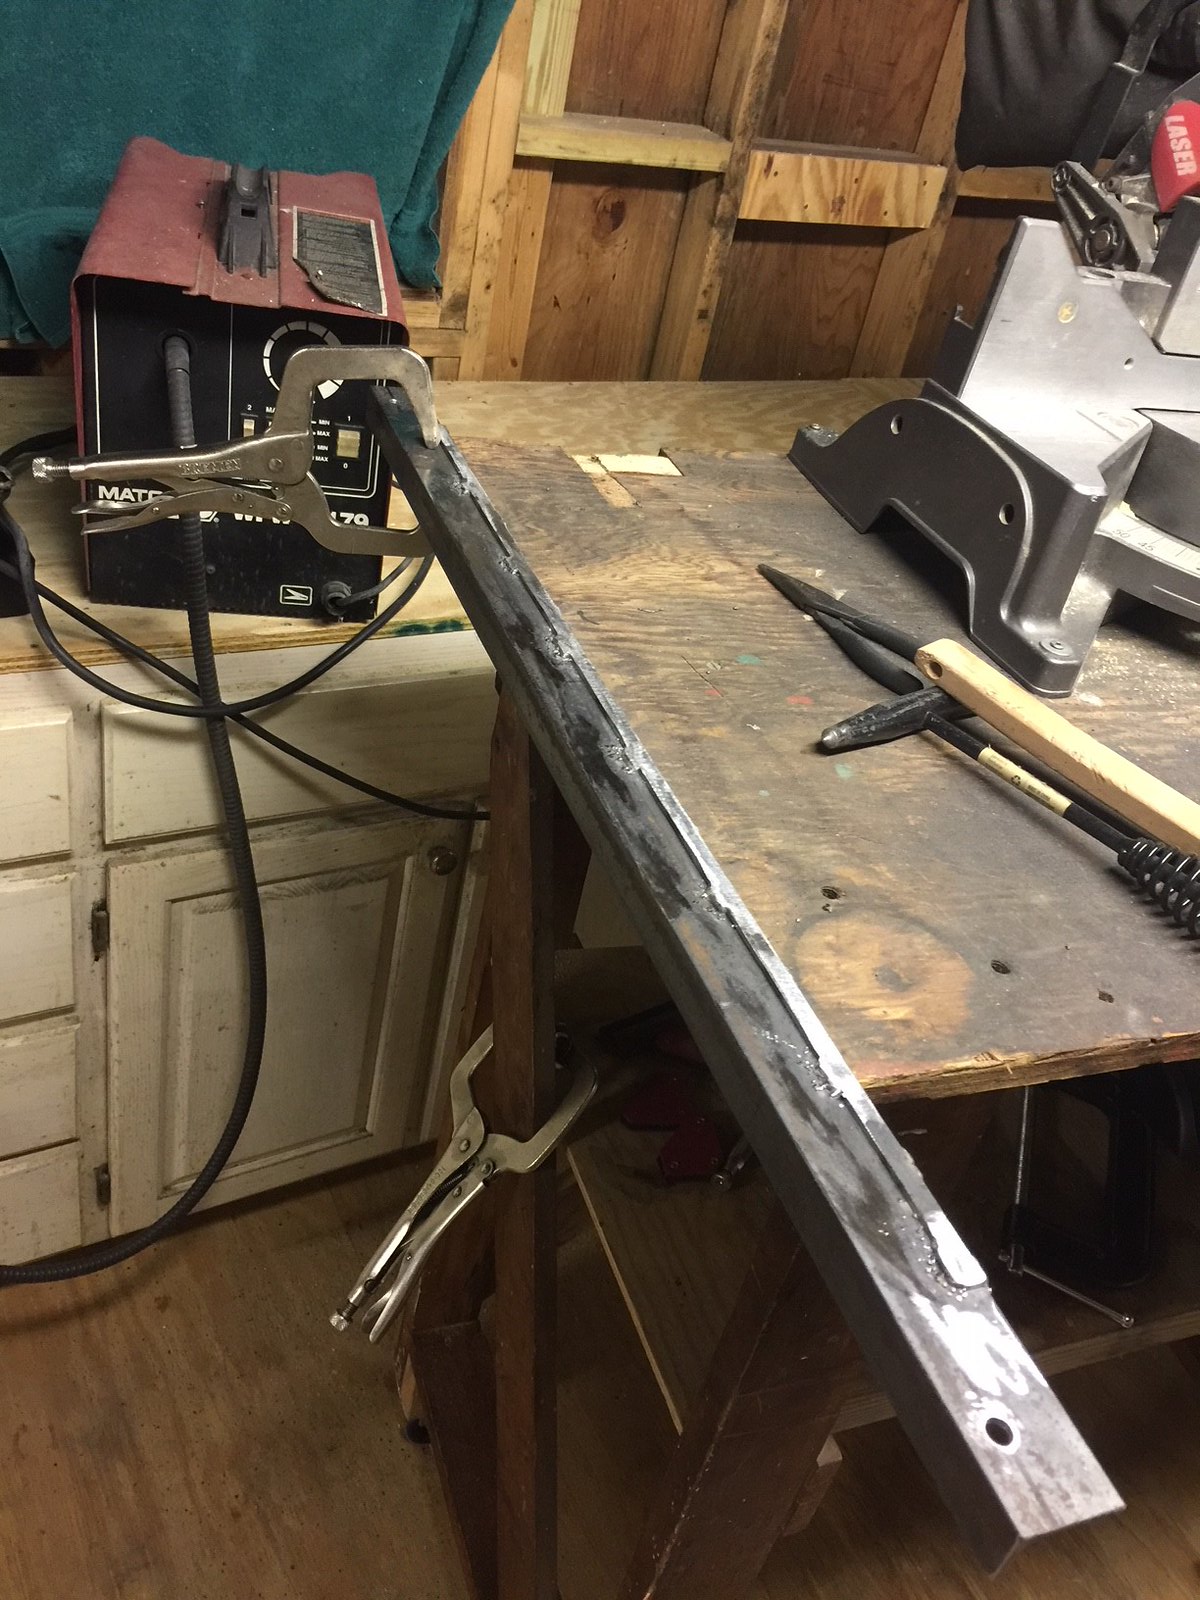 Overall shot before paint 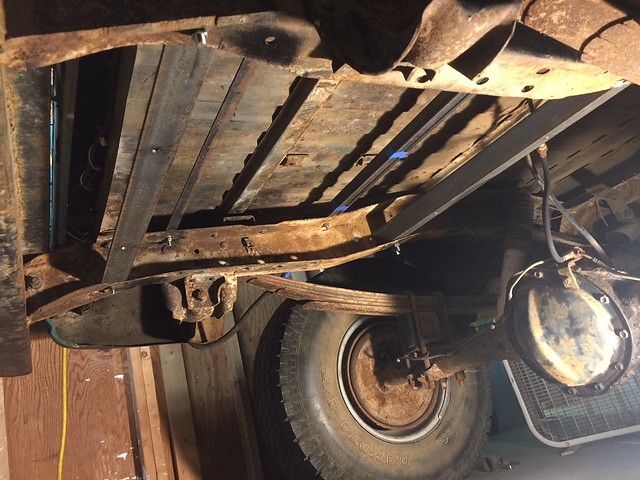 This is as far back as this style tank can sit without having to relocate the filler neck, that's a cross member for the bed right behind the filler neck. Filler neck was not moved or modified 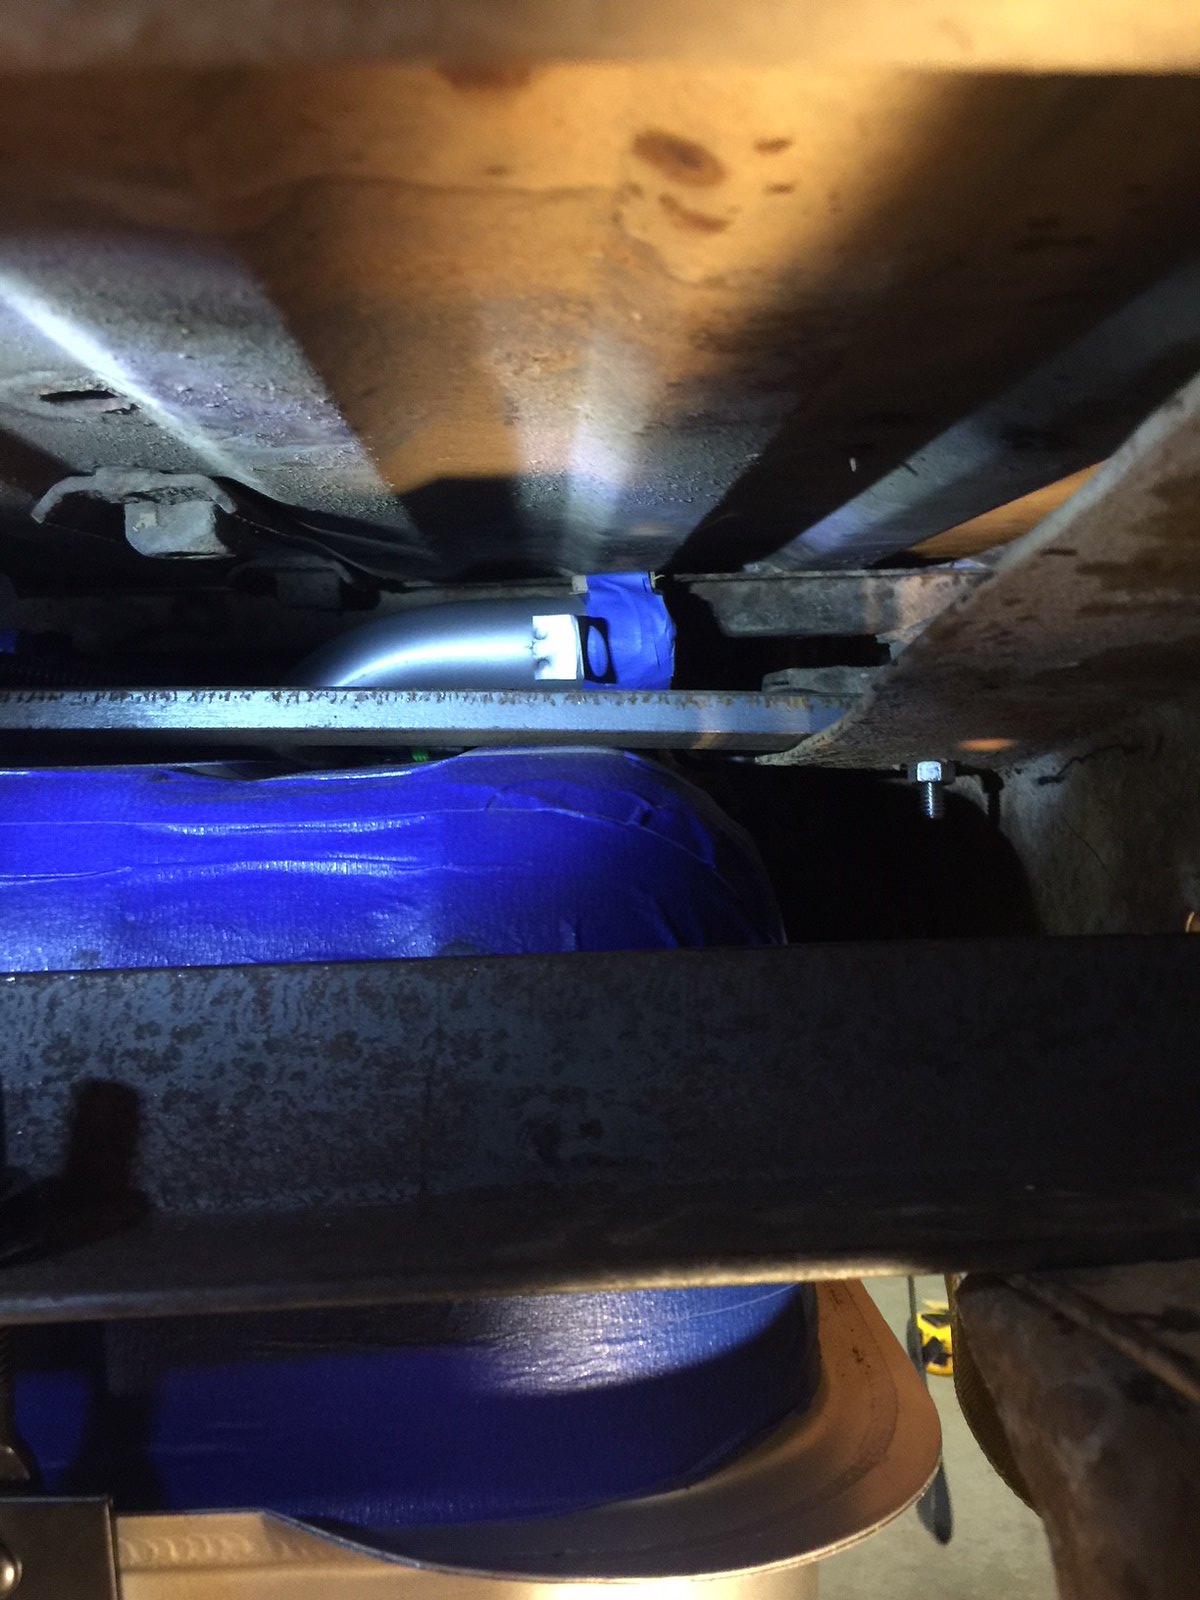
__________________
1972 K5 Blazer 350/350/PS/PB From GA but live in Panama City, FL Last edited by K5 MAX; 09-27-2018 at 11:02 AM. |

|

|
| Bookmarks |
|
|


 Threaded Mode