
 |
Register or Log In To remove these advertisements. |
|
|
|
|||||||
|
|
Thread Tools | Display Modes |
|
|
#1 |
|
Senior Member
 Join Date: Jul 2008
Location: kennewick, WA
Posts: 1,513
|
Hey Guys, A while back I Converted my small back window to a Big Back Window Using Scotts Classic Big window http://www.classicbigwindow.com and unfortunately I'm just now getting around to posting this so ill try to recall everything I did!
Overall I thought the new BBW panel was well worth the money for his hand crafted panel, and what a spectacular job he did creating it! I am not a paint and body guy, if I had more experience the install and fitting might have gone a little faster. But if you have a little patience and basic knowledge, anyone can do this conversion with the very detailed instructions that he gives you! Also his crate he made to ship it was very clever and sturdy, it arrived through UPS, think I paid $75 for shipping.... a small price to pay to get the big window and not a used rusted out panel. I used .023 welding wire with my little Hobart welder, you don't need much power to weld sheetmetal so using the Lincoln 216 with .035 wire was out of the question. It is much easier to control heat input on thinner material with the smaller welders. Also another tip before you get started... Seal off any glass or plastic that you don't want to have metal shavings or welding bb's forever embedded and ruined. So heres the pics from when it arrived to when it was installed. Sorry I didn't take more of pics as a "step by step" process! wish I would have done that! 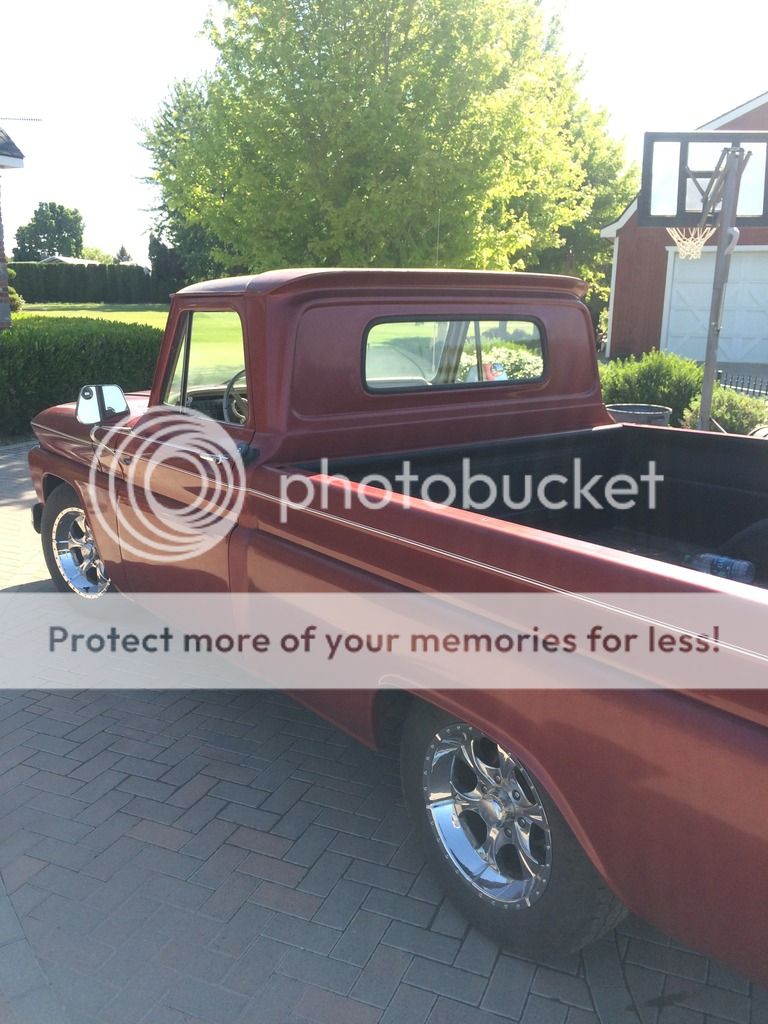 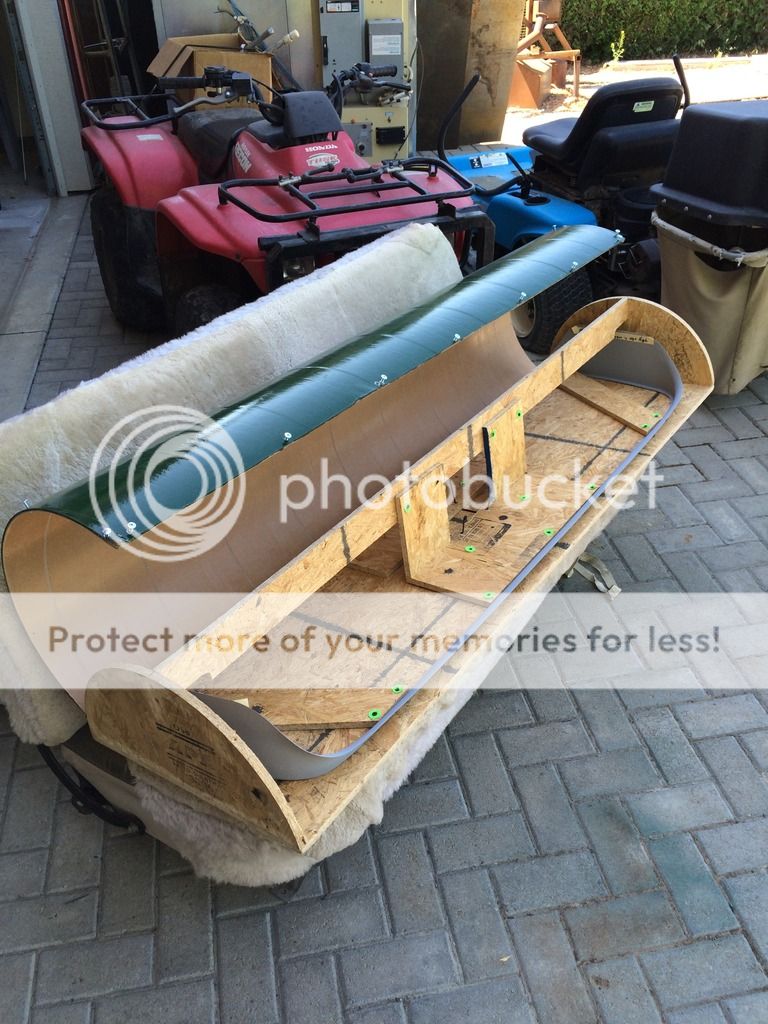 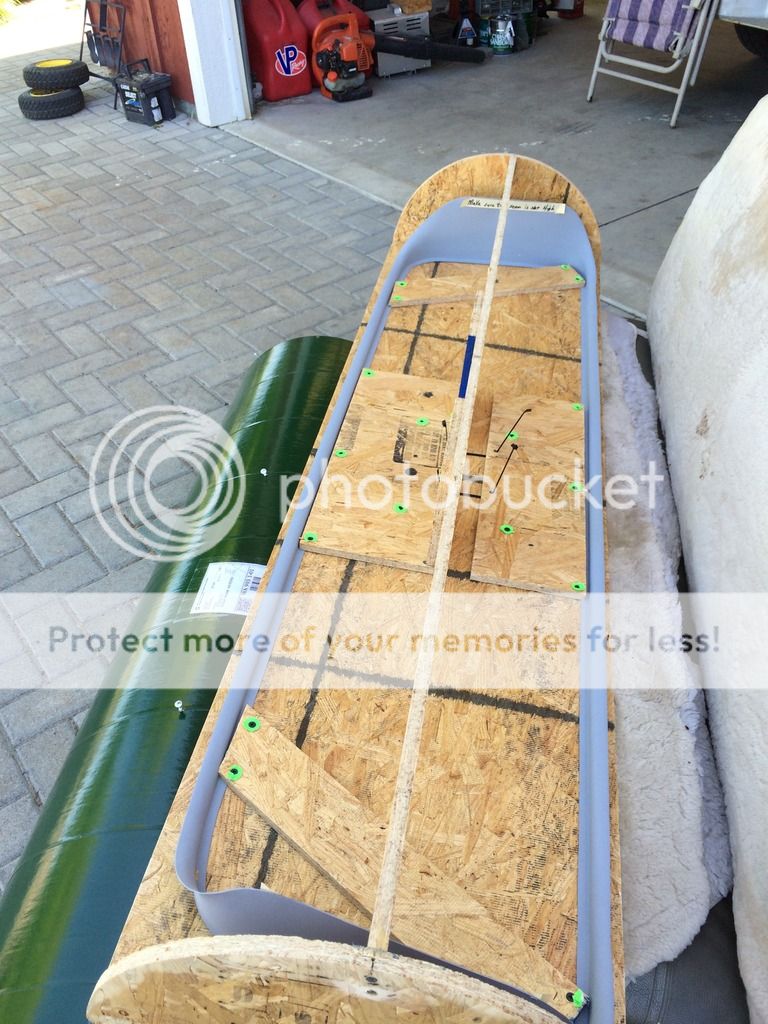 So in his instructions he gives you paper templates of the window and the new panel, taping the templates up and making the outlines as per the instructions, this should give you a pretty good idea what your new window will look like. 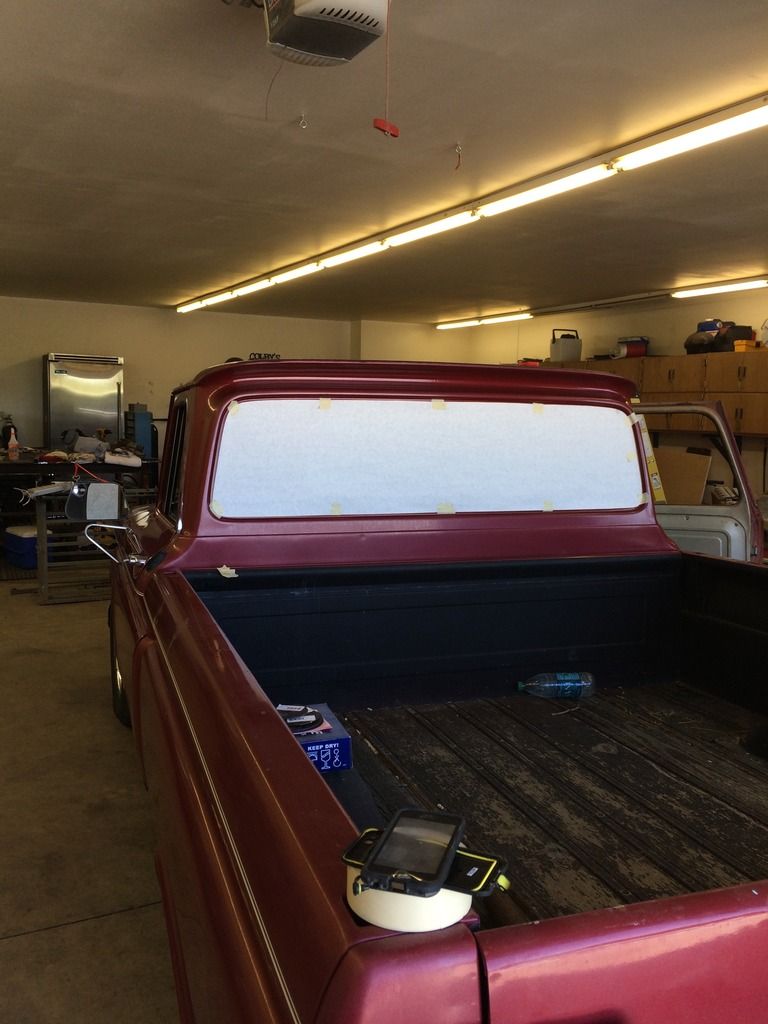 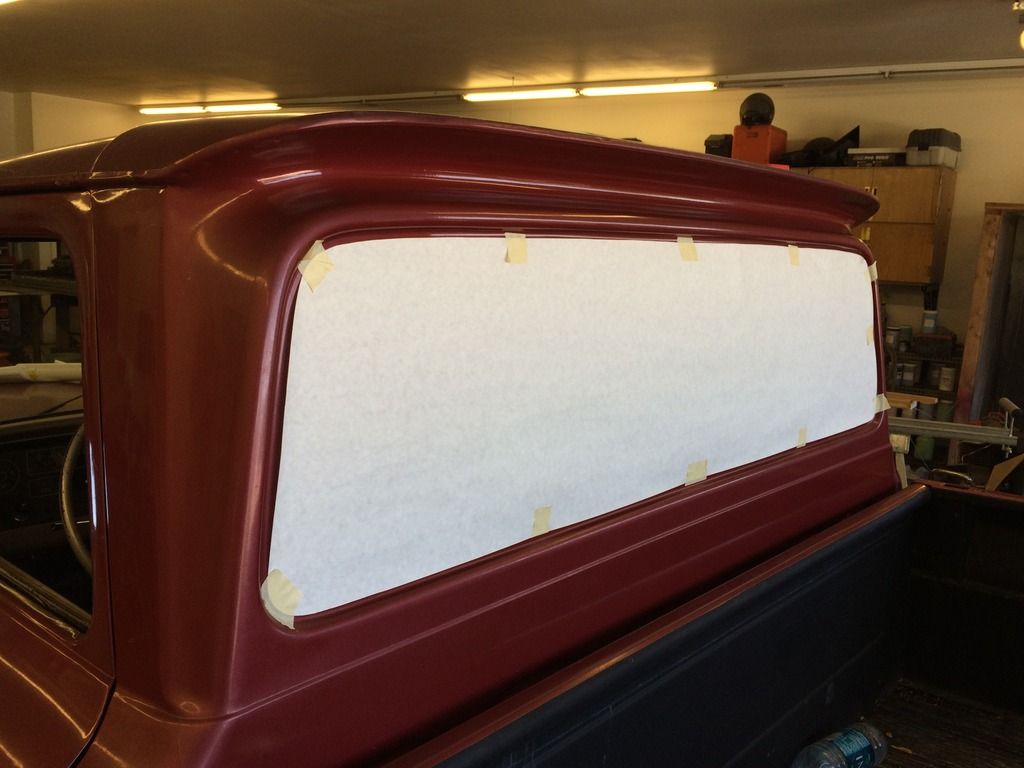 I took the gas tank out for obvious reasons, too many sparks and cheap insurance the truck and shop didn't burn to the ground. It makes it a lot easier to work inside the cab too! 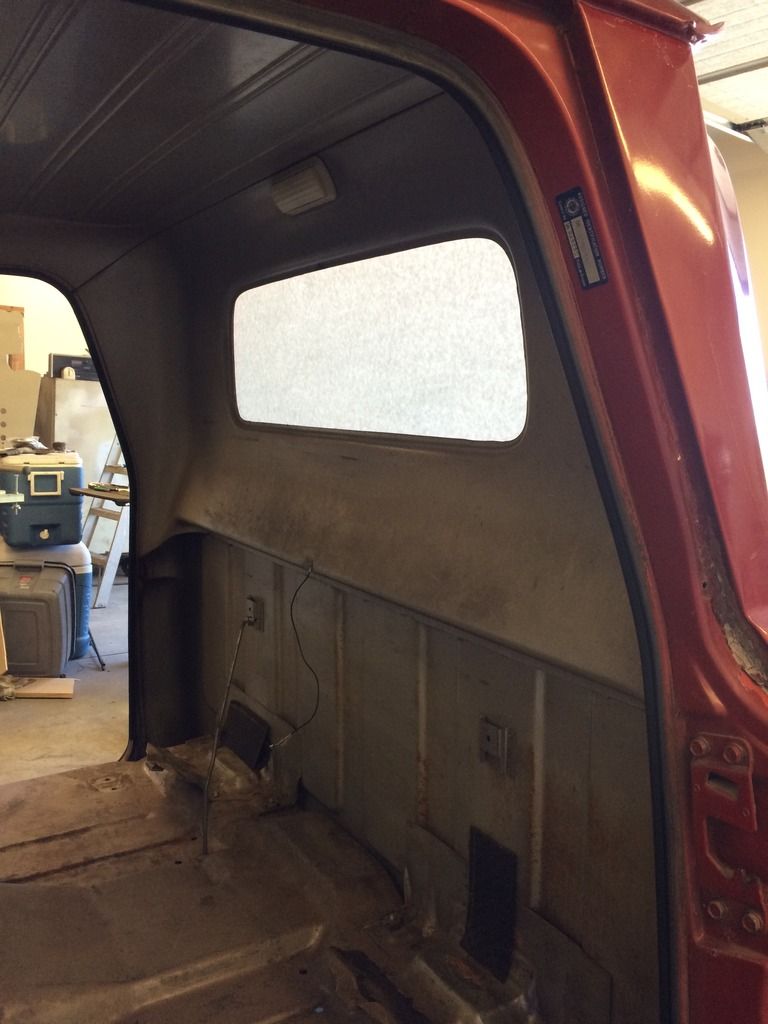 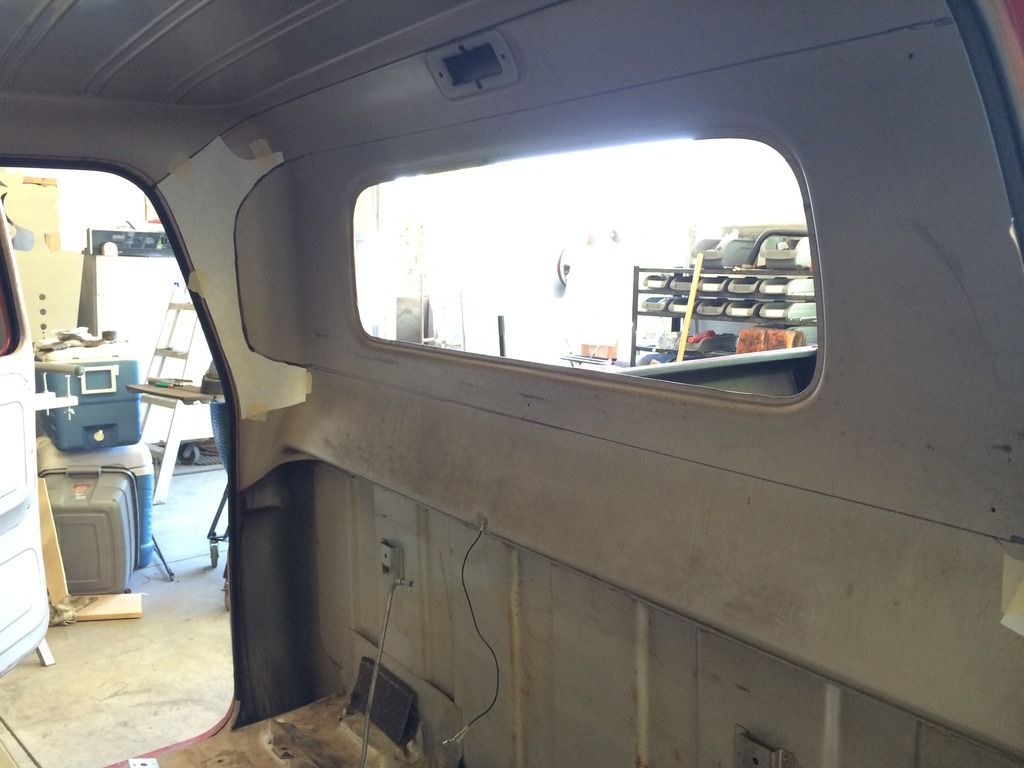 Too much tape isn't a thing, the template moved a little on me and I had to remark it 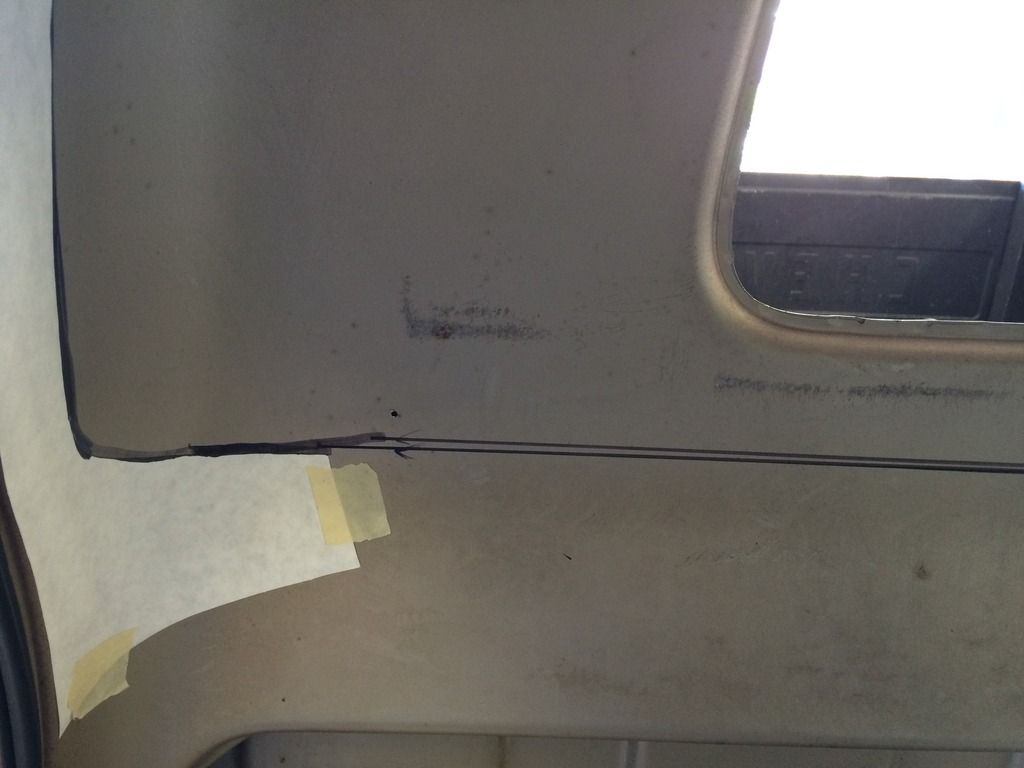 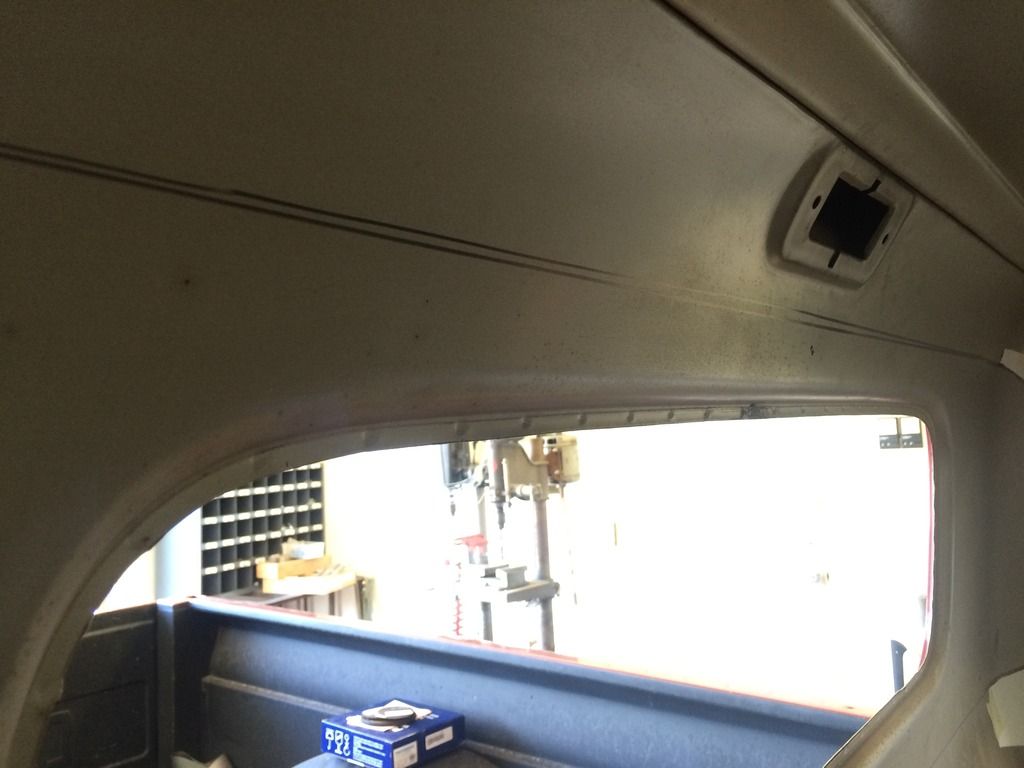 What the point of no return looks like     I was surprised to see the lack of rust behind the original panel I was surprised to see the lack of rust behind the original panel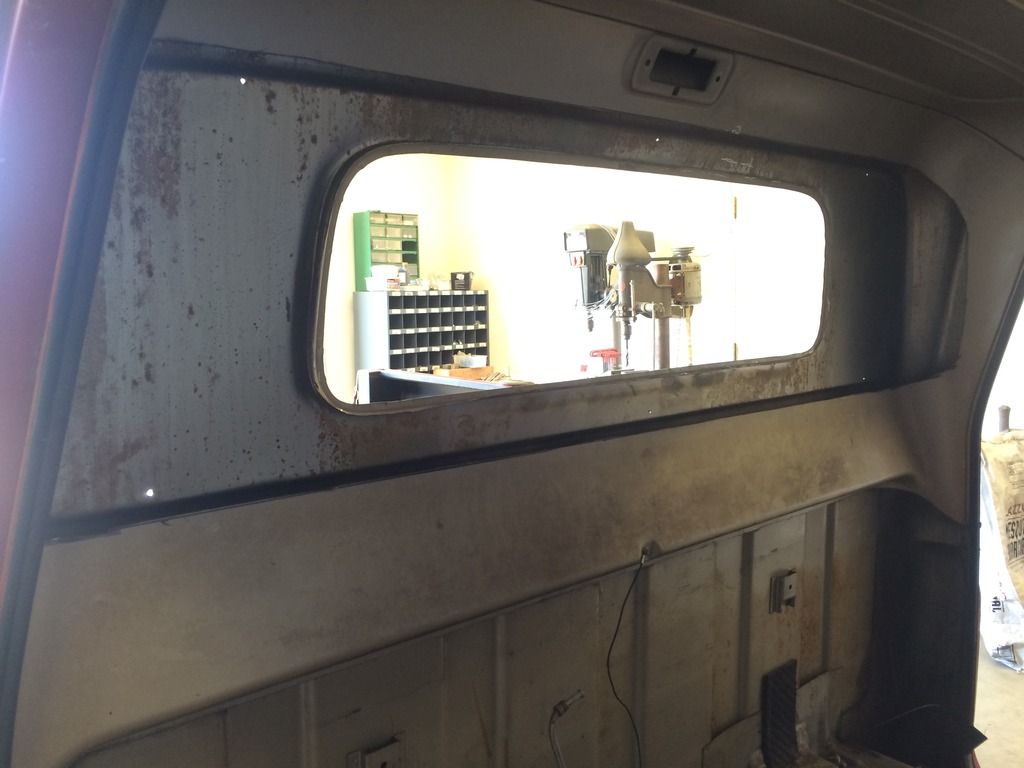 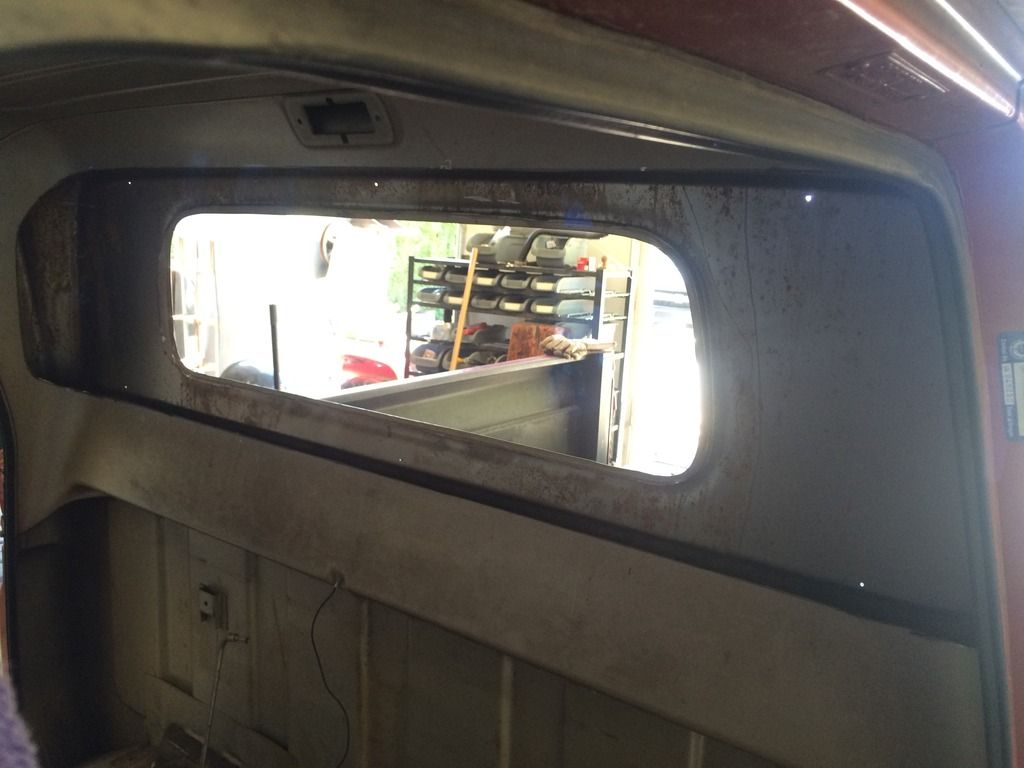 And the new panel next to the old.... man what a difference. But the hard part... fitting, tacking and welding the new panel. 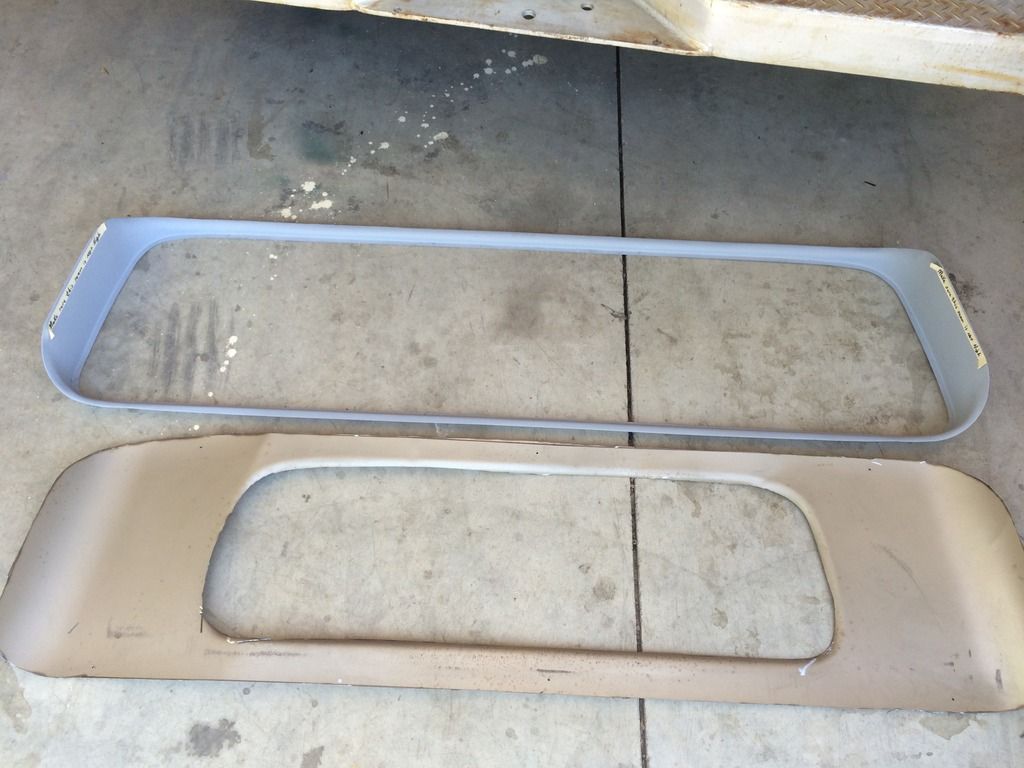 I took a flapper wheel and cleaned the paint off of any surface that I was going to weld to. Notice you'll use some of the old panel from the small window as part of the new "lip" or "pinch weld" for the window to sit in. I went with a lap joint vs a butt joint on the perimeter of the panel. I figured that for my truck, Im fine knowing there is a little bondo where you'll hardly ever look anyway, plus it makes it a hell of a lot easier to fit and the heat from welding has some place to go. Not sure if making a "butt joint" would make it any better or not. However, for me, it was irrelevant in this application.  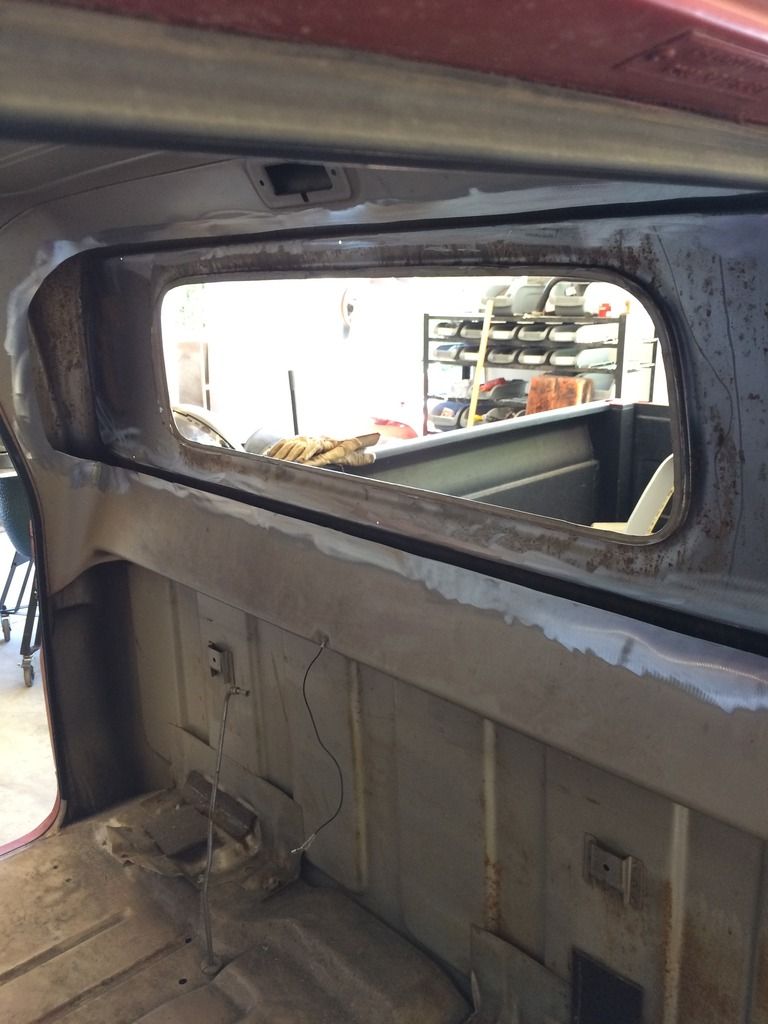 Scott gives you screws to hold the panel up to get it where you'd like, then tack it on the perimeter when your ready! ***Also, I used a skinny wheel and every 2" I cut about a 1/4" slit to weld the new "pinch weld" on the BBW panel to the existing small panel. Starting my weld on the old panel running down into the slit on the new panel, I did this I didn't end up having to grind off the big gob of unburnt welding wire on the new panel. (less clean up). Sorry I didn't take any close up pics of this, but it worked great for me, and I don't have the patience to drill 100 new holes, grinder did the same thing and made it a little quicker. 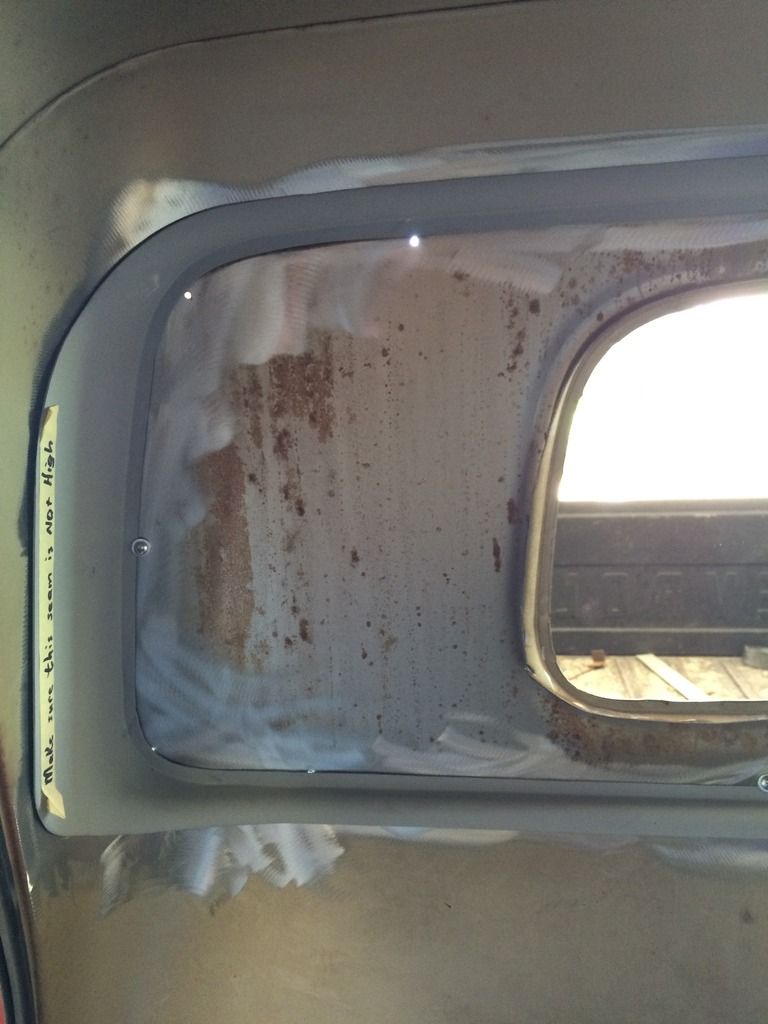 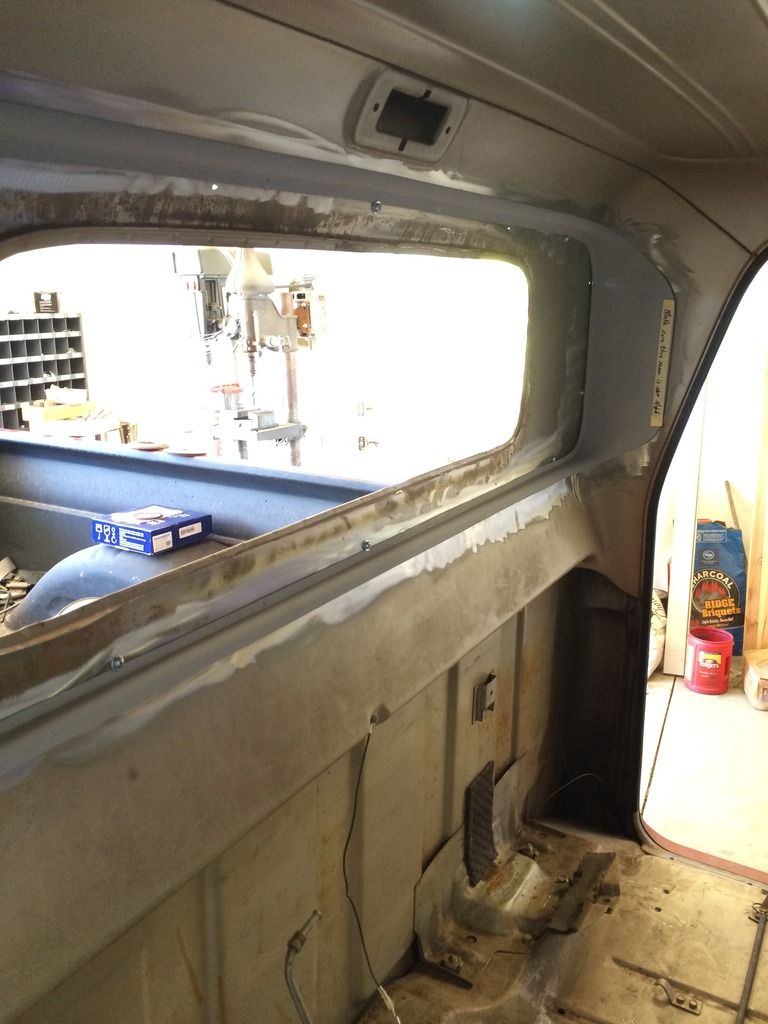 Here I started tacking the panel, starting on the outside with a couple light tacks and a couple on the inside after I got it how I wanted it. 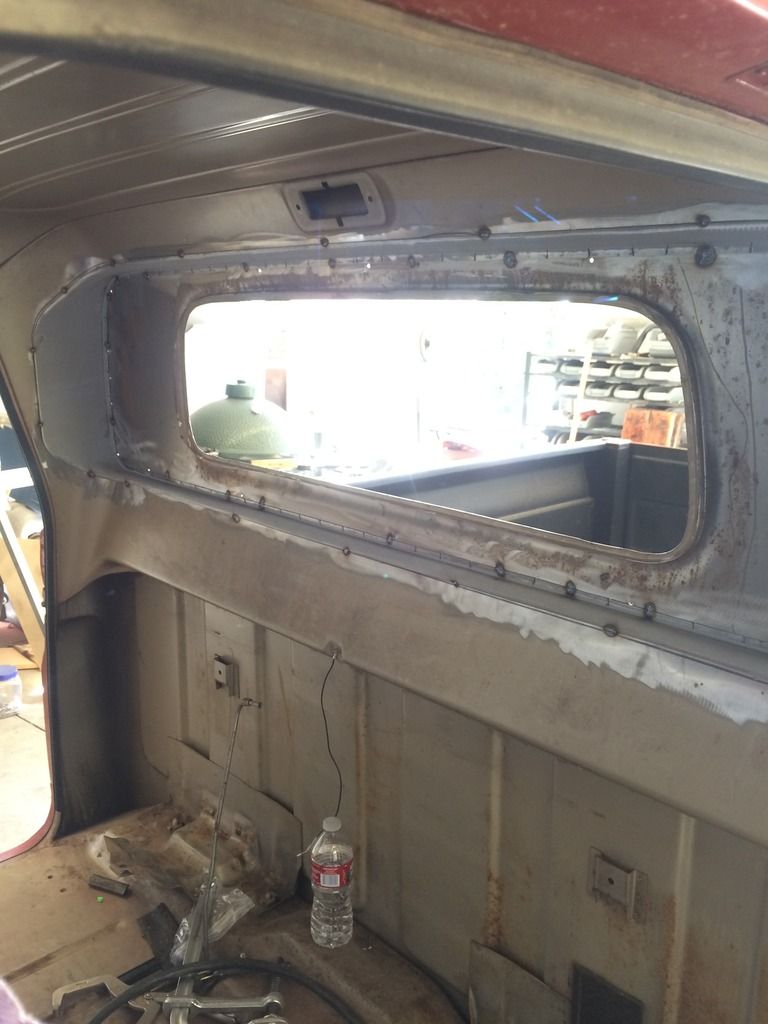 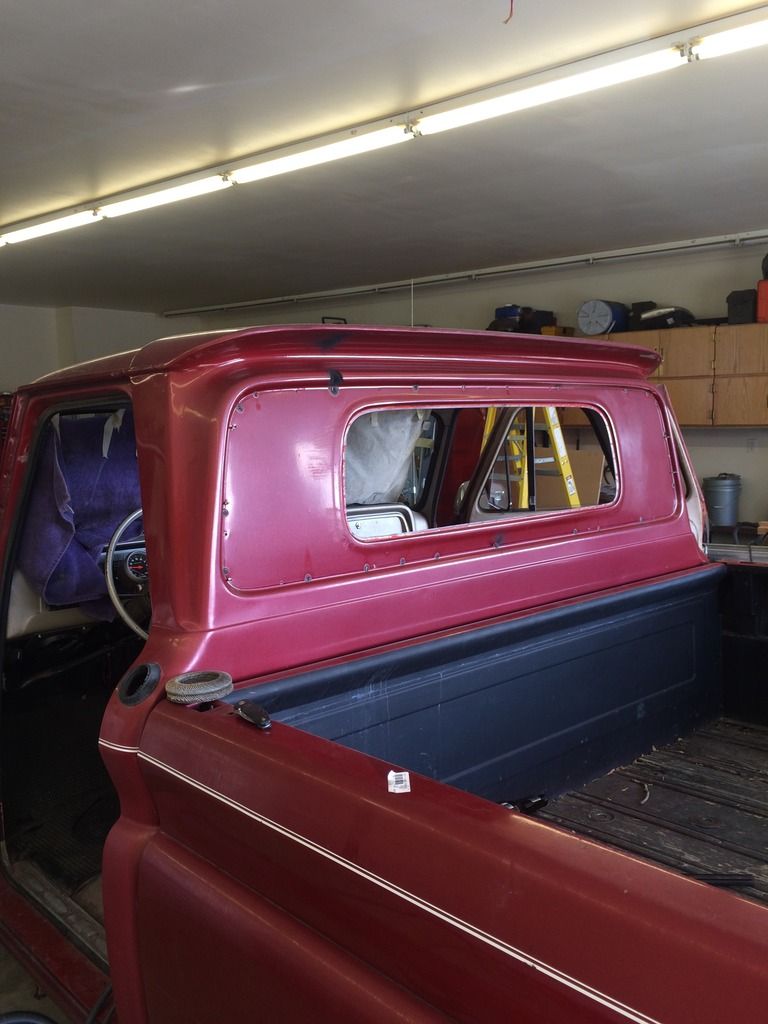 Maybe I should have cleaned the paint off before I started... but I'm fine with it.   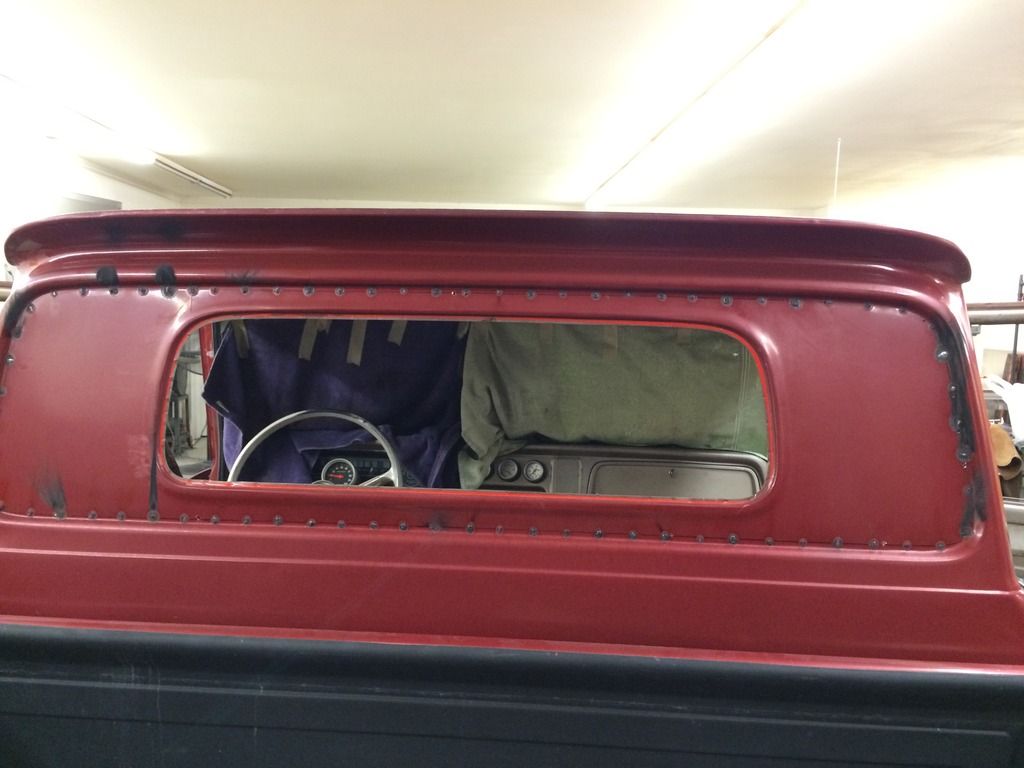 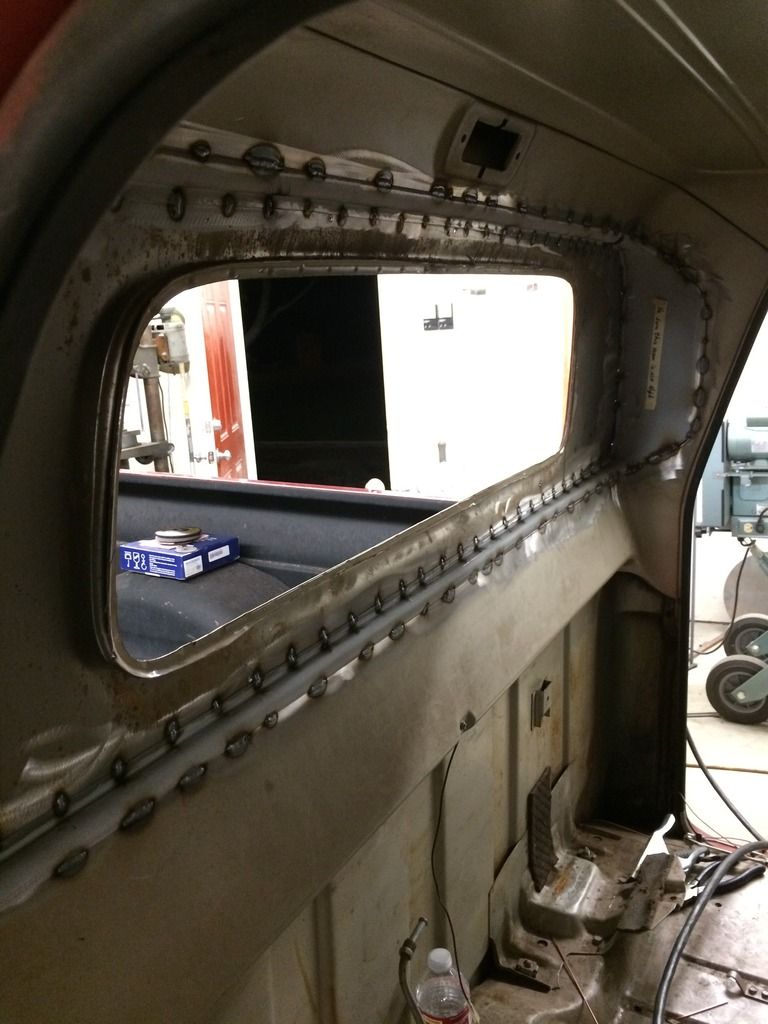 The welding is almost done, doesn't seem like it'd be that bad to be trapped in there but geez you get a little cramped. 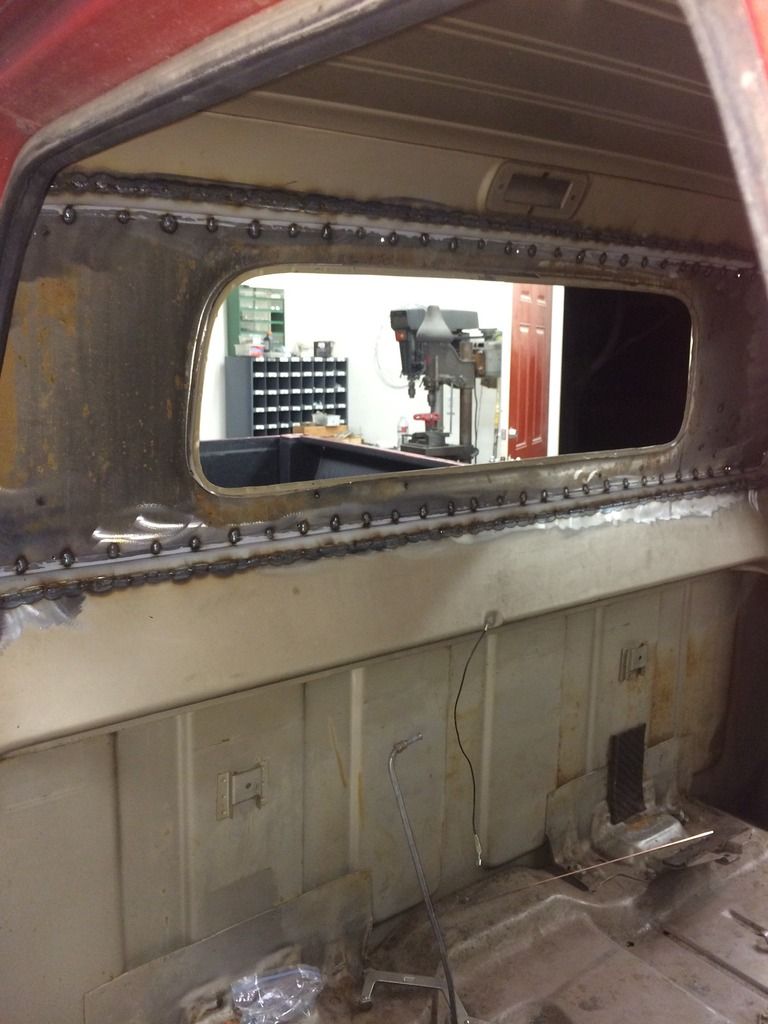 WOO HOO!! Big window opening!!! but its not over yet! This one thing I wish I would have done differently. If I did this again, I would leave a little more metal from the original panel and fit the rubber seal up to it to make sure the seal had enough meat to hang onto.This ended up biting me in the end. 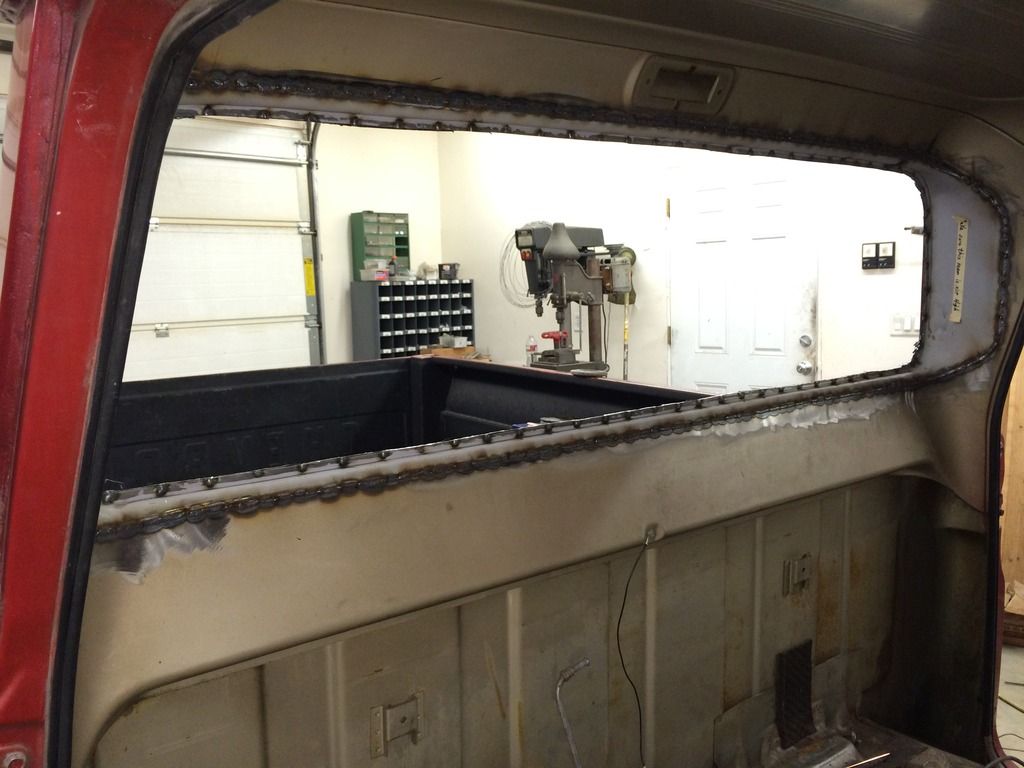  I got a little carried away with the grinder, and had to fill some metal back in with some TIG welding rod. 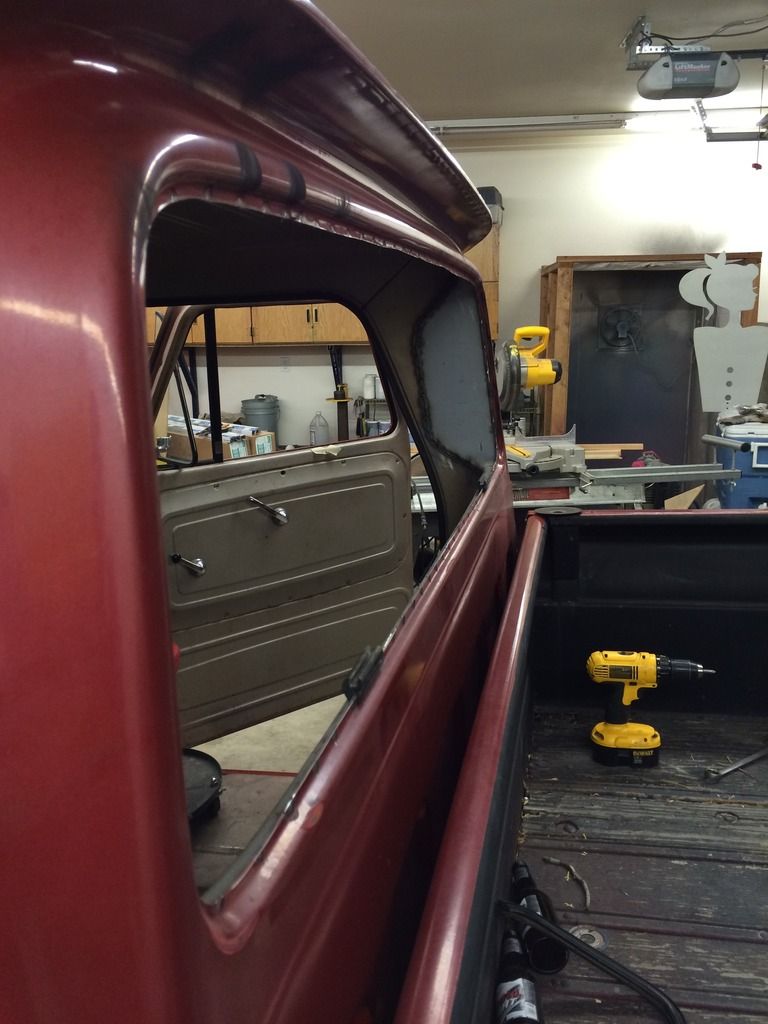 Here is where I ground the welds off and started filling and sanding. I never plan to make this truck a one off show truck, so a little filler and paint will due. 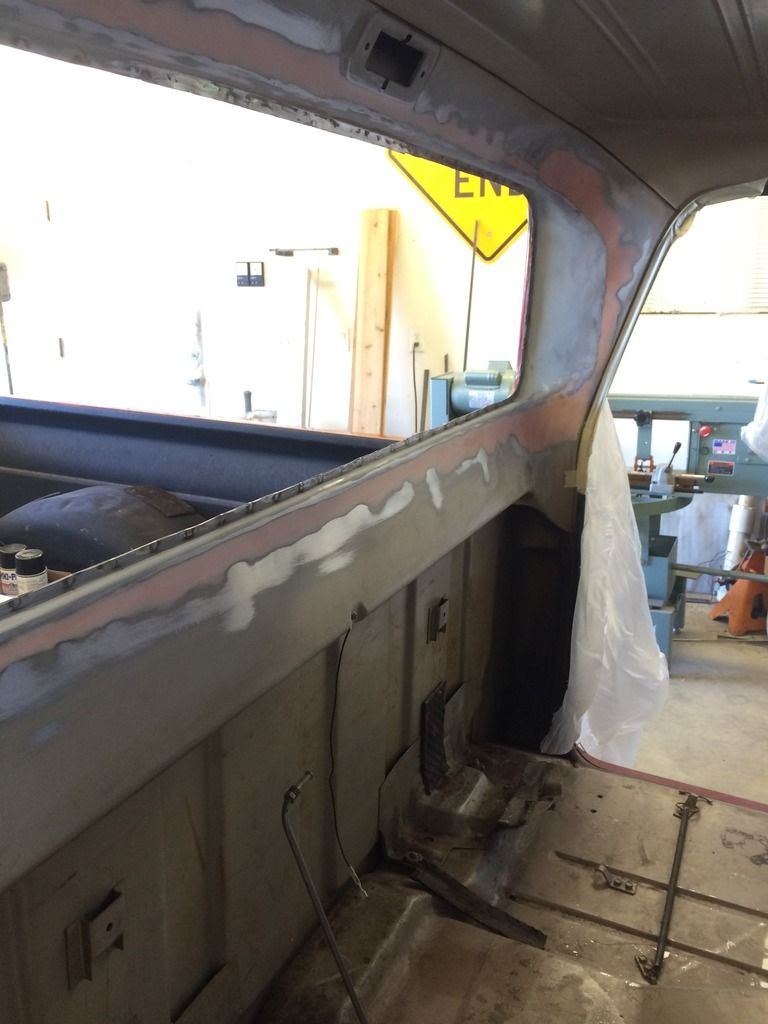 This is the last pic I took of the truck, wish would have taken more, I was able to get some paint mixed up in aerosol cans from a local paint supply store. it matched the interior paint very well. 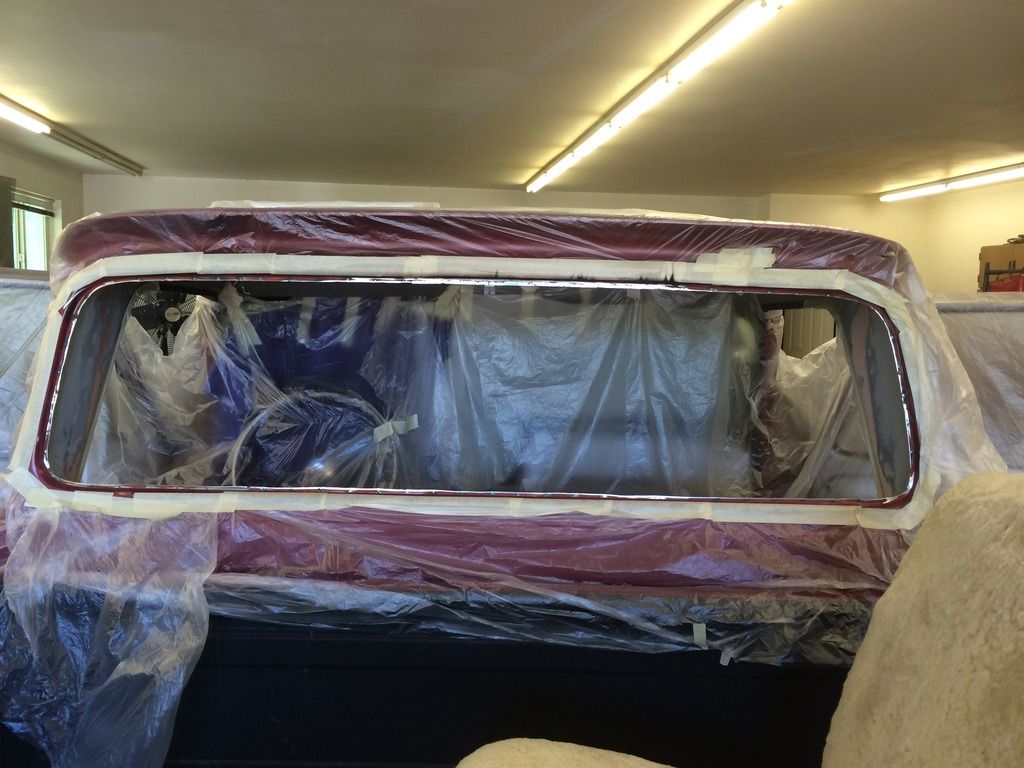 Overall considering this was a hand crafted panel, I thought the conversion turned out great! I think the new panel opening was a little small but I'm fine with it. I ended up having to get my new window trimmed a little. I took it to a glass guy in town, he was able to trim the window and install it. He did an awesome job as well! I love the look and functionality of the Big Back Windows. Yeah I'm sure a stock panel might have worked better, but $300 for a panel with rust holes in it (when you can find them) or robbing the cab from an original big window truck, this is a much faster, more economical route. At least for me, and I'm fine with it. Hope this helps people and its always fun to share a project and I would totally do this again! 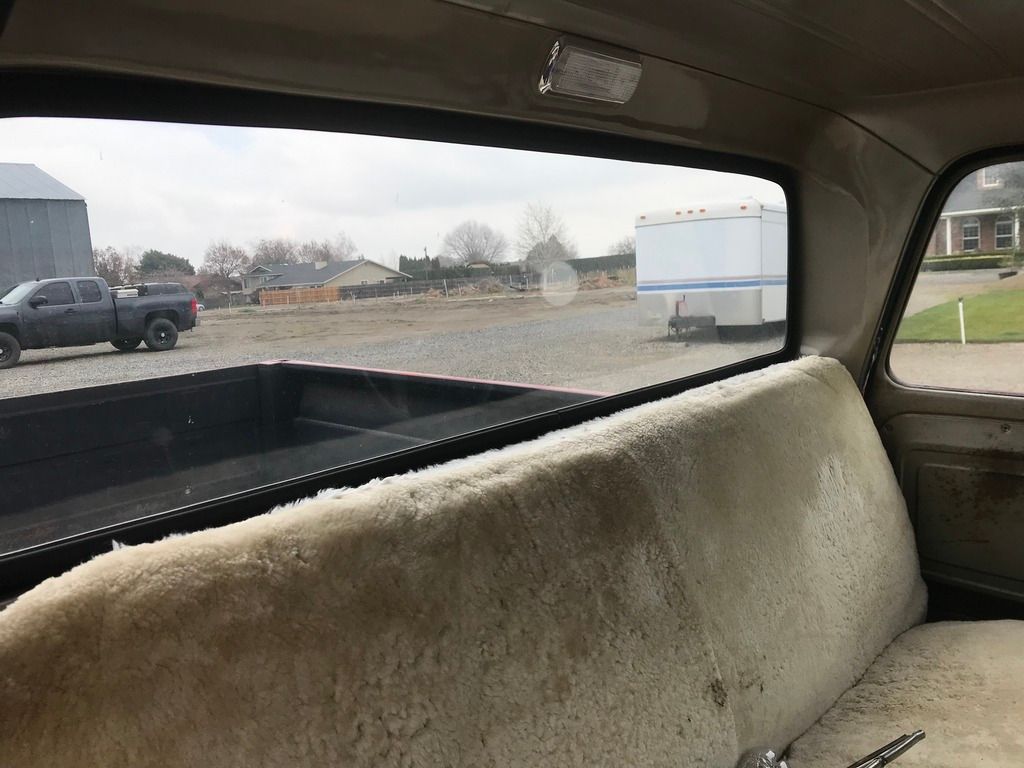 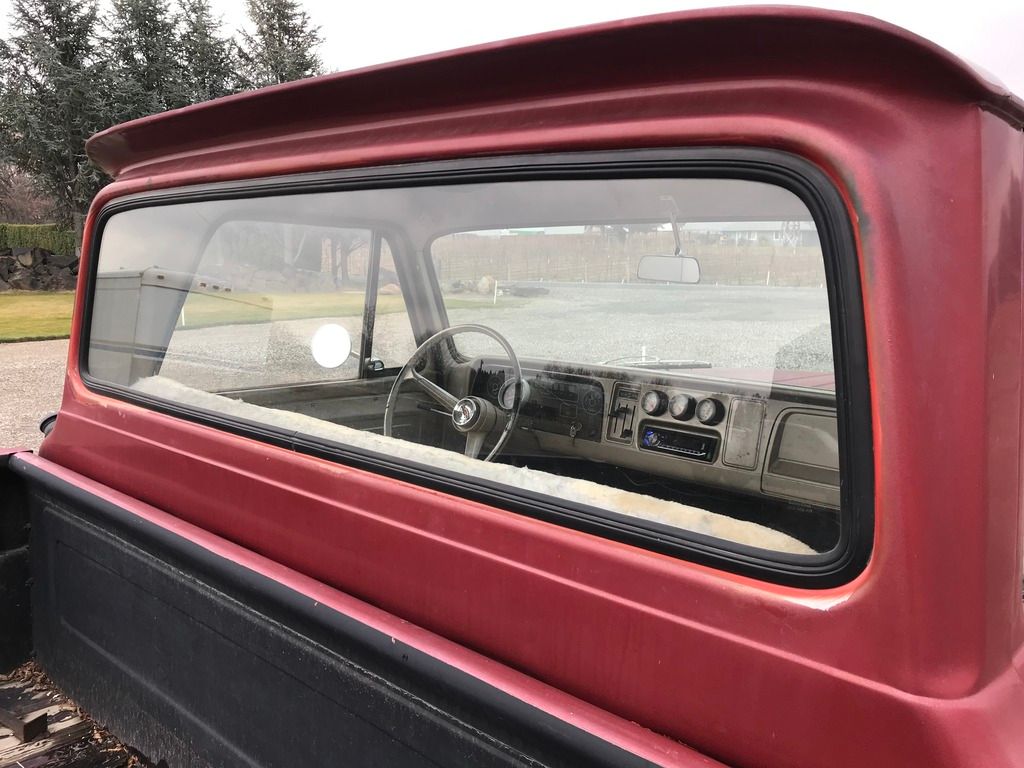 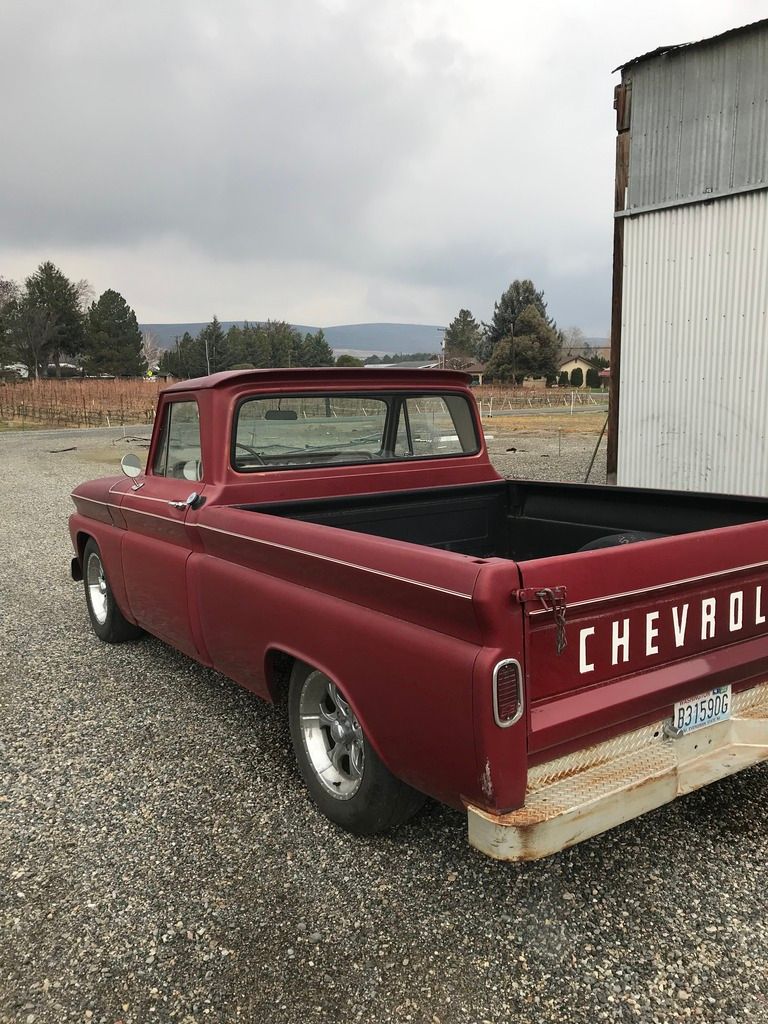 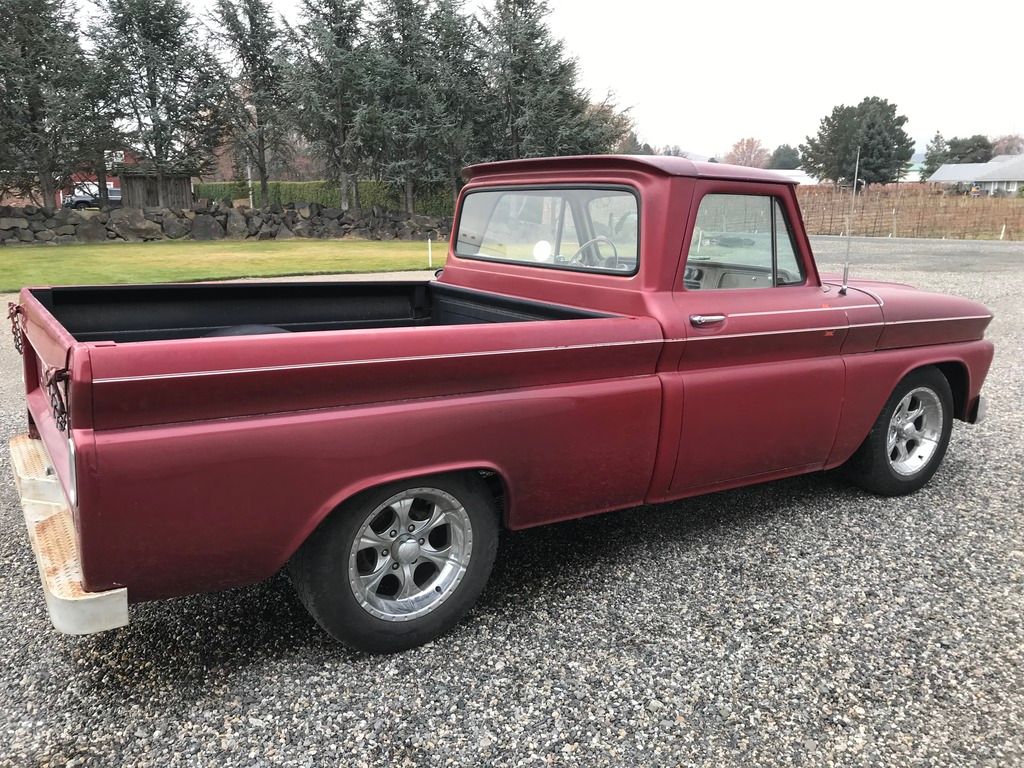
__________________
1965 c/10 swb 1969 c/10 lwb 
|
|
|

|
| Bookmarks |
|
|