
|
Register or Log In To remove these advertisements. |
|
|
|
|||||||
|
|
Thread Tools | Display Modes |
 02-16-2020, 10:06 PM
|
#1 |
|
Registered User
Join Date: Sep 2013
Location: Houston, TX
Posts: 80
|
Install and Review of Dapper Lighting OE7 LED Headlights
Just had one of the sealed halogen bulbs burn out on my 72 C10 so I searched the forum to see what kinds of options were available. From my searches I found you have the following options:
I prefer to have something that has a stock look and then stumbled on Dapper Lighting OE7 bulbs which maintain glass with reflector cuts for a stock look on most of the bulb. https://www.dapperlighting.com/products/oe7 Given the price point being just a little over the next best option for the stock look (H4 conversion, relays, and xenon bulbs) but a simpler install and potentially improved light output and life I decided to give them a shot. They've done some advertisement posts on the forum but couldn't find much info on the install fit and final results so thought I'd put something together. I ended up ordering the OE7 with the OE Glass style ($50 option for the stock reflector cuts otherwise the glass is smooth) and White Phillips Daytime running lights ($13 option that I don't think I'm going to end up wiring) for a total of $386.58 shipped to me in Houston. The box arrived and was nicer than just your average brown box. Bulbs were well packaged to ensure they arrived undamaged  After taking them out, the overall housing and glass looks nice. I was a little disappointed in the back of the housing is plastic, but at least the front is actual glass so should hold up and last. 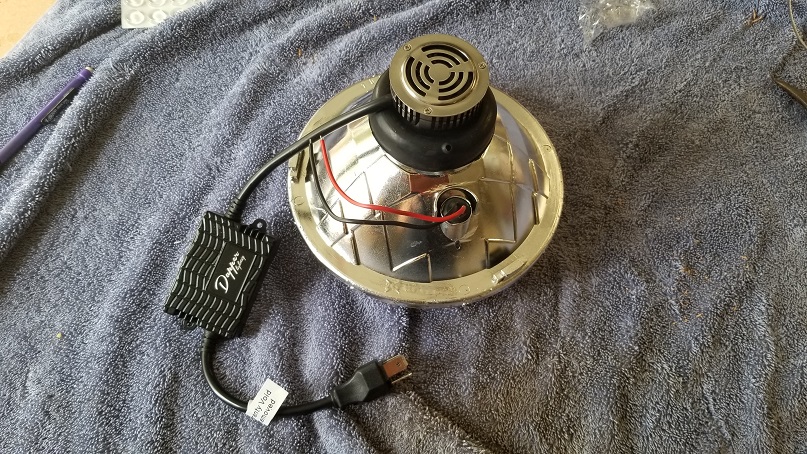 With the 3 prong plug, it's a direct plug and play option  To start the install, the bezel need to be removed by removing the 4 phillips head screws. 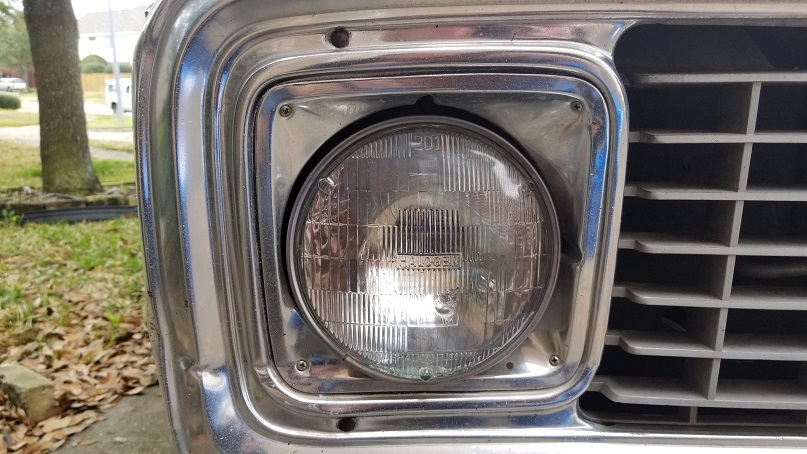 Then you can get to the 3 flat head screws to remove the bulb ring. The other phillips are for aiming your headlights so if your lights were aimed well before hopefully you won't need to touch them. 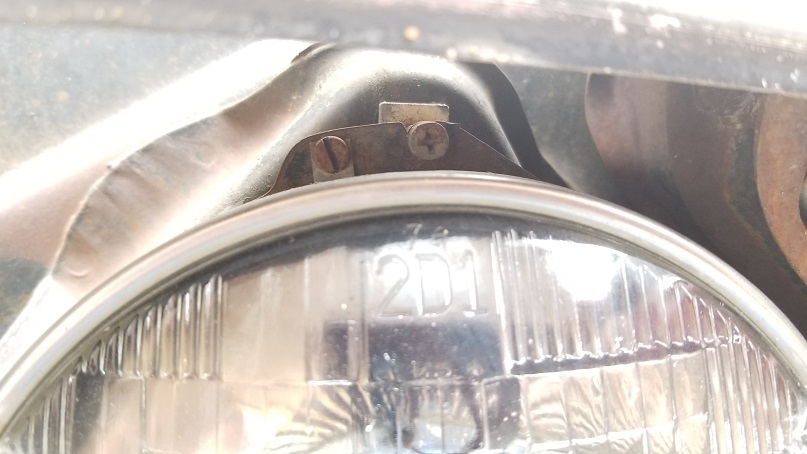 With the ring removed the old bulb should come right out and just have the empty headlight bucket 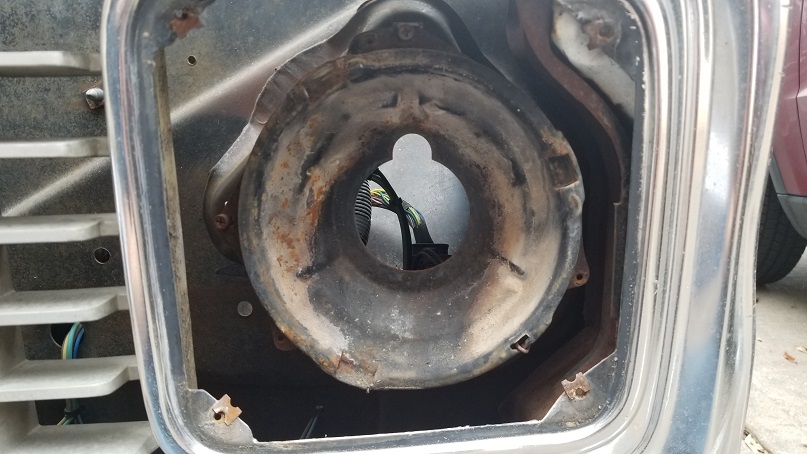 When you go to install the OE7, it's labeled for the top of the bulb which will help have your alignment tabs fall right and it also looks like there is a difference in the internal deflectors and bulb install. Also puts the day time running light bulb at the bottom. 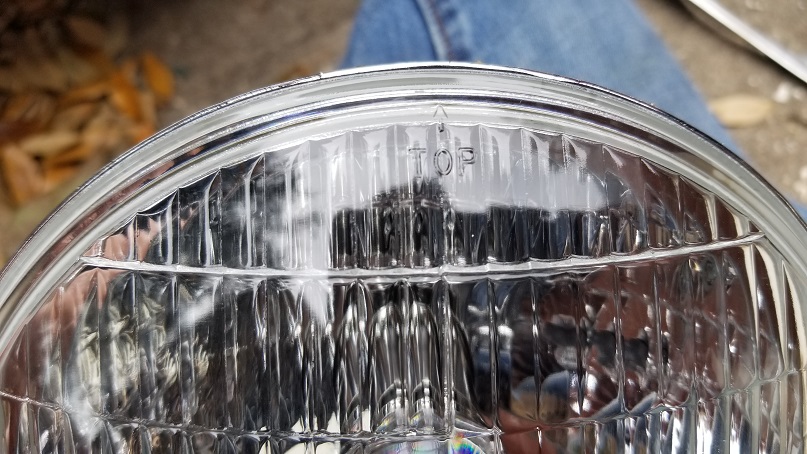 In order to get the bulb to fit you'll need to roll the rubber boot back to get it to fit through the hole in the headlight bucket. It's a tight fit, but no modification is need which was really nice to see.  Then you can roll the rubber boot back down and it'll hold the bulb in place for you. 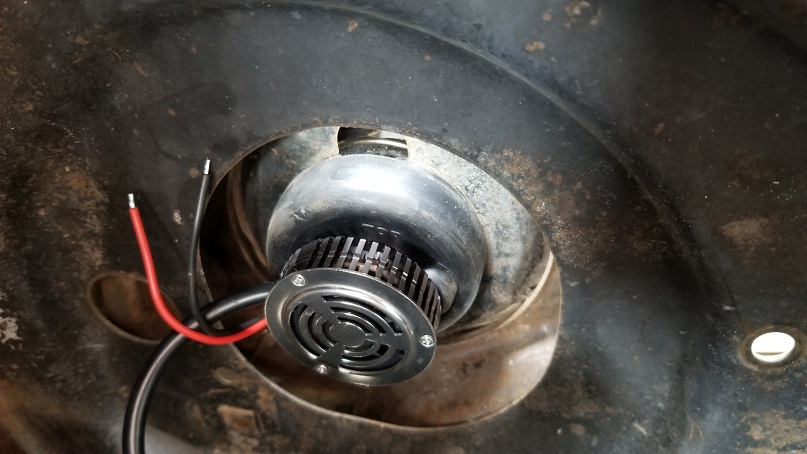 This gives you the opportunity to check the alignment tabs are sitting in place and then you can reinstall the ring and trim. 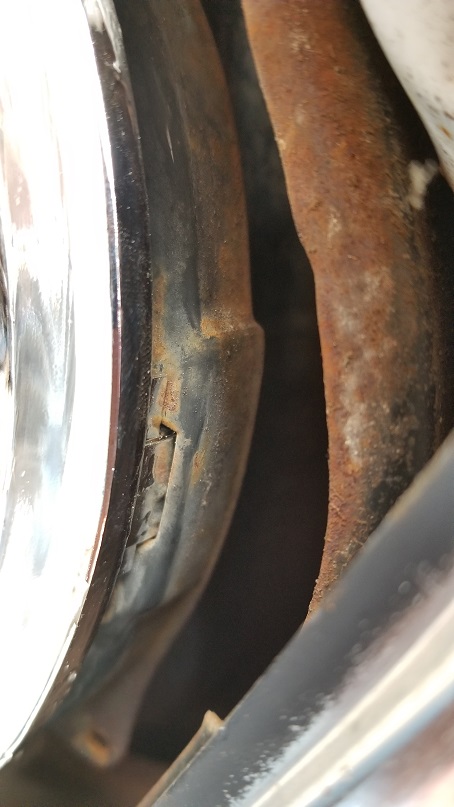 With it all buttoned back up, plug them it in and turn them on to test. 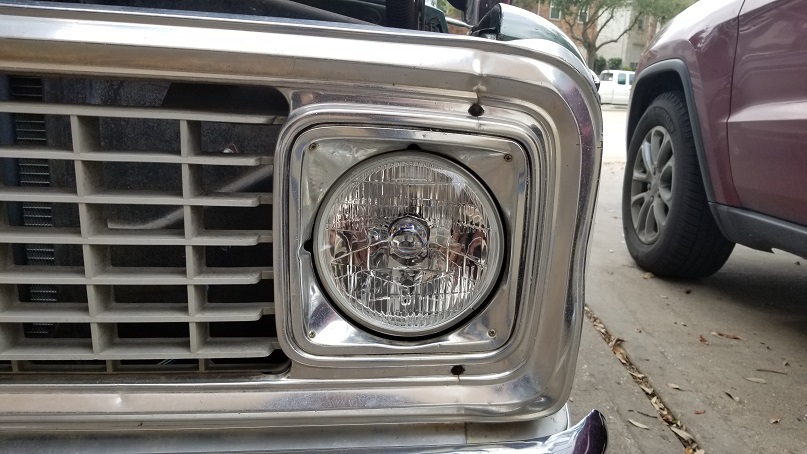 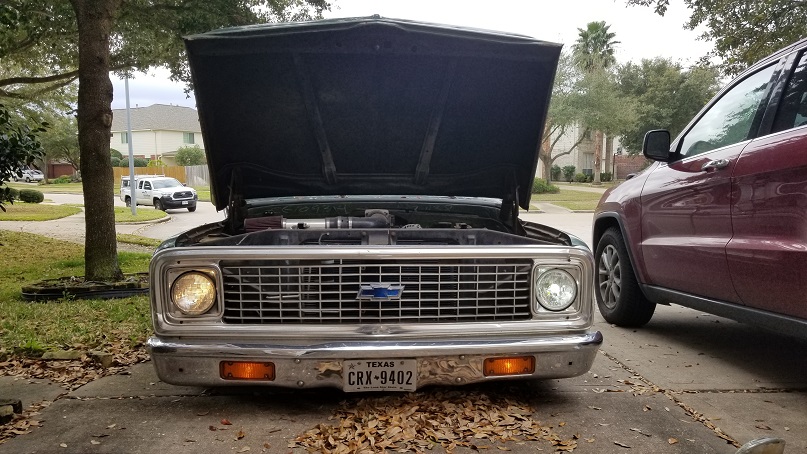 After install I had to get some comparison pictures. I used my phone on the Pro mode and fixed the aperture, ISO, and exposure time so that the pictures could be used for comparison without variation of exposure. All pictures are low beams because the high beam filament is burnt out on the halogen. First, pictures from the interior of the truck. Halogen 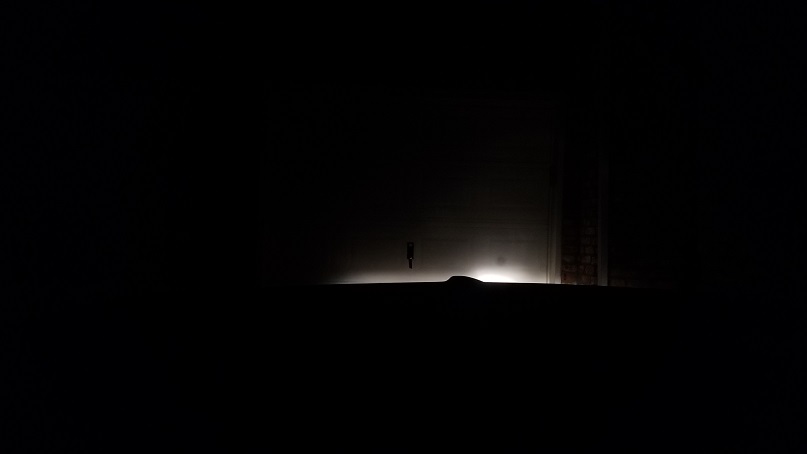 OE7 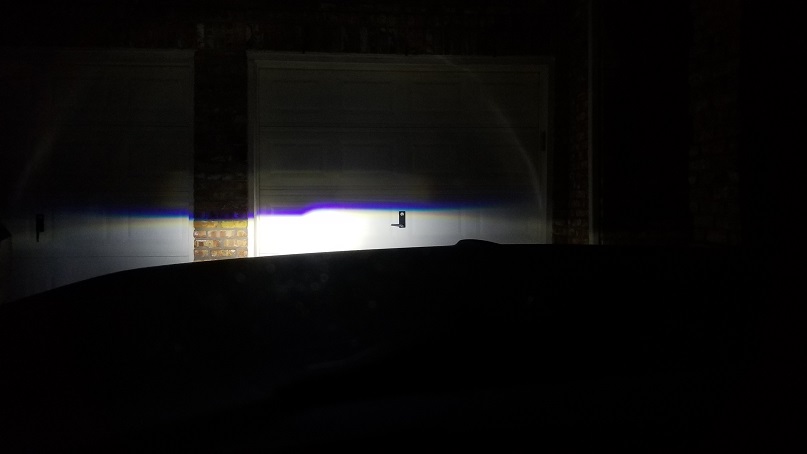 Both 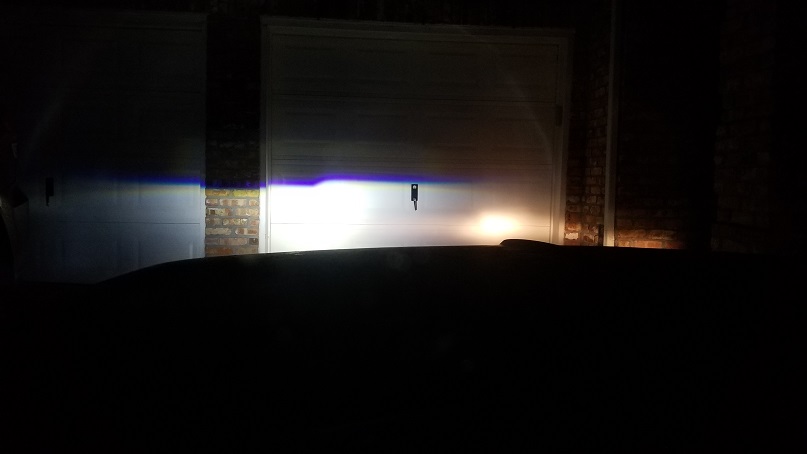 Then some pictures looking back at the lights Halogen 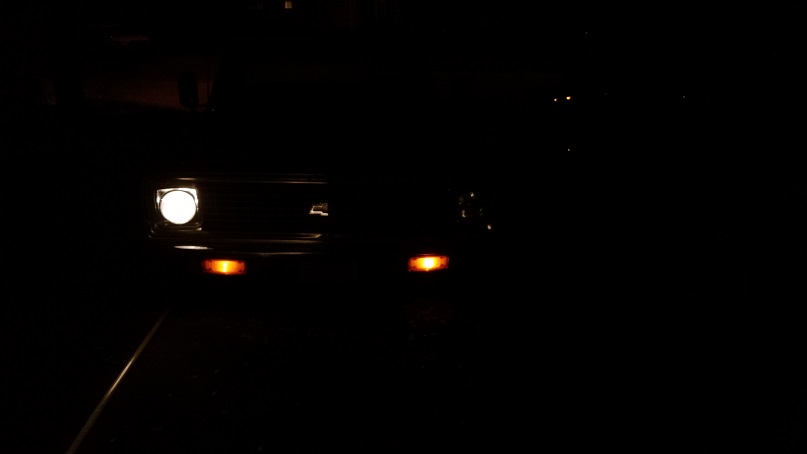 OE7 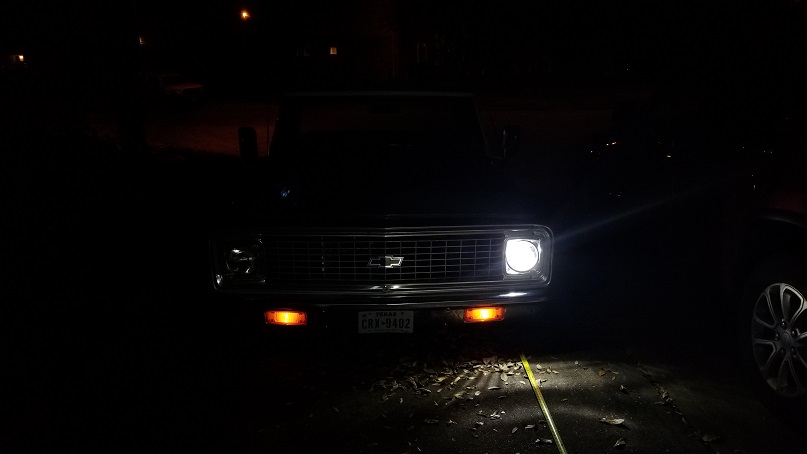 Both 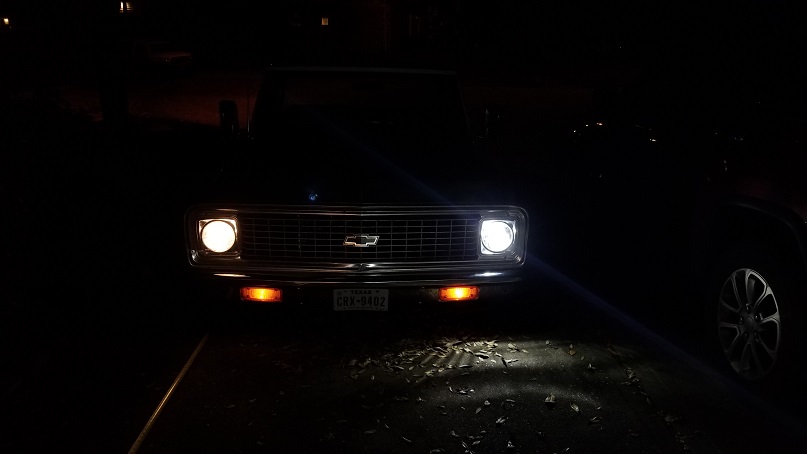 Finally, a picture from the front of the truck which really shows the difference in the light spread and cutoff line of the OE7. 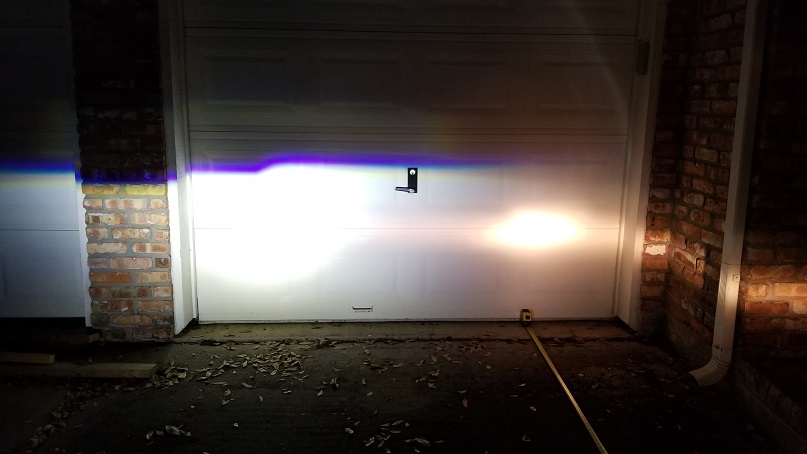 Overall, I liked the fact that it was a simple install and plug in, no modifications required. I chose not to wire in the DRL for now but I might consider it later but I don't think they add much benefit. From the pictures you can clearly see there is a big difference between the halogens and the OE7 especially with respect to area coverage. The temperature of the light is much nicer and will help be able to see things versus the warm color of the halogens. I'm satisfied with the results and look forward to the next night time drive to put them to work.
__________________
1972 C10 LWB Highlander Dark Olive/White - Work in progress 5.3/6L80e, Accuair e-level, Porterbuilt Stage 1 front and Stage 2 rear, Wilwood 14"F 13"R, Vintage Wheel Works V40 18x8/18x11, and more... Build Thread |

|
| Bookmarks |
|
|


 Threaded Mode