
 |
Register or Log In To remove these advertisements. |
|
|
|
|||||||
|
|
Thread Tools | Display Modes |
|
|
#1 |
|
Senior Member
 Join Date: Nov 2010
Location: Honolulu Hawaii
Posts: 313
|
My Porterbuilt Experience...
So after being a member on this wonderful and most helpful forum for over a year now(lurking for even longer) and learning SO many new things on all things C10, I am finally doing my part to contribute something in hopes of giving back in any way that I possibly can. The information, camaraderie, and the sense of community here is unbelievable and the things I've learned here makes it such an invaluable resource.
My hope is that this post will benefit or help someone in some way that might be interested or curious about going Porterbuilt, or is already doing their PB install and needed some kind of reference on it. I know I did extensive searching and researching on all posts regarding PB to get as much info and reference as possible before pulling the trigger on my PB suspension. There's a ton of useful pics, builds, and how to's out there on PB but I didn't find anything quite as basic and dumbed down for novice to amateur guys like myself so I decided my experience would be perfect to share and also help add a little something to the growing number of PB related reference pics on the interwebs.  Whether you're going full Delmo and building a reflector scraping Nacho Truck with the full-shebang world famous PB Drop Member treatment or just always wanted the truck to be on air and sit just a little bit lower than you can get on static drops, I can honestly attest and confirm that, from mild to wild, Porterbuilt is definitely the way to go. Again, I wouldn't consider this a 'build thread' or anything like that. Just a quick Porterbuilt suspension installation pic diary/review of the installation process on my truck. It is by no means a 'how-to' or tutorial either so please just view the thread as reference(or just browse through it just for kicks if you're so inclined). Before I bombard everyone with the pics, though, I'd just like to compliment and thank Dave Porter for all the help and support that he's provided for my install. No matter how great a company or product is, there are always little things that can get missed and I had a few instances that some bolts and hardware were missing. Stuff like this just happens when shipping products over long distances with boxes tearing, stuff falling out while in transit, during packing, etc. No biggy. Dave always replied promptly and sent the missing parts right away so that I could keep on keeping on with the install. Kudos to the Porterbuilt customer service team for that. Ok, enough with the rambling. Lets get on with it! The Porterbuilt set up I chose to go with: FRONT: PB Stage 1 Front(bags, bag mount/plate/shocks/shock relocation bracket) PB Inch forward upper/lower control arms REAR: PB Stage 2 Basic Rear(c notch, upper/lower shock bar relocation x-member, trac bar/trac bar relocation brackets, shocks, bags) Air Management: AccuAir e-Level w/dual 3 gal tank/compressors(of course!) My decision to go with this particular set up was based on my height/stance preference. As mentioned earlier, I for one wanted a stance that sat just a little lower than the typical 5/7 set up could achieve without sacrificing drivability and function. I already had a 5/7 drop on my truck using ECE components(spindles/springs/blocks) but always thought it would look just a bit sweeter being a hair lower. As amazing as a truck with a full PB drop member set up like Old Aux, Hazel, Nacho, etc can be, I decided to start 'mild' instead of getting into some serious fab work like raising bed floors, fender wells and the like. It seems like everyone ends up going that route since you can never be too low, though, so we'll see...LOL.  For now, this is my personal experience and results with Porterbuilt. For those considering going PB, all I can say is that every bit of the hype is real. Porterbuilt products are top notch, high quality parts. Bar none. Step 1: Clearing the way for the brand new shiny PB parts~ Bed Removal~ 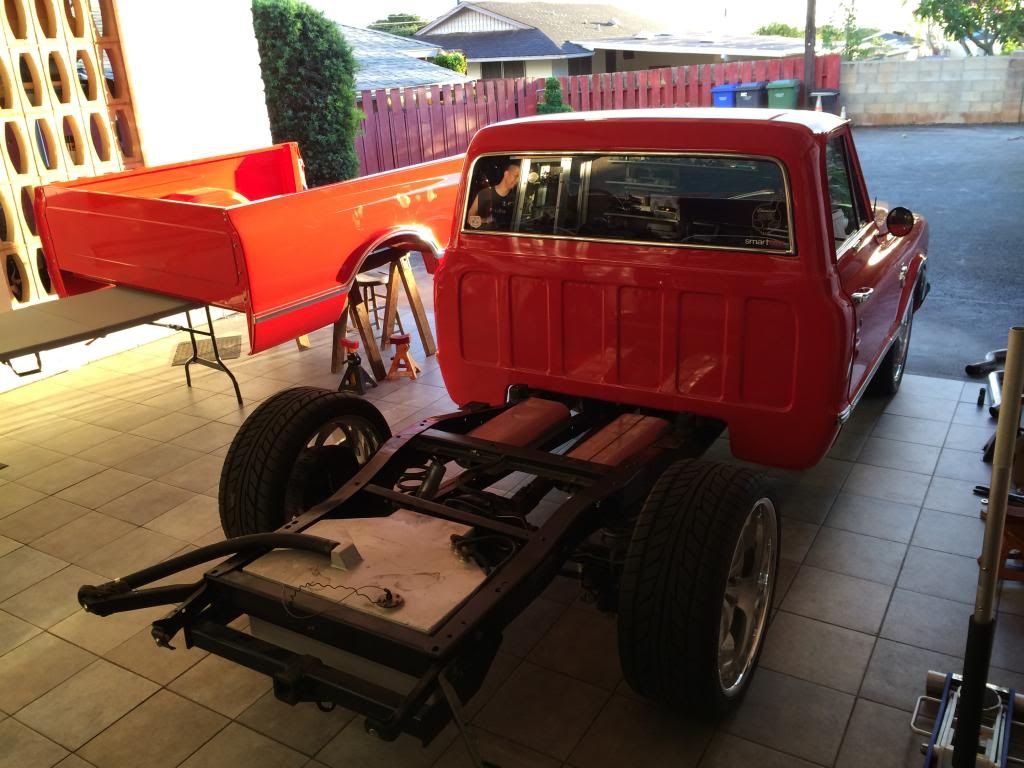 Cross member to be removed~ 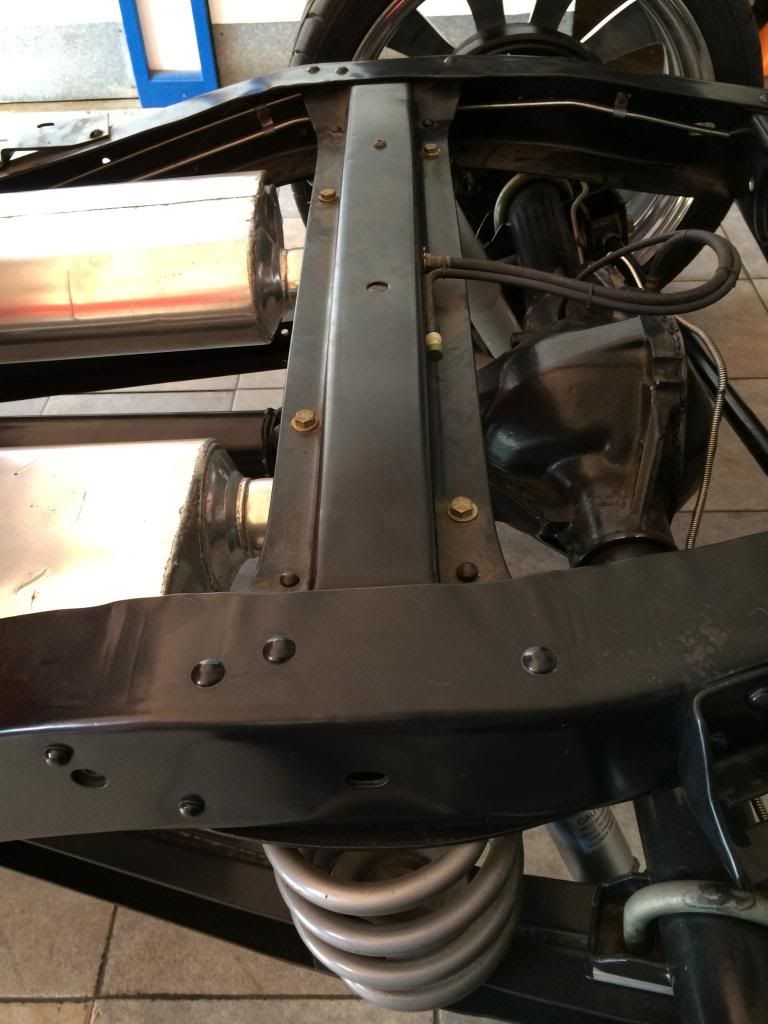 Bump stop perch to be removed~ 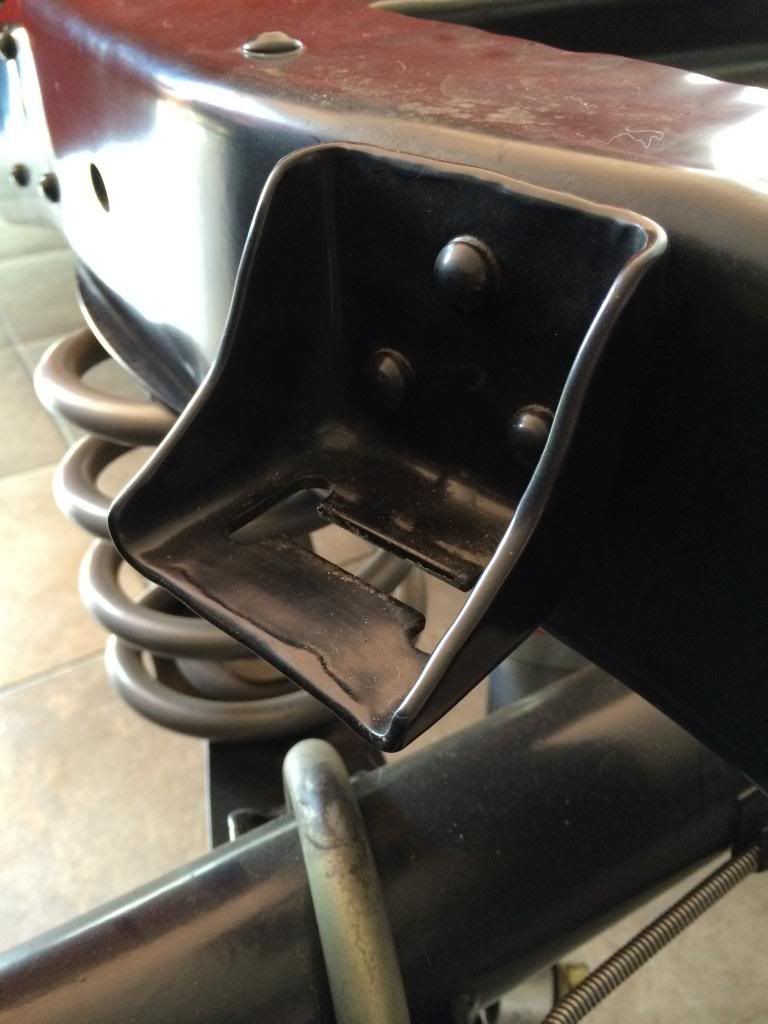 Drilling out the rivets. Quick thought on this: There are a lot of different opinions on the best way to get these off, and as always, there are as many 'best ways'. I found, trying both the impact chisel and the drilling method, that drilling out the rivets all the way through was not necessarily the fastest but definitely the cleanest method. Being 'clean' won't matter if you're chiseling off a rusted/old frame thats going to be coated or painted later but if you're working on a finished frame, you may want to consider the drill-out method. Just be prepared for a LOT of tinsel strands and bring your A-game on marking dead center on a button head rivet~ 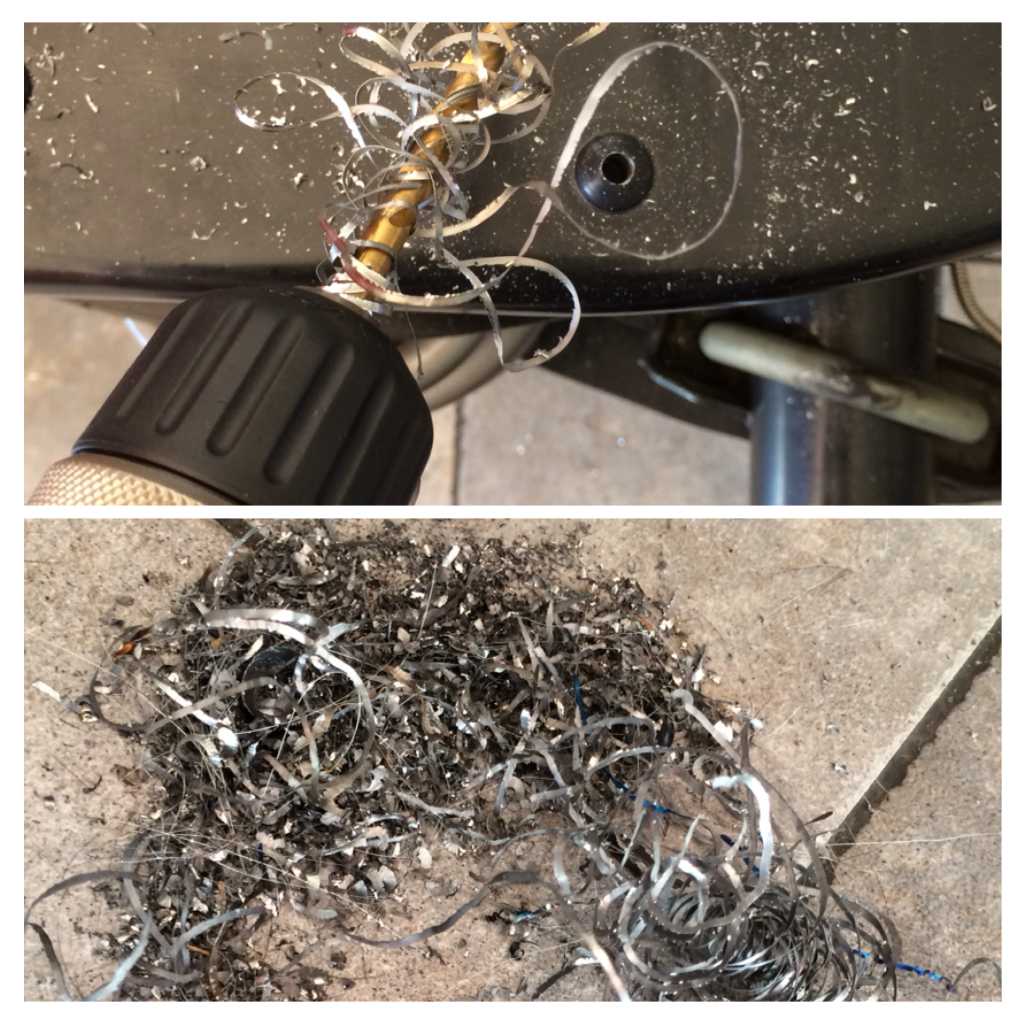 Just for reference and to show the difference in residual damage to surrounding areas; the impact chisel method on the left and drilled out rivets on the right~ 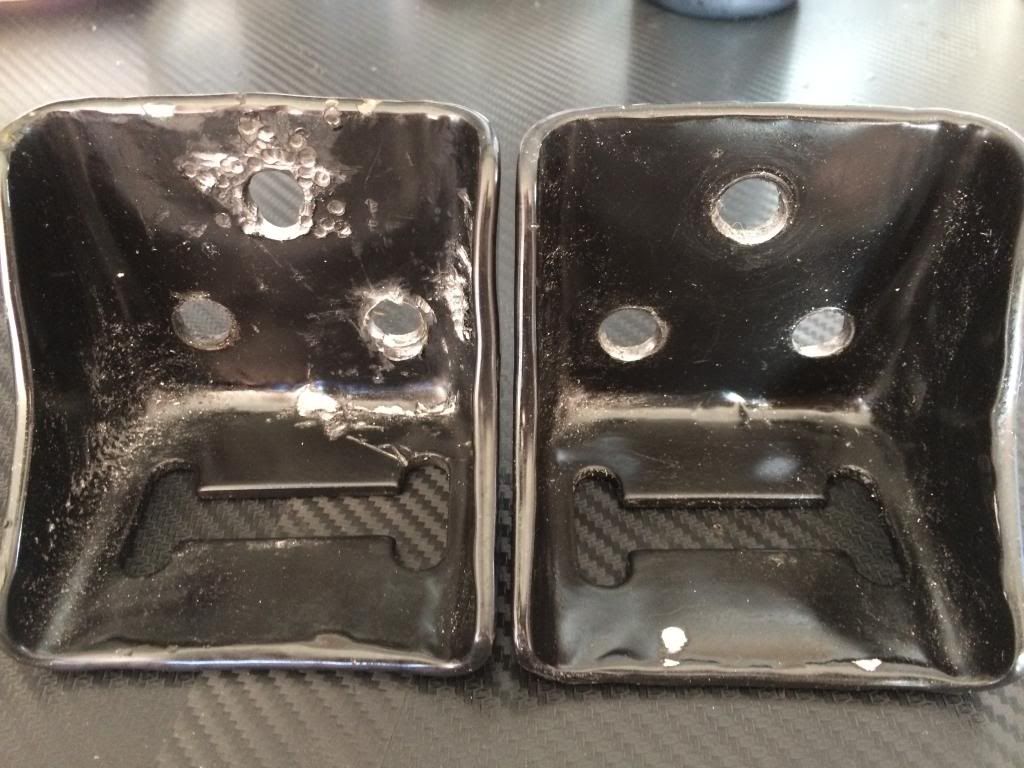 Cross member and perches finally removed~ 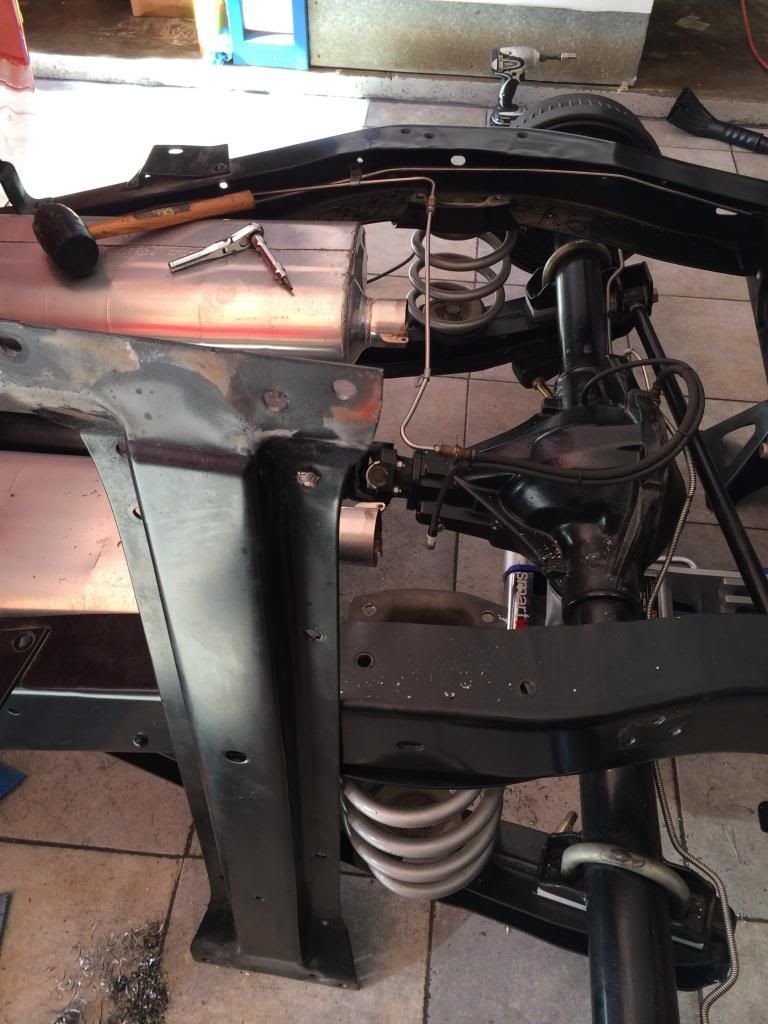 Be prepared for several of these... 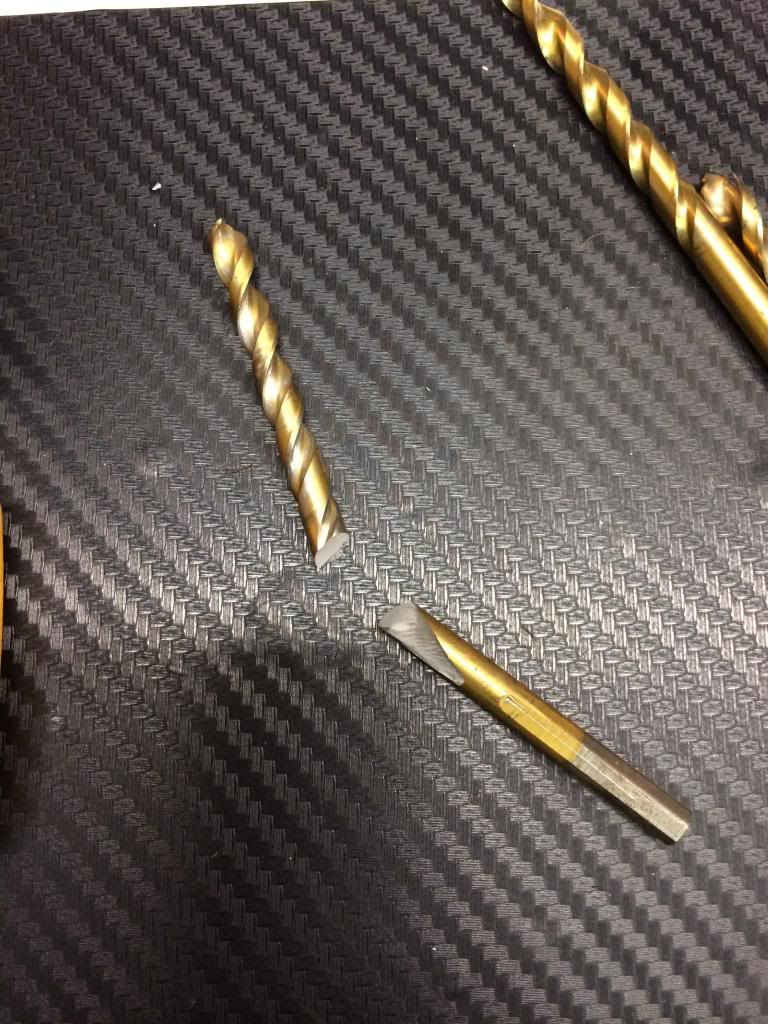 Step 2: Porterbuilt parts installation C-Notch test fit and hole alignment~ 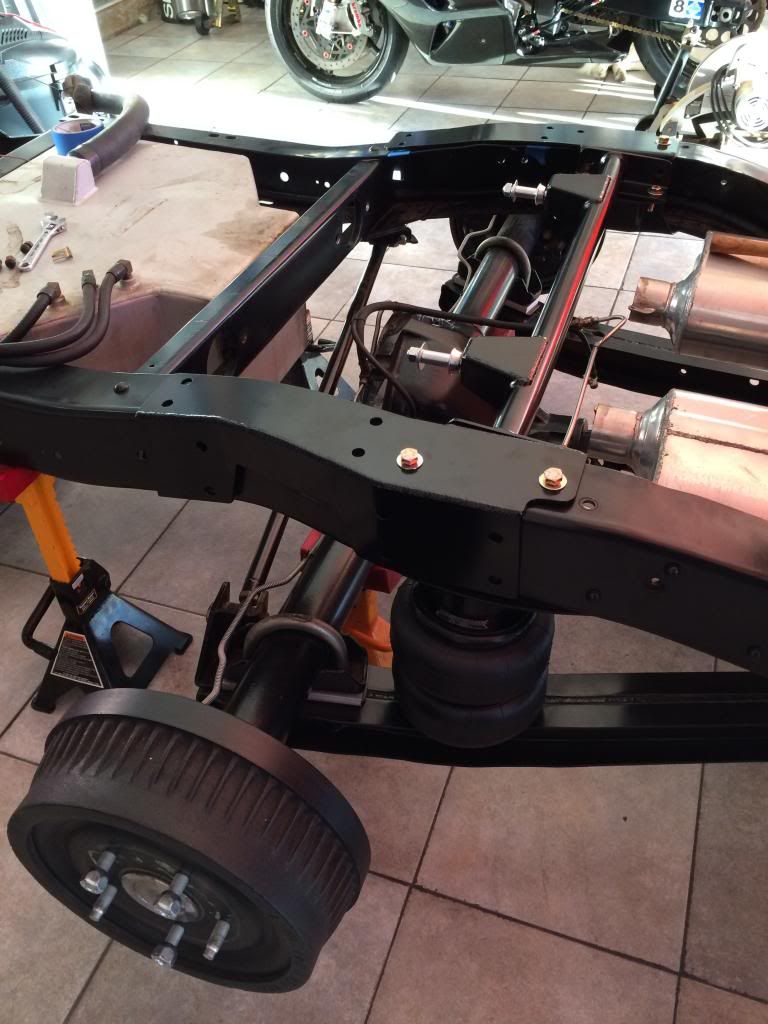 Holes marked and notch lines marked using clamped on notch as guide~ 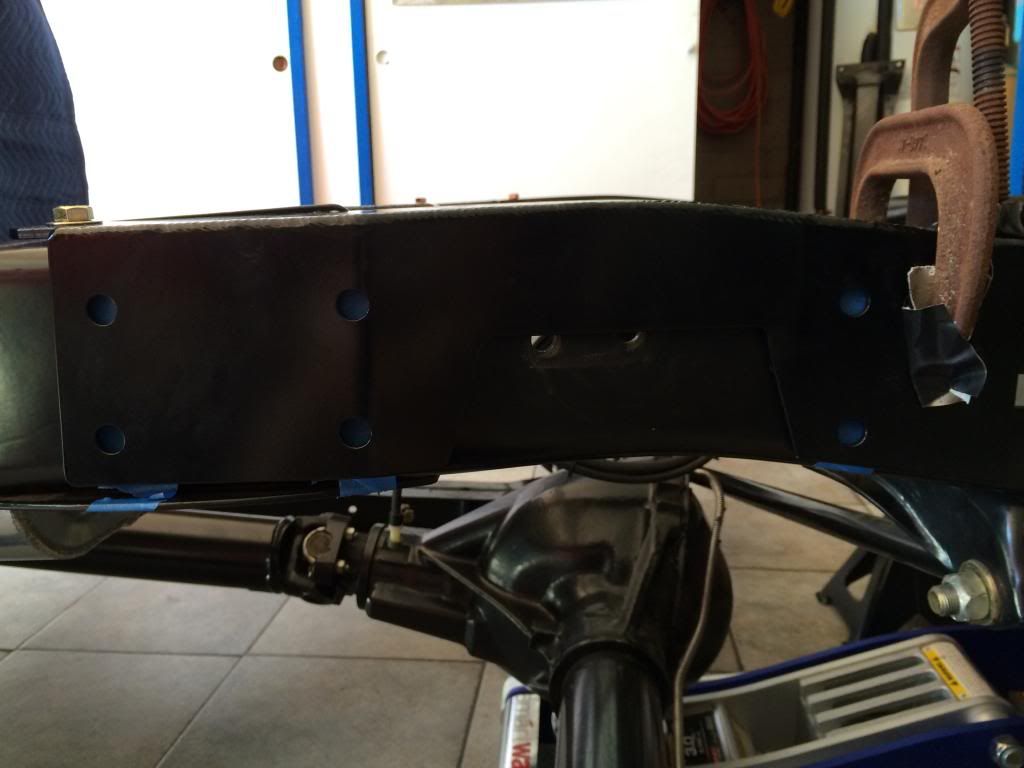 First cut is the scariest! Options I had to go with to cut the frame were plasma, air powered cut off wheel or electric grinder with cut off wheel attachment. I went with the electric cut off wheel because, again, it was the cleanest for my purposes. I didn't want to have to grind off the powdercoat on the frame to be able to use the plasma and the air powered cut off wheel I had was too thin and too weak~ 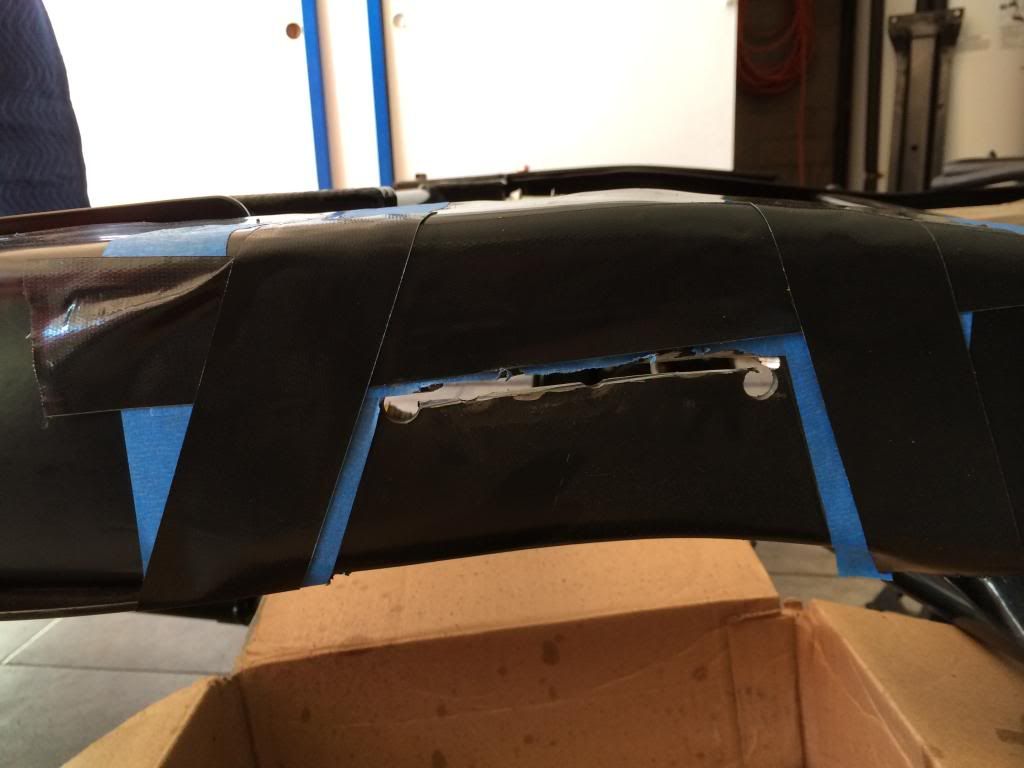 Notched~ 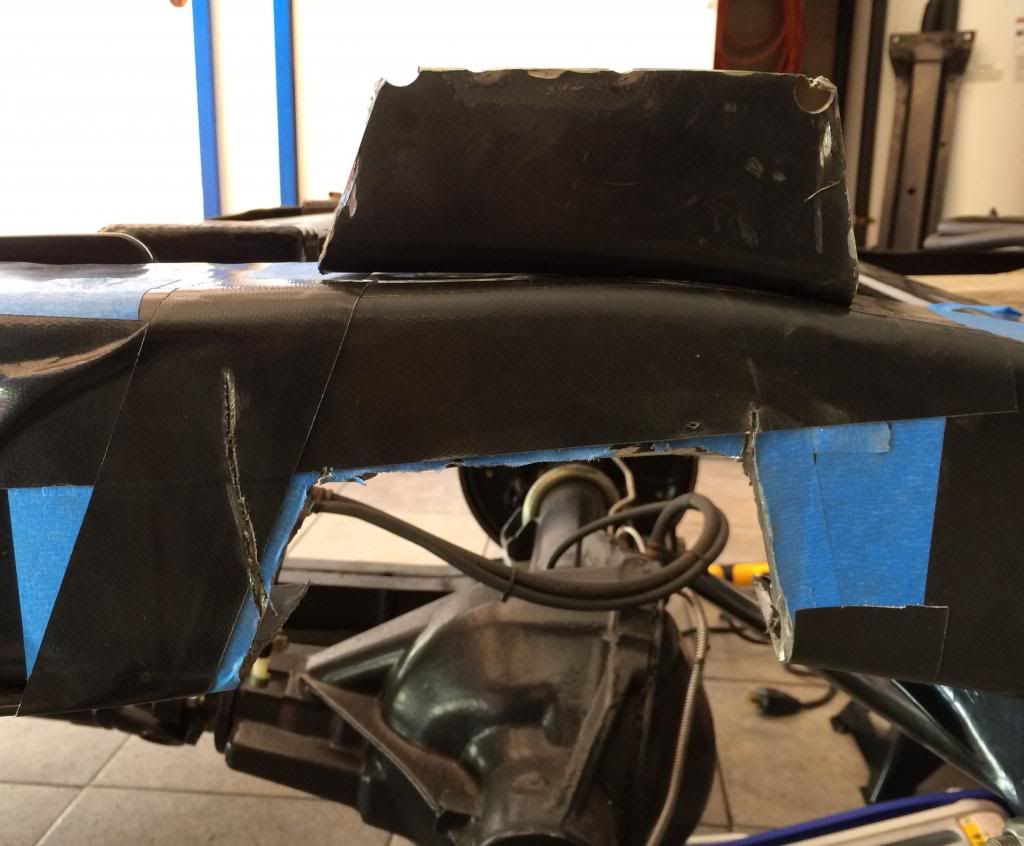 C-Notch bolted up and upper shock relocator cross member installed. The PB notch is not just a face notch but a fully boxed structure so it doesn't compromise any structural rigidity. I wouldn't be surprised if it actually strengthened the frame in that area~ 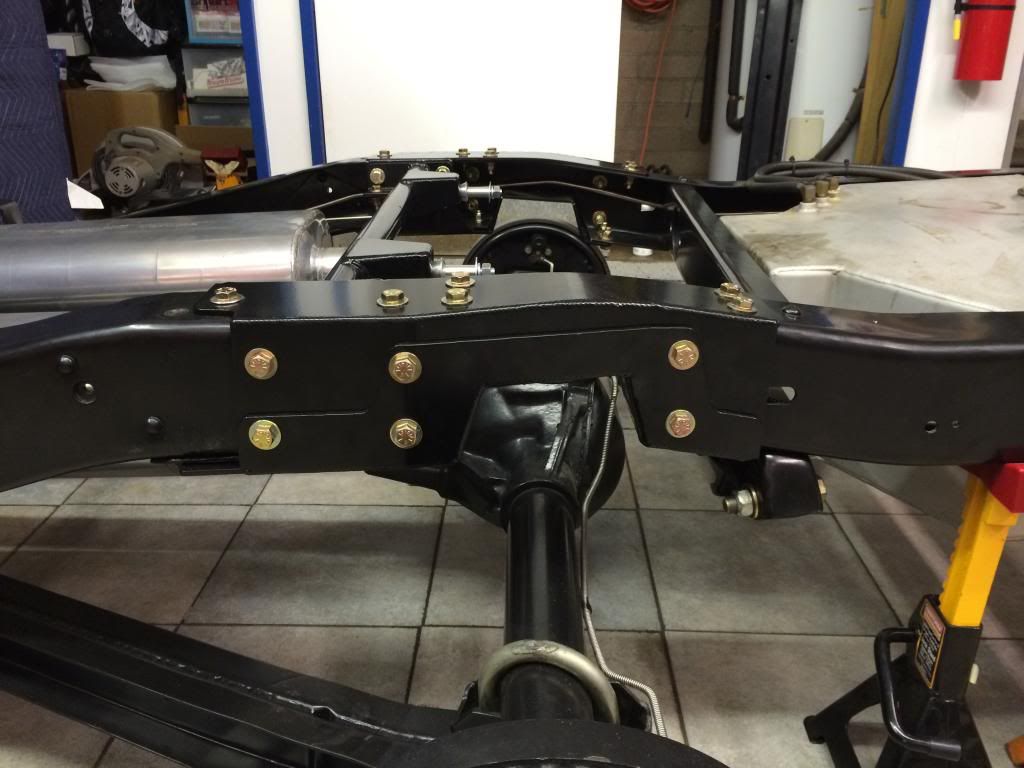 Trac Bar relocation bracket installed. This also requires a few more rivets to be drilled out to remove the old mount~ 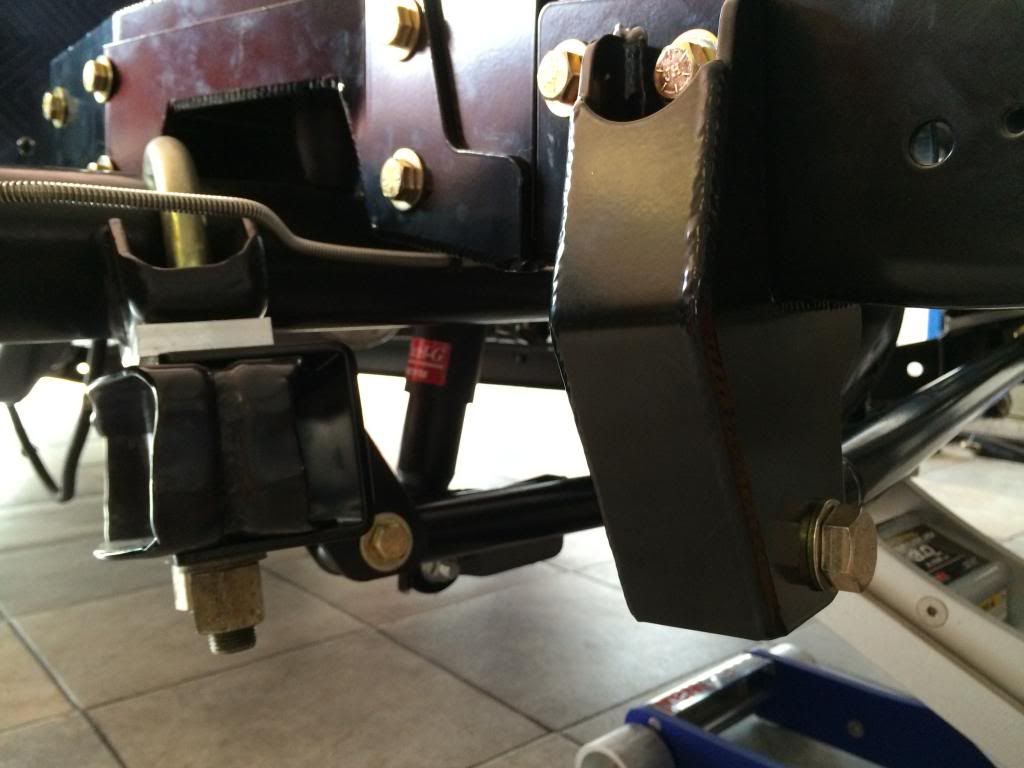 Shot of lower shock relocator cross member and Trac Bar from another angle. The lower shock cross member runs from u-bolt to u-bolt between the trailing arms, with the passenger side having a dual mount/pivot point for both the crossmember and the trac bar ~ 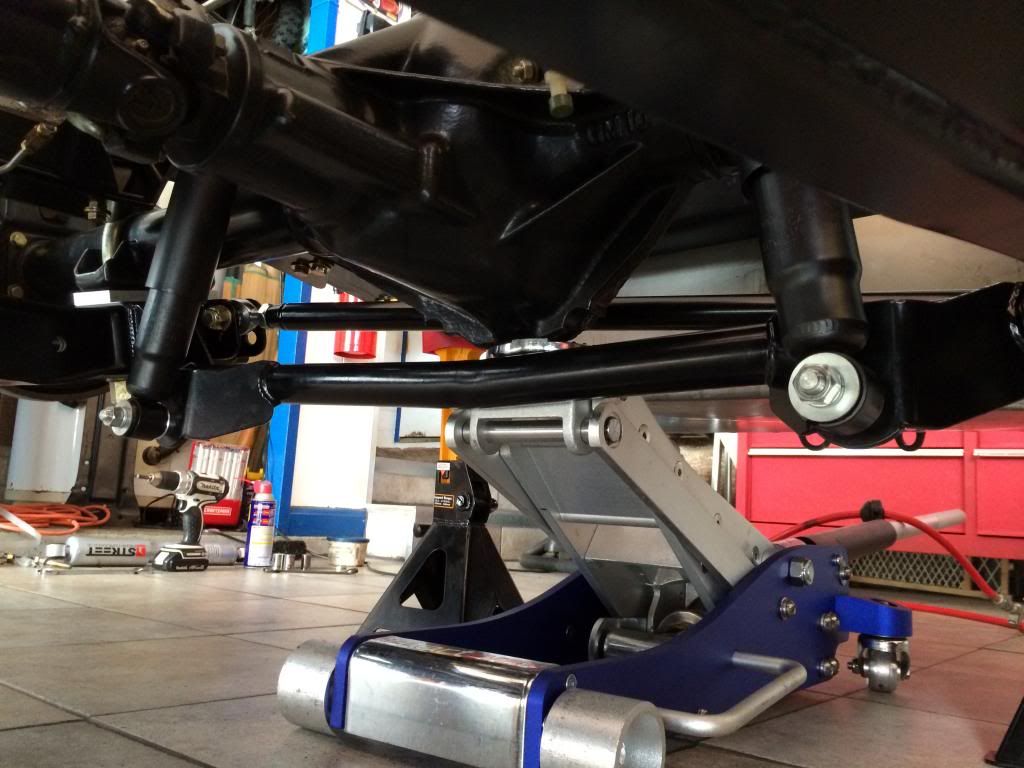 Passenger side trailing arm crossmember/trac bar mount~ 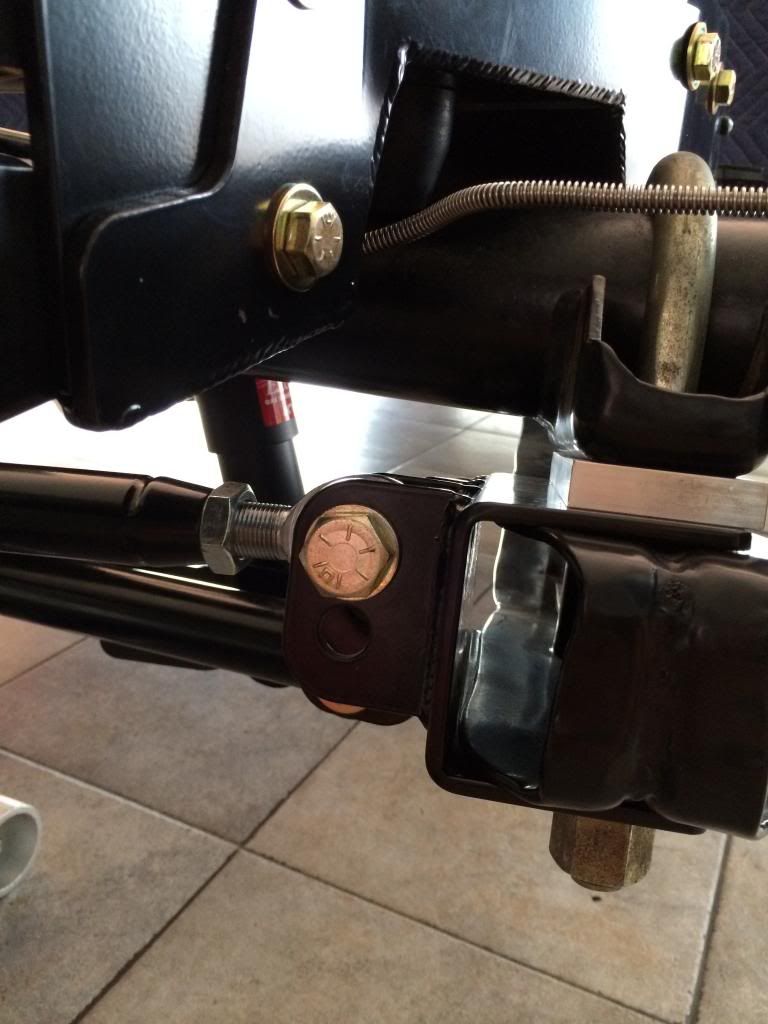 Another reference shot of the lower crossmember spacing to the axle pumpkin~ 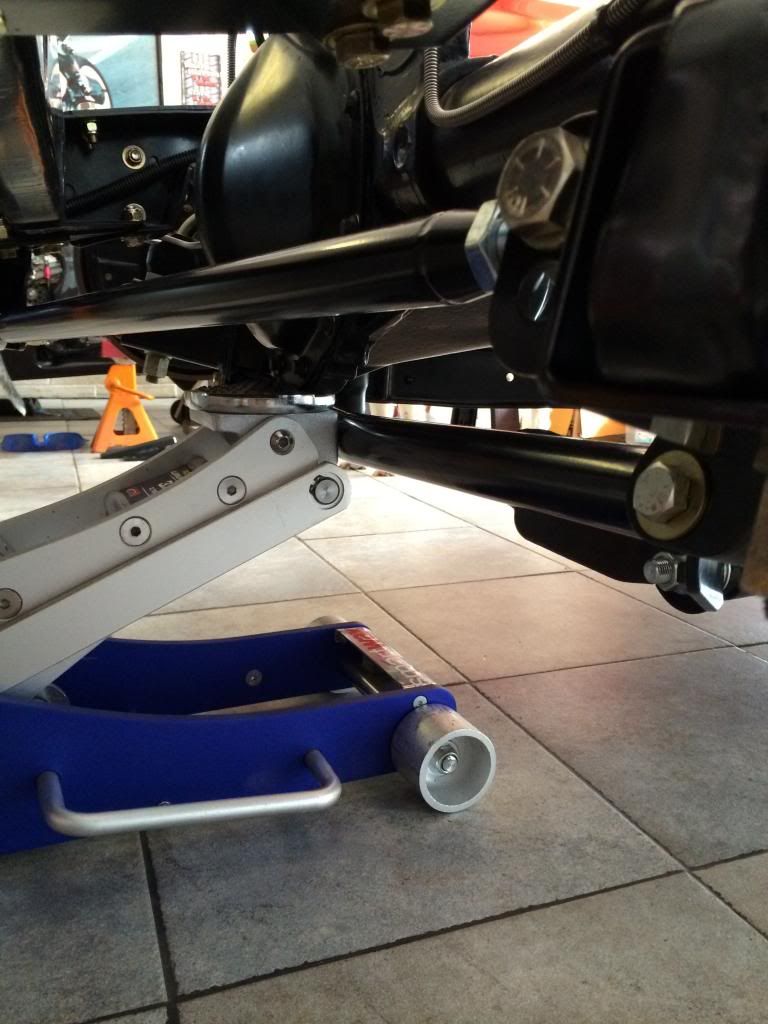 Another shot of the completed PB Stage 2 Rear~ 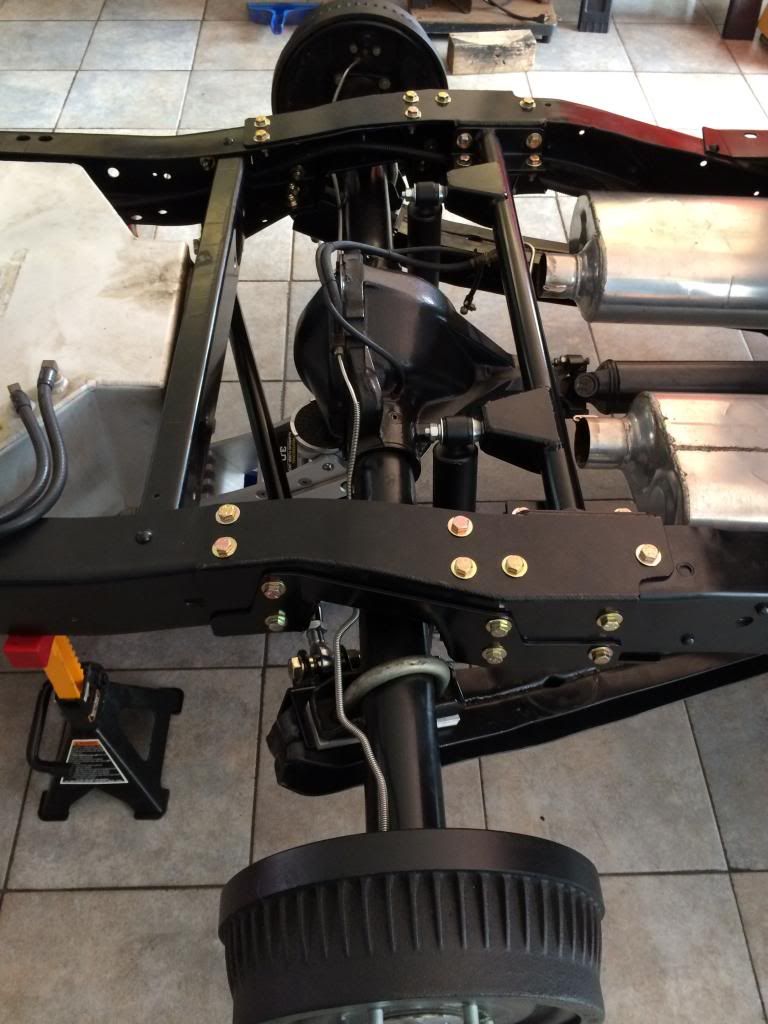 Wheels mounted and clearance testing. The axle is just touching the bump stop in this pic. It is just as well since the pumpkin is just about at frame height give or take the slight gap between the frame and bed. Any lower and the pumpkin would hit the bed floor. This will be confirmed once the bed is back on~ 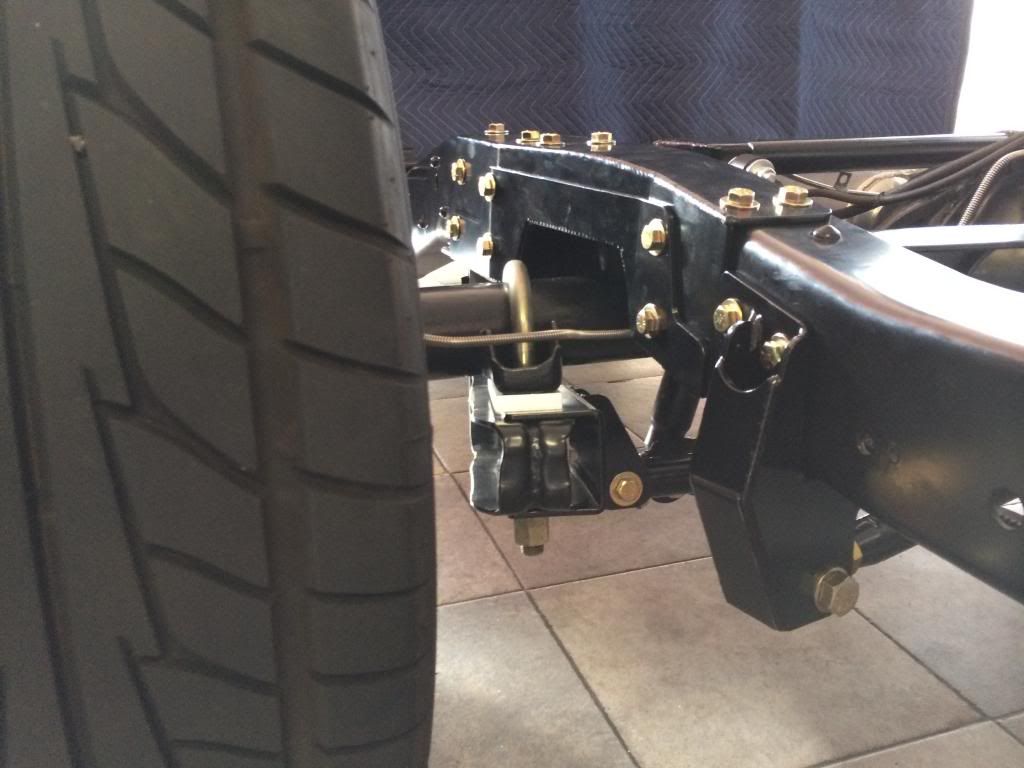 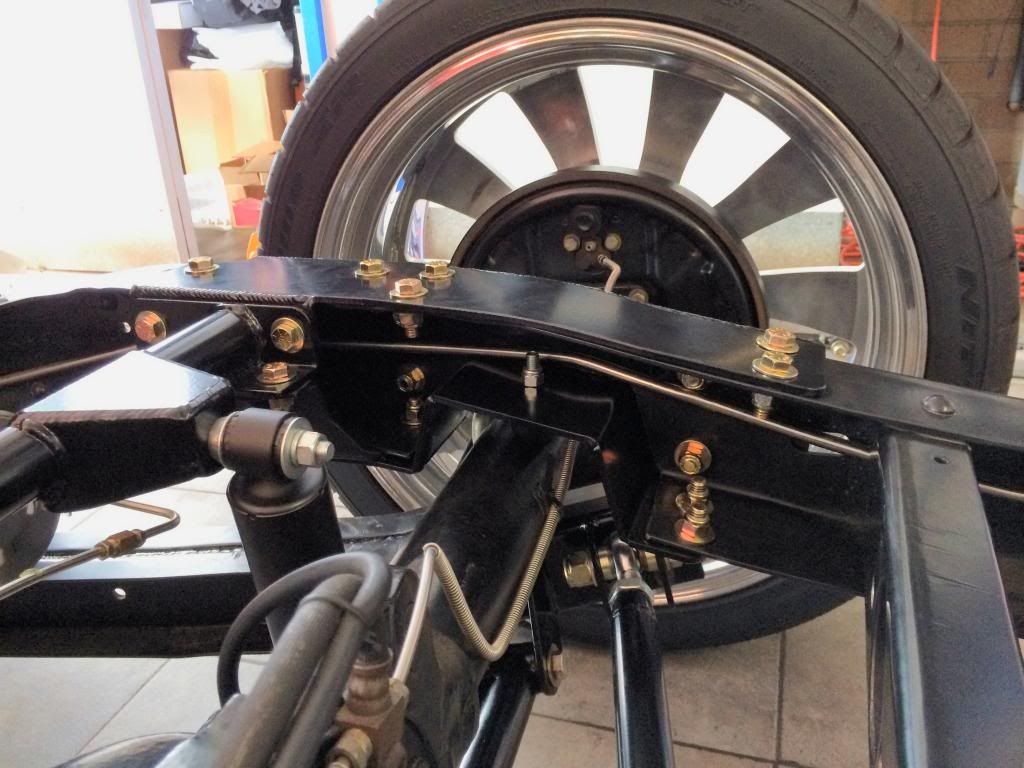 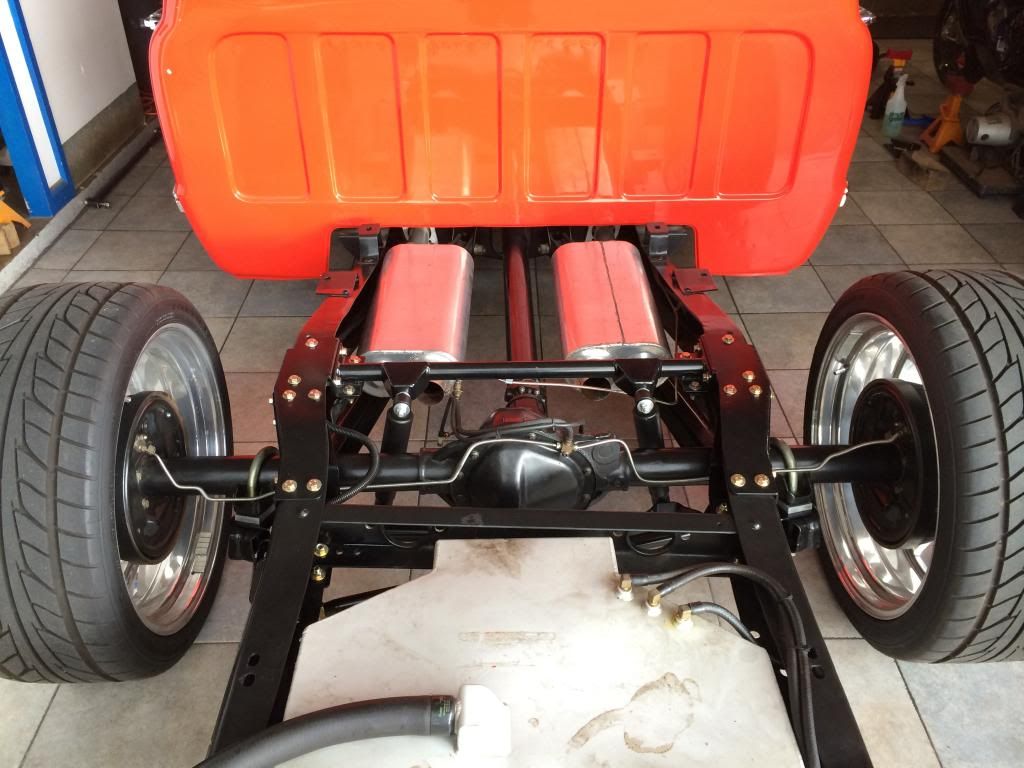 Although I should have took a quick frame to ground measurement before I notched it for height reference, i missed the chance so unfortunately, I won't be able to tell or show how much lower the truck sits and how much the wheel now tucks in the fender until the bed goes back on. For the sake of not making too long of a single post, I'll break this up into two instead of one long ass one. Stay tuned for the front arms and bags installation pics... |
|
|

|
| Bookmarks |
| Thread Tools | |
| Display Modes | |
|
|