
 |
|
|
#301 |
|
Registered User
Join Date: Jan 2013
Location: Leonardtown, MD
Posts: 1,648
|
Re: 55 Wagon Progress
I got the carbide bit along with some other sizes and shapes a few years back in a machine tool manufacturer close out from a guy on another forum. That was the only 1/8 diameter I got, and chose it specifically for the Dremel knowing something like this would pop up.
__________________
Robert |
|
|

|
|
|
#302 |
|
Registered User
Join Date: Nov 2011
Location: shreveport LA
Posts: 154
|
Re: 55 Wagon Progress
You sir are a mad man with metal.!
__________________
yeah buddy |
|
|

|
|
|
#303 |
|
Registered User
Join Date: Jan 2013
Location: Leonardtown, MD
Posts: 1,648
|
Re: 55 Wagon Progress
Working on the inner part of the door's un-chopping today..
Tacked... 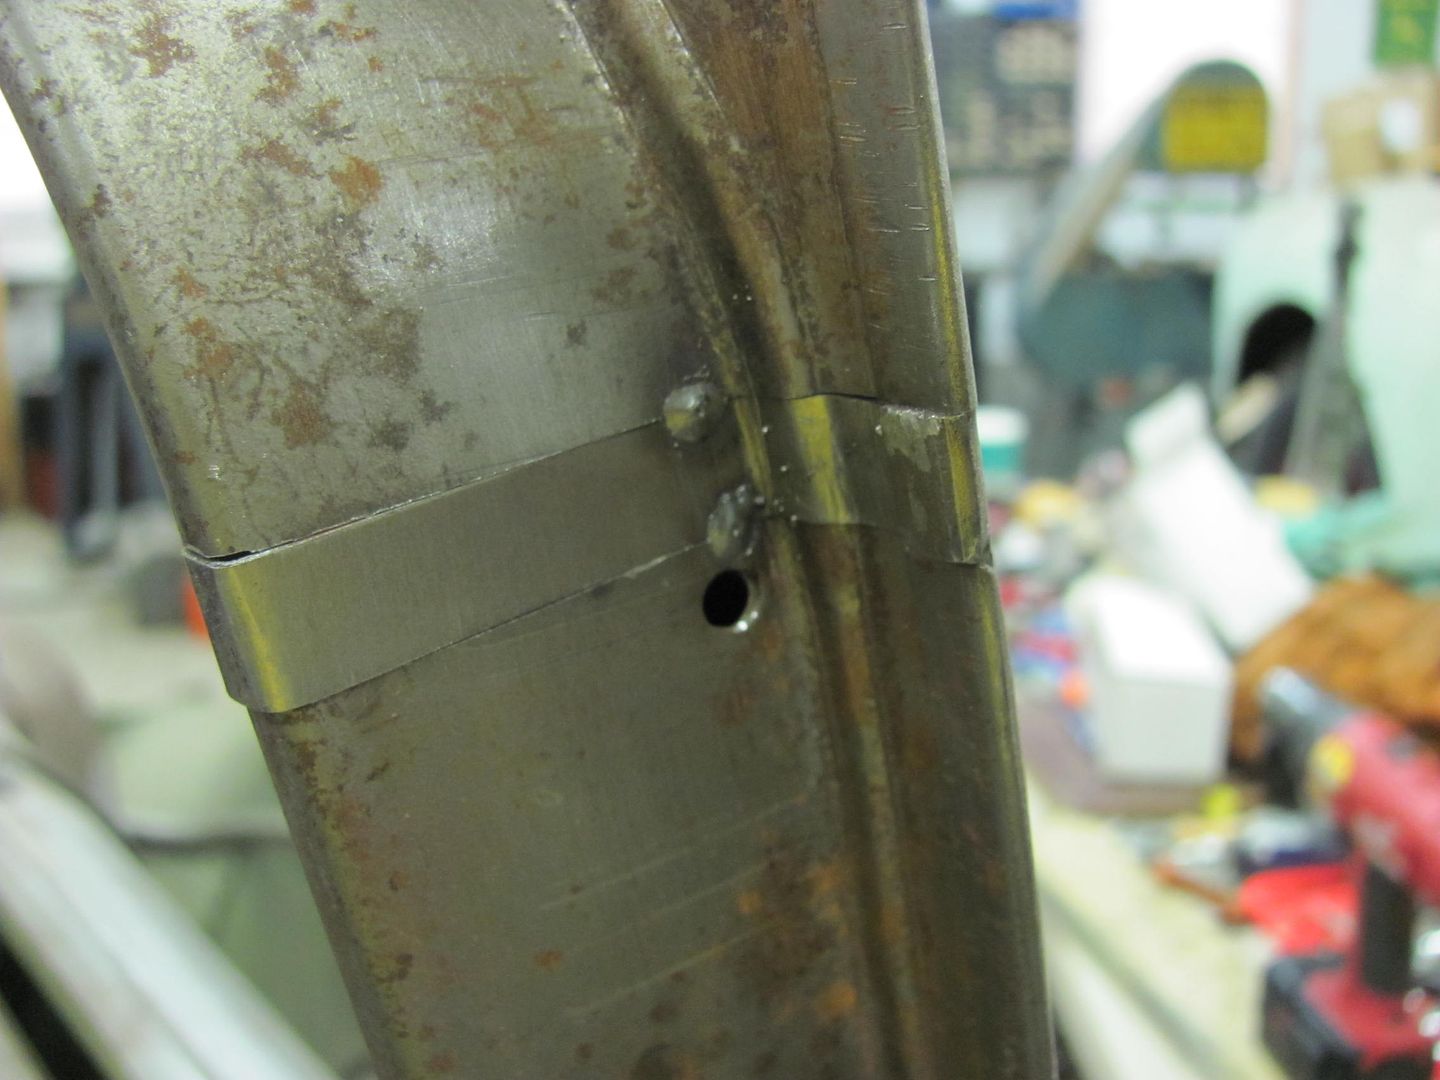 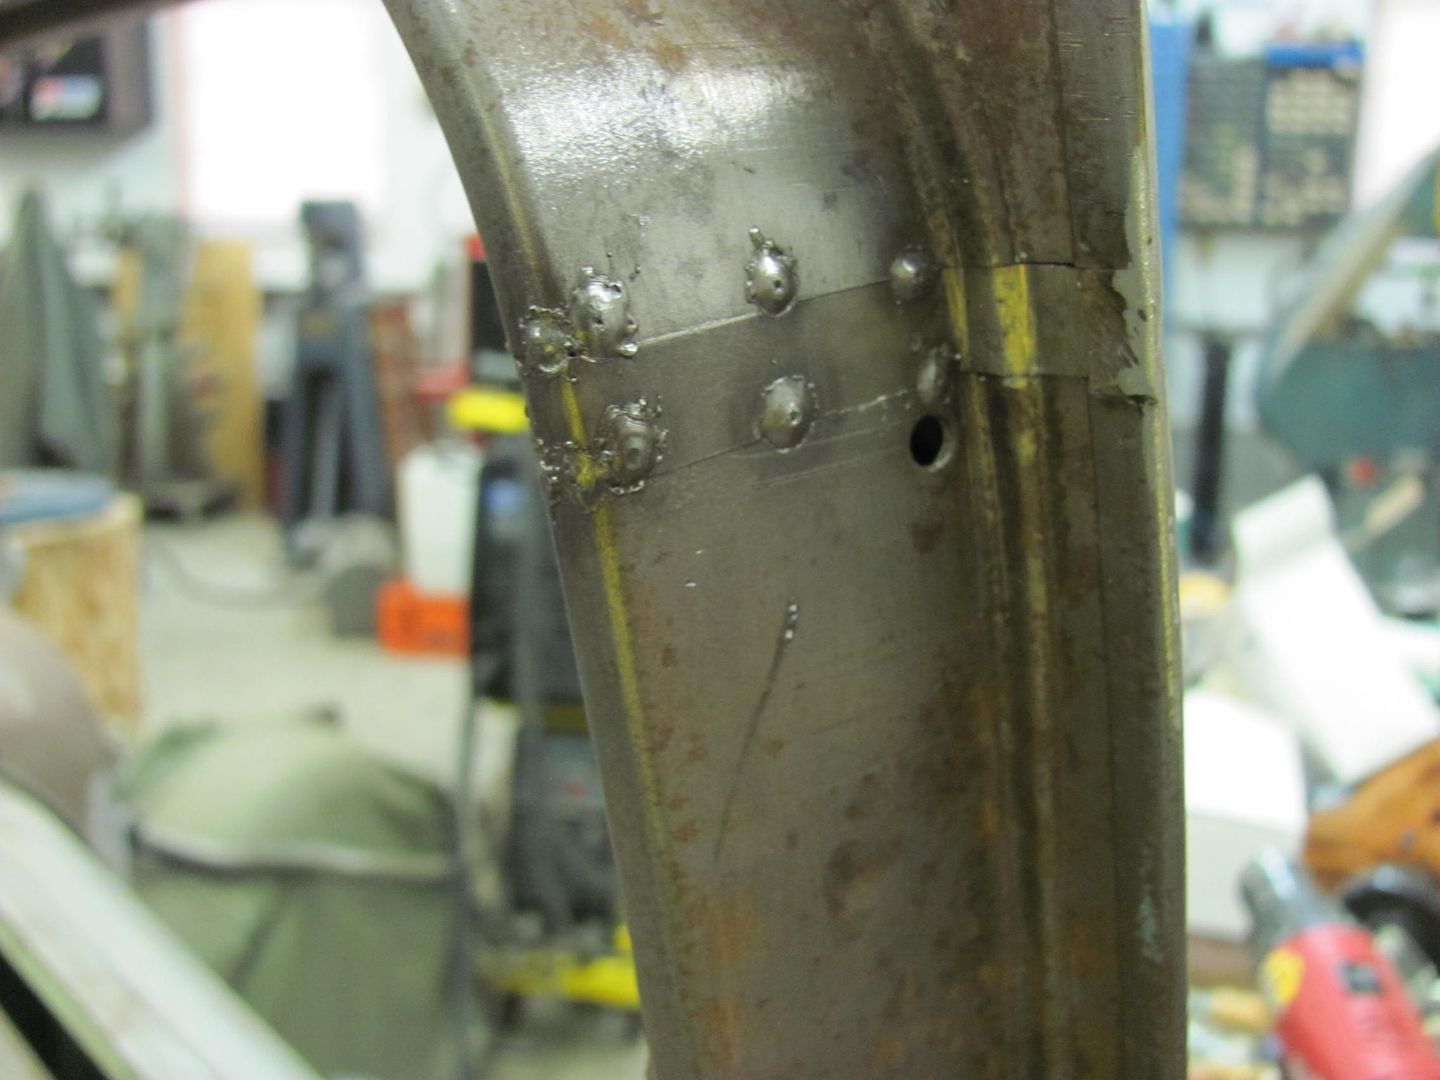 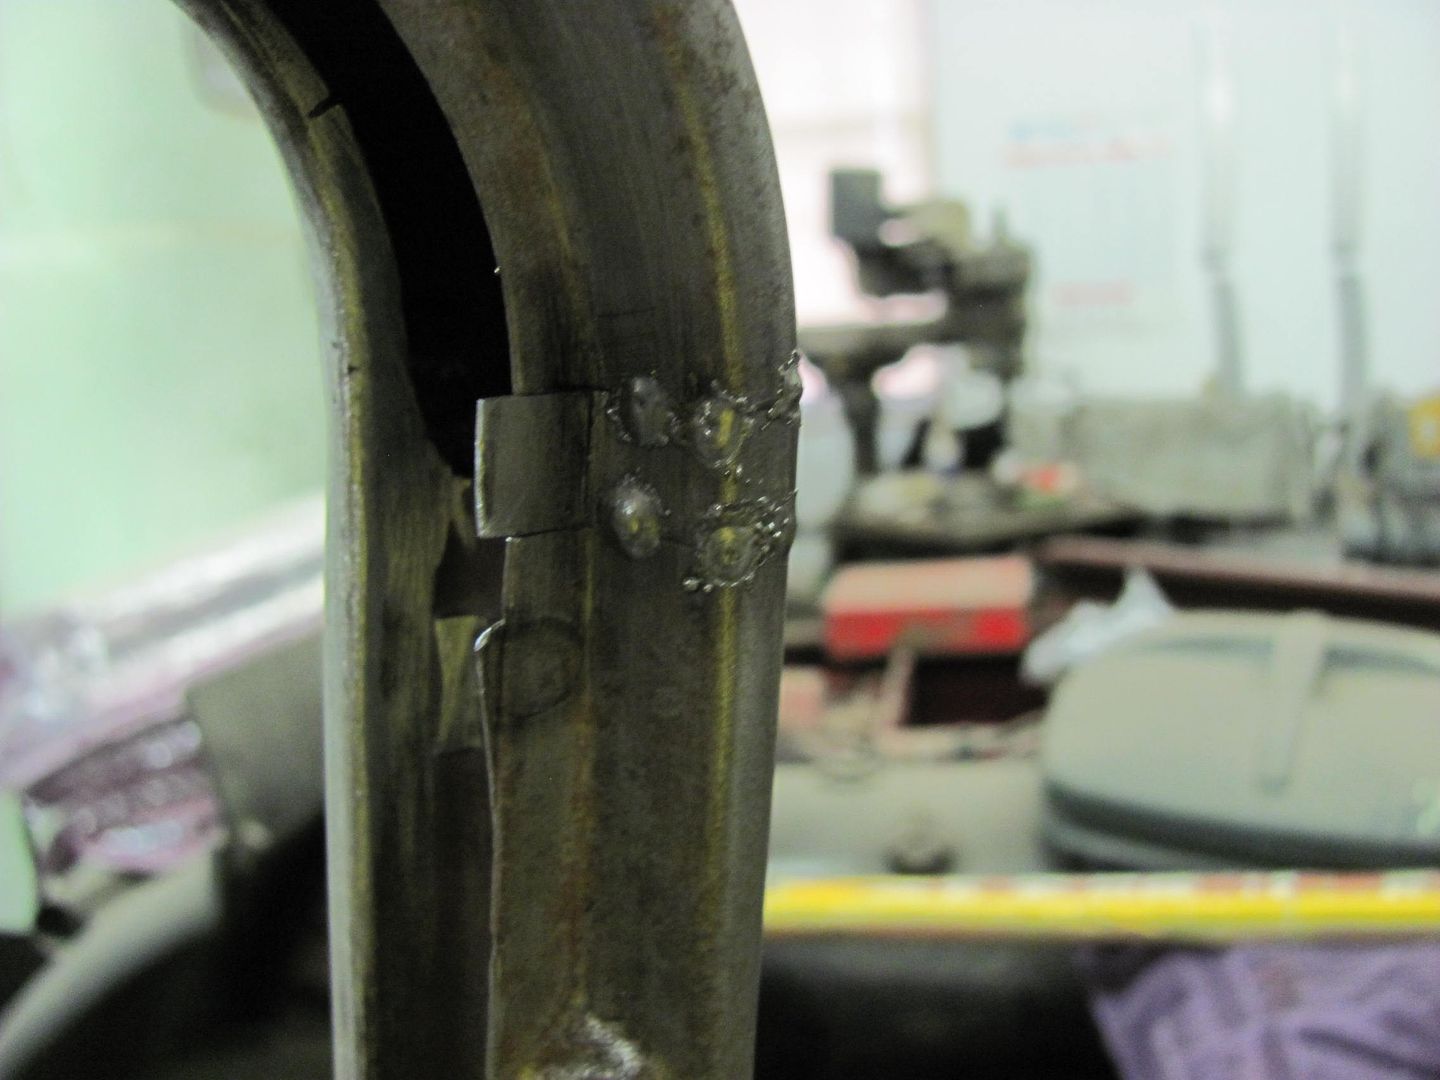 Then I got on a roll, here's the welded and finished product... 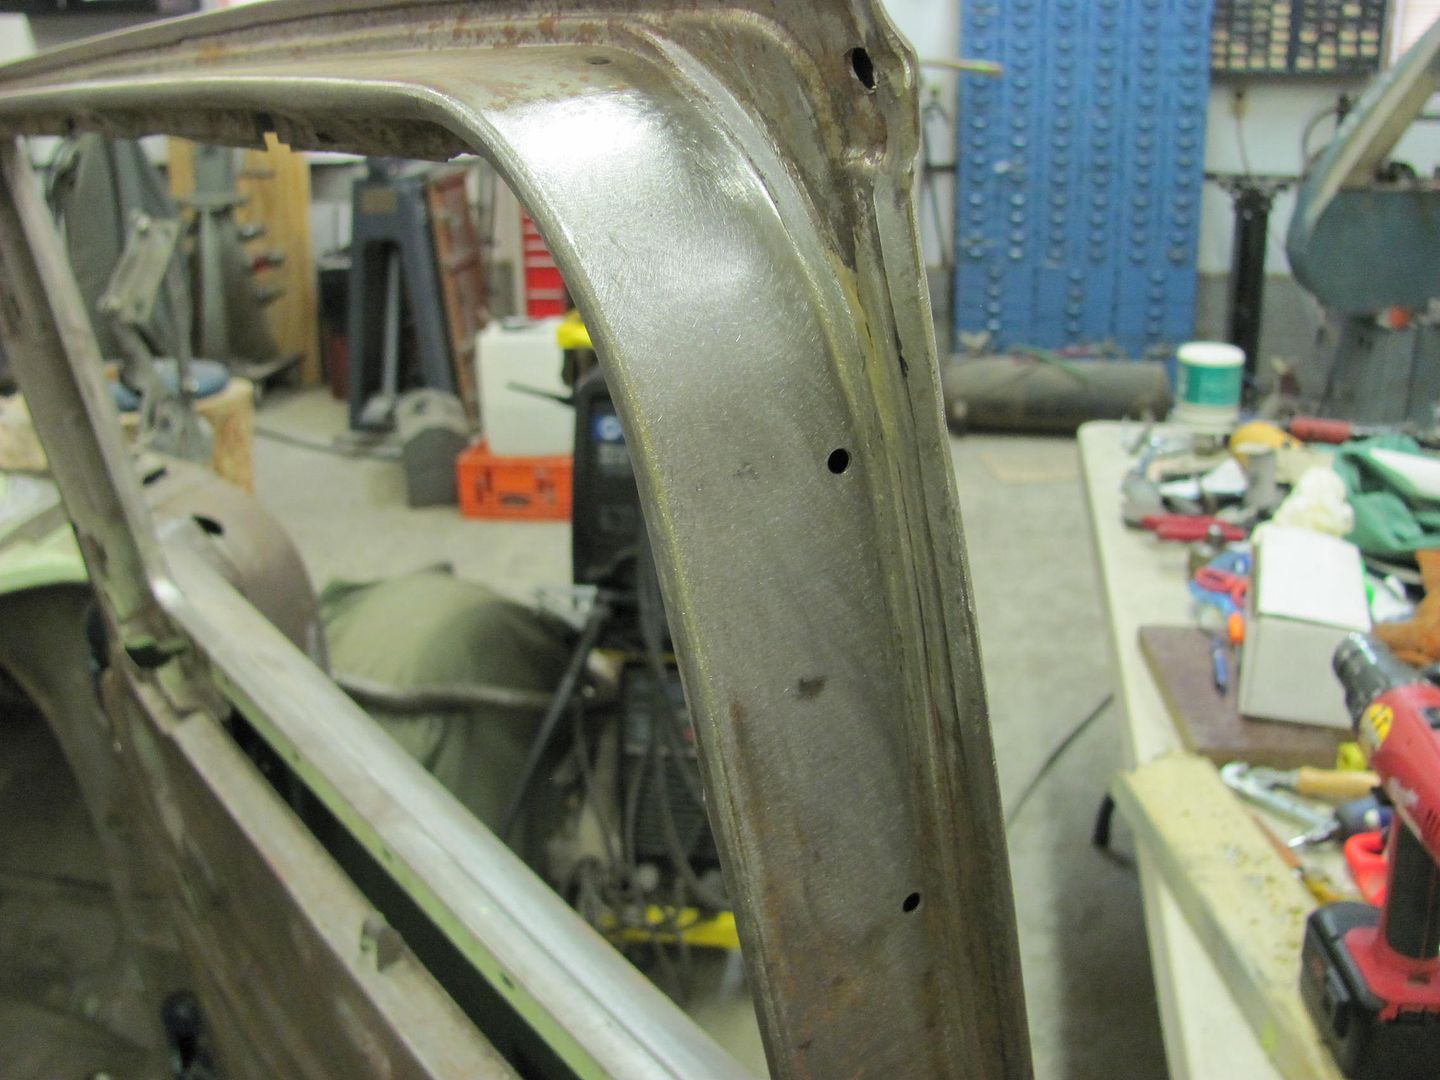 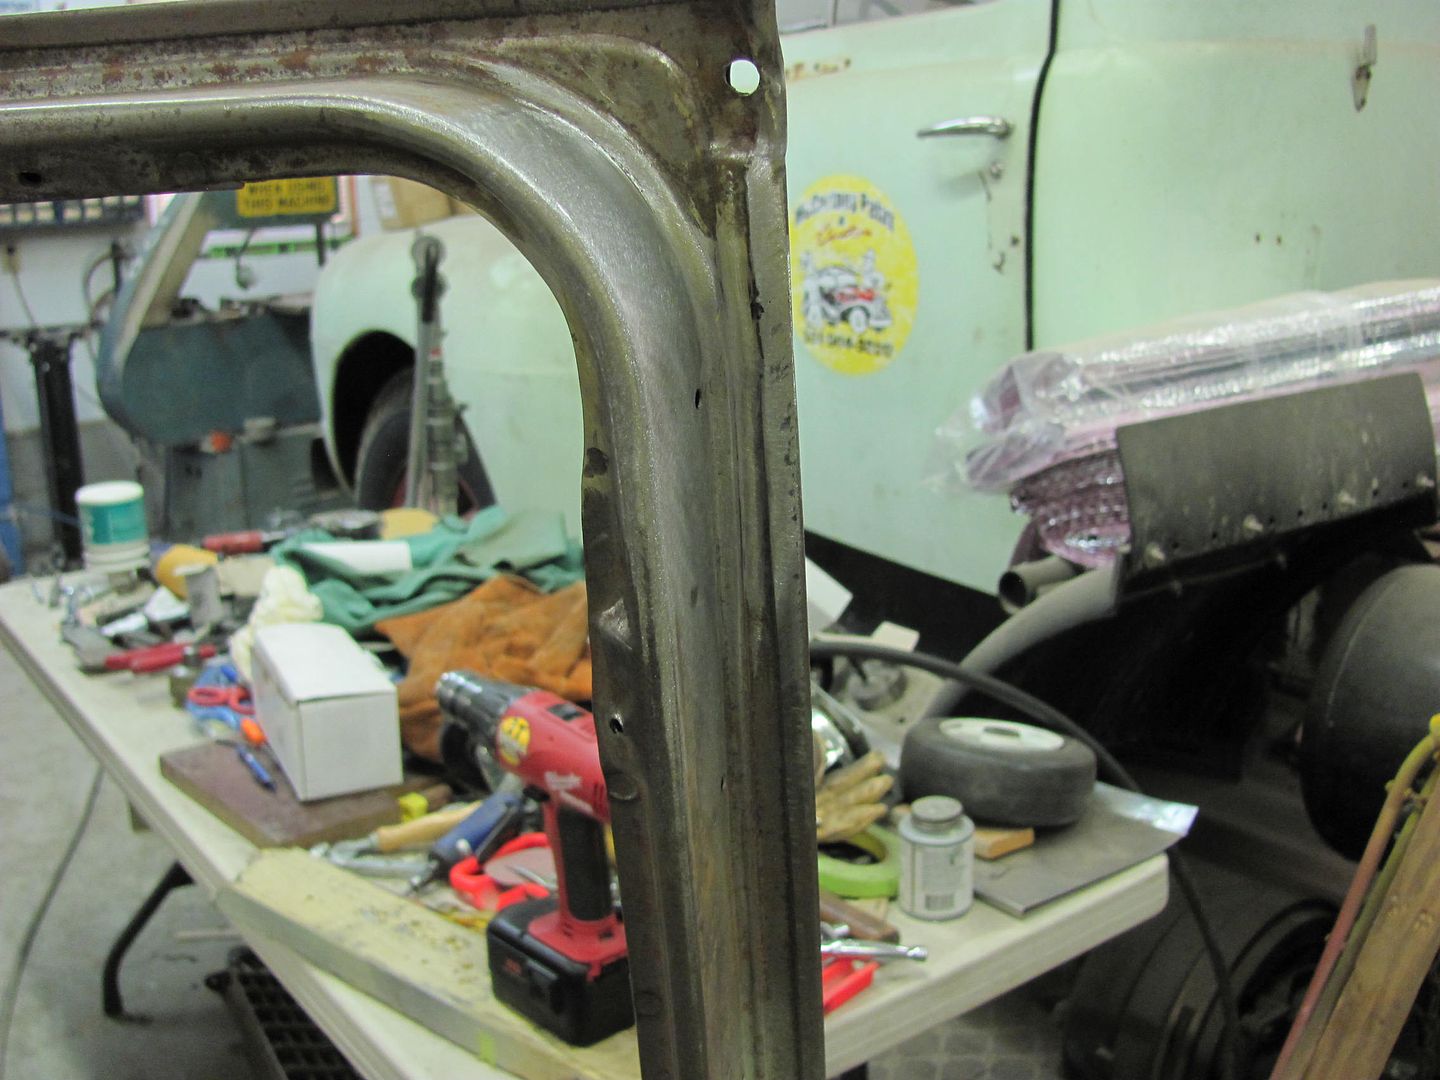 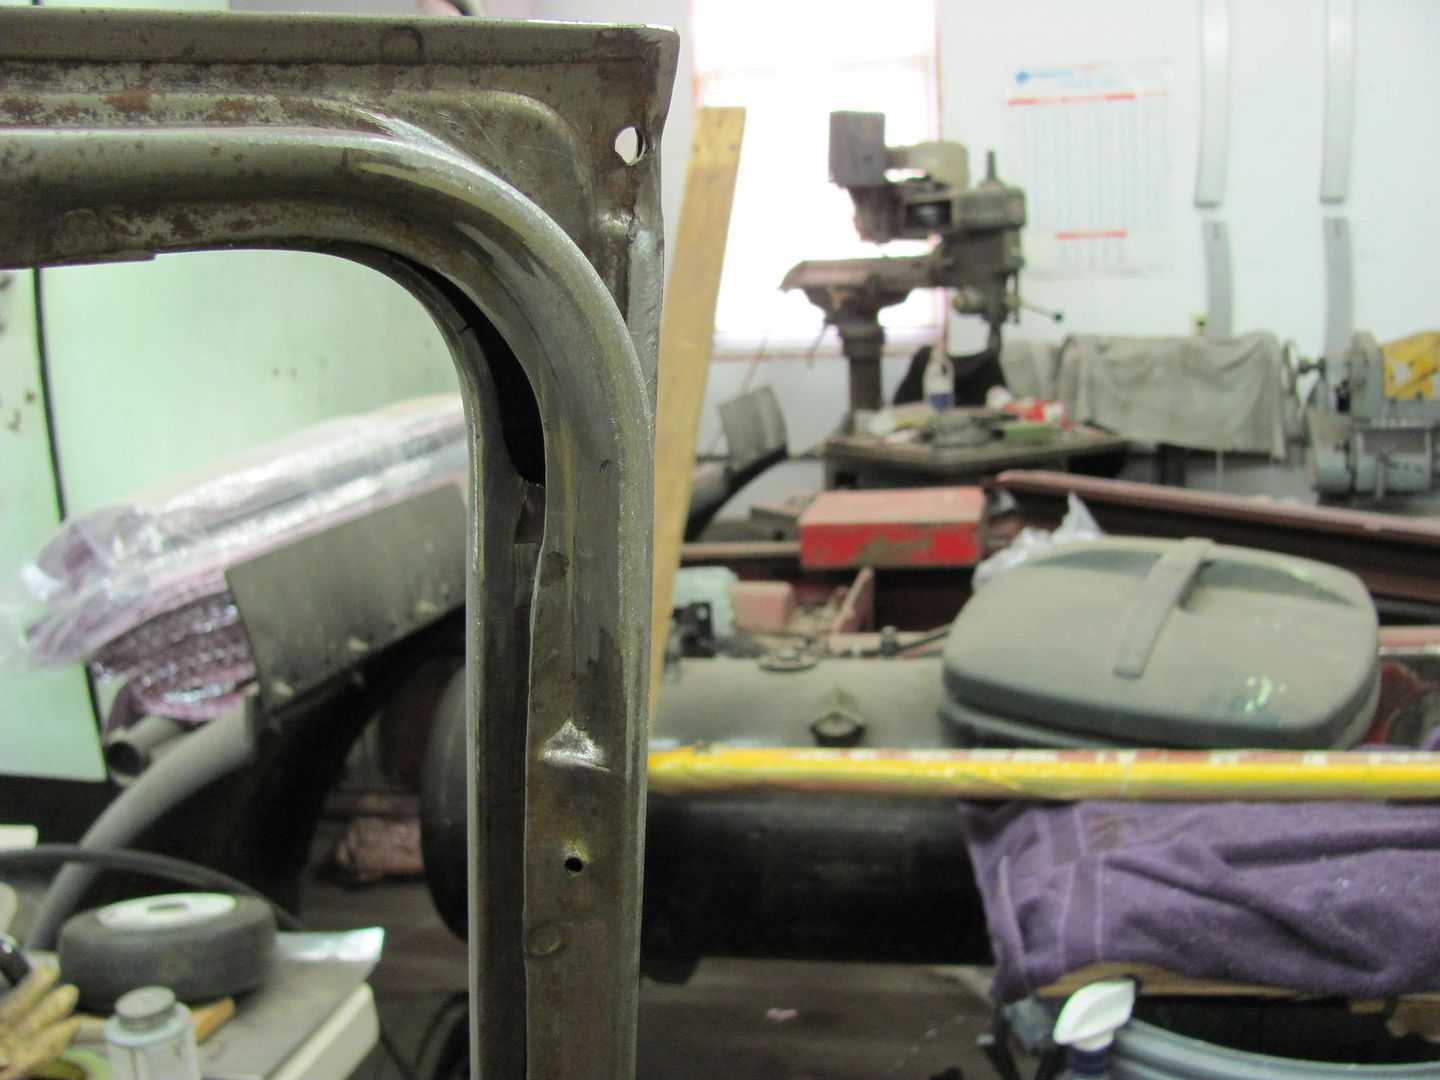 Much better fit.. 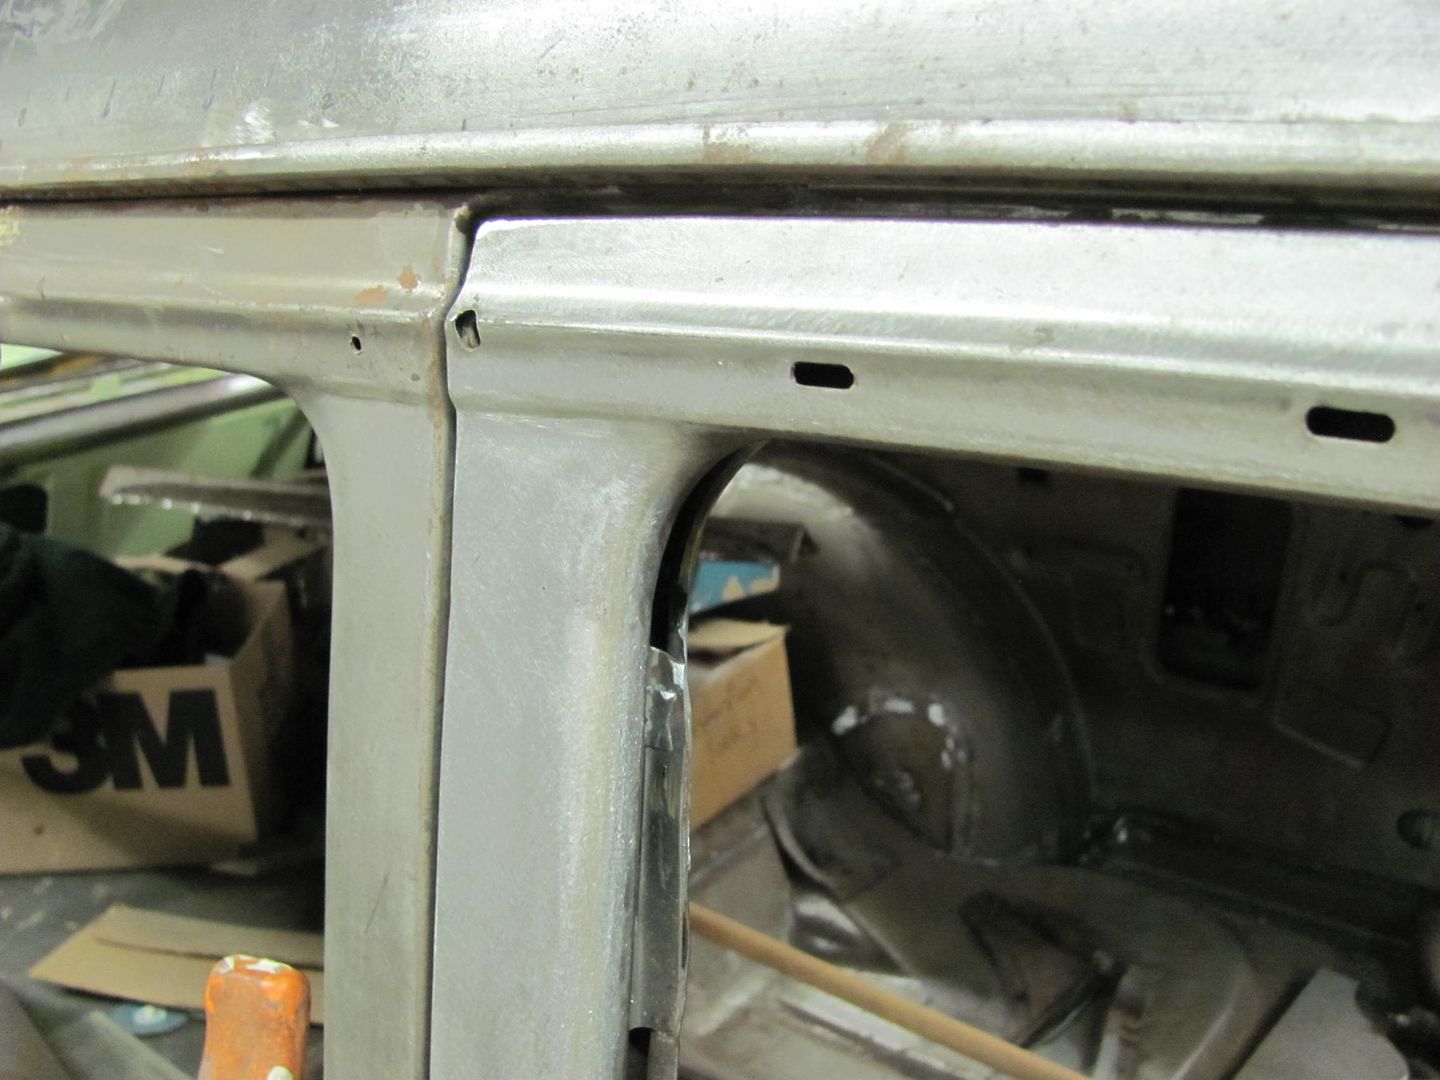 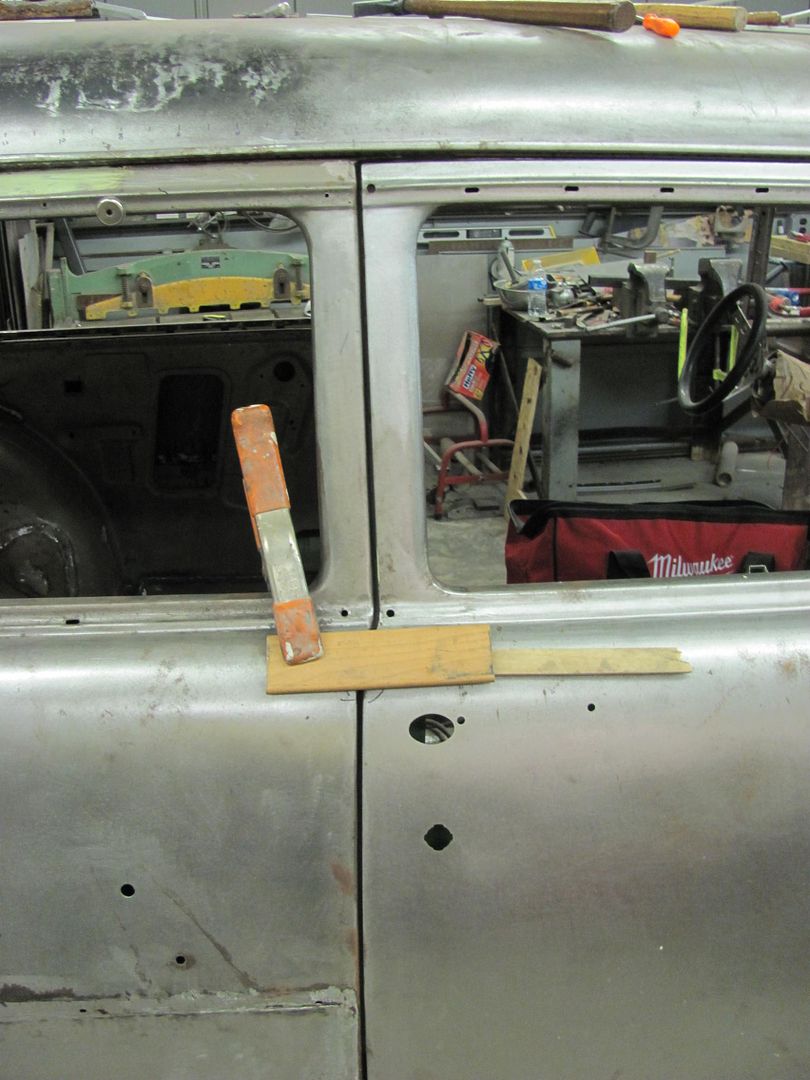 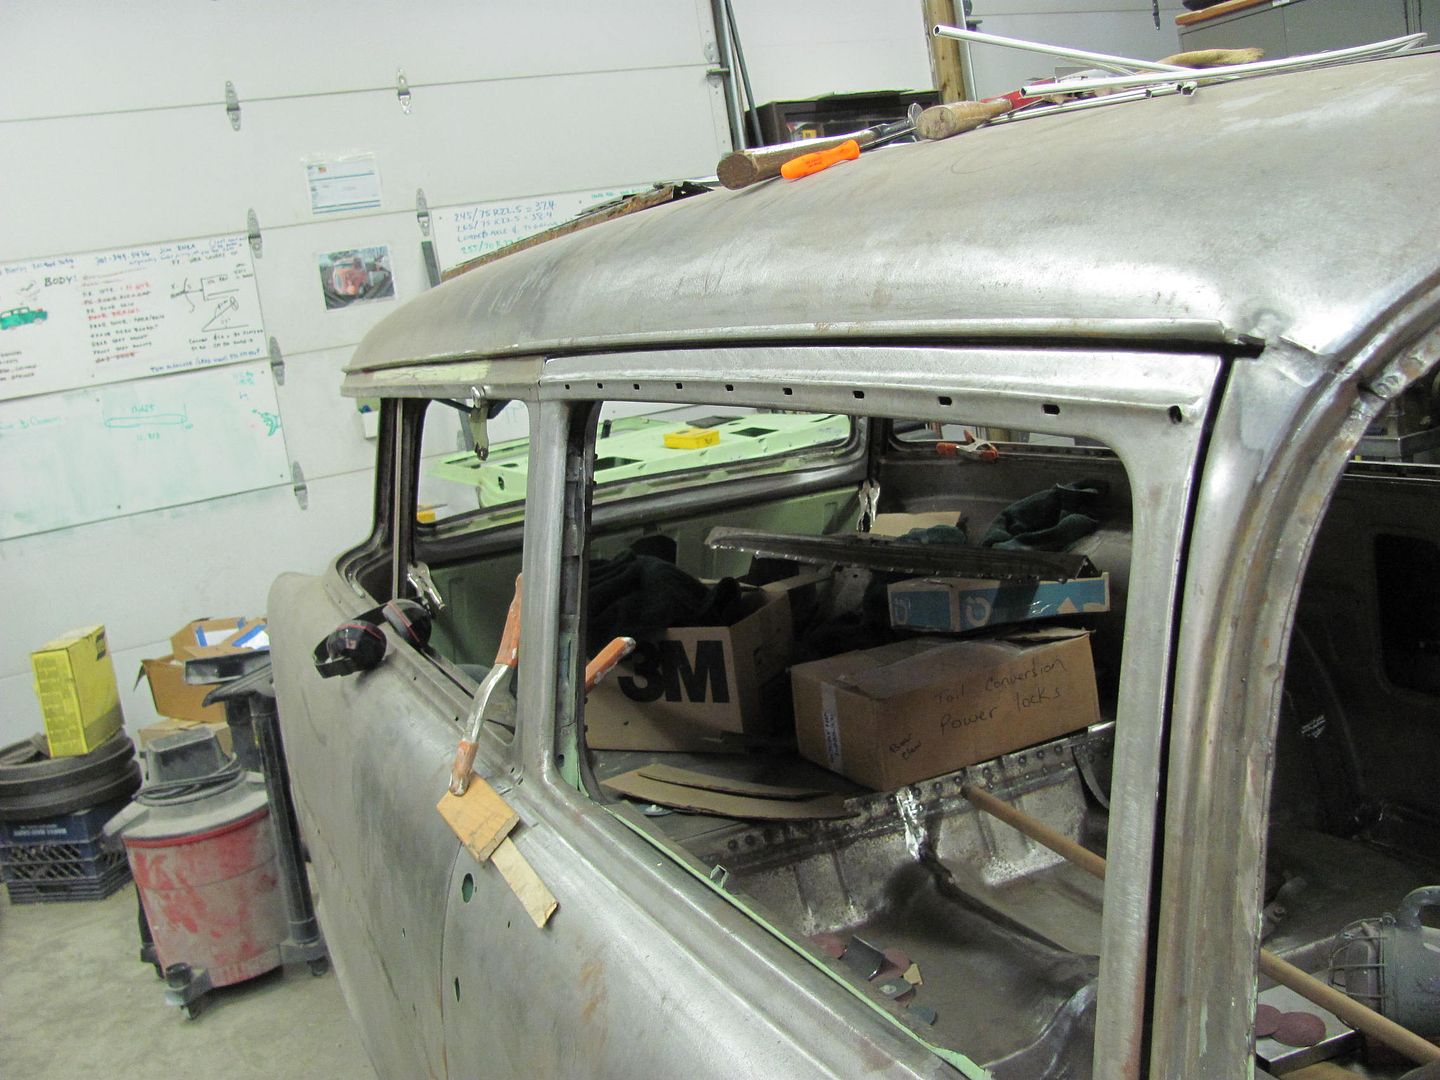
__________________
Robert |
|
|

|
|
|
#304 |
|
Registered User
Join Date: Jan 2013
Location: Leonardtown, MD
Posts: 1,648
|
Re: 55 Wagon Progress
Took delivery on the ballast material today for the door paint stand. Without this it didn't care for the one door added at a time, and wanted to do a nose dive. This should work well!
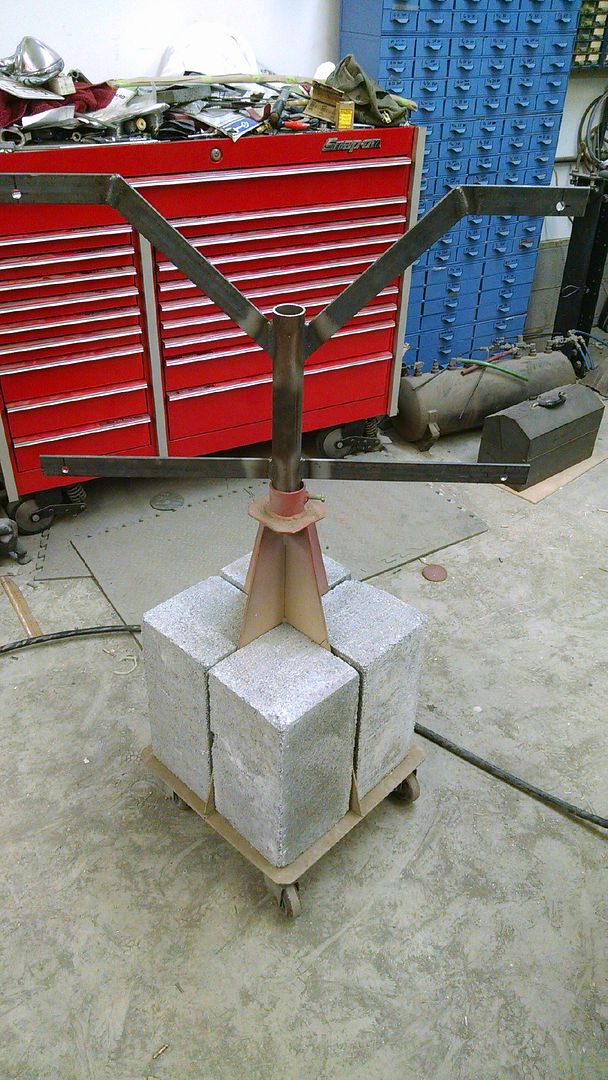 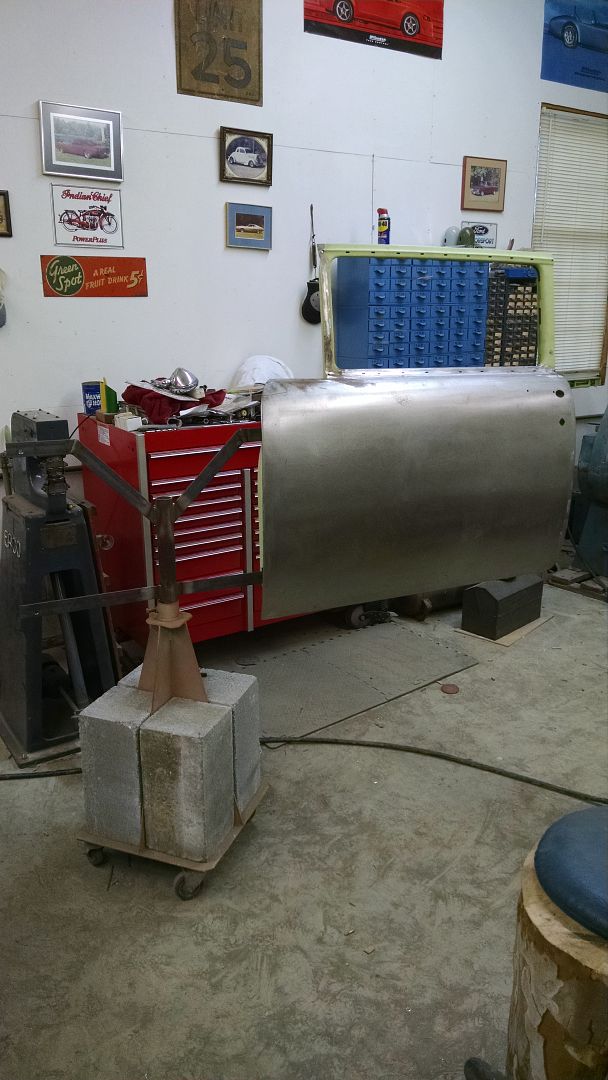 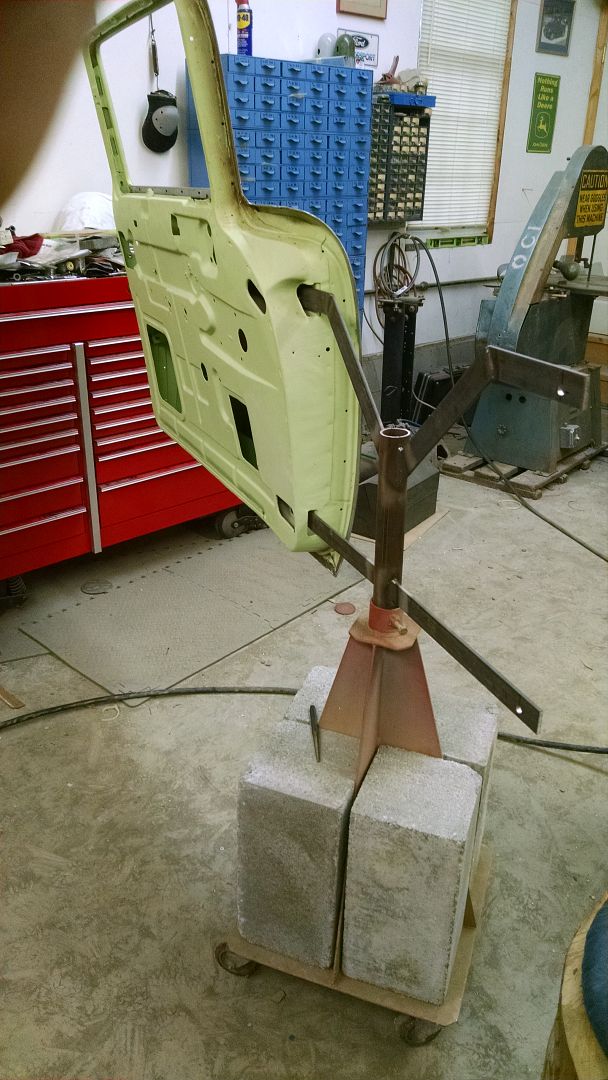
__________________
Robert |
|
|

|
|
|
#305 |
|
Registered User
 Join Date: May 2007
Location: Deale Md
Posts: 4,663
|
Re: 55 Wagon Progress
Here i thought it was a weather vain.
__________________
James 63 GMC V6 4speed carryall 65 chevy swb bbw V8 auto 68 K20 327/4 speed, buddy buckets 2002 GMC CC Dually Duramax 64 GMC lwb 3/4 V6 4speed SOLD 66 GMC swb bbw buddy buckets SOLD IG duallyjams The only thing that stays the same is constant change! |
|
|

|
|
|
#306 |
|
Senior Member
 Join Date: Jul 2012
Location: Oblong, Illinois
Posts: 7,028
|
Re: 55 Wagon Progress
Really nice work on the door unchop. Thanks for the info on the Dremel bit.
|
|
|

|
|
|
#307 |
|
Registered User
Join Date: Jan 2013
Location: Leonardtown, MD
Posts: 1,648
|
Re: 55 Wagon Progress
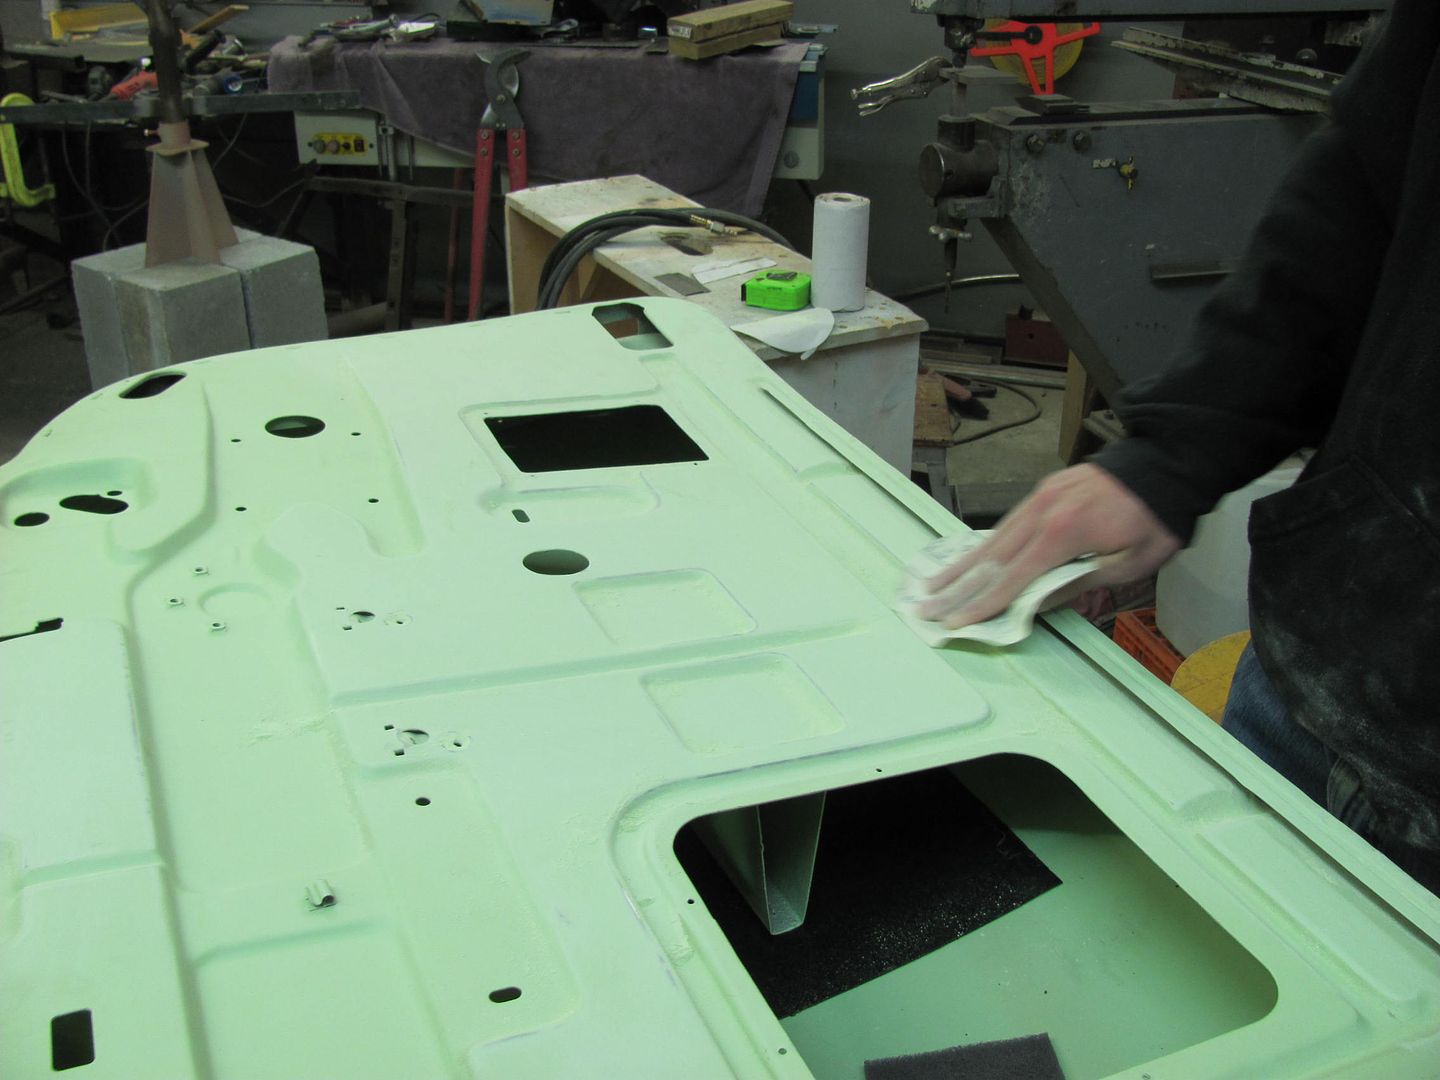
Today Kyle worked on prepping the driver's door for epoxy primer...
 Meanwhile, with the passenger door unchopped, I turned my attention to the slots for mounting the stainless trim and drain holes.. The old door's "window sill" was aligned and clamped in place to mark the slots.. 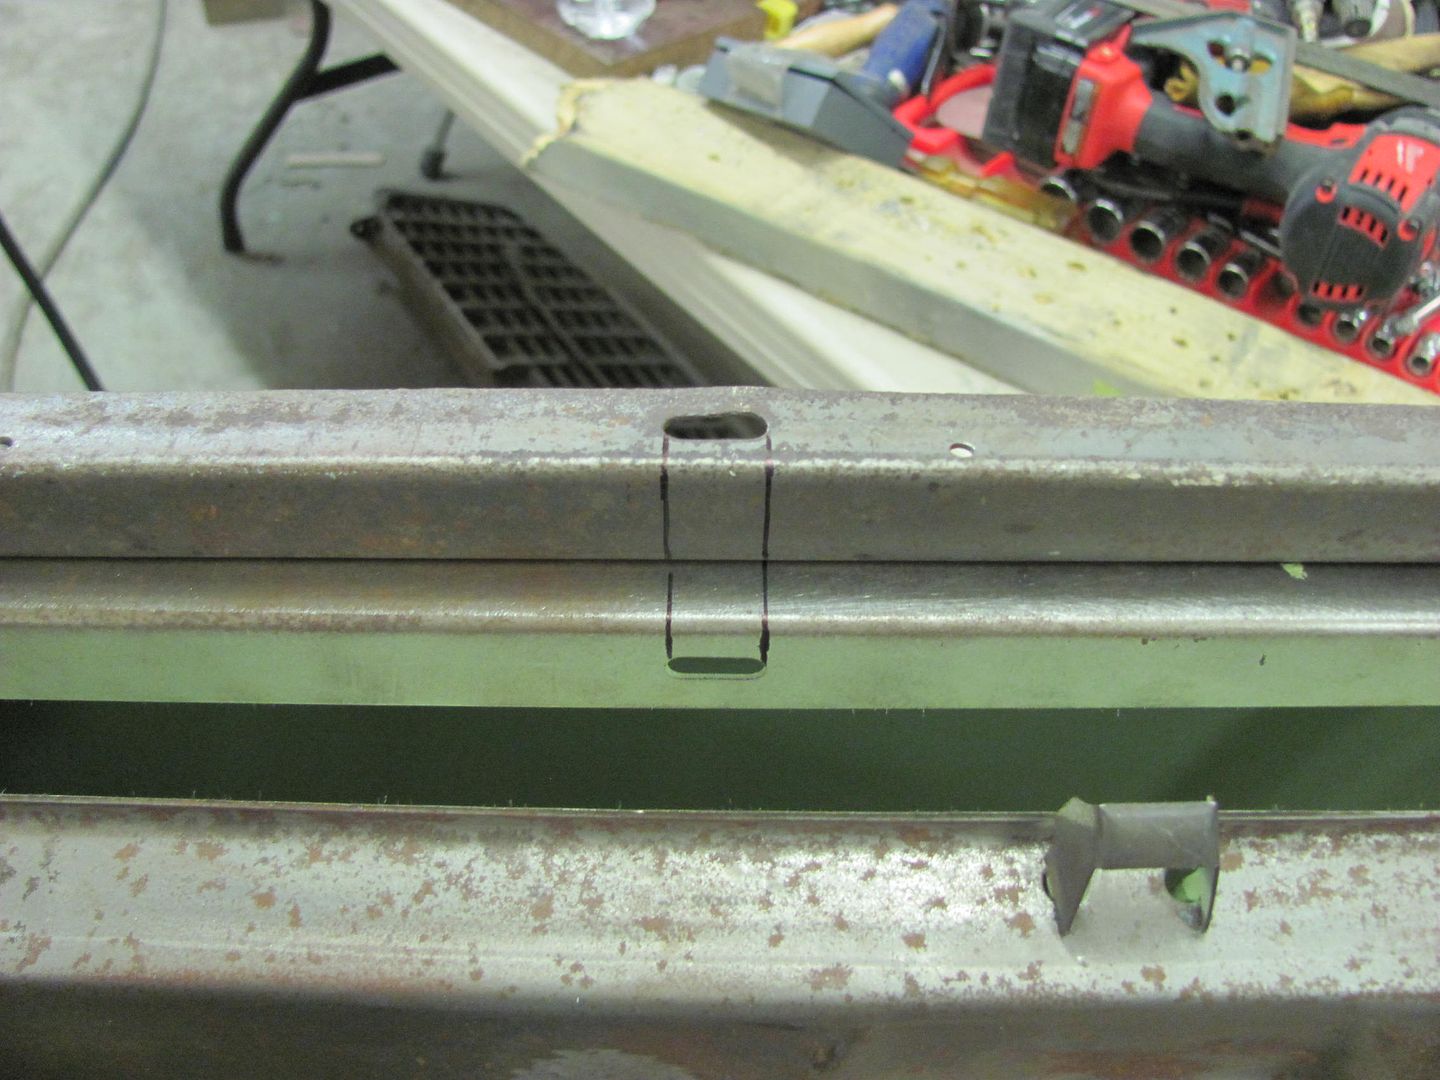 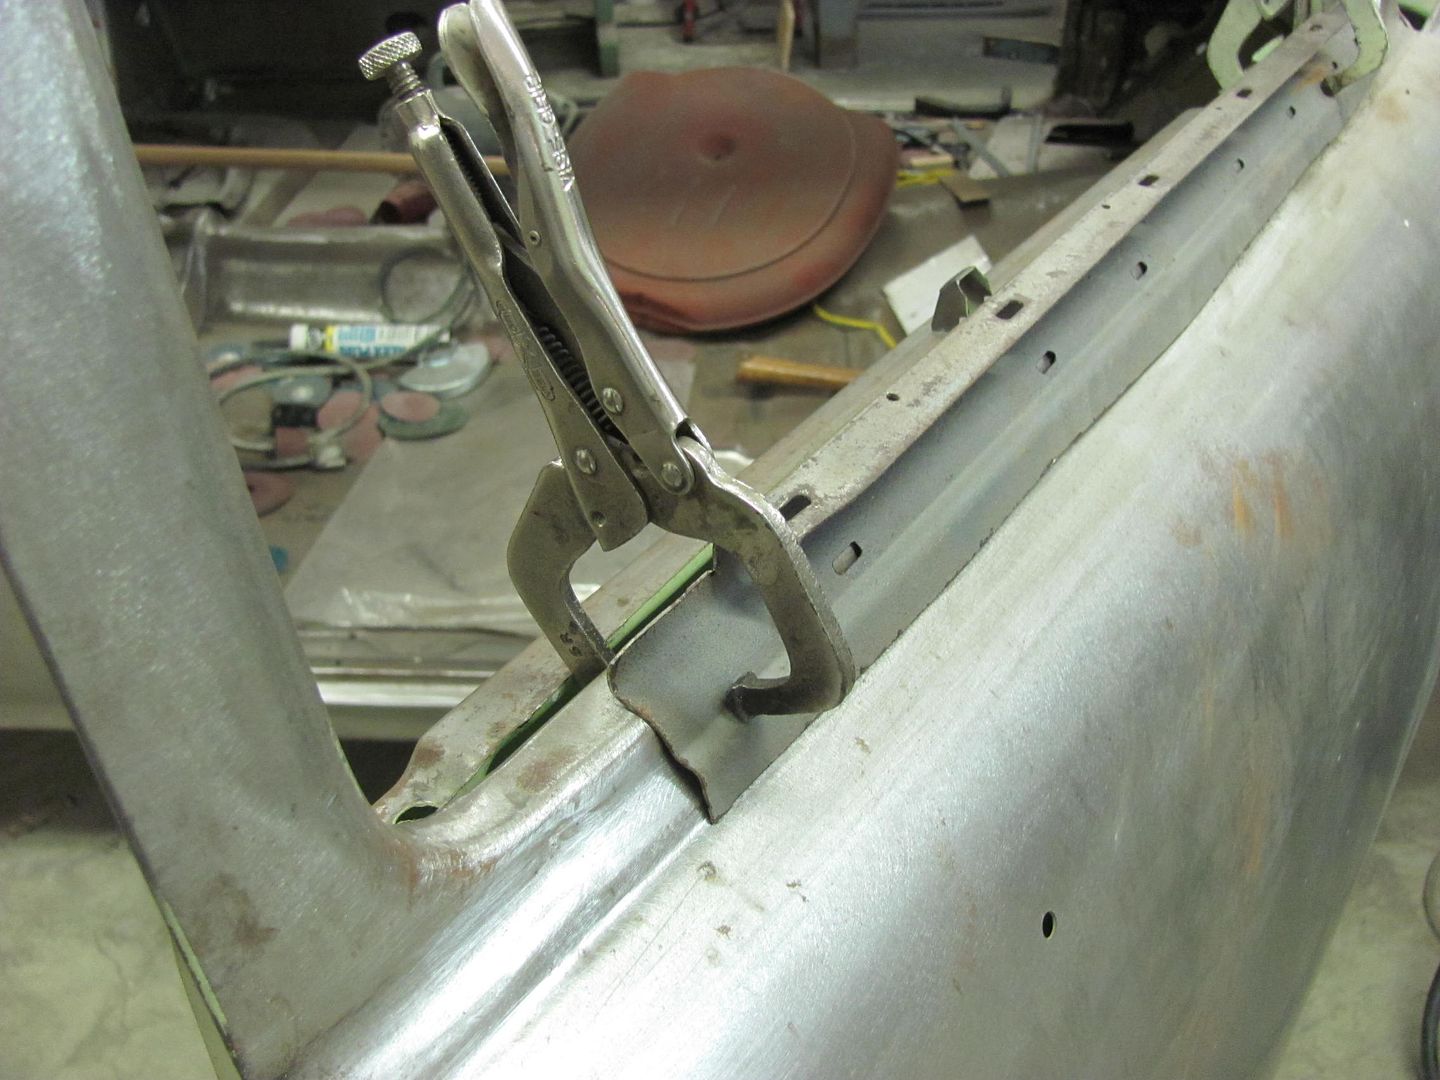 Then the slots are marked onto the new skin, and that location transposed down to the proper location.. 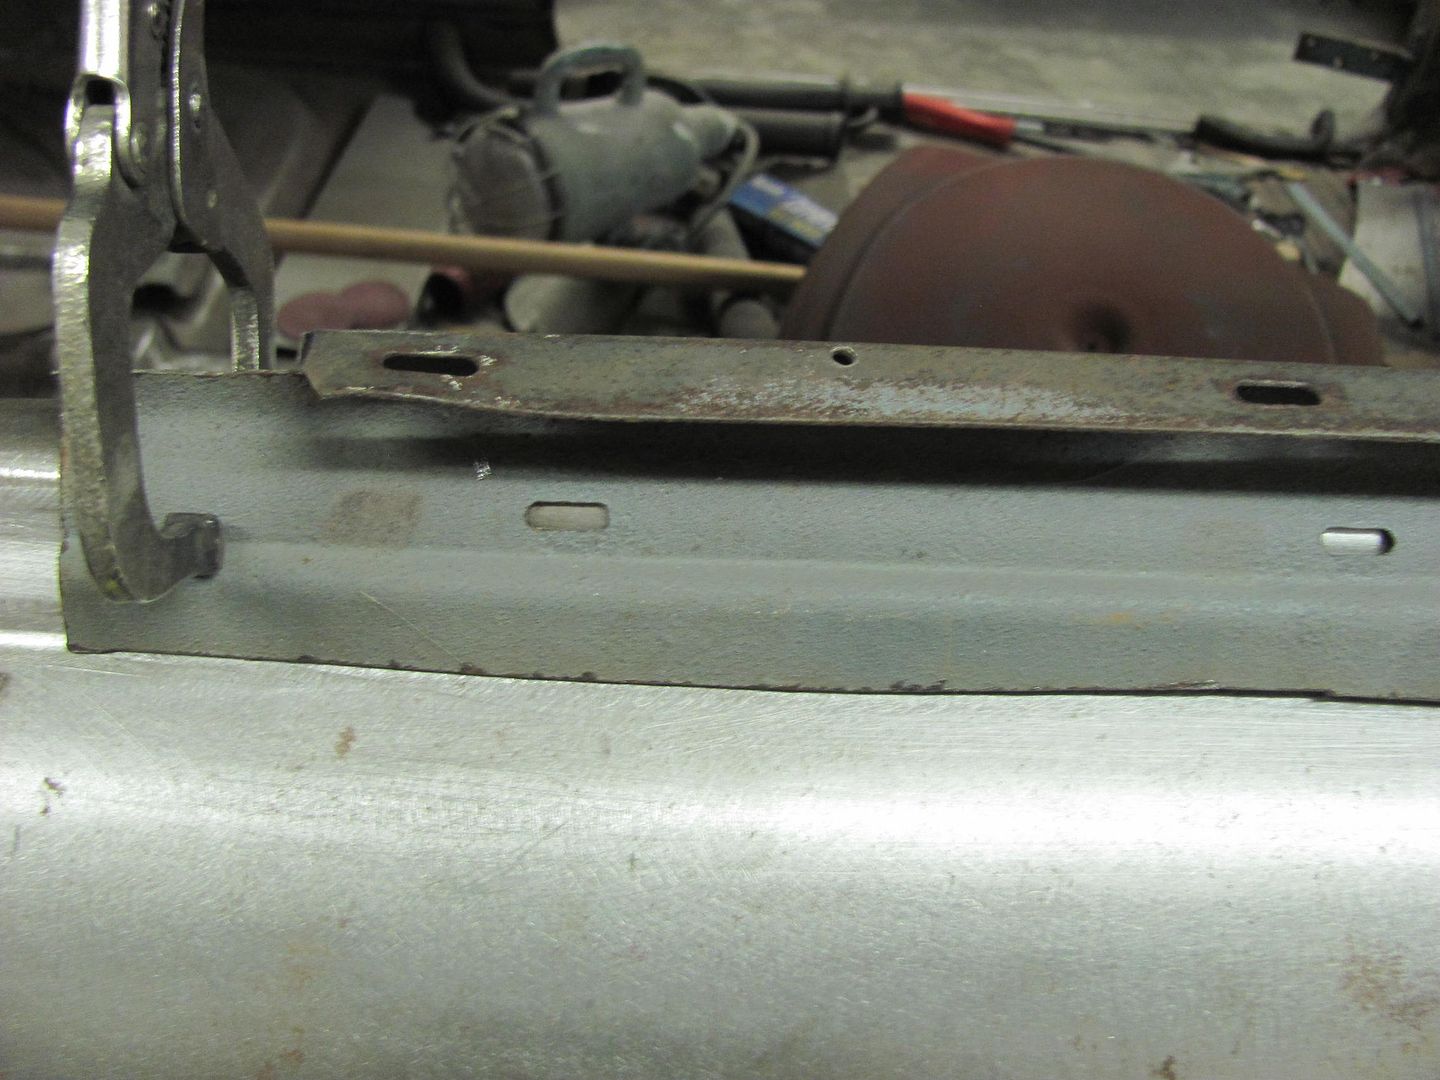 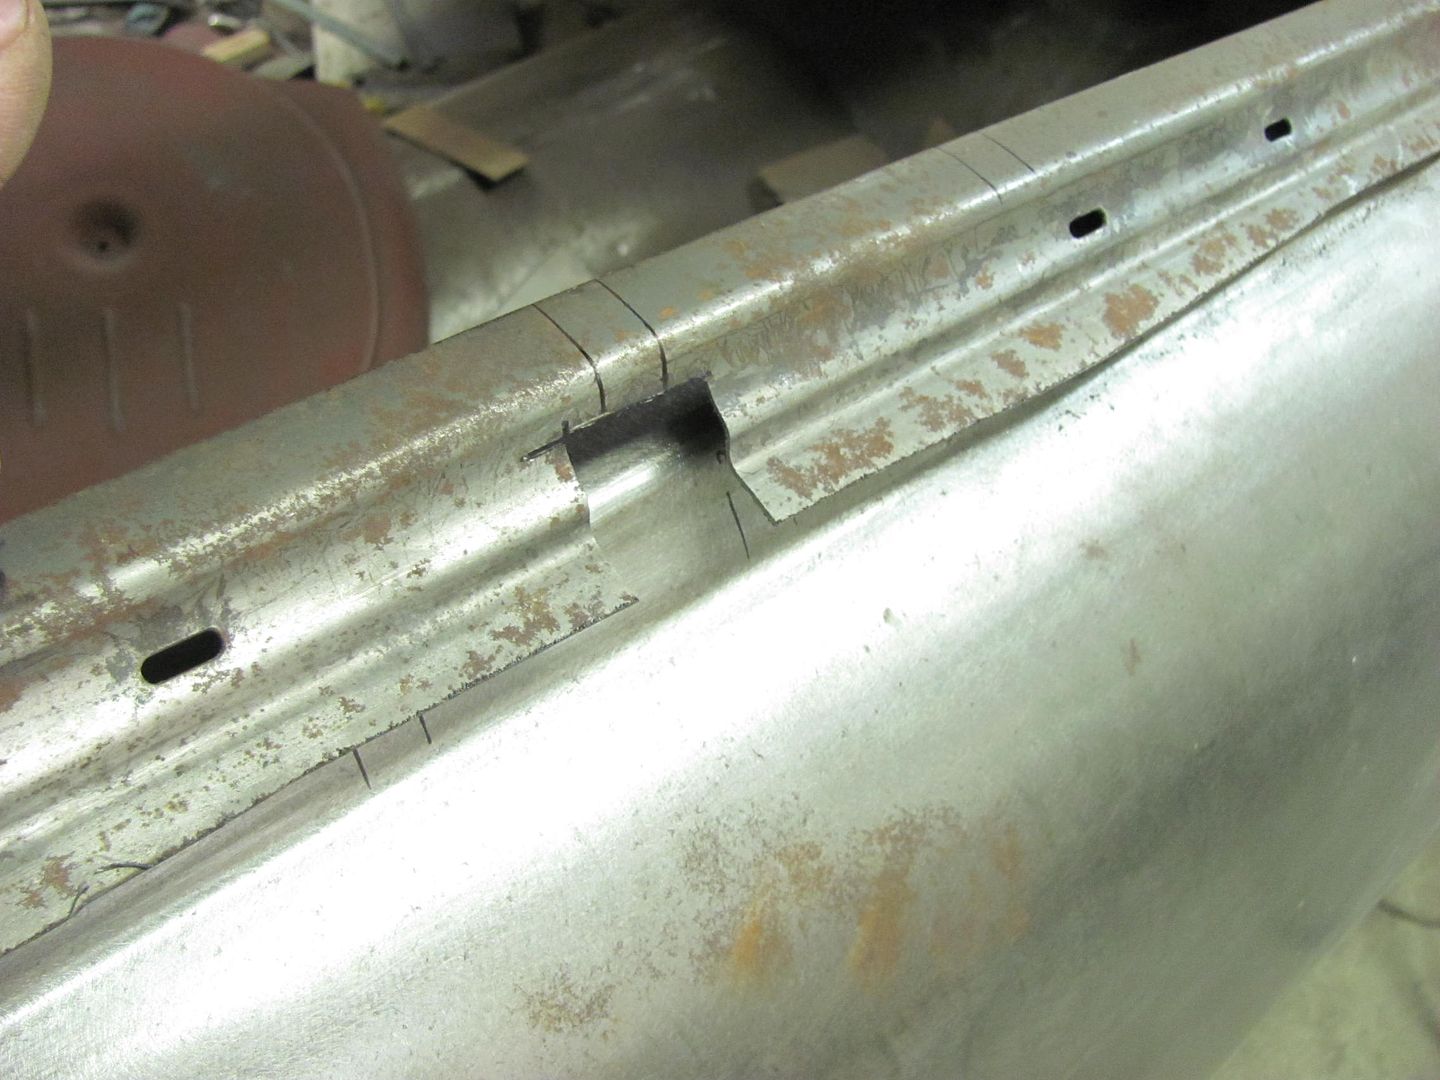 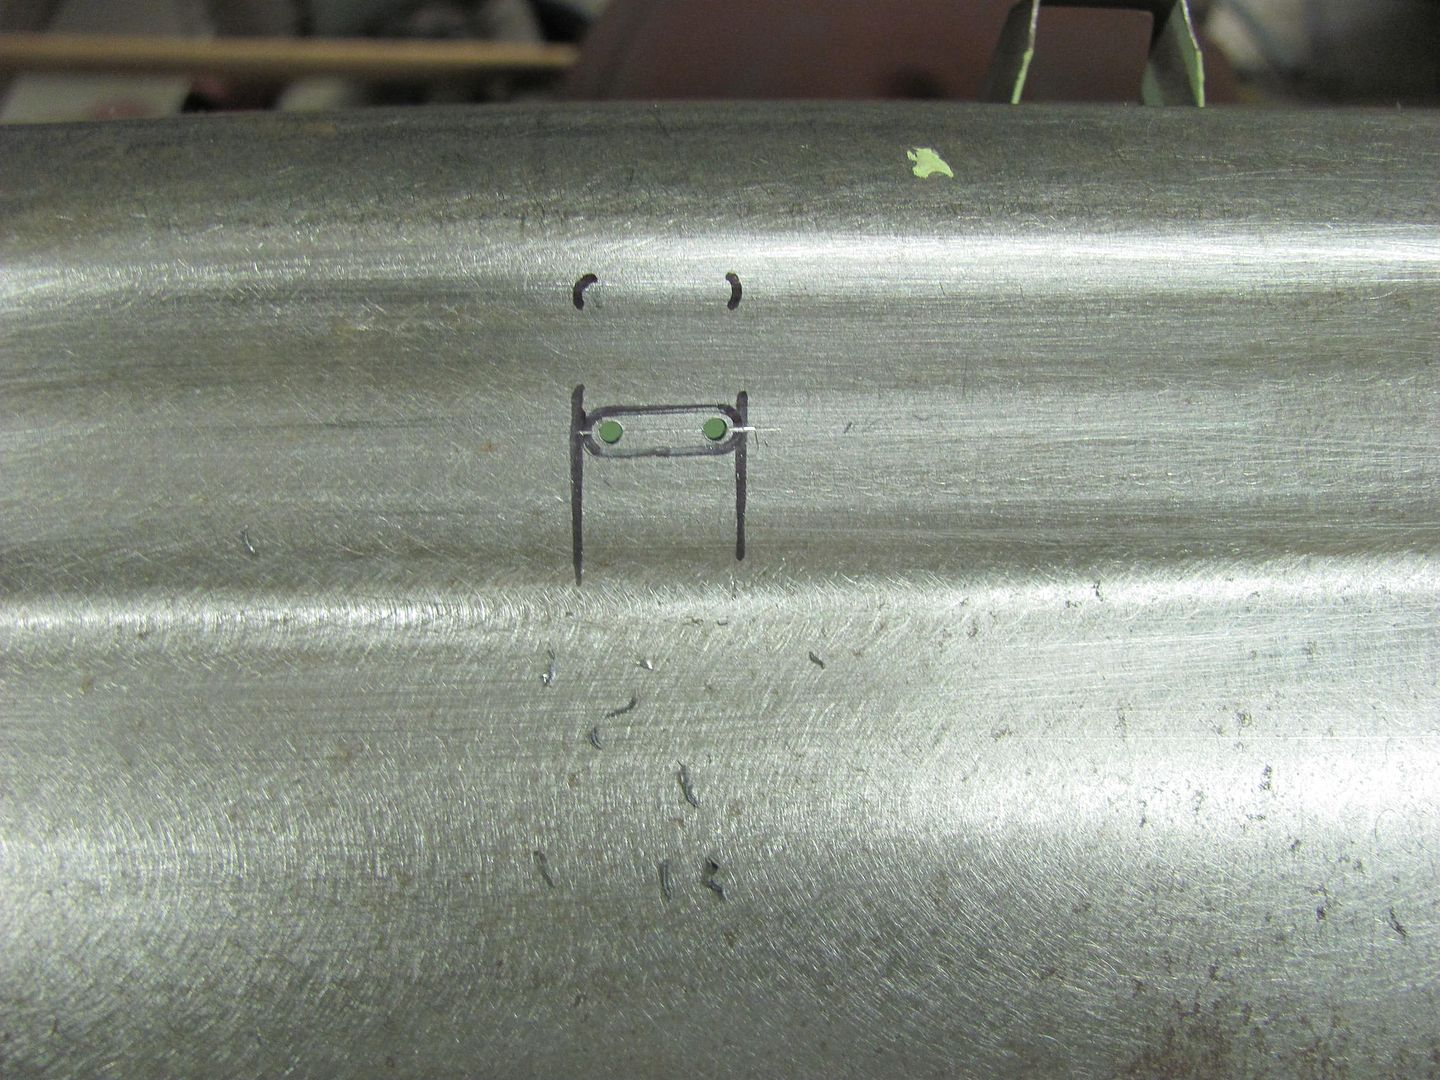 This is what happens when you pull the carbide cutter out too far while joining the holes... 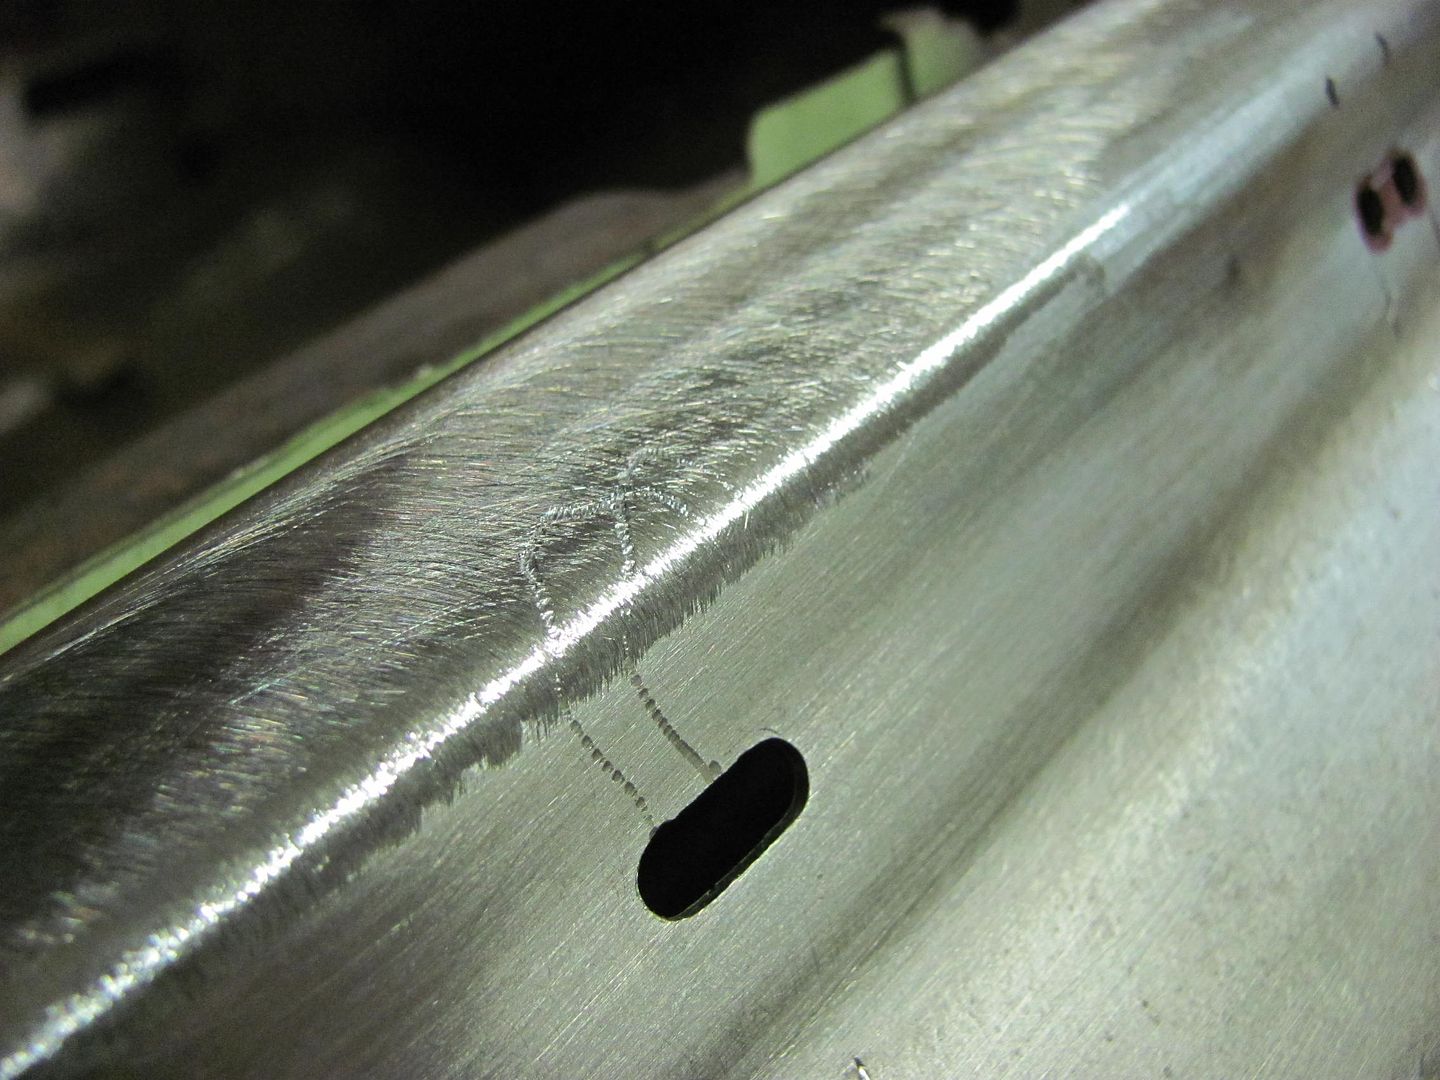 Weatherstrip holes drilled, drain holes laid out... 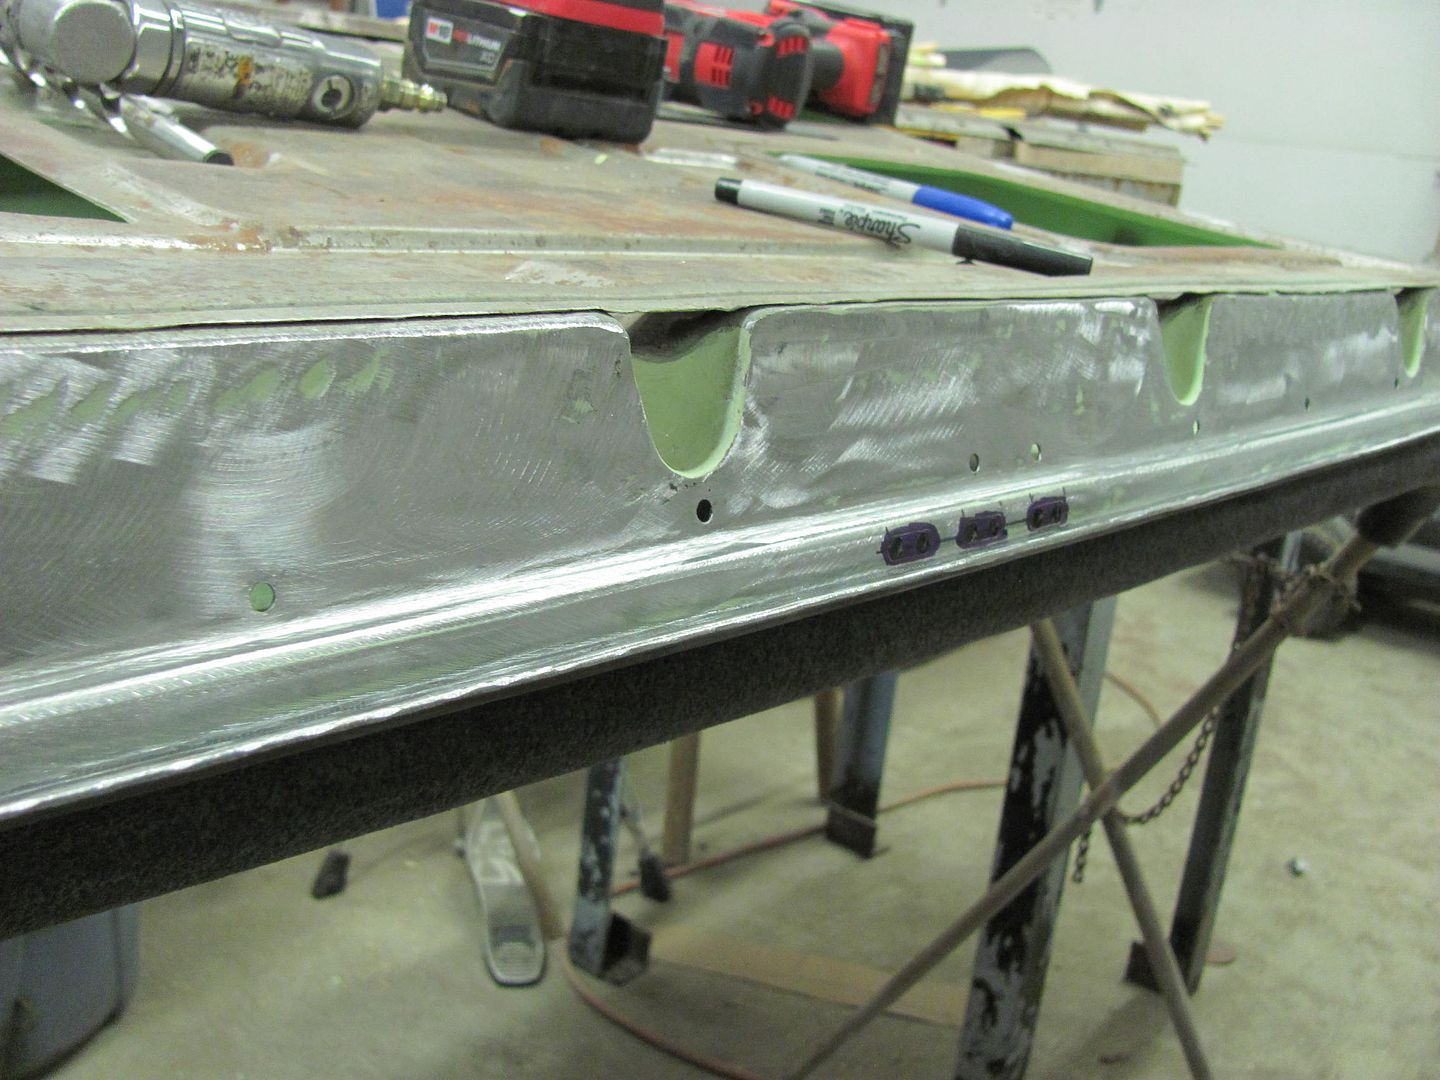 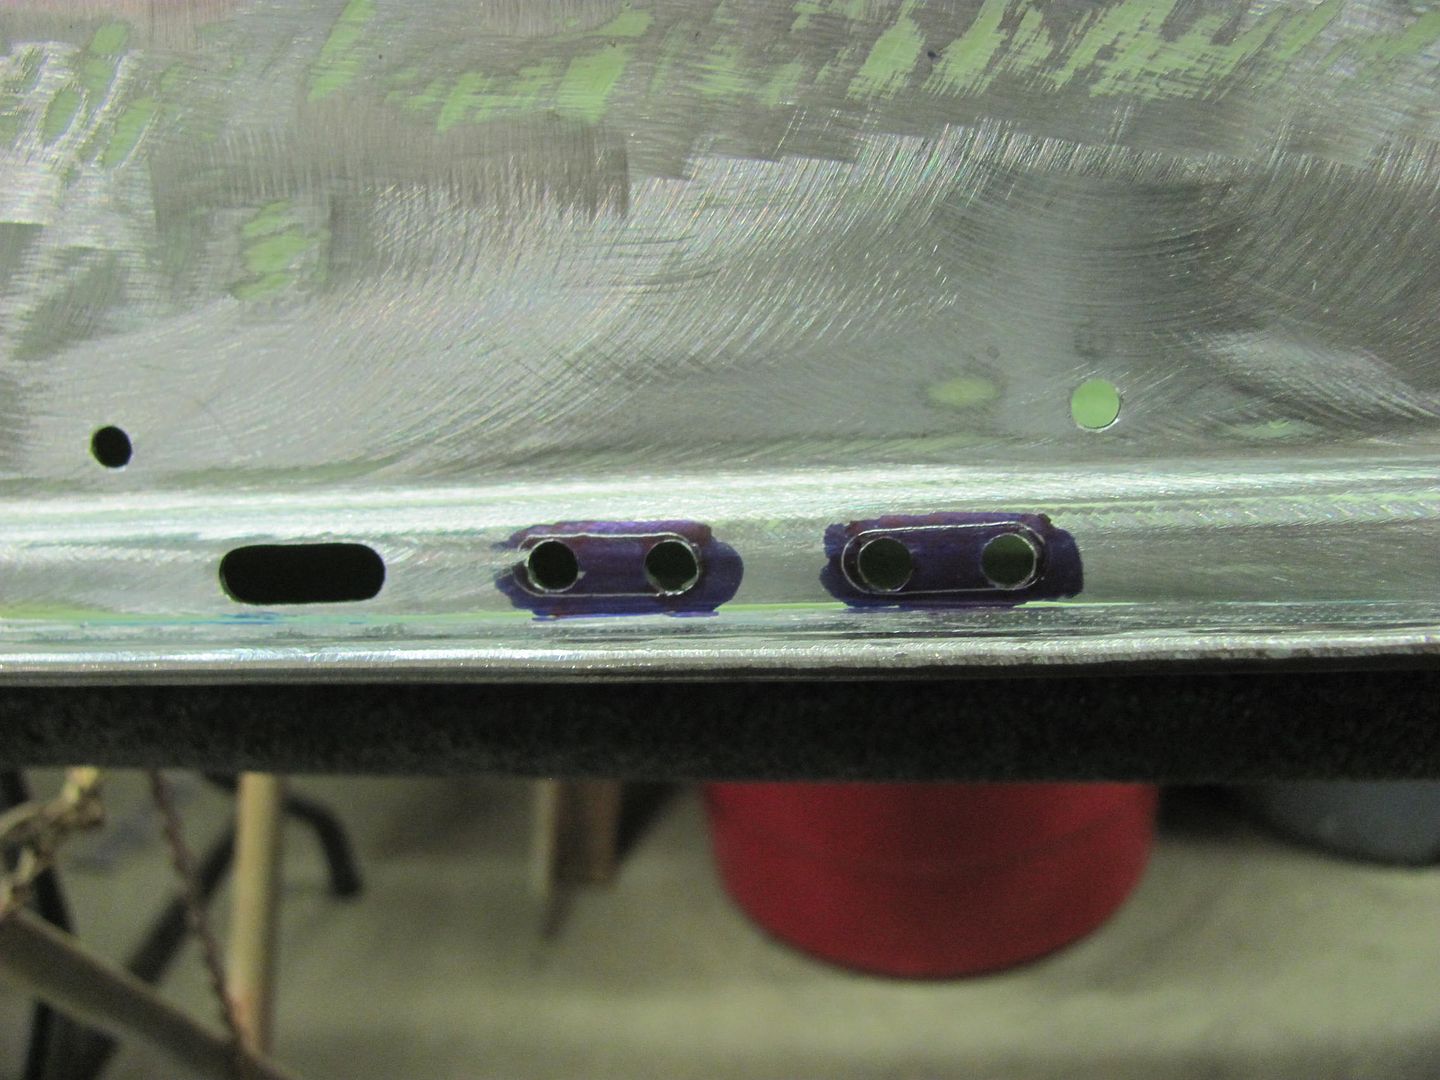 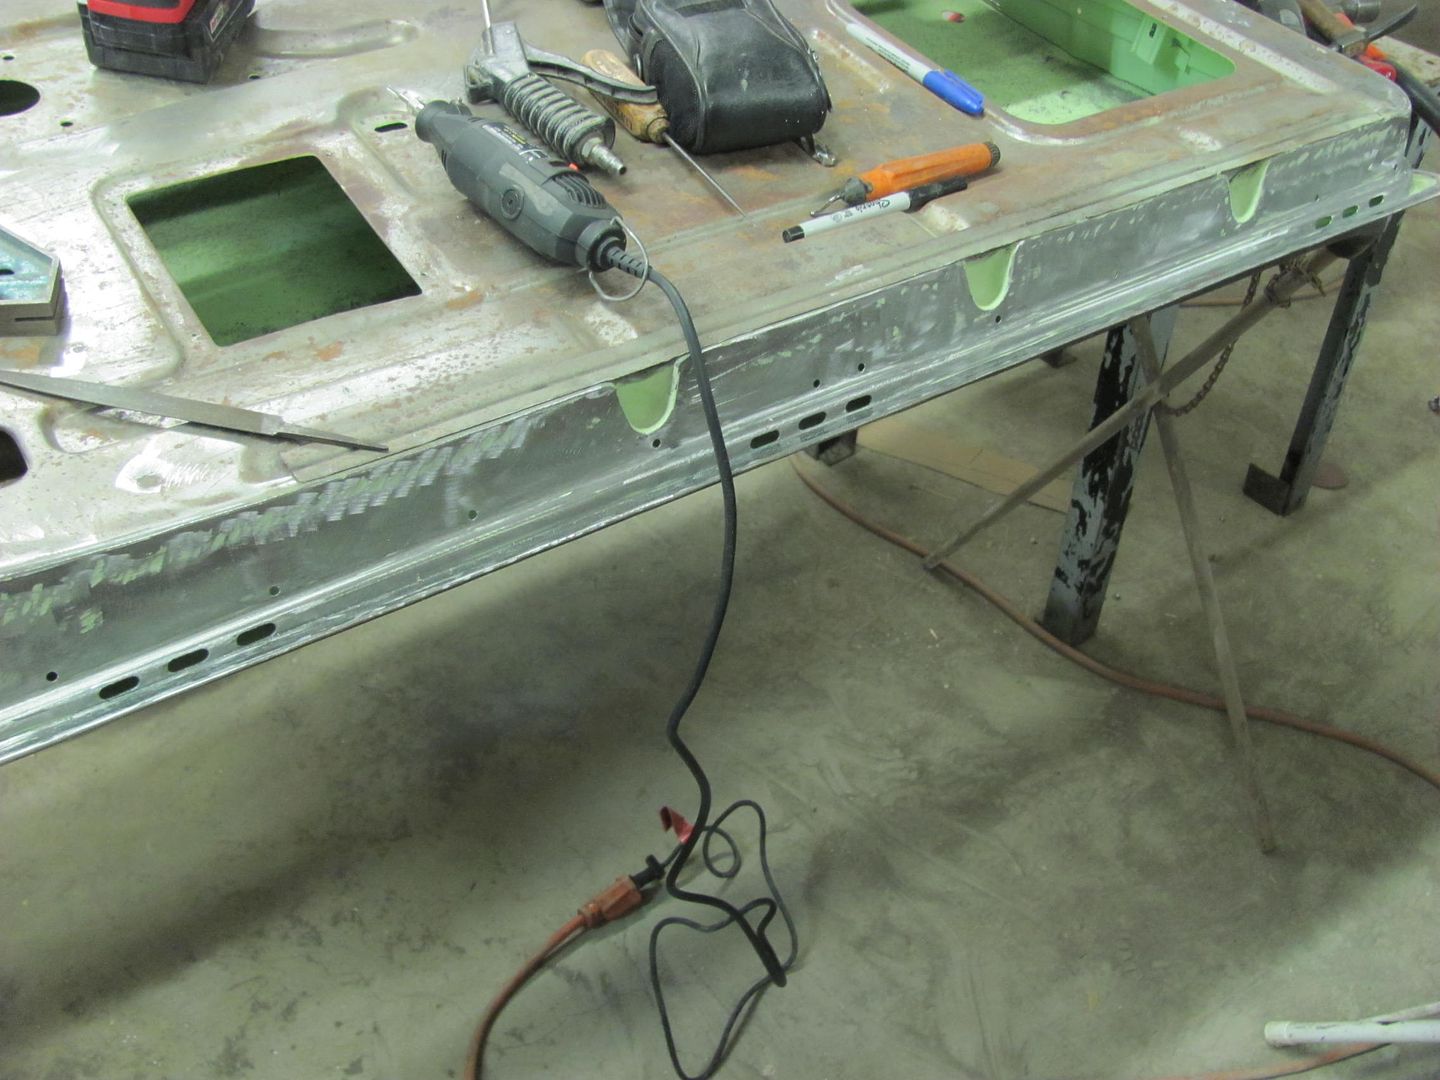 Kyle has the driver's door scuffed and ready to go, once the passenger door is finished we can spray some more epoxy.. 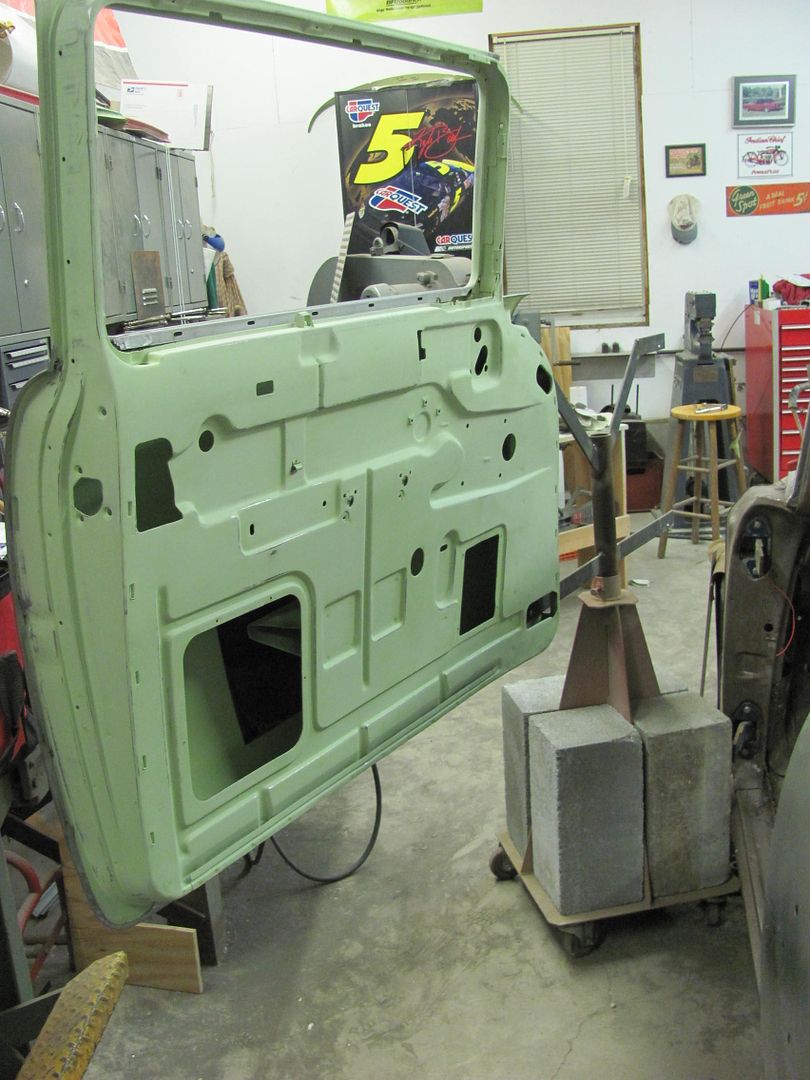 
__________________
Robert |
|
|

|
|
|
#308 |
|
Registered User
Join Date: Jan 2013
Location: Leonardtown, MD
Posts: 1,648
|
Re: 55 Wagon Progress
Sneak preview of the powder coating, here's one of the inner fenders...
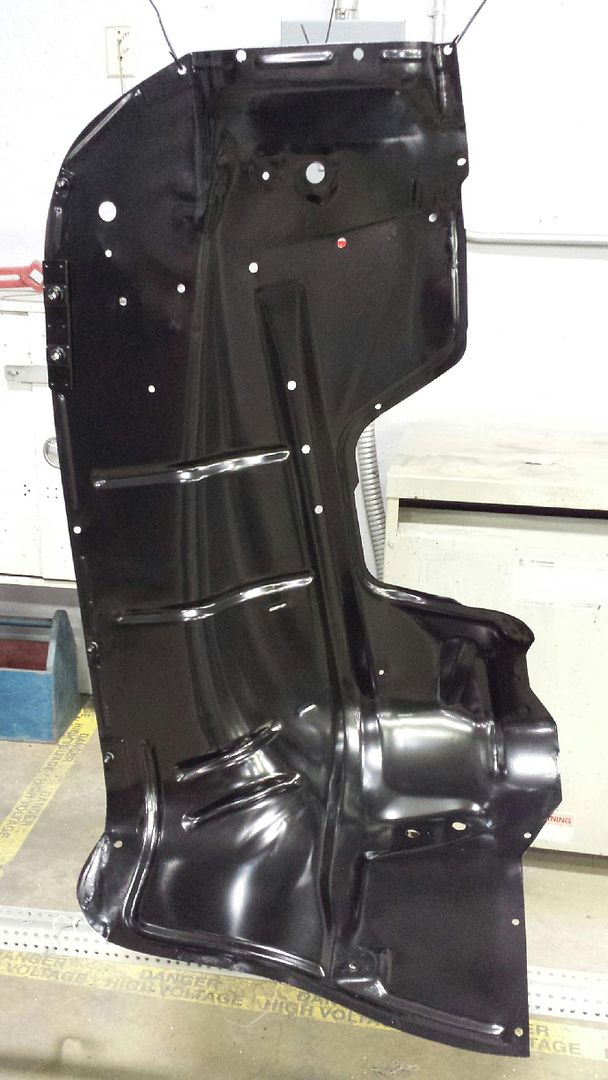 Kyle working on more media blasting, we should have another batch for powder coating this weekend.... 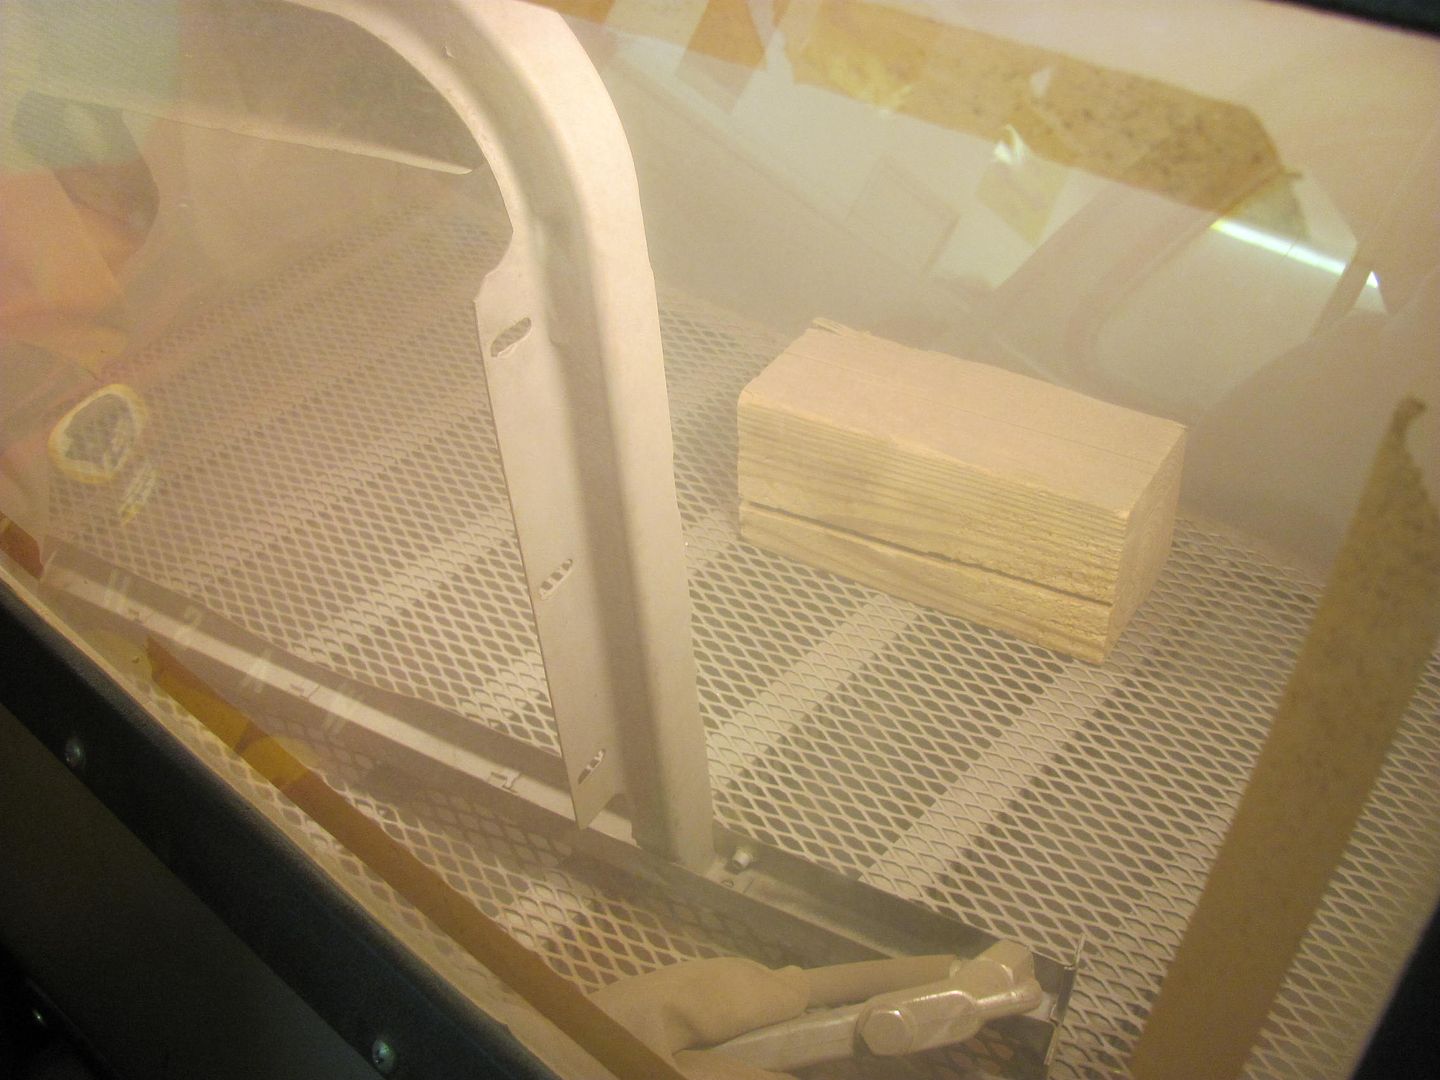 With the passenger door removed and out of the way, I worked on the radius-ing and repairing of the lead gap seam. First to check the radius of the completed driver's side with the Gatormeet radius gauge... 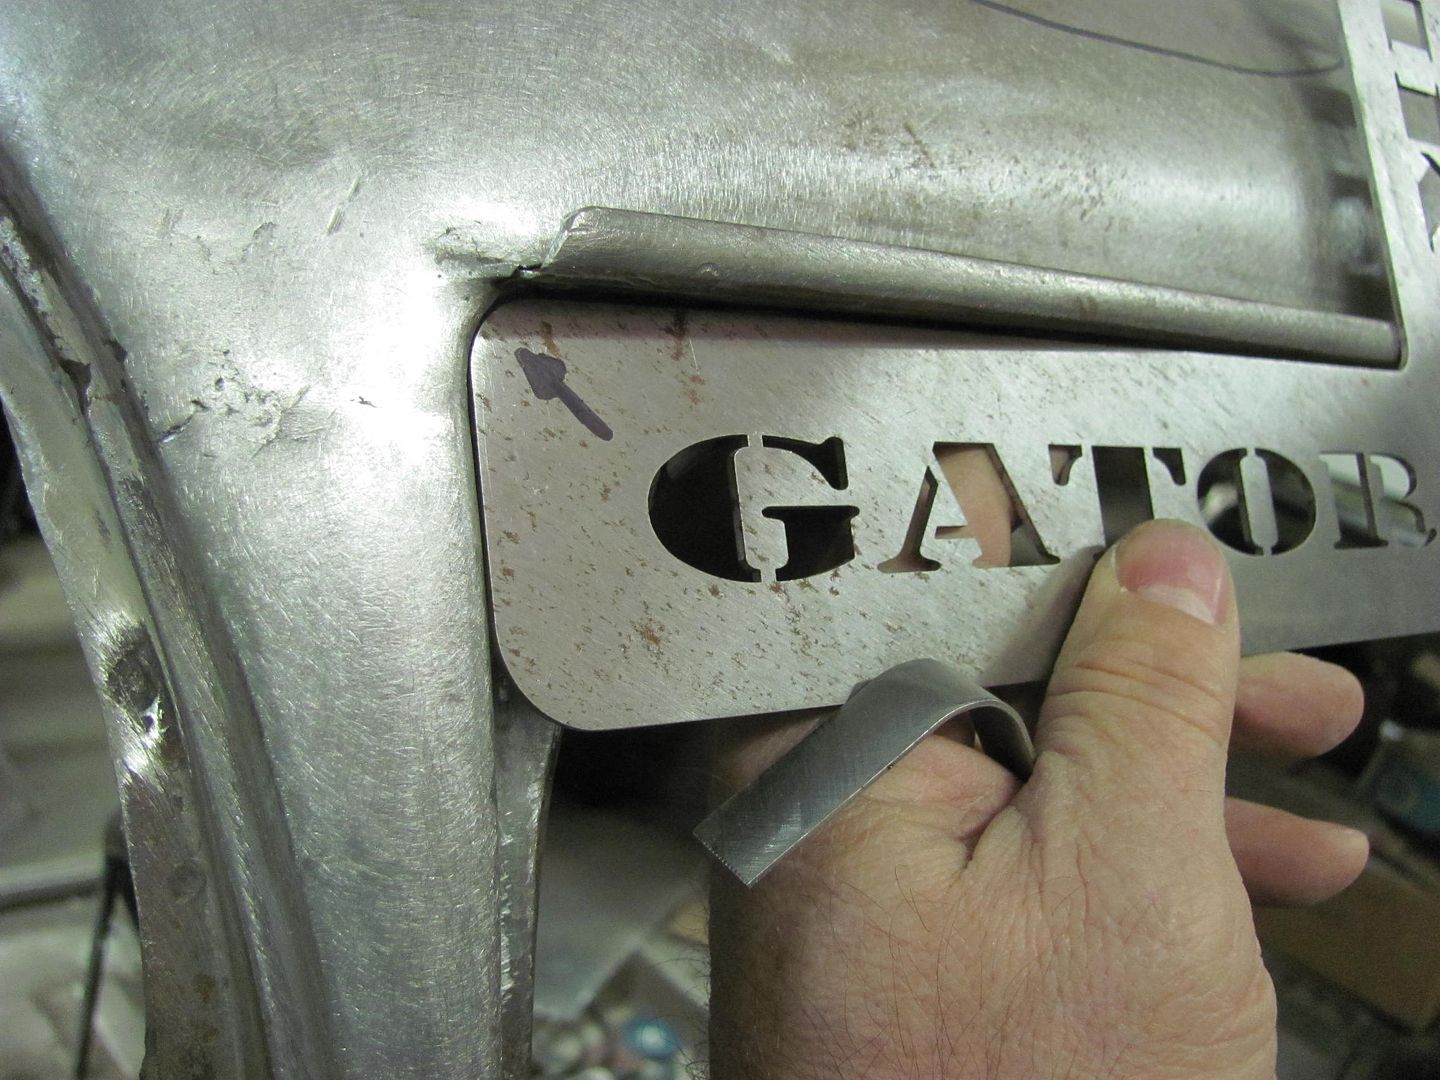 Radius patch is bent using roll former dies in the Diacro press brake and checked to the radius gauge... 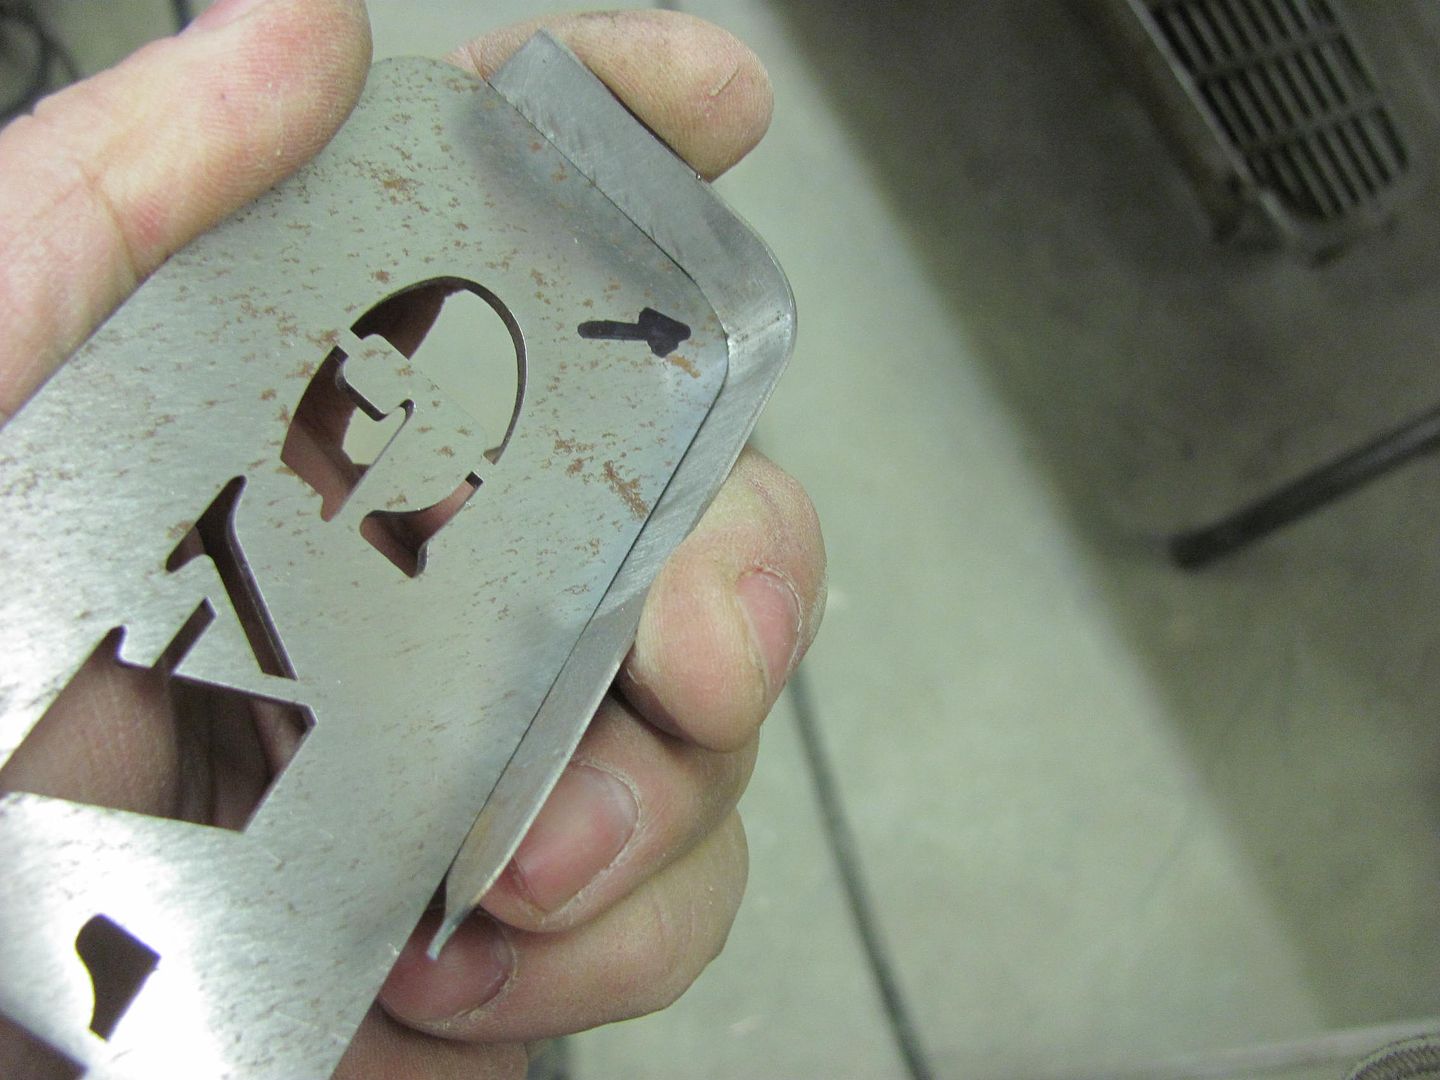 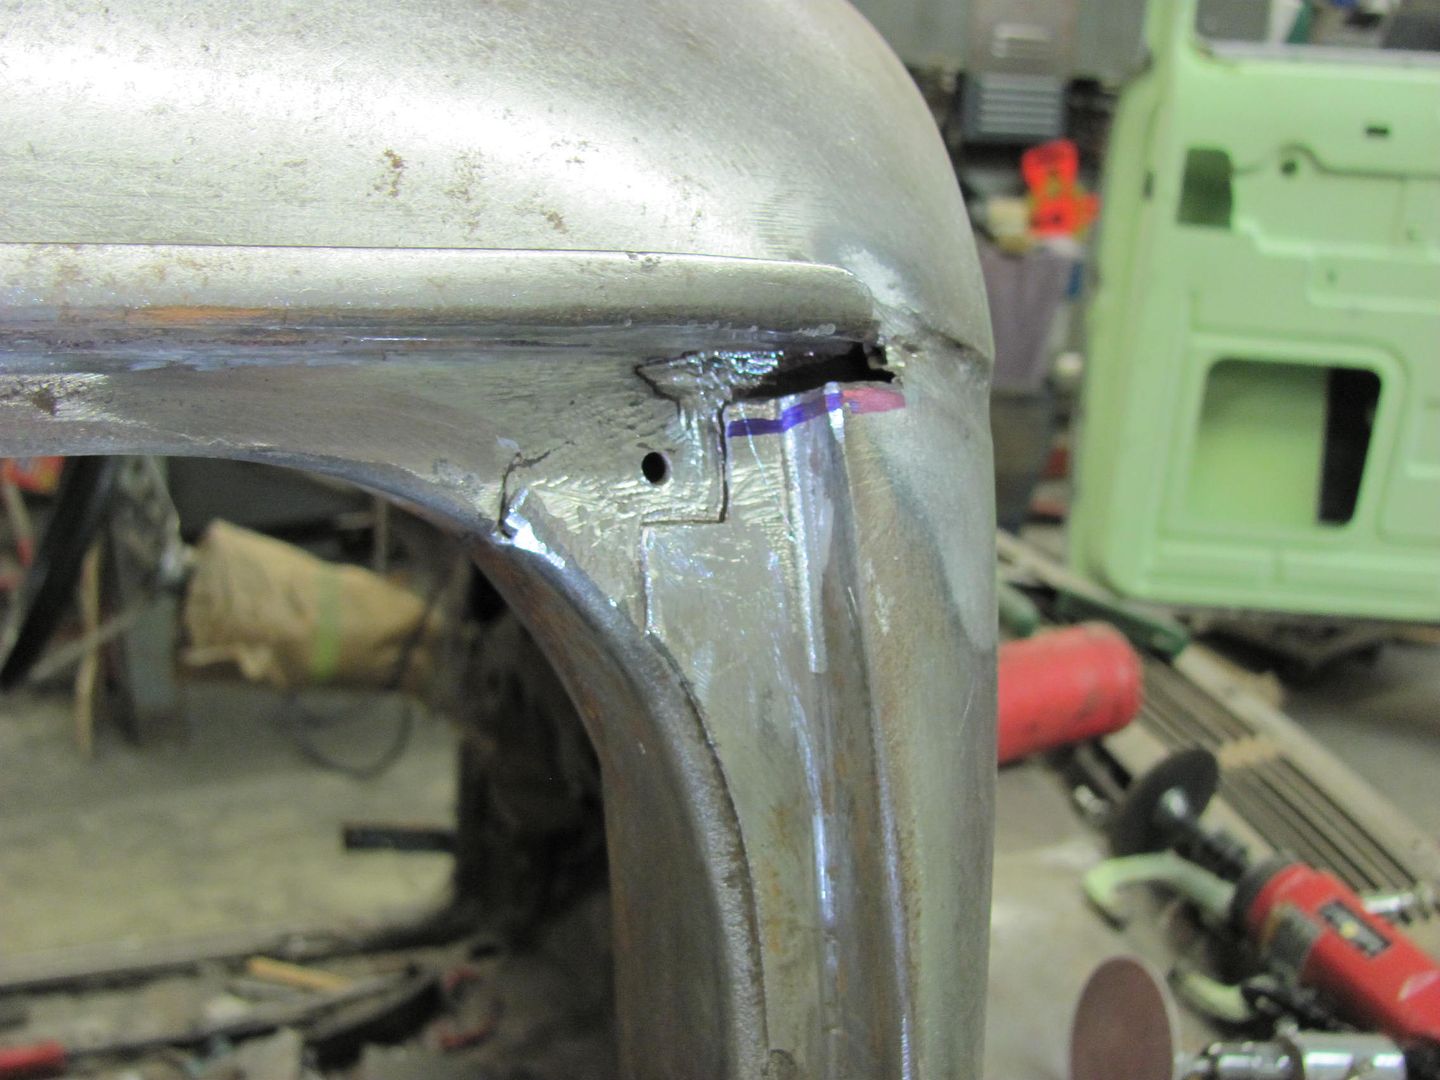 The patch is trimmed for the fit to the A-pillar, and a horizontal tail is left to have something to hold on to while tacking in place. A score is added using the cutoff wheel so the excess can be snapped off after tacking... 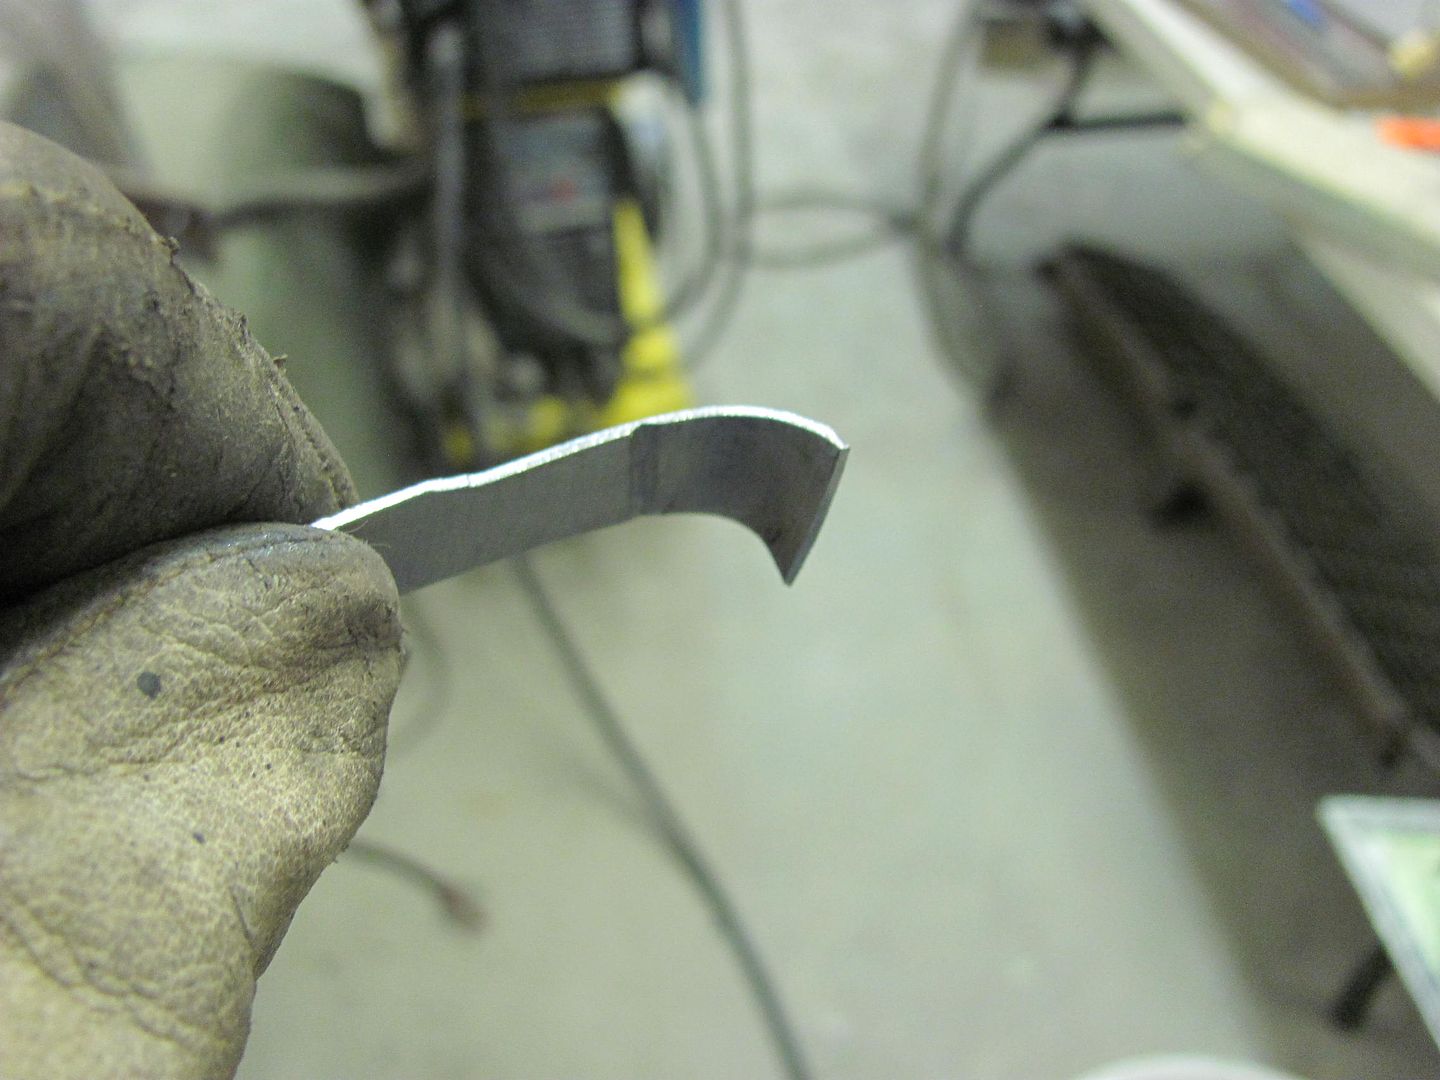 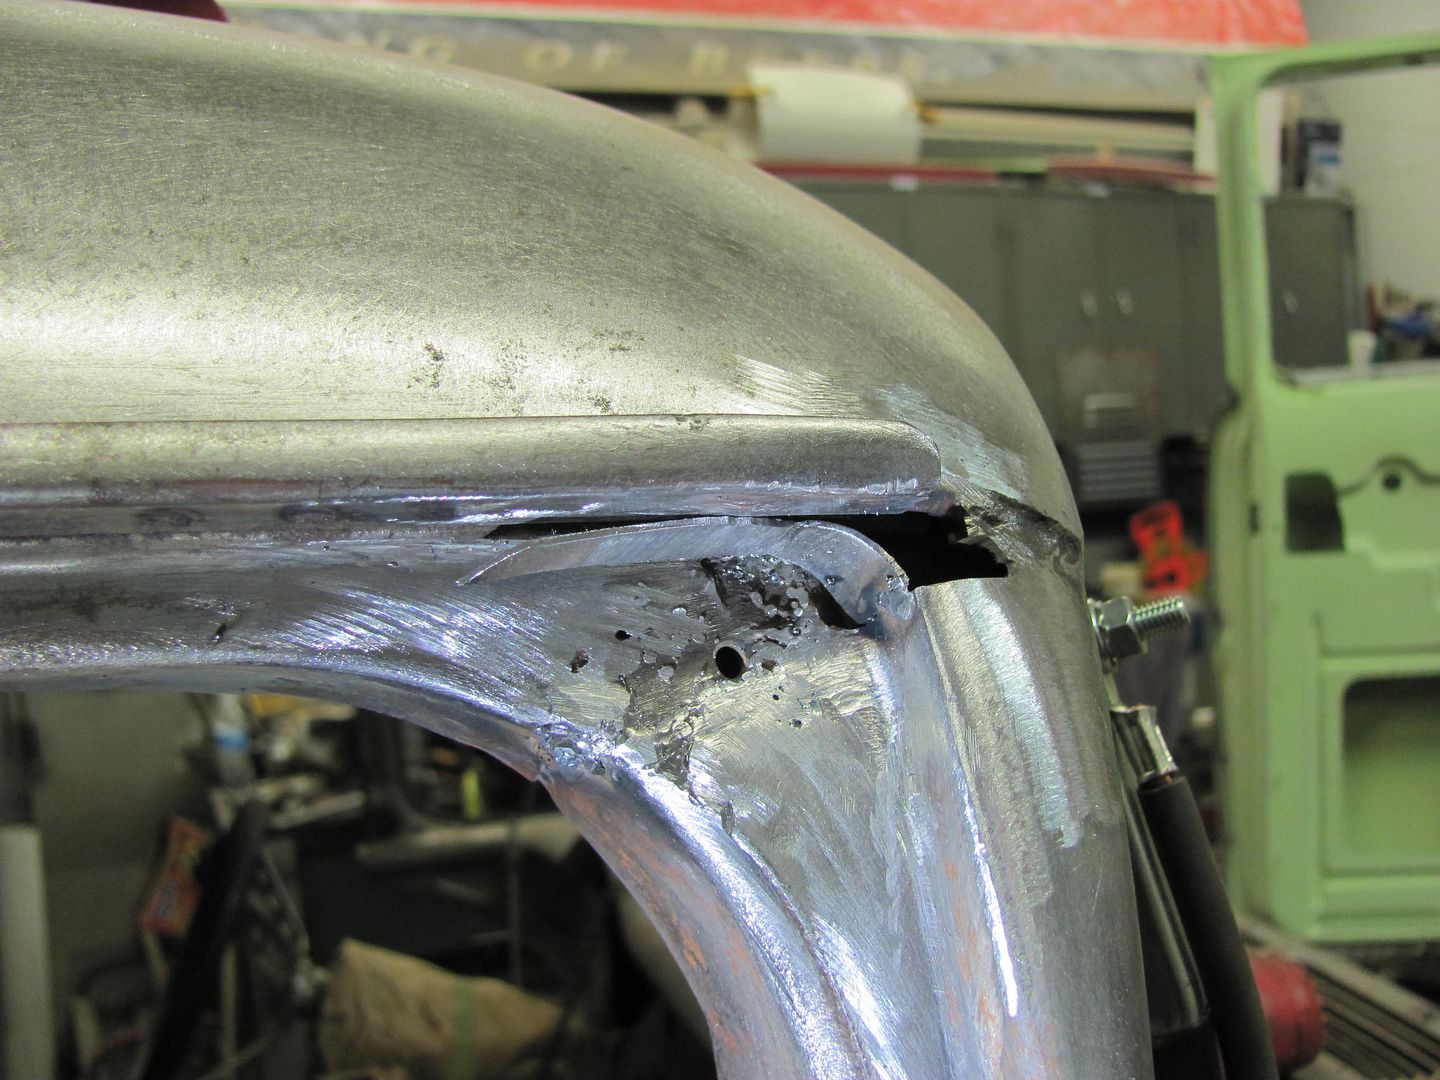 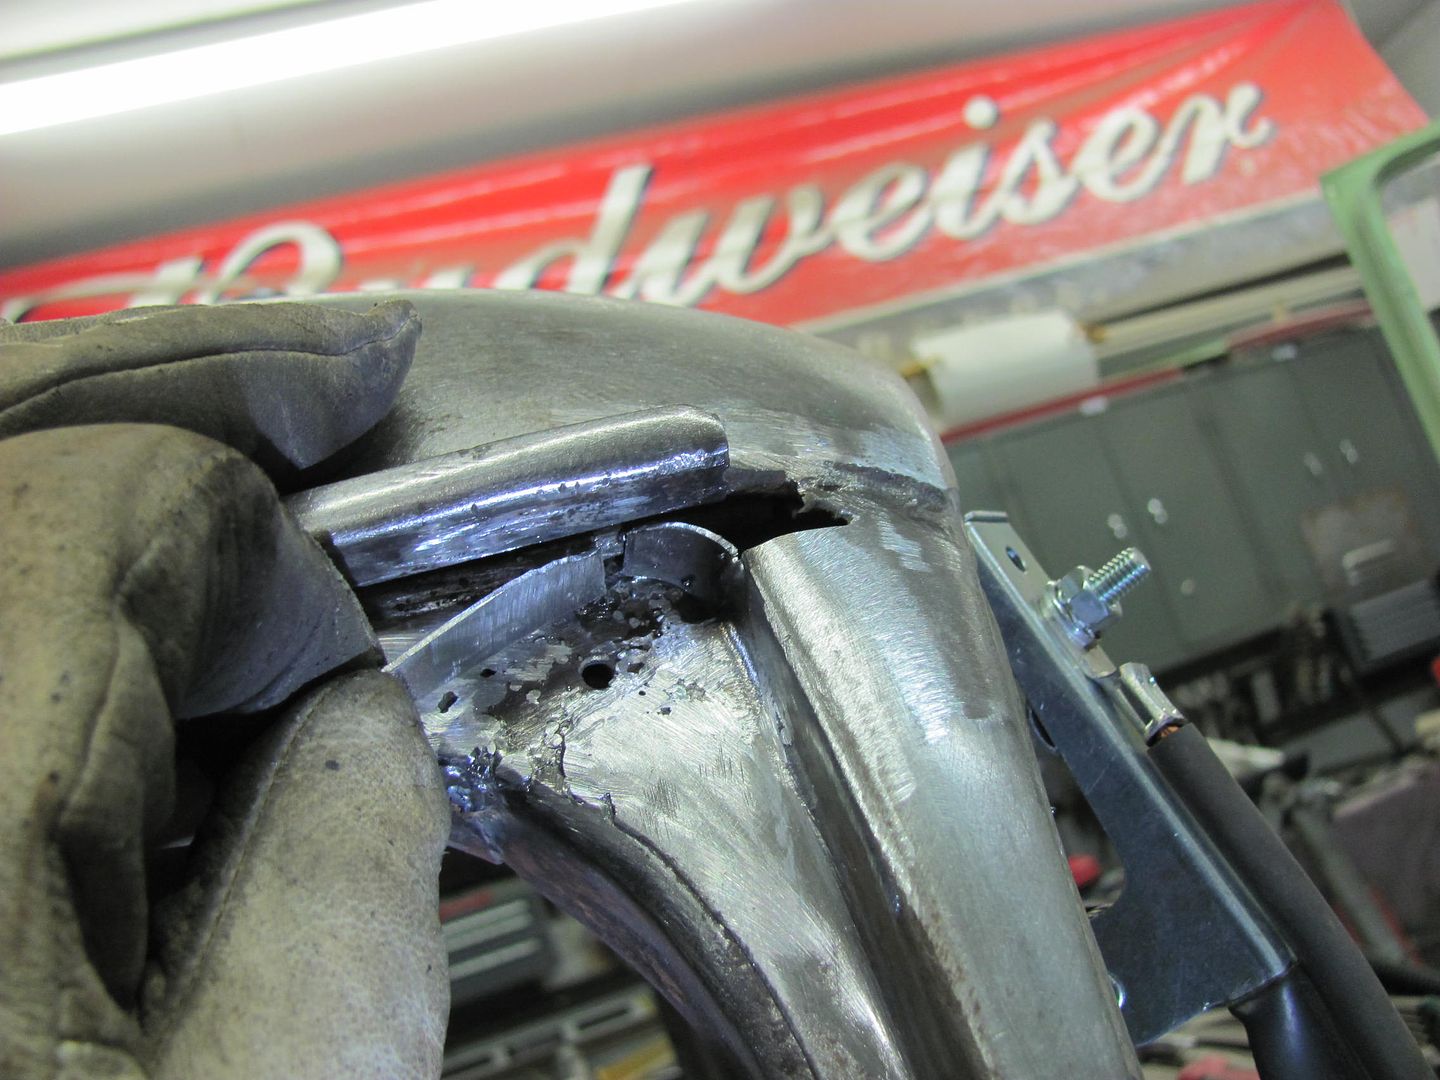 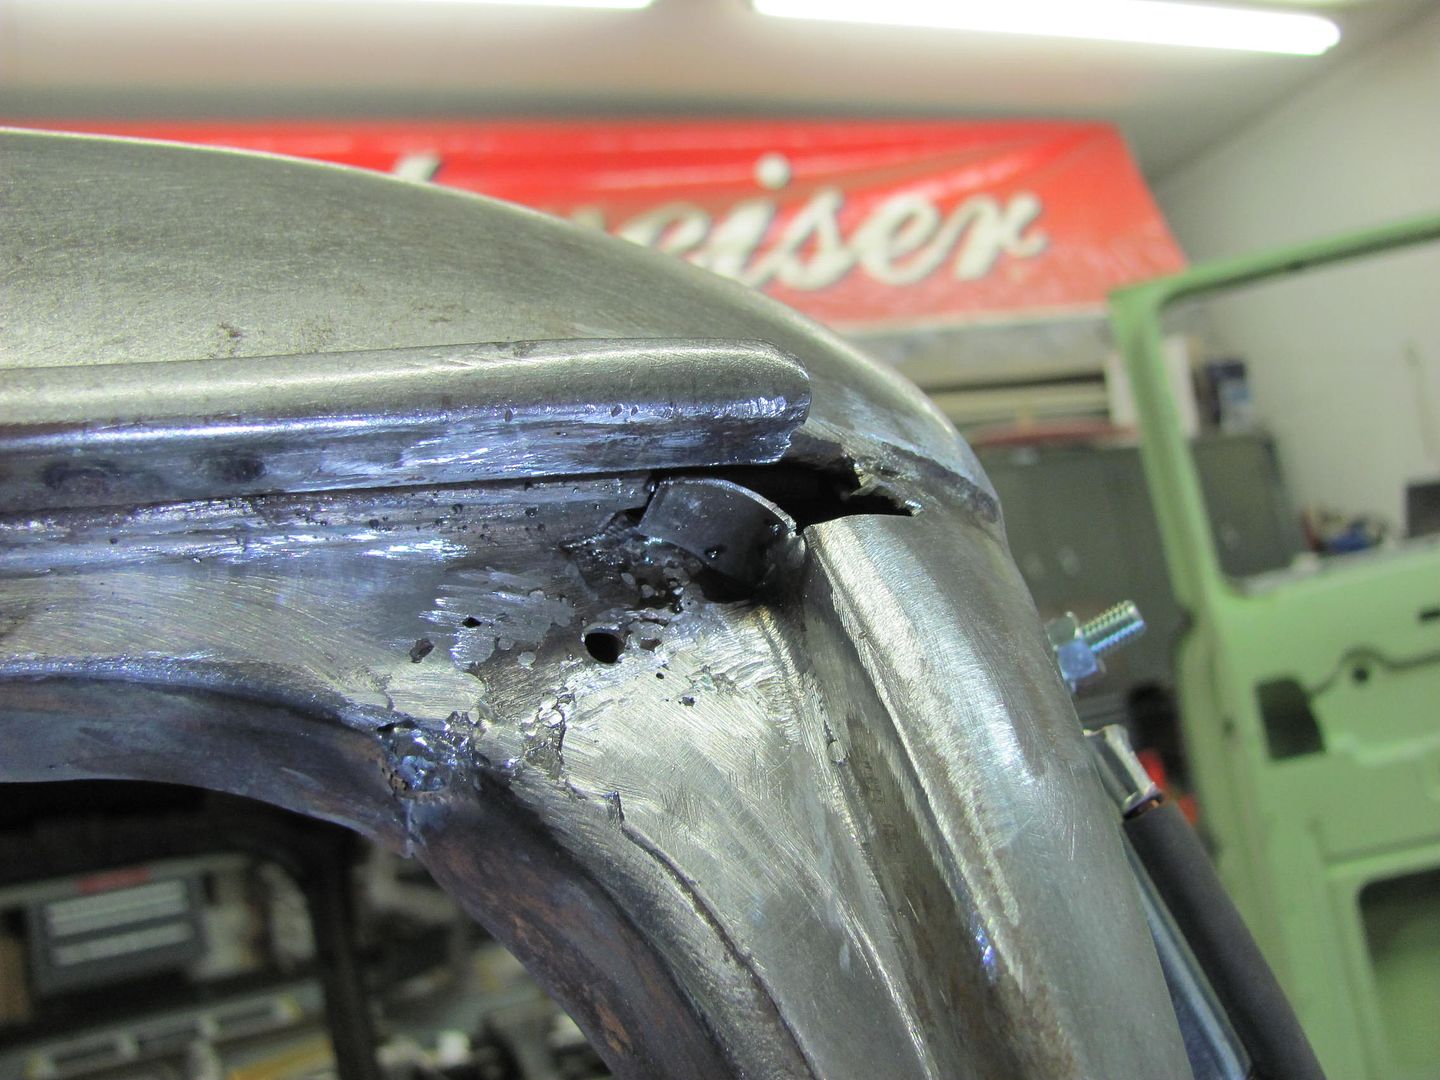 Welded and dressed.. 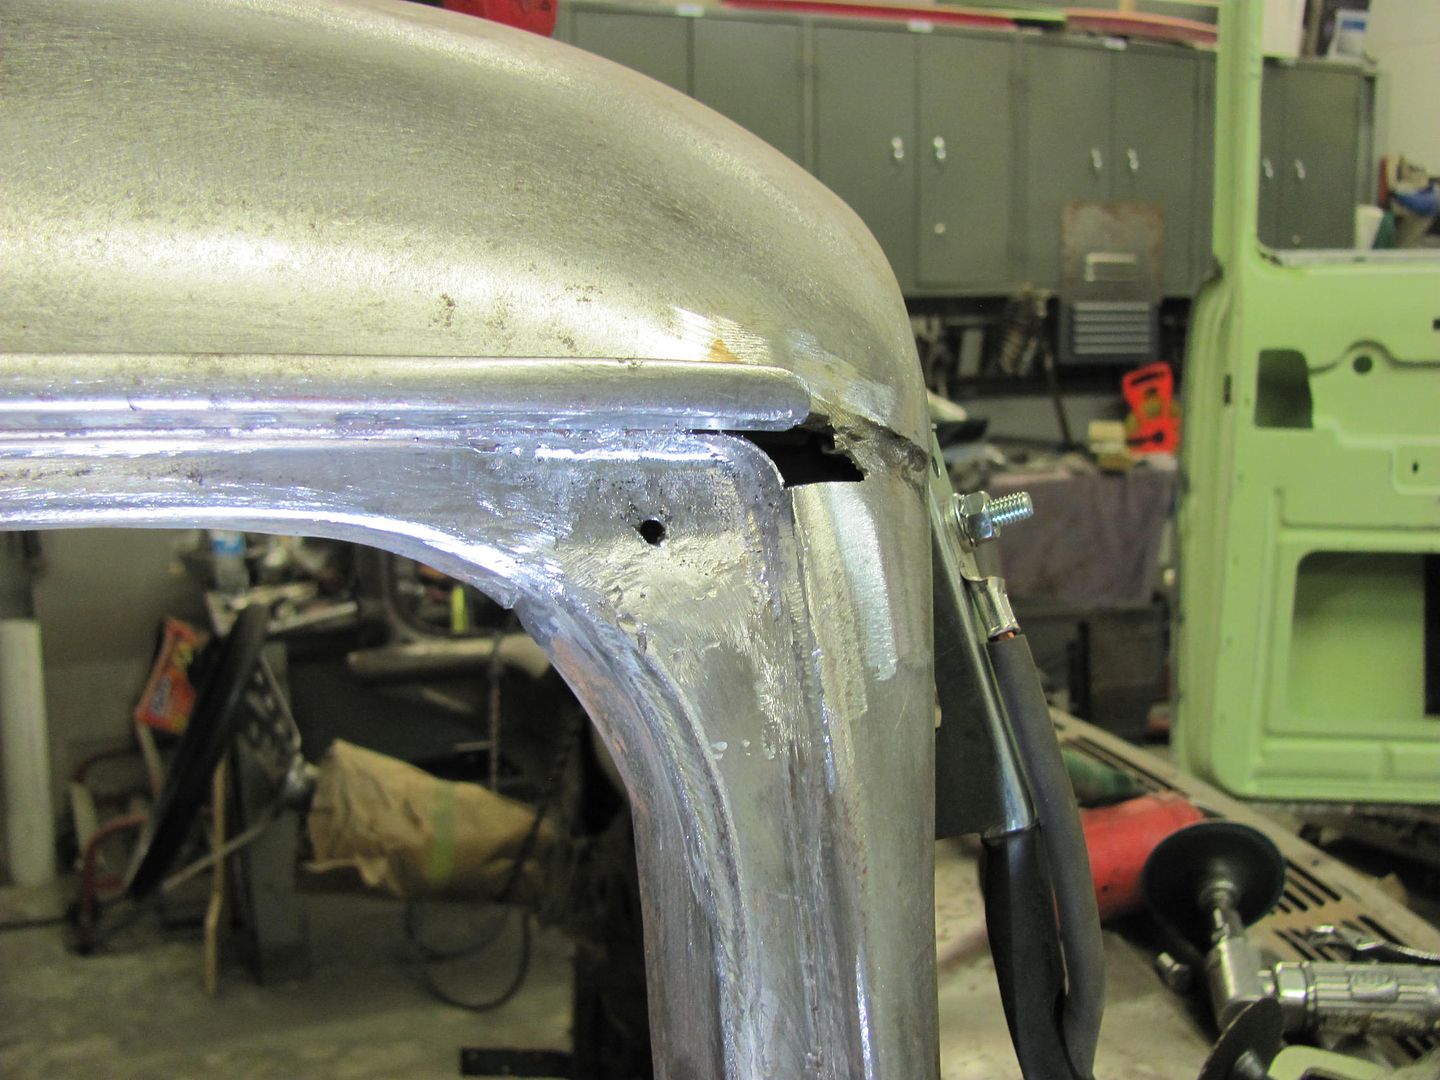 Roof skin patch trimmed and fitted... 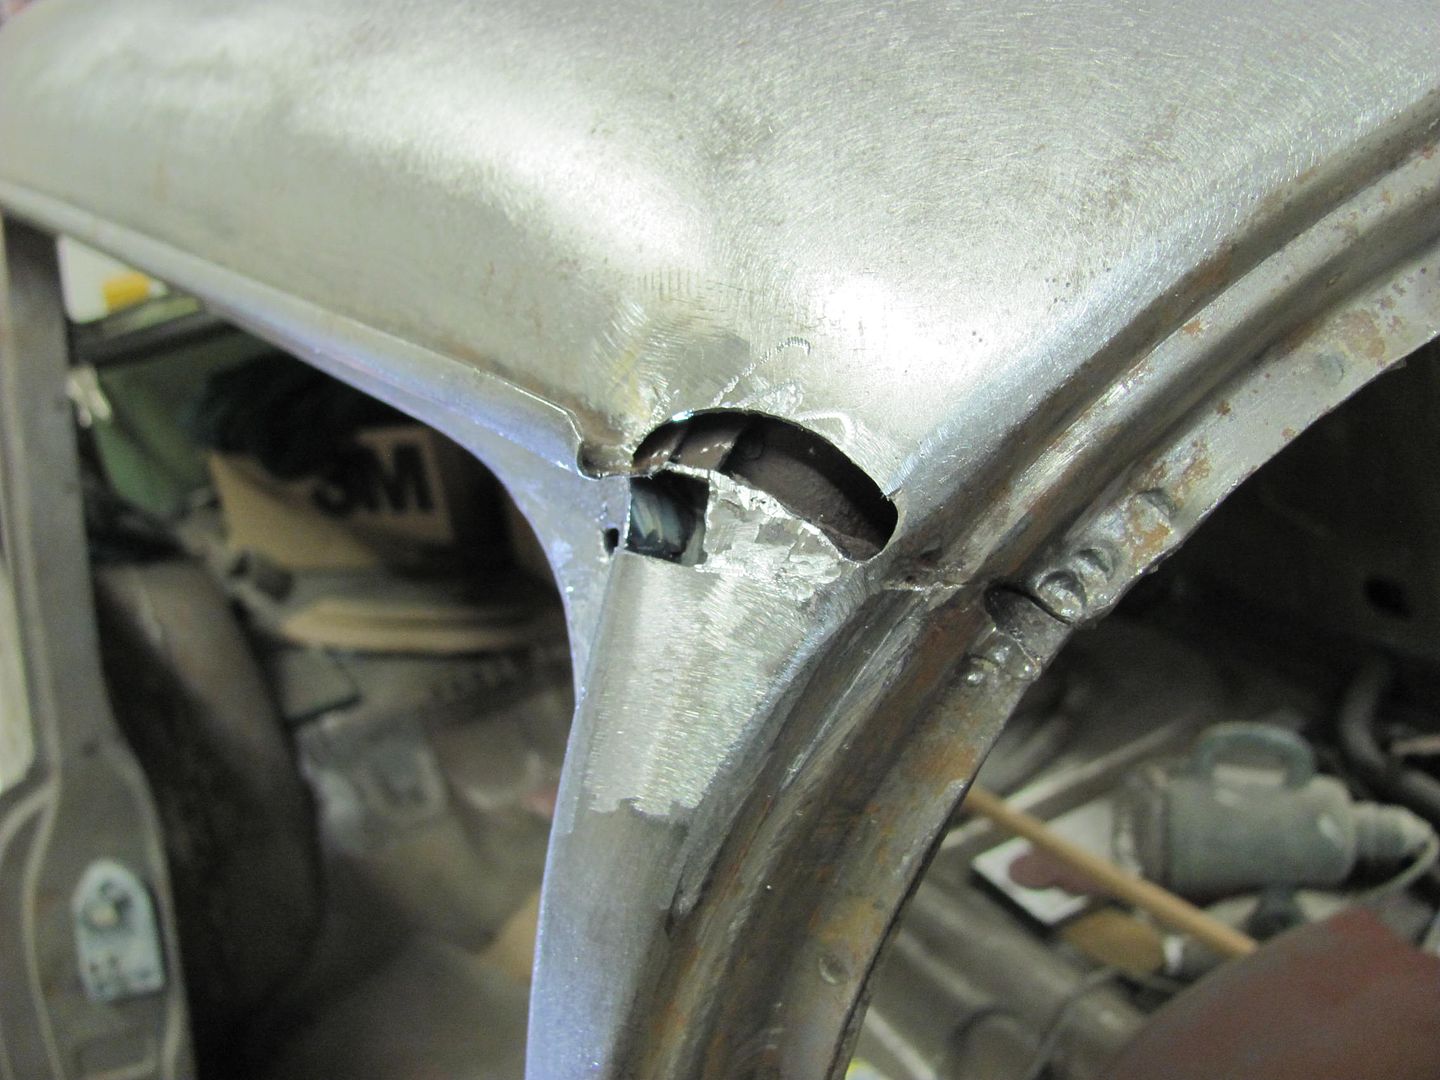 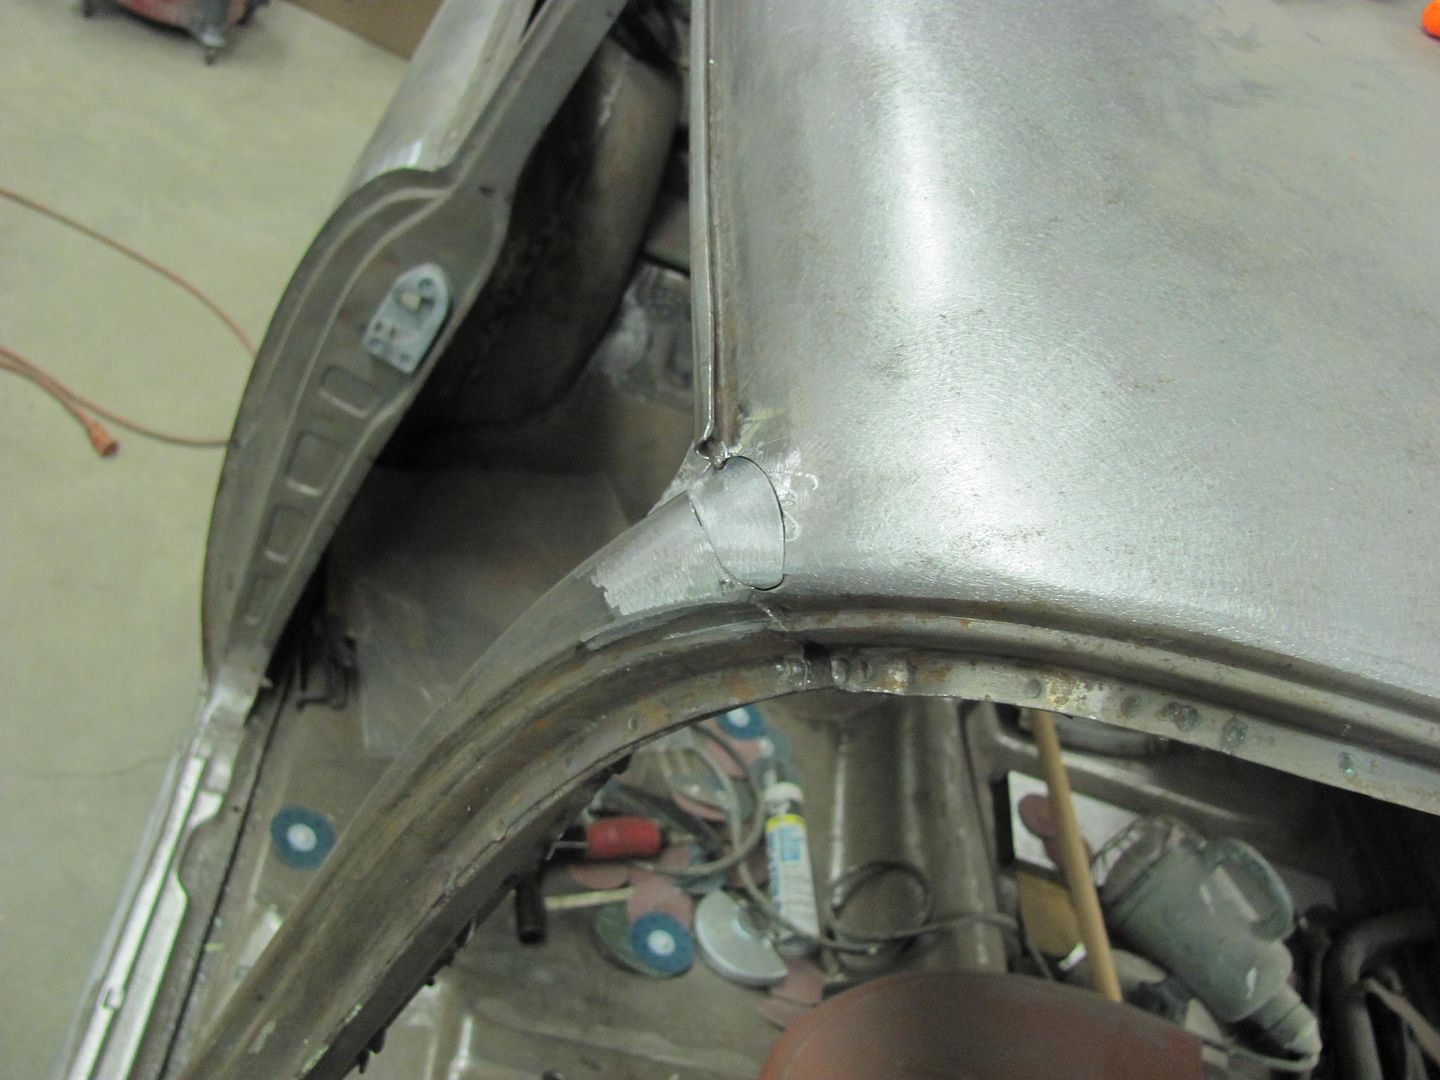 Welded... 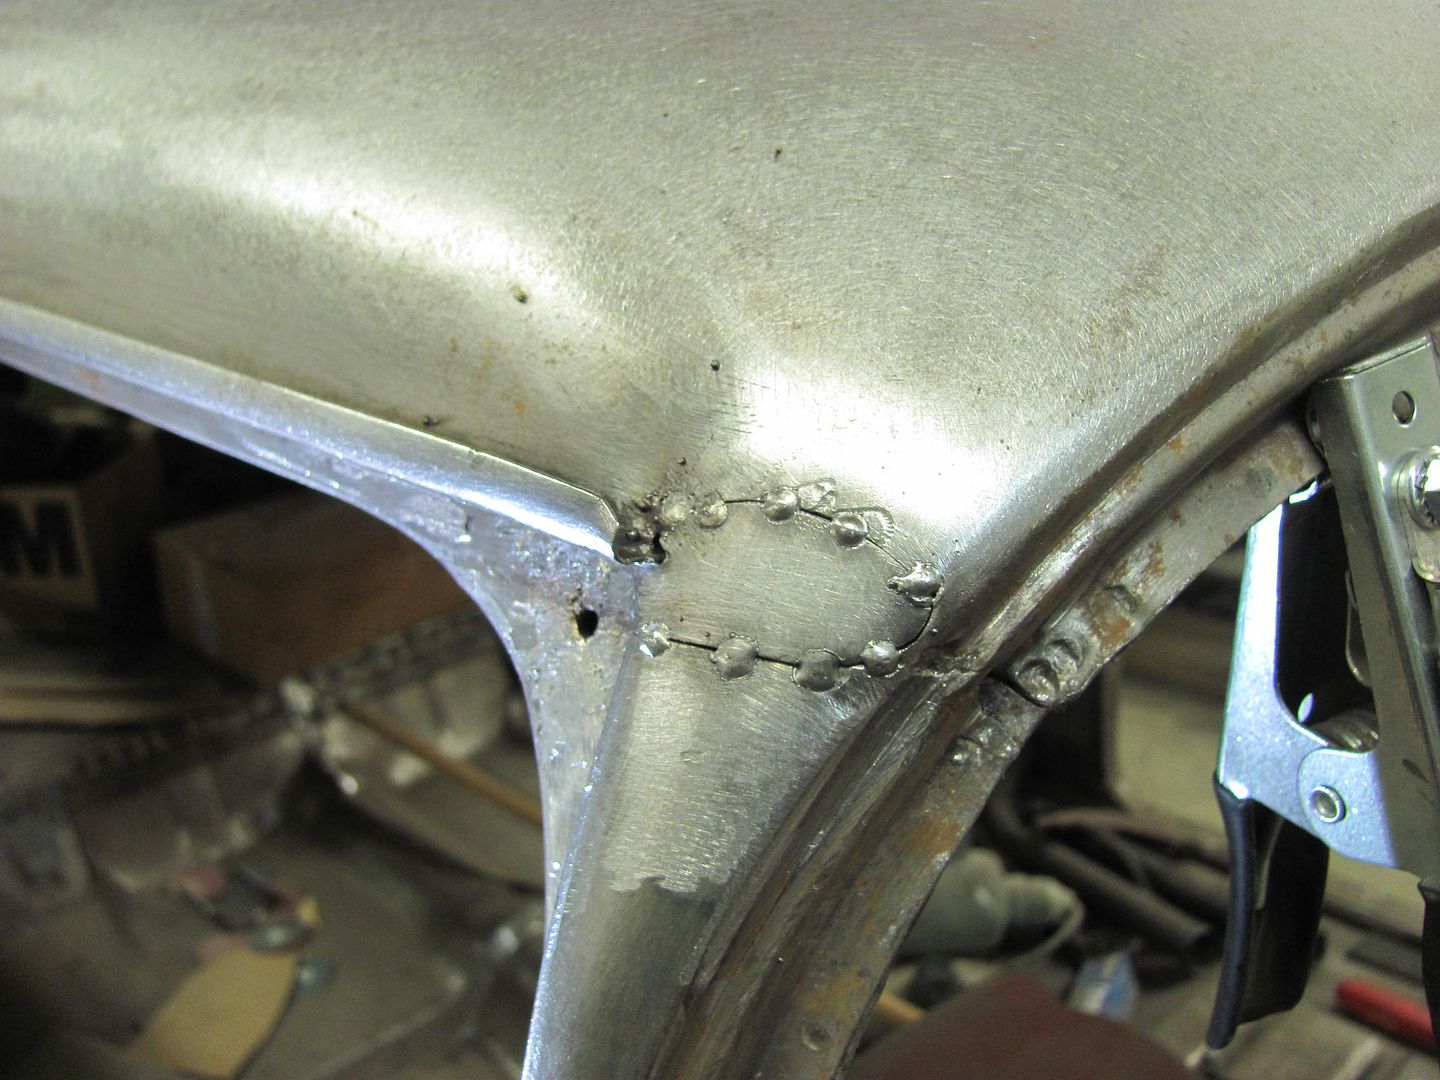 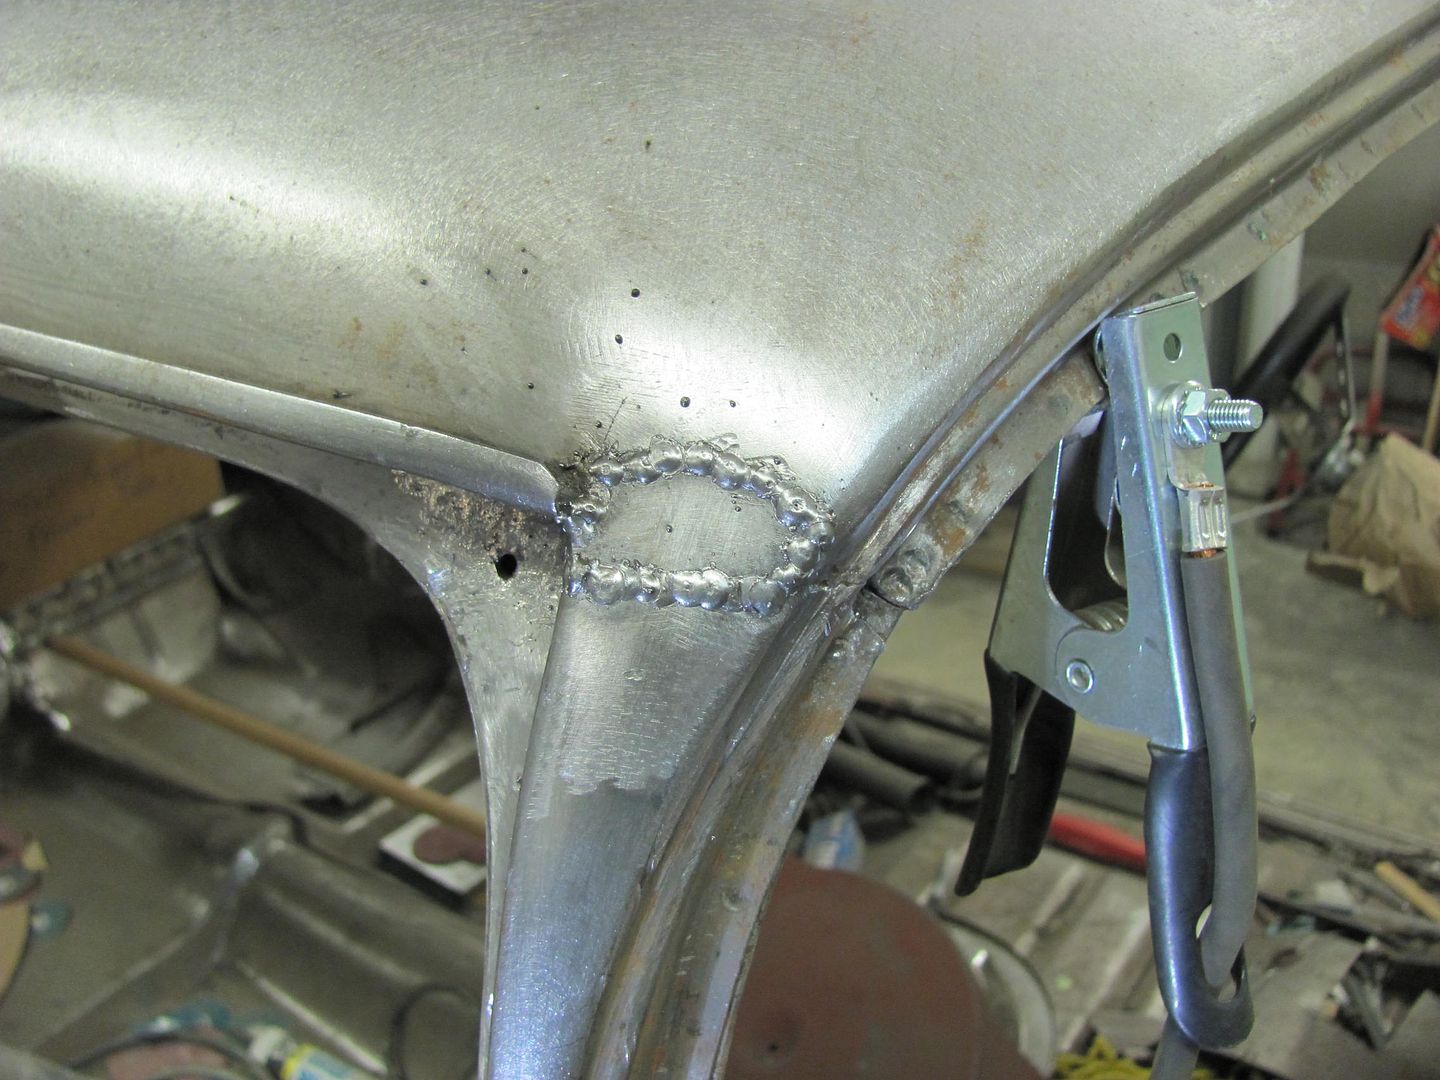 Welds dressed and radius checked... 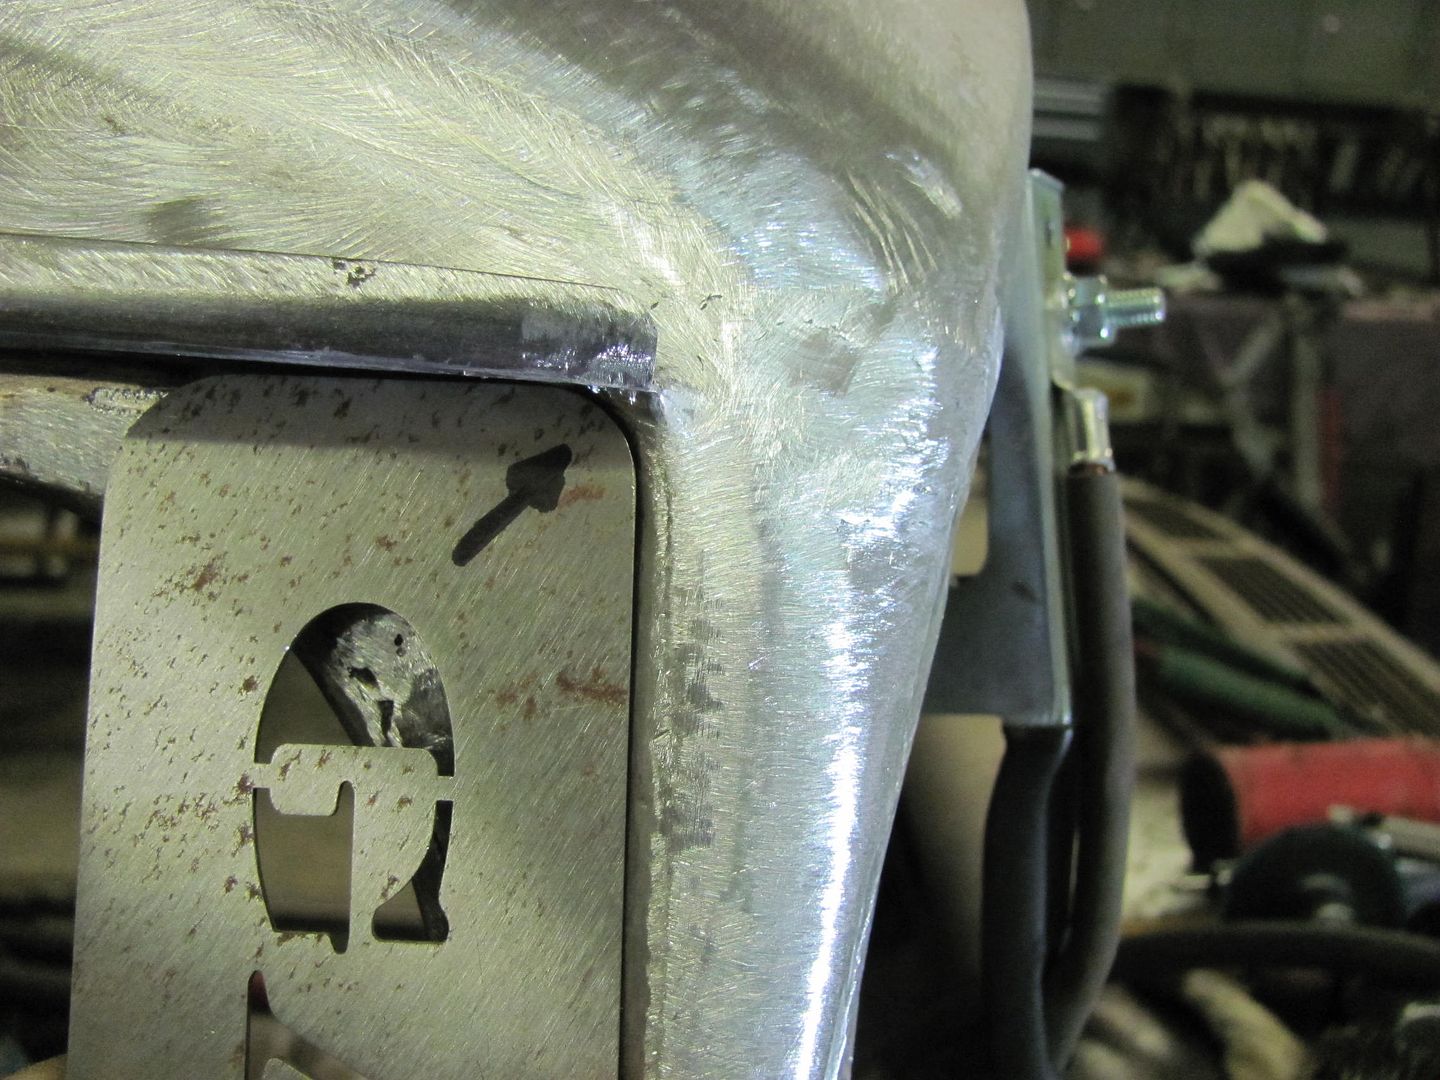
__________________
Robert |
|
|

|
|
|
#309 |
|
Registered User
Join Date: Oct 2007
Location: Spanaway
Posts: 8,451
|
Re: 55 Wagon Progress
Nice work!
__________________
Mike. Swamp Rat build thread : http://67-72chevytrucks.com/vboard/s...d.php?t=595019 72 3/4T 4X4 4" BDS Lift 33" BFG's |
|
|

|
|
|
#310 |
|
Senior Member
 Join Date: Jul 2012
Location: Oblong, Illinois
Posts: 7,028
|
Re: 55 Wagon Progress
Yeah looks good. Gator Meet tool is handy. Made by Rick?
|
|
|

|
|
|
#311 |
|
Registered User
Join Date: Jan 2013
Location: Leonardtown, MD
Posts: 1,648
|
Re: 55 Wagon Progress
On the Friday of the meet he took us on a tour of the machine shop his family runs, they cut some of those out on a laser. In addition to being a square, each corner is a different radius. Yes, it comes in handy!
__________________
Robert |
|
|

|
|
|
#312 | |
|
Senior Member
 Join Date: Jul 2012
Location: Oblong, Illinois
Posts: 7,028
|
Re: 55 Wagon Progress
Quote:
Looking forward to more 55 updates! You all do nice work. |
|
|
|

|
|
|
#313 |
|
Registered User
Join Date: Jan 2013
Location: Leonardtown, MD
Posts: 1,648
|
Re: 55 Wagon Progress
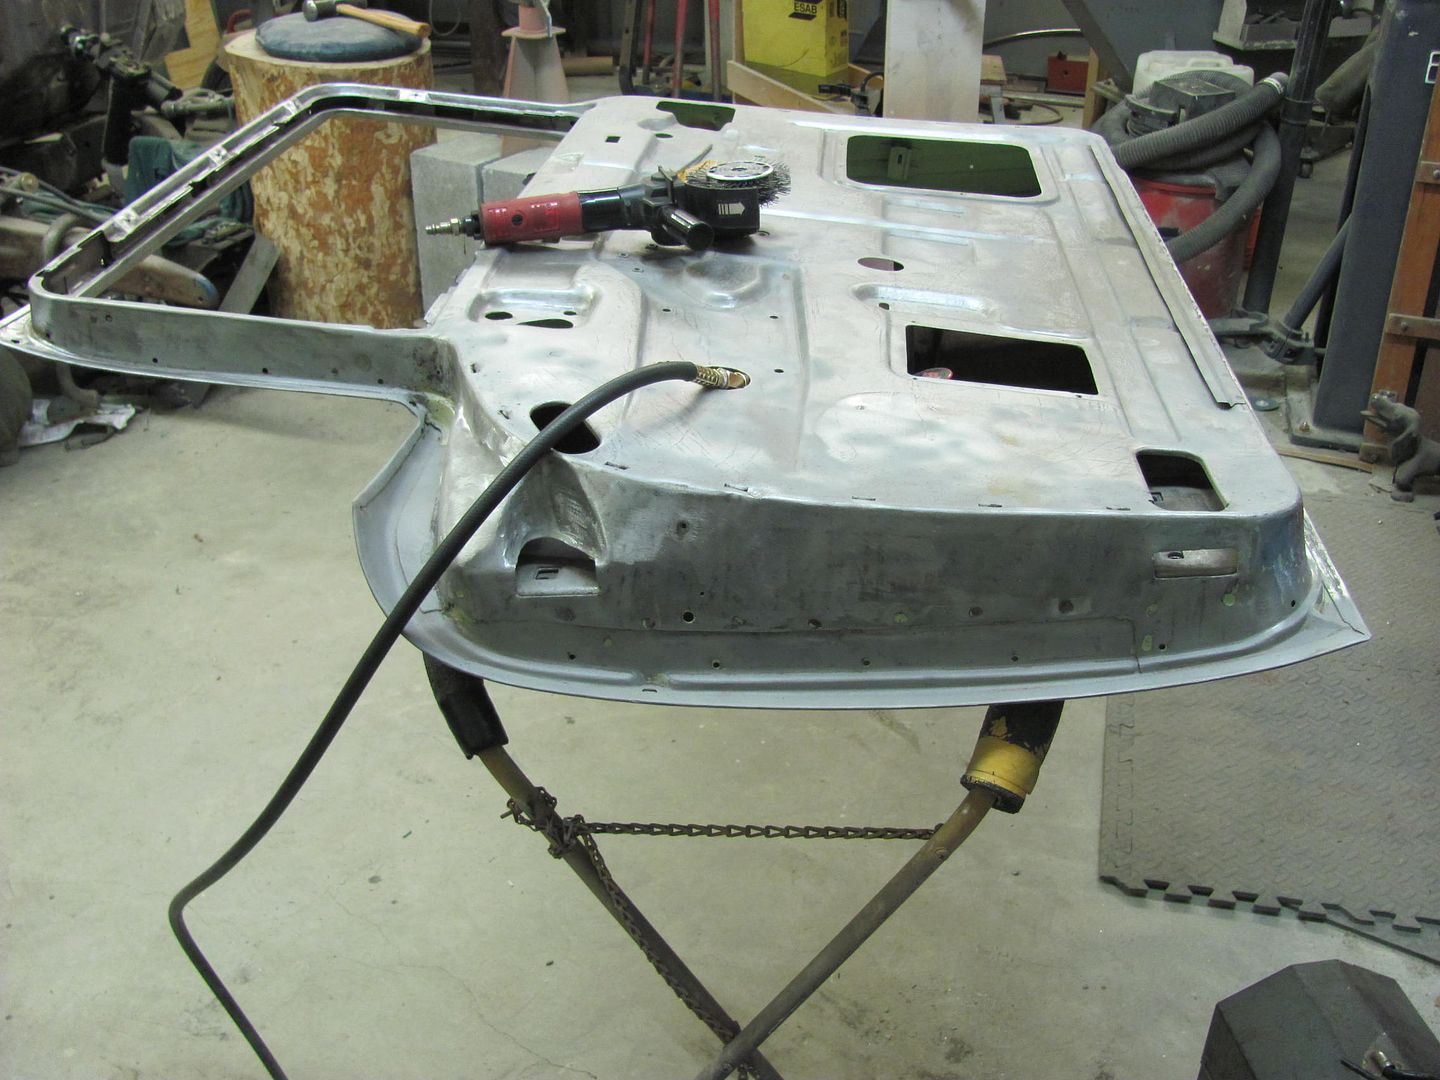
More progress on the wagon today. Kyle had finished the media blasting on the hood brace, so we had a few areas to address. As the hood ornament no longer exists, we didn't need the mounting holes going through the brace.
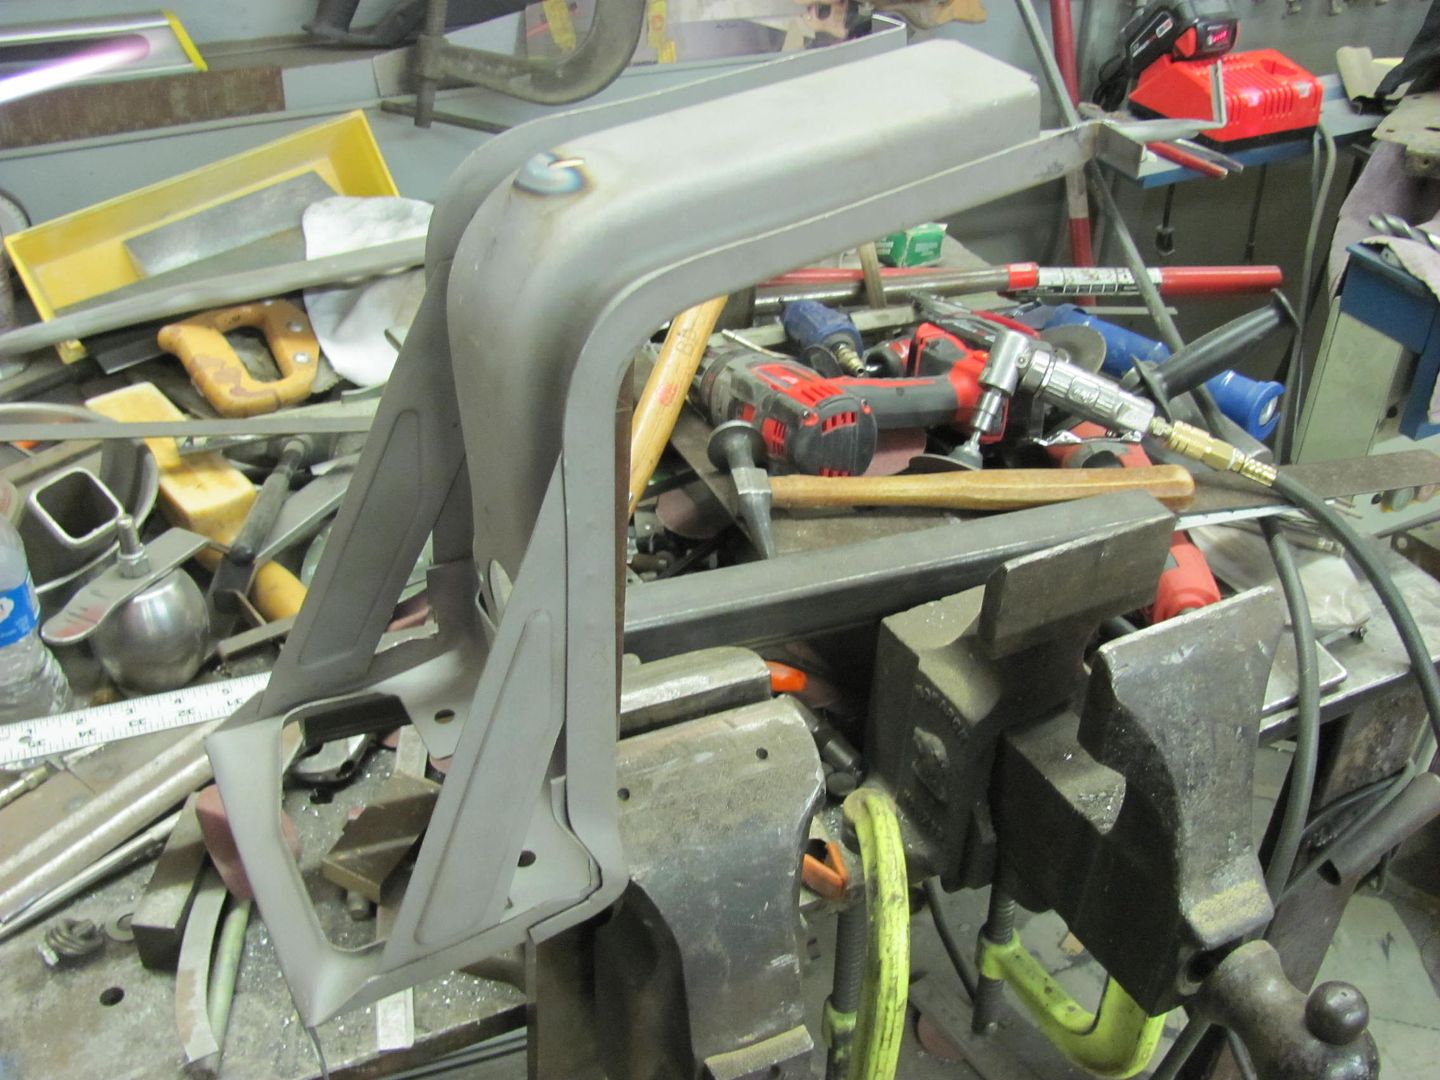 A piece of brass flat bar is radius-ed to make an anvil.. 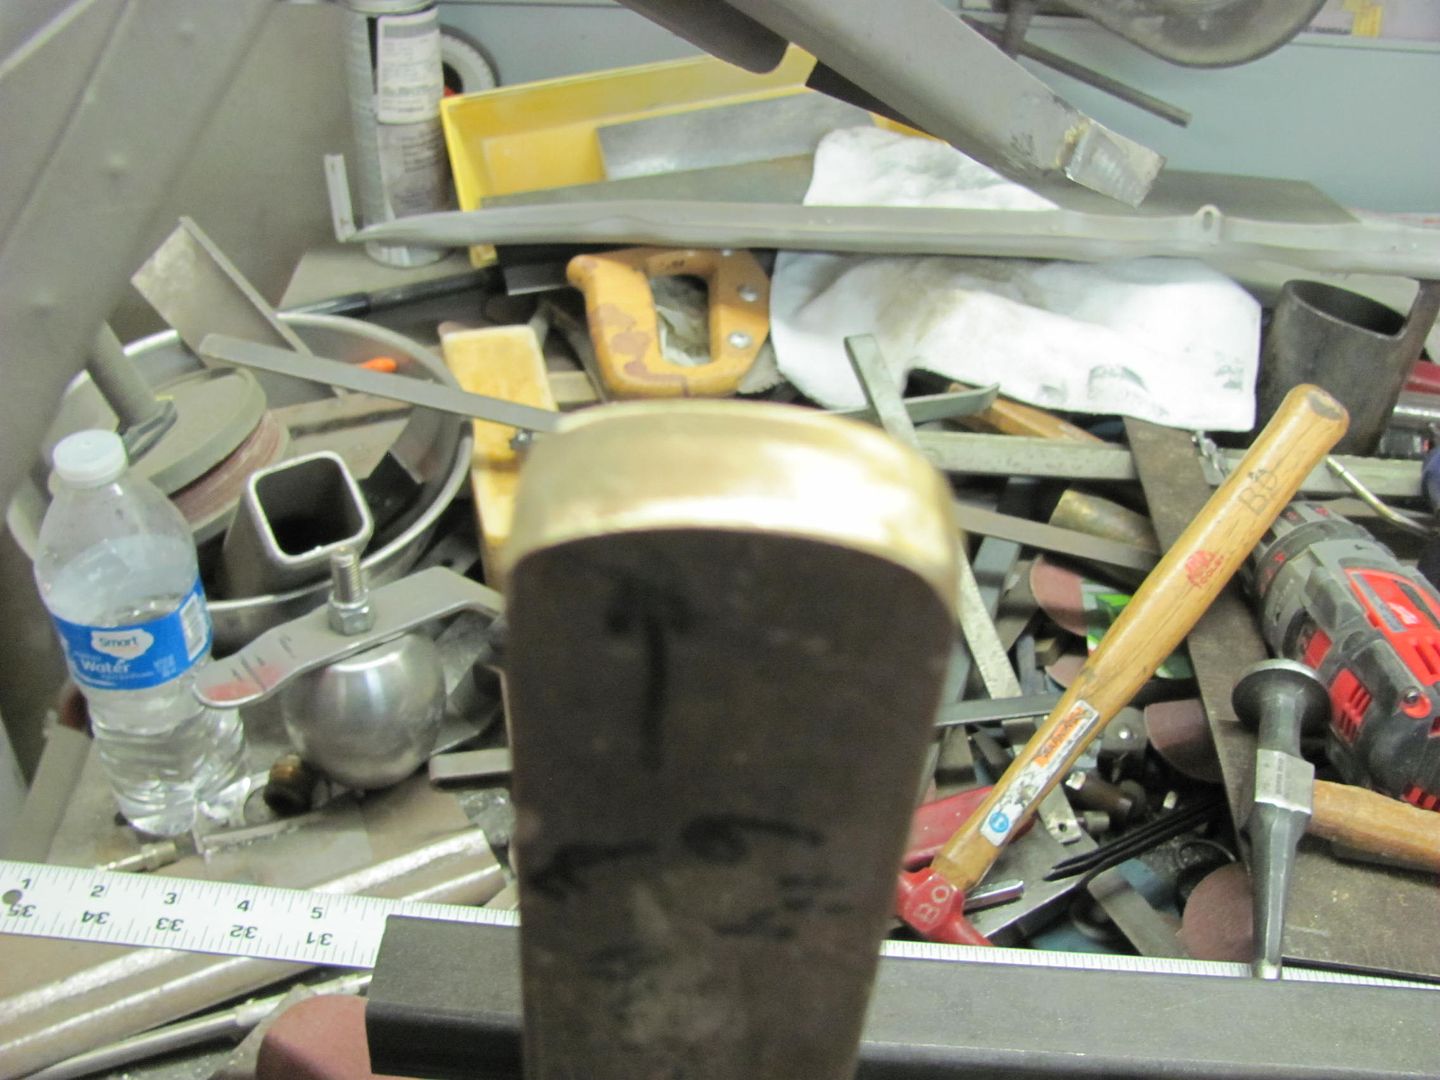 High spot is heated and tapped down with the hammer.. Then pick the next high spot and repeat.... 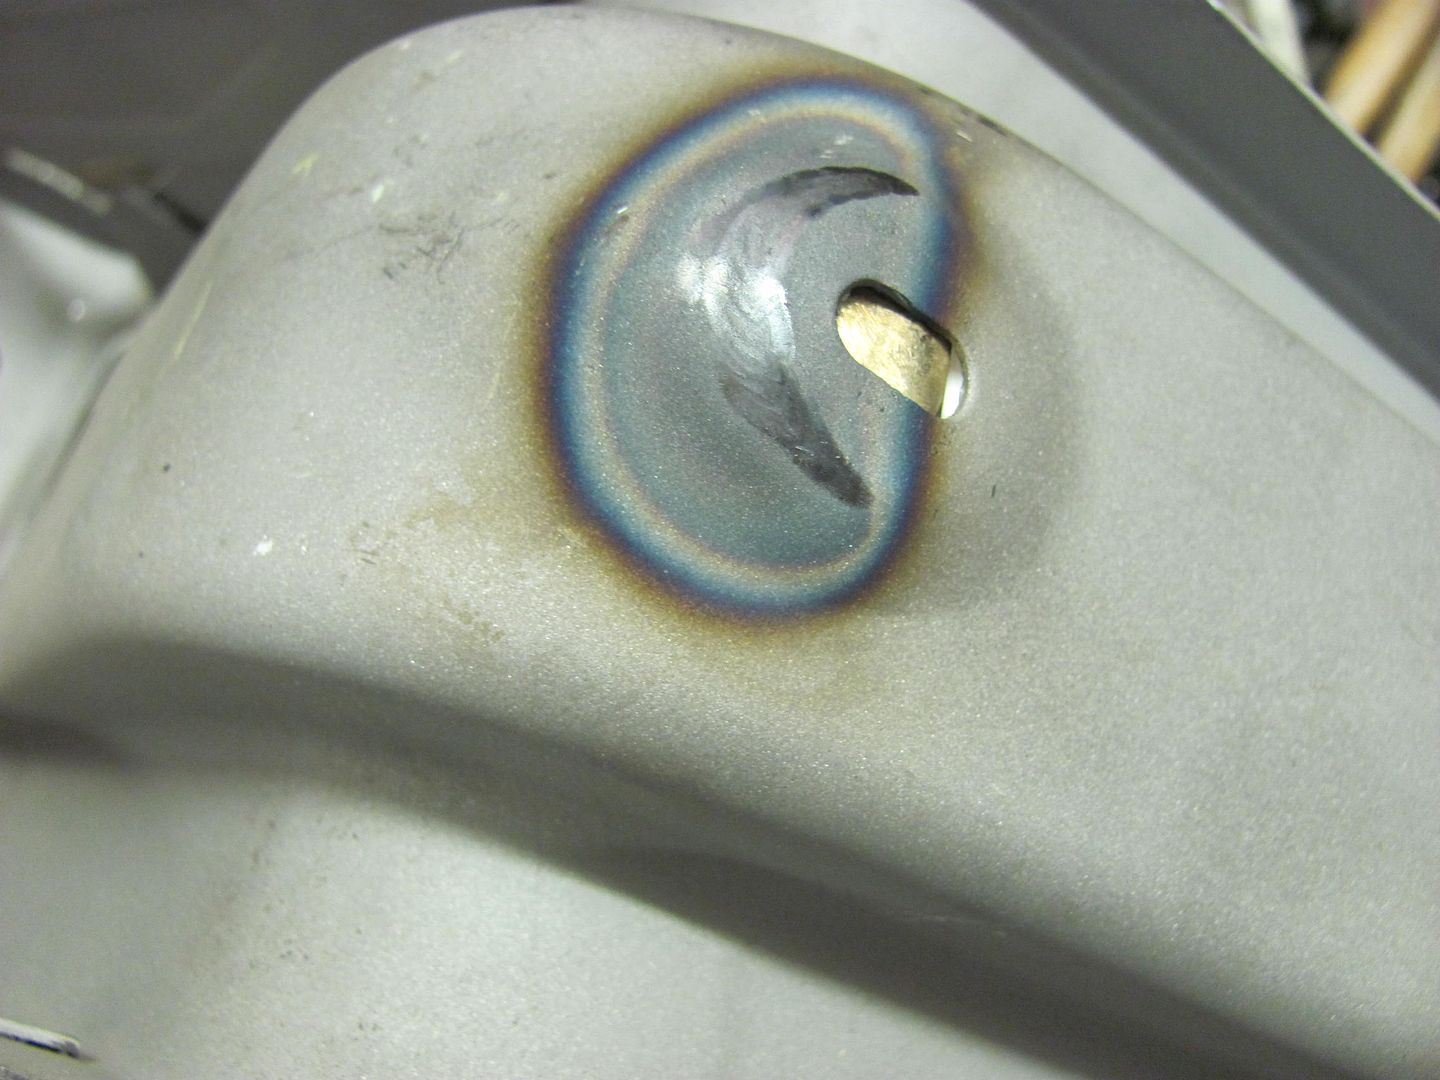 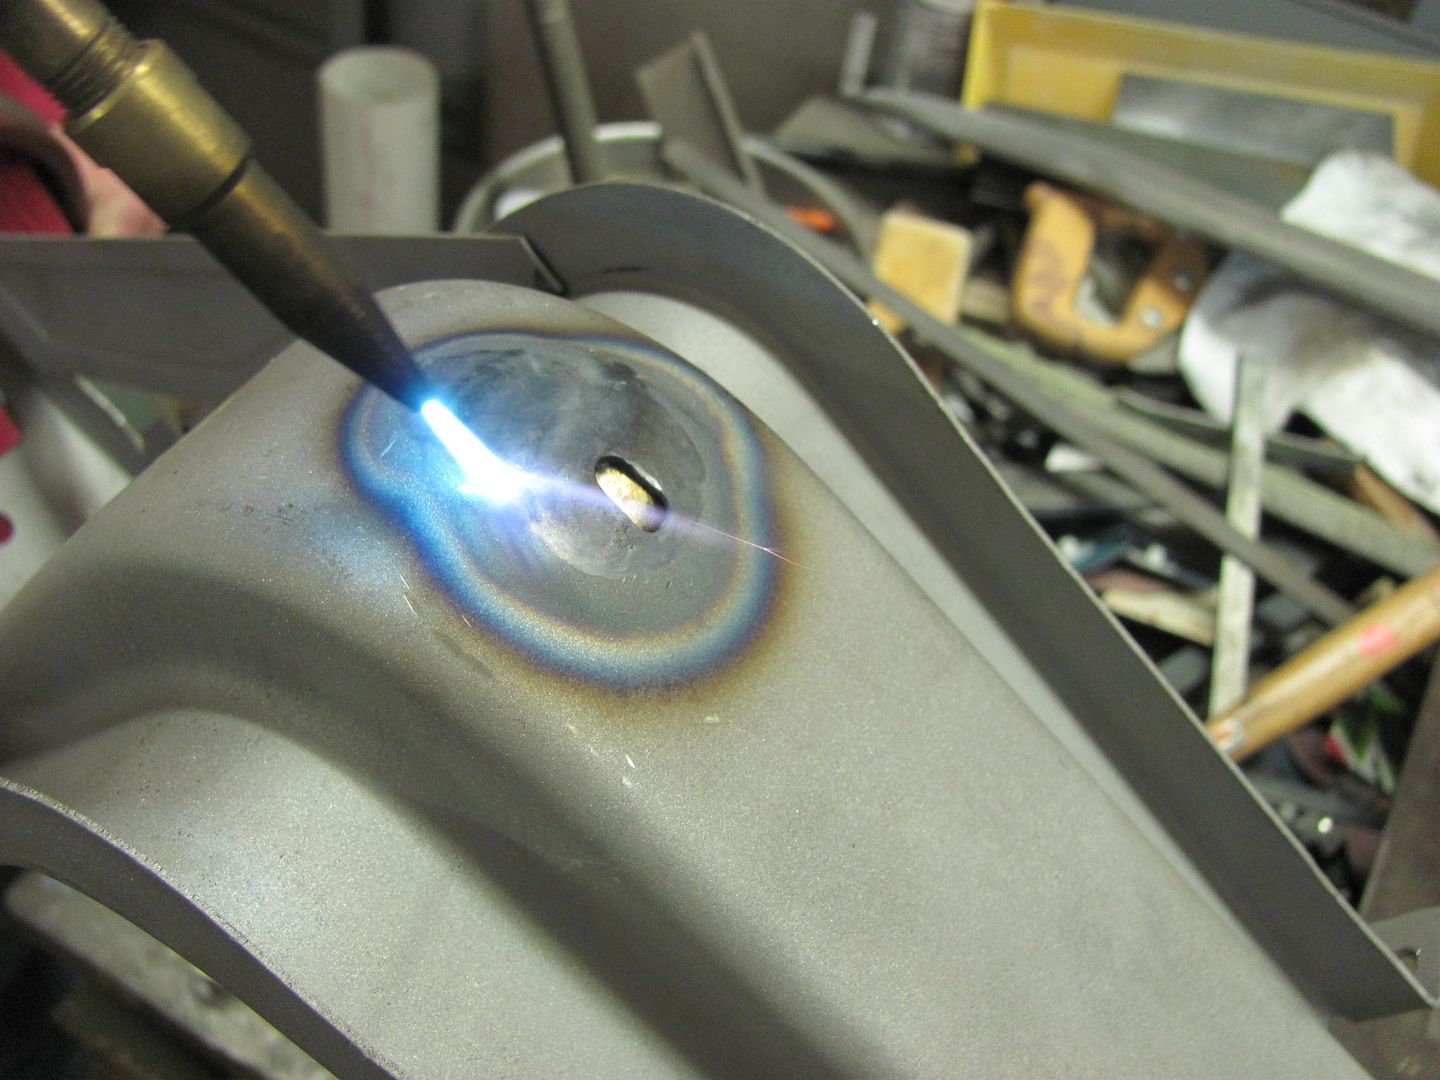 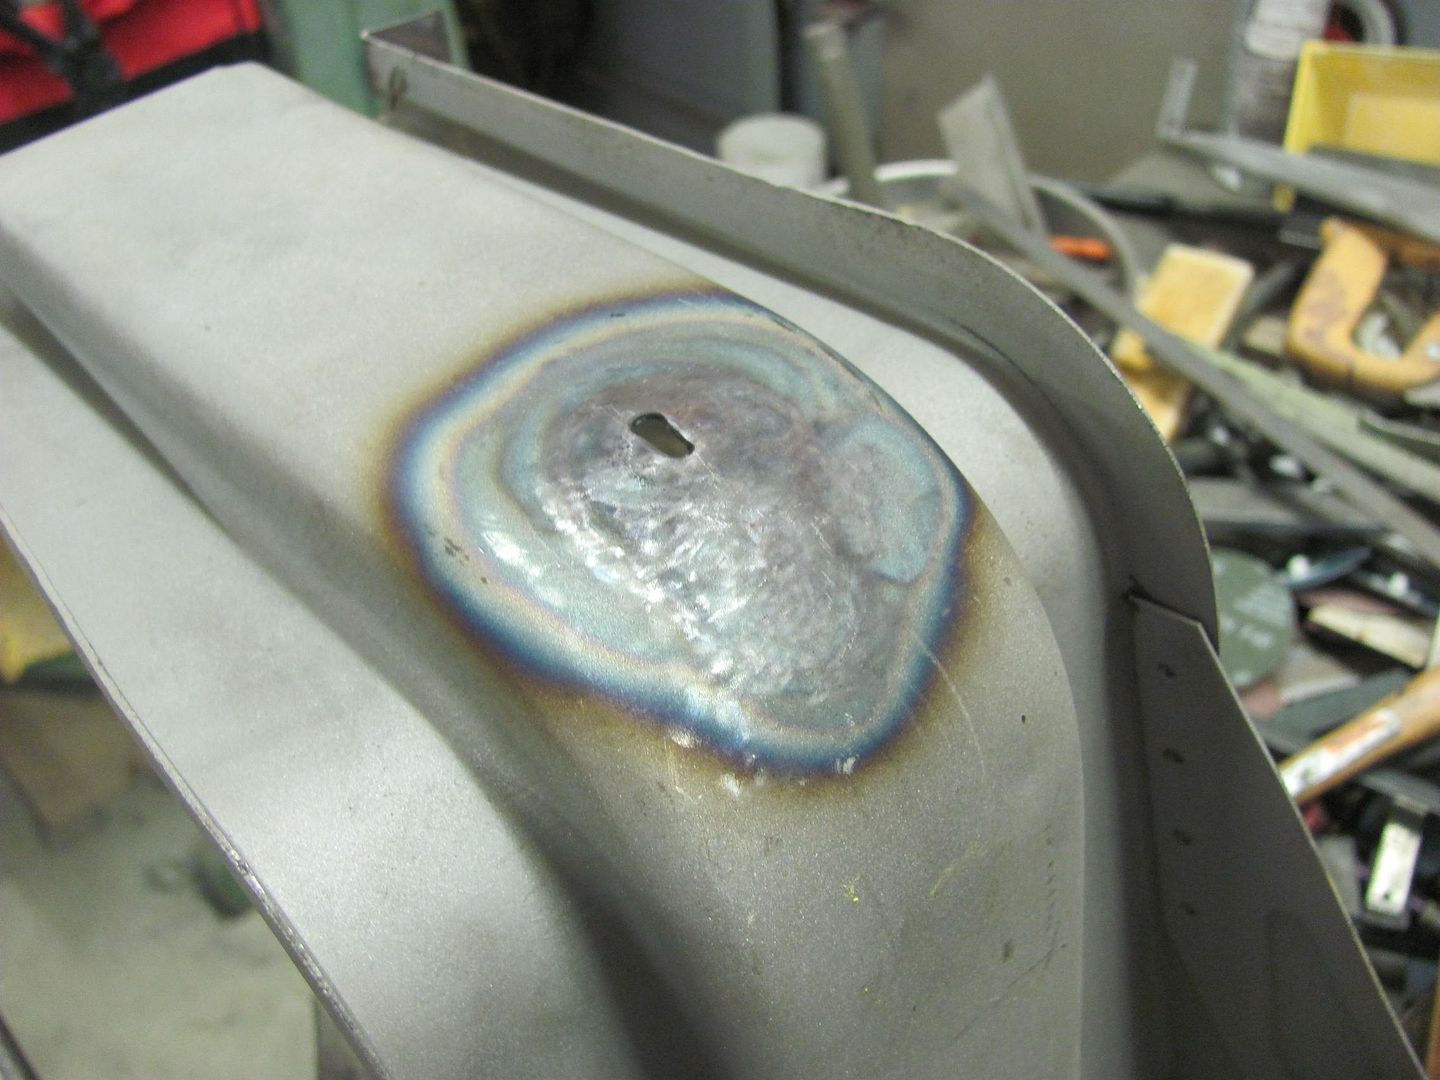 Slot is welded closed, welds dressed, area media blasted once again... 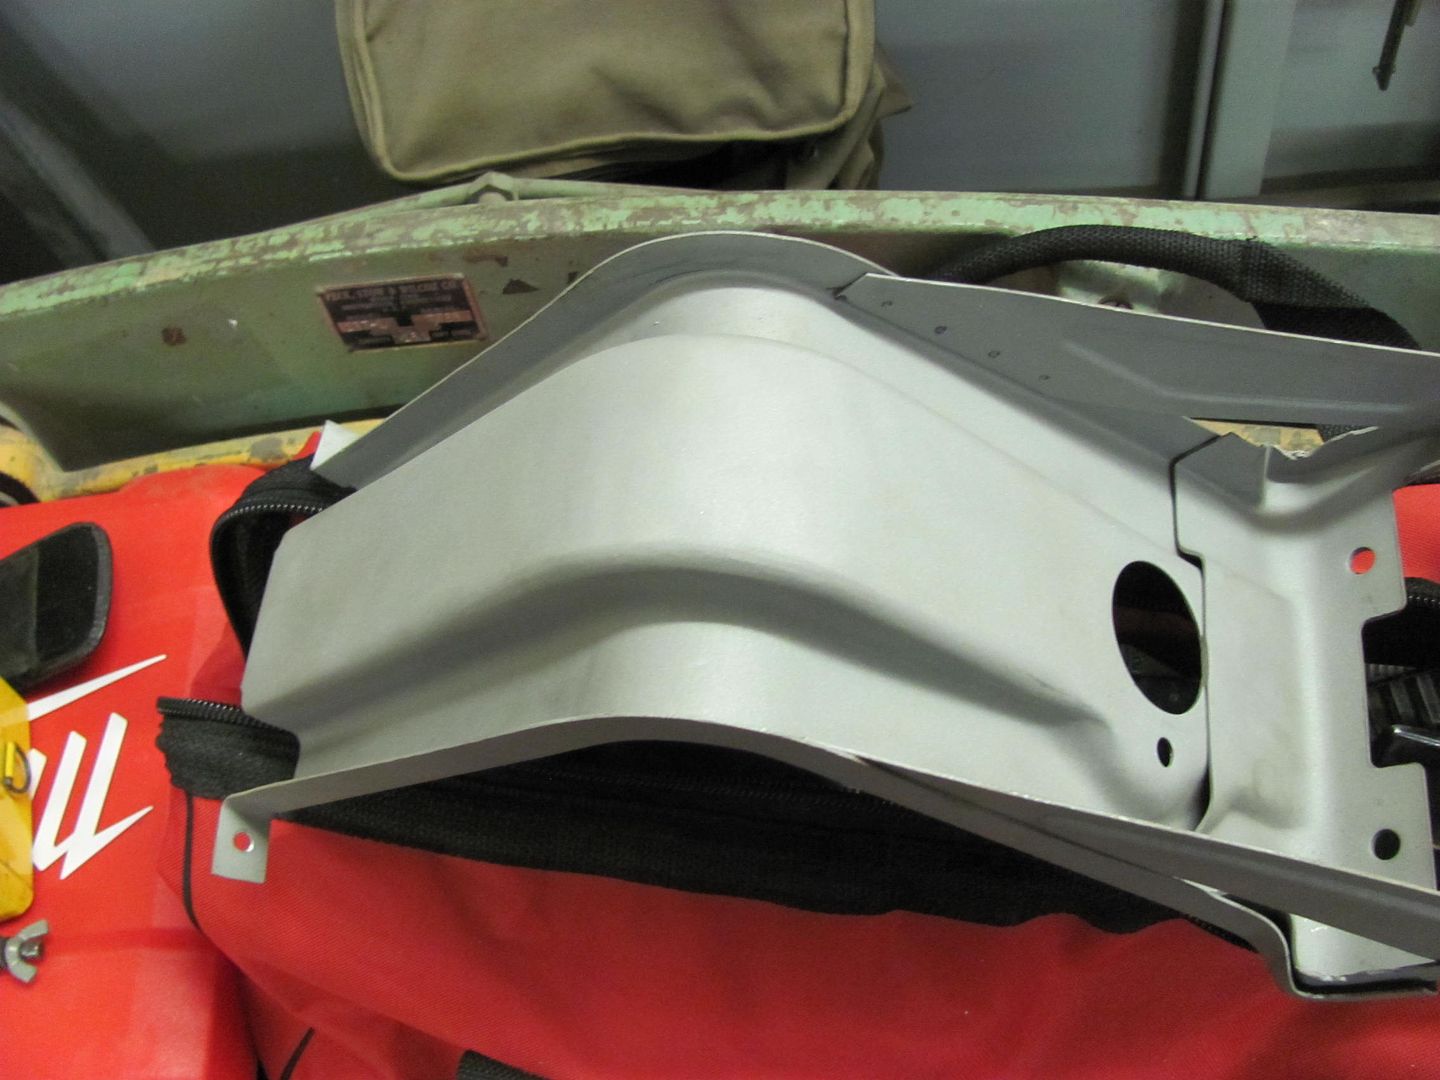 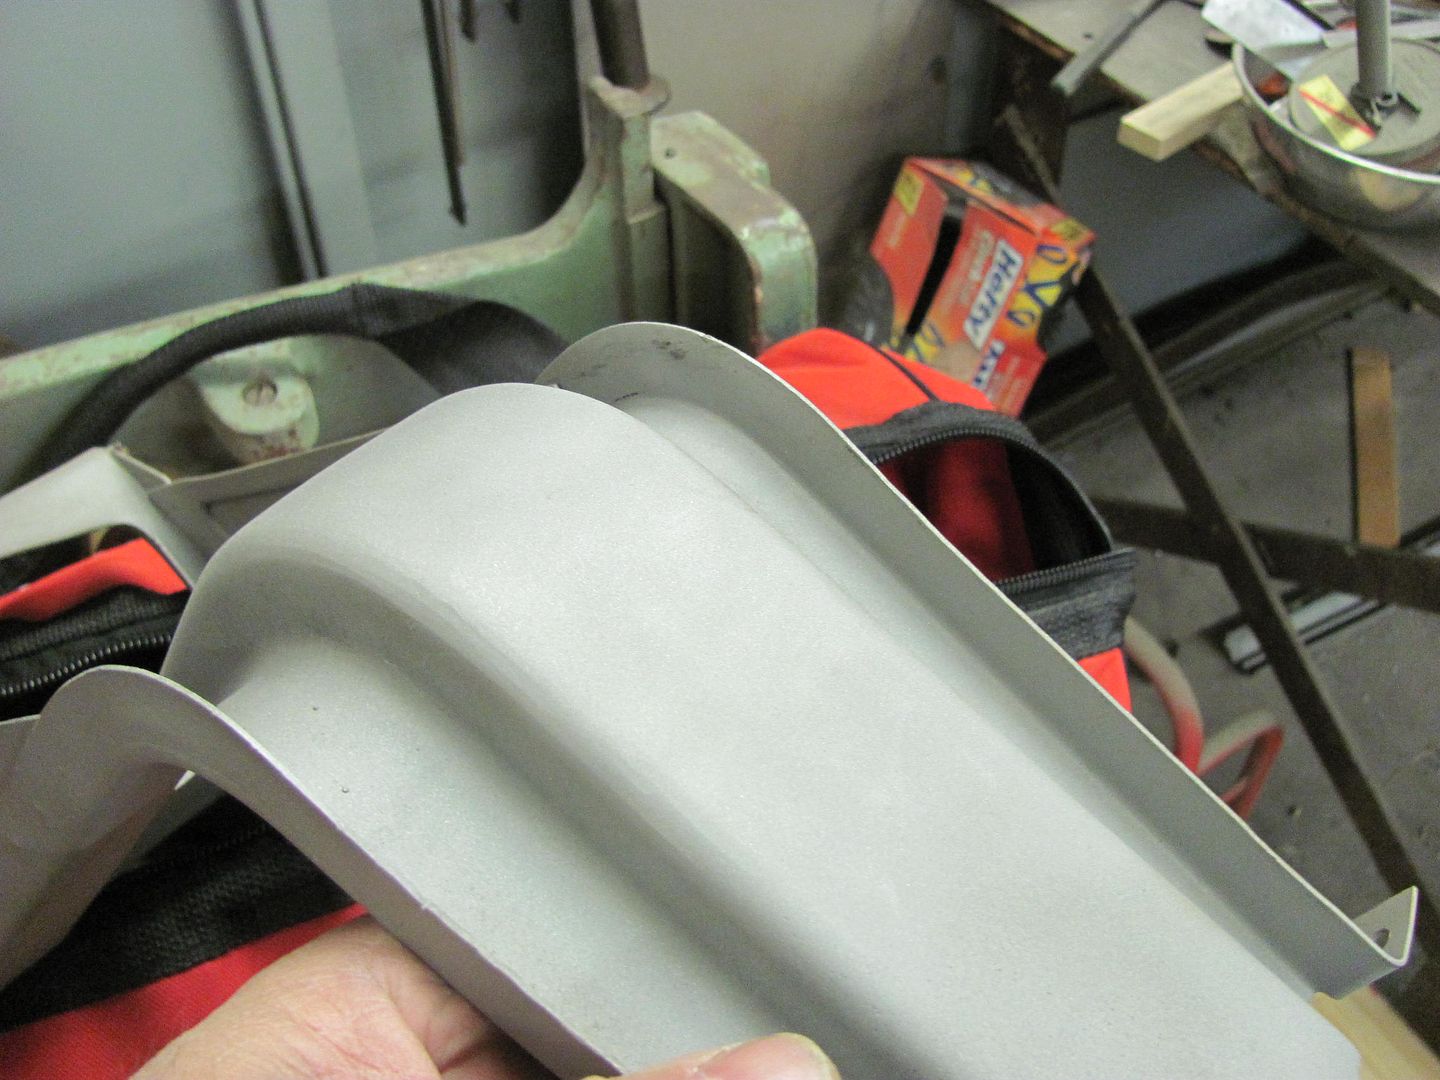 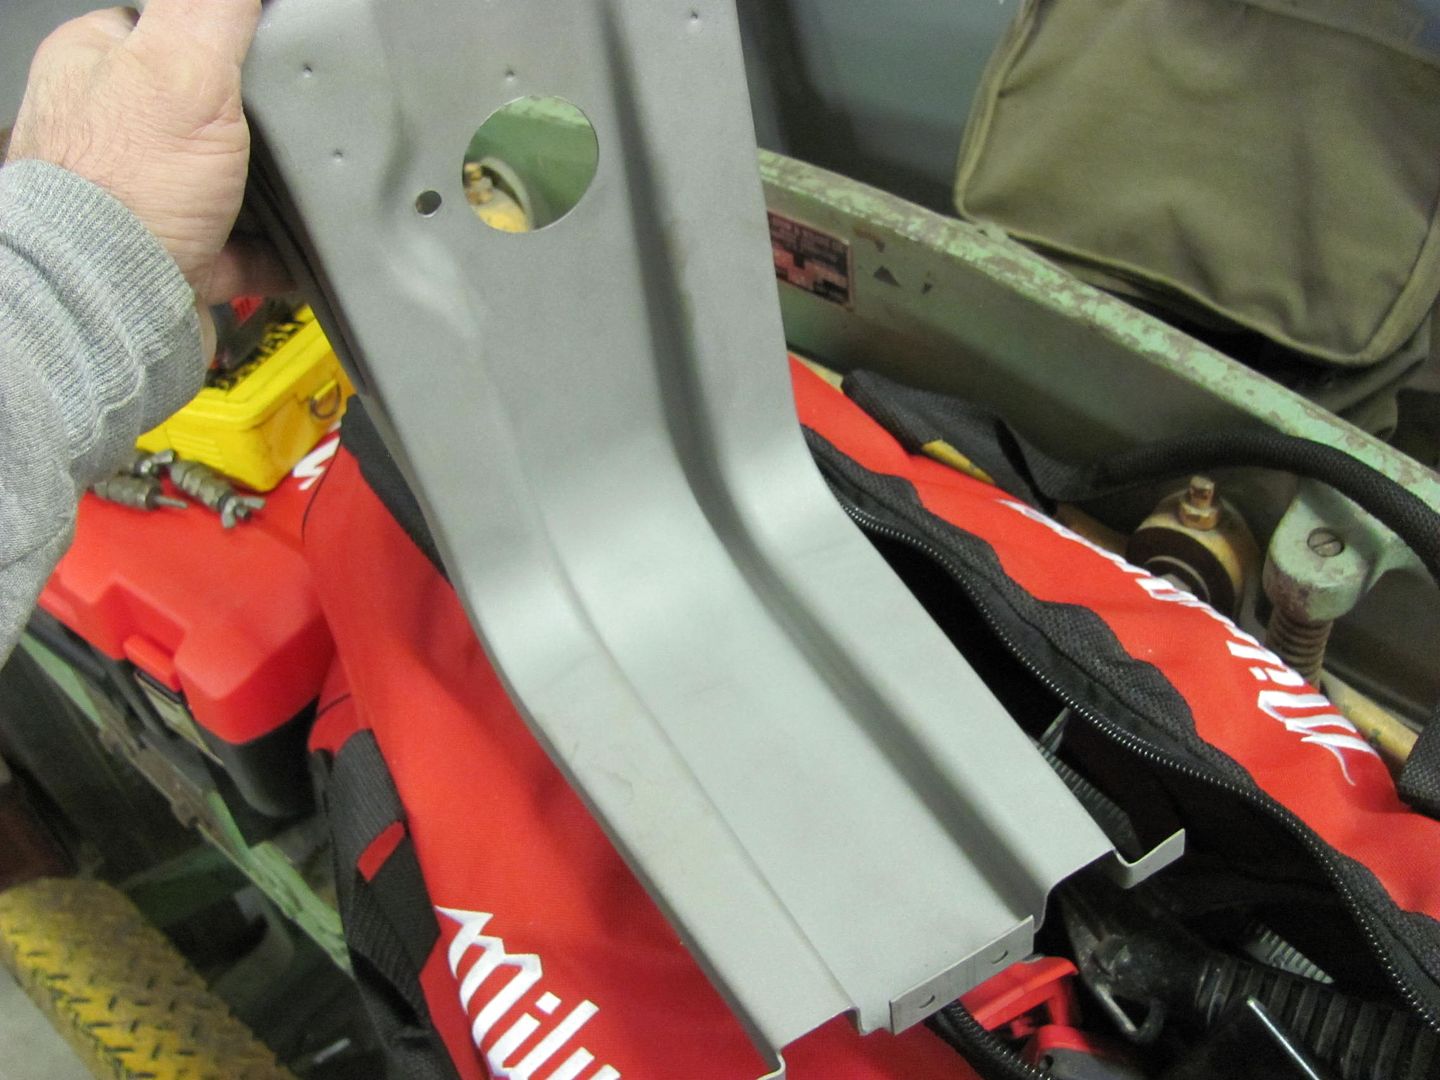 Kyle working on prepping the passenger door for primer... Sorry for the blurry picture, gonna have to fire the photographer! 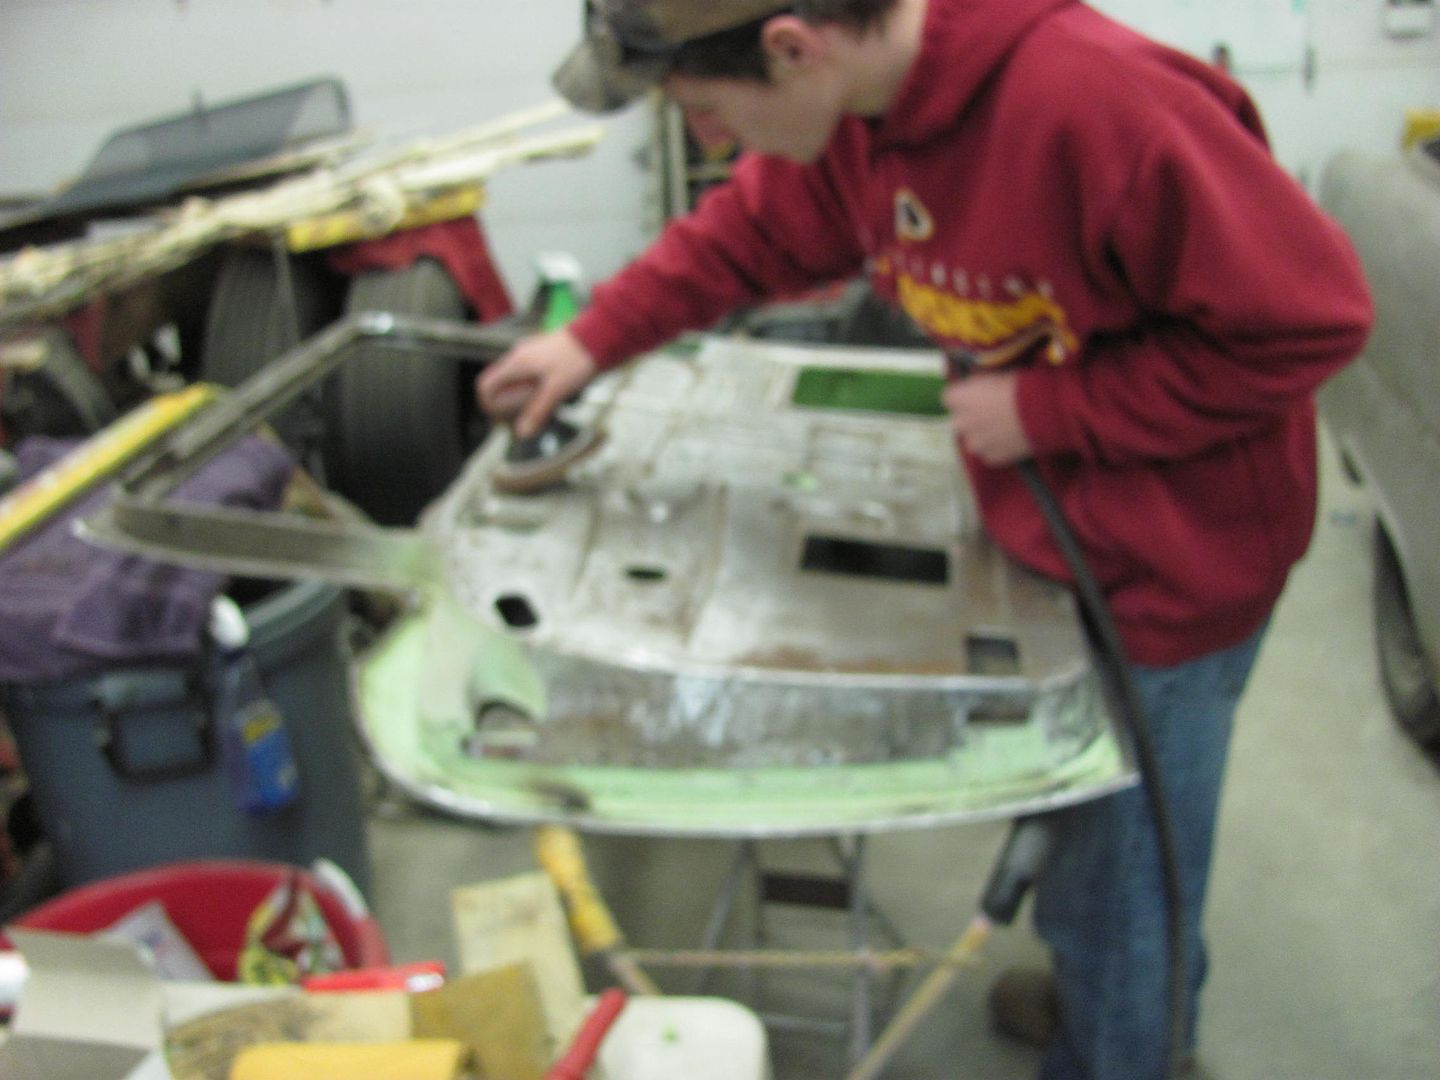 The hood ornament hole in the cross brace was also welded closed and dressed... 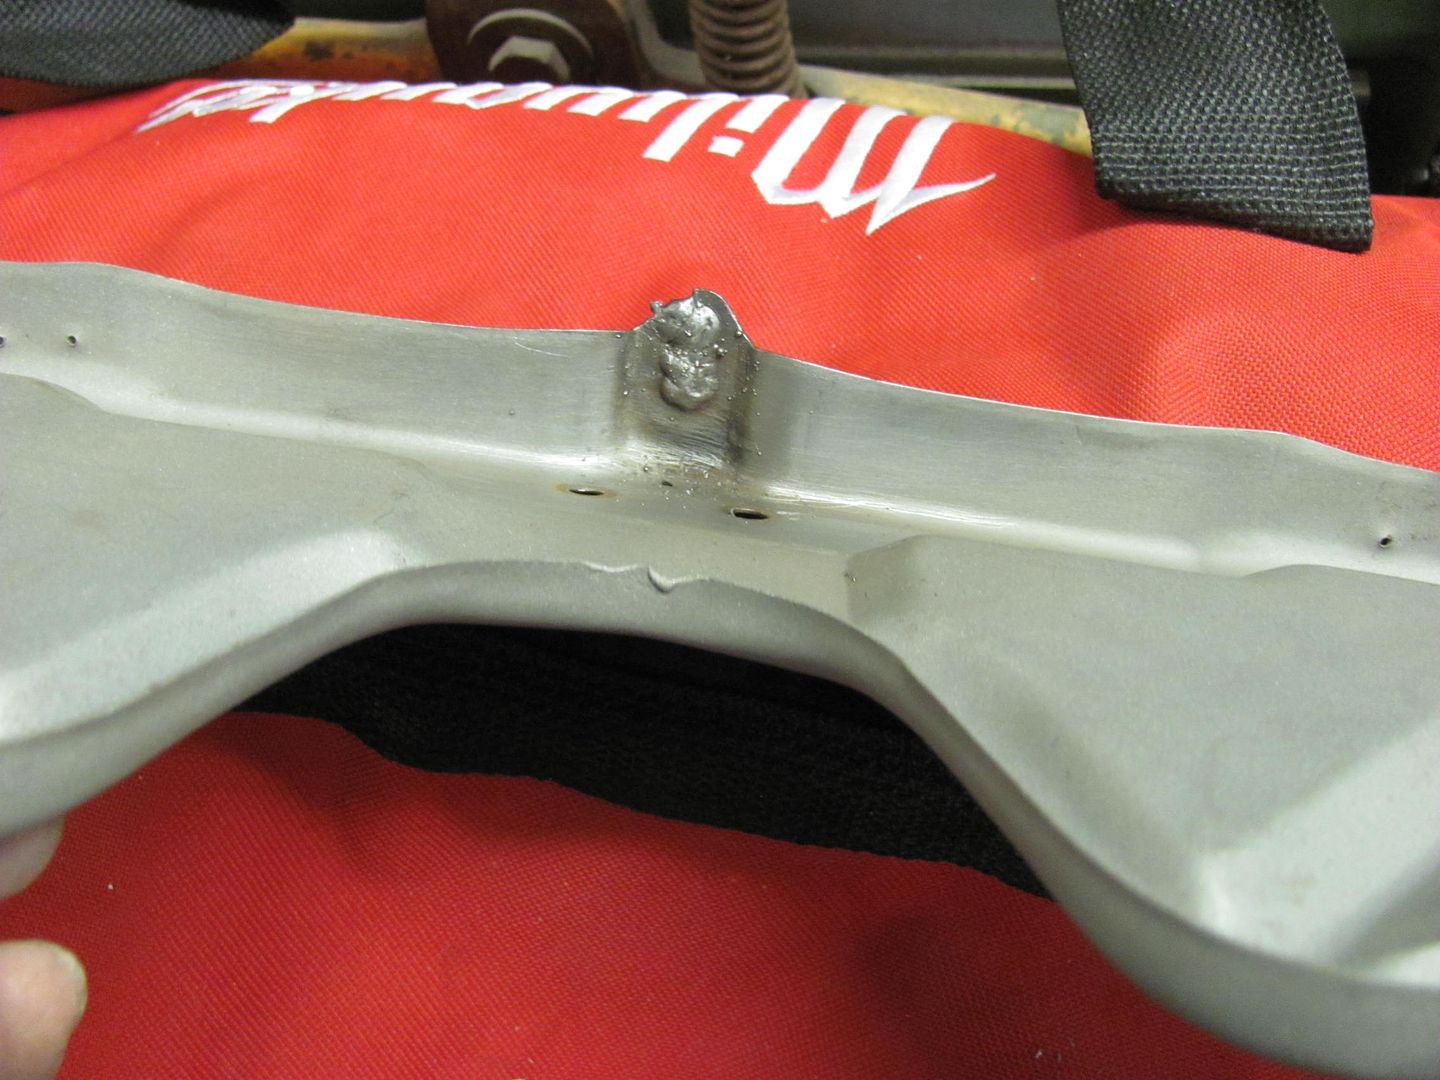 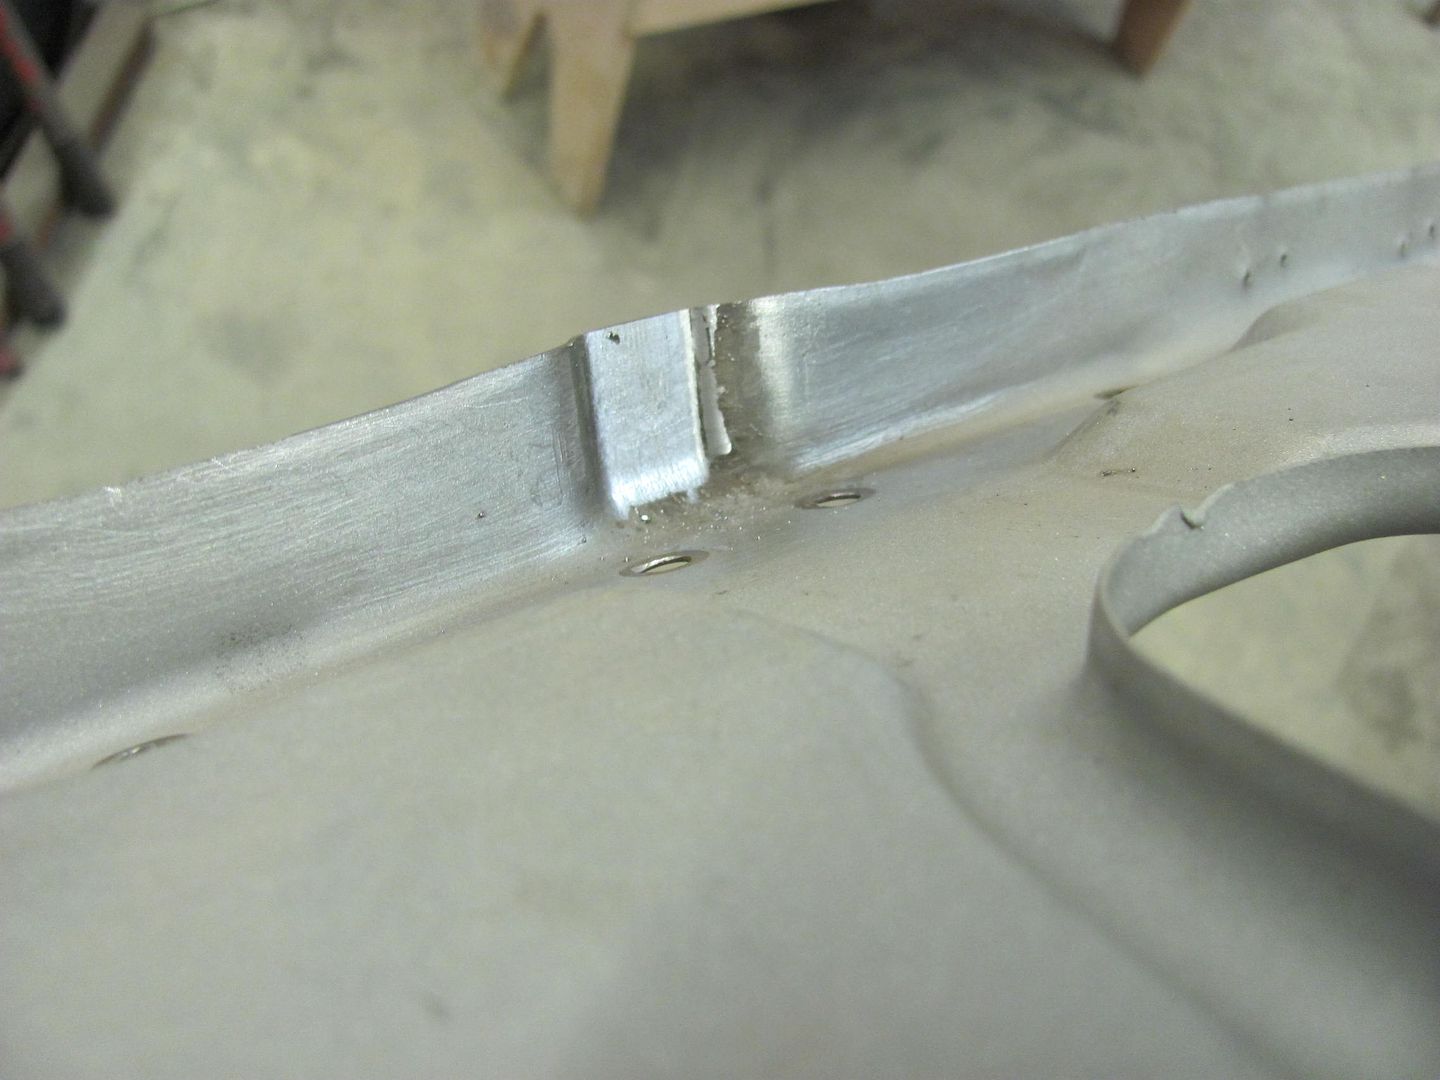 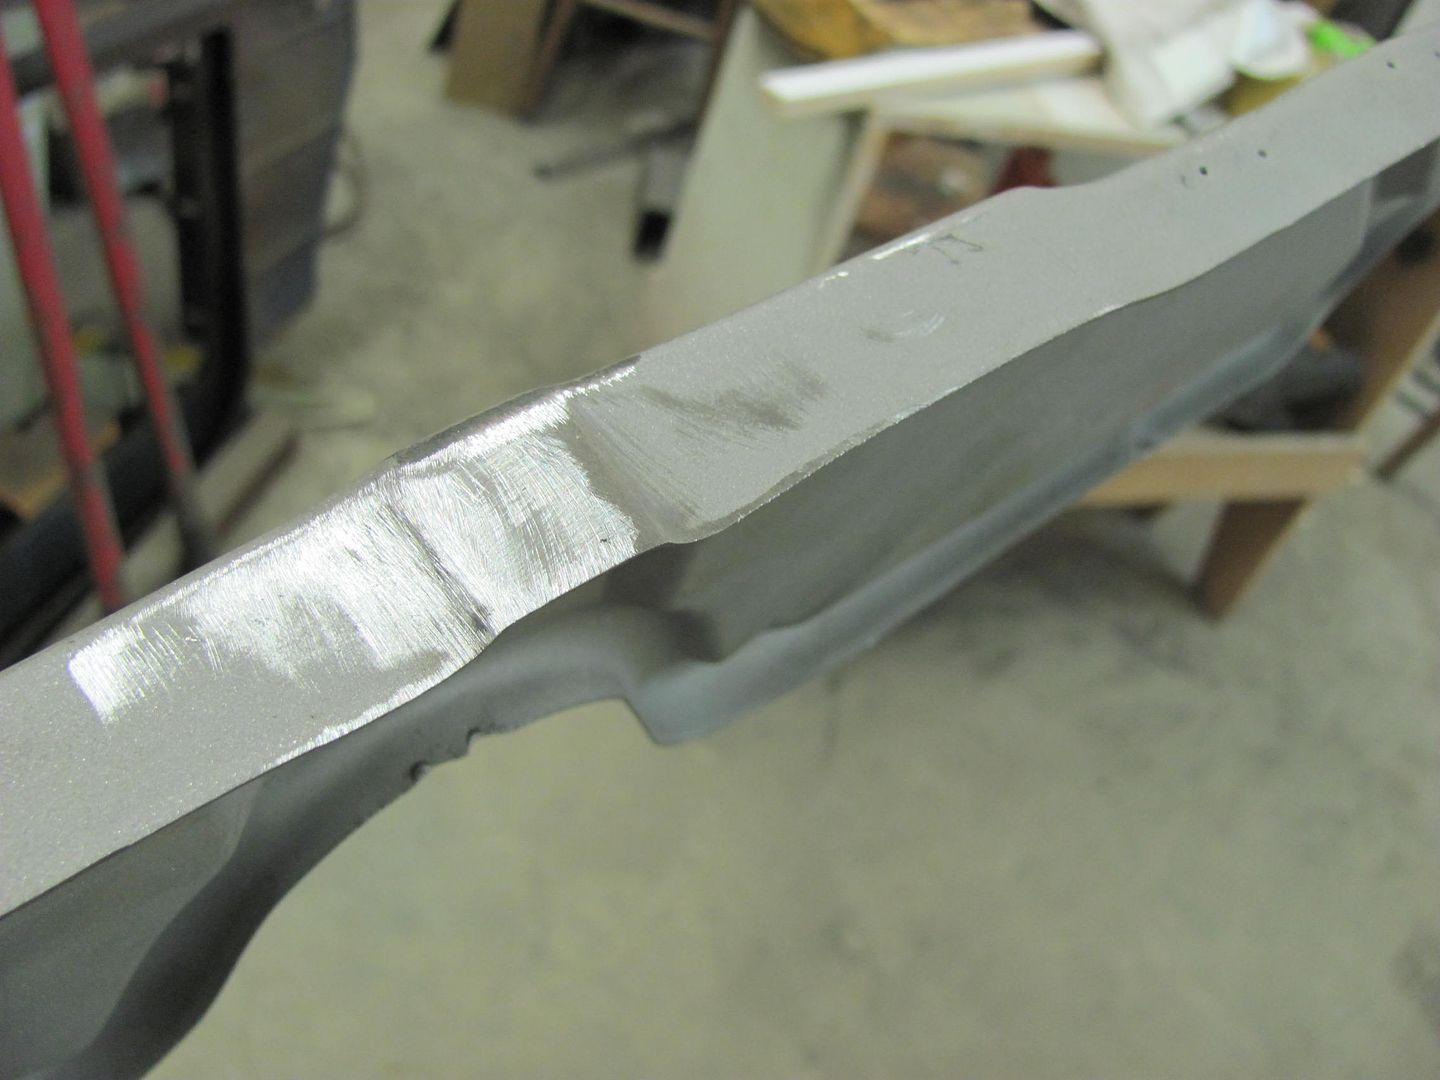 Next on the list were the stress cracks on the ends of the hood brace. 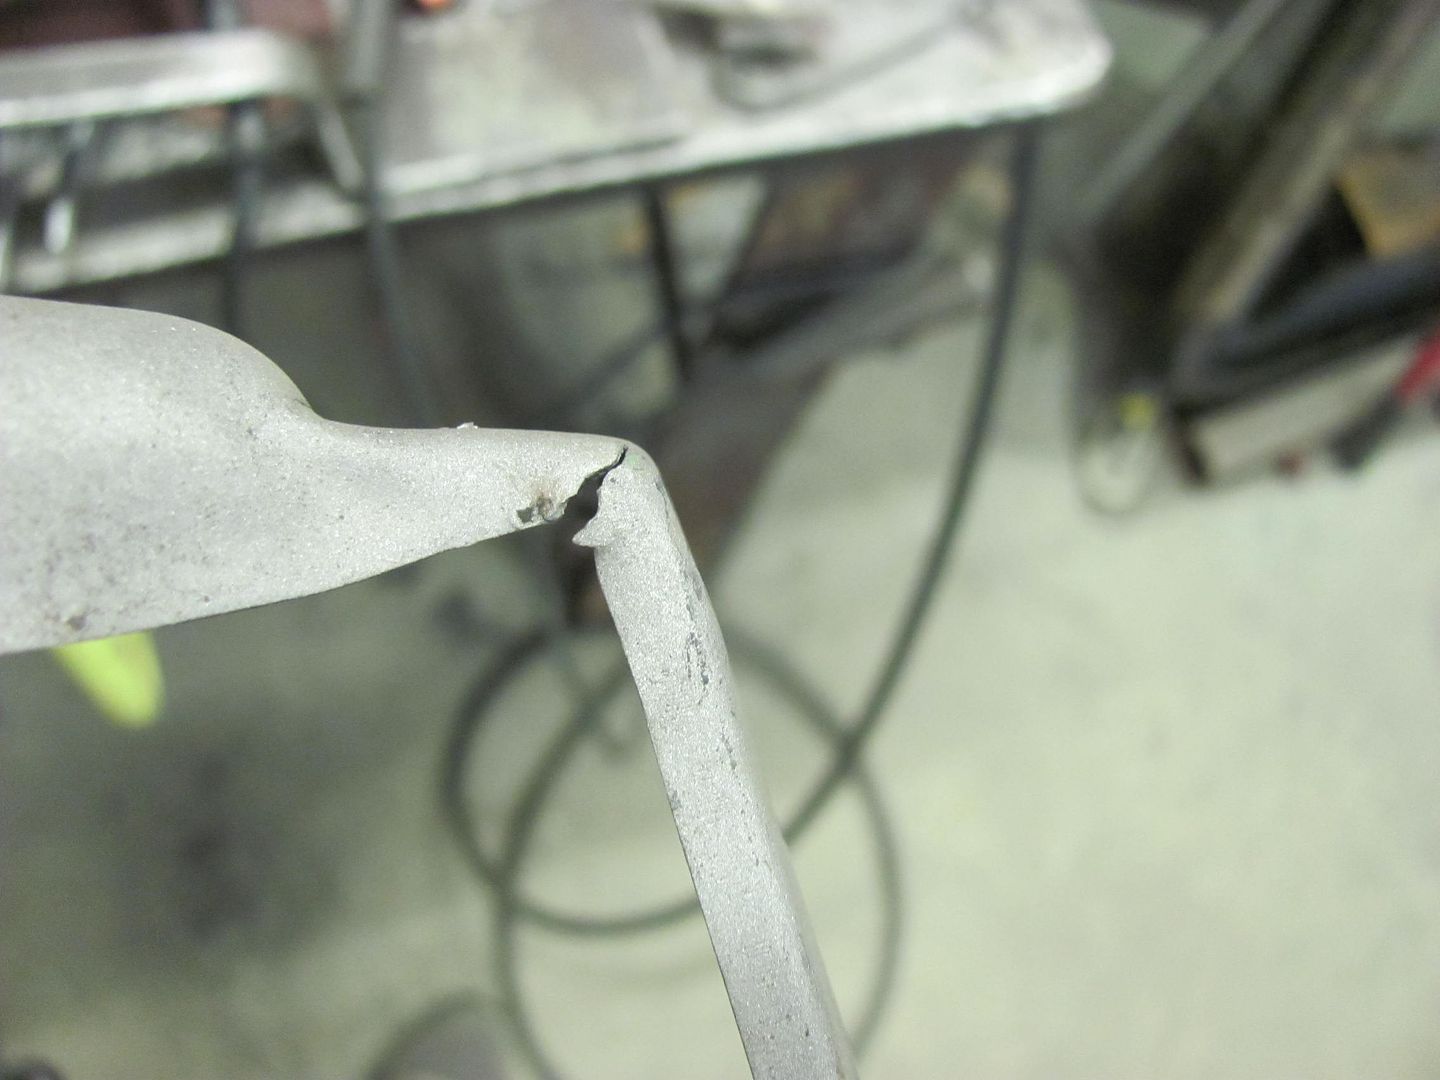 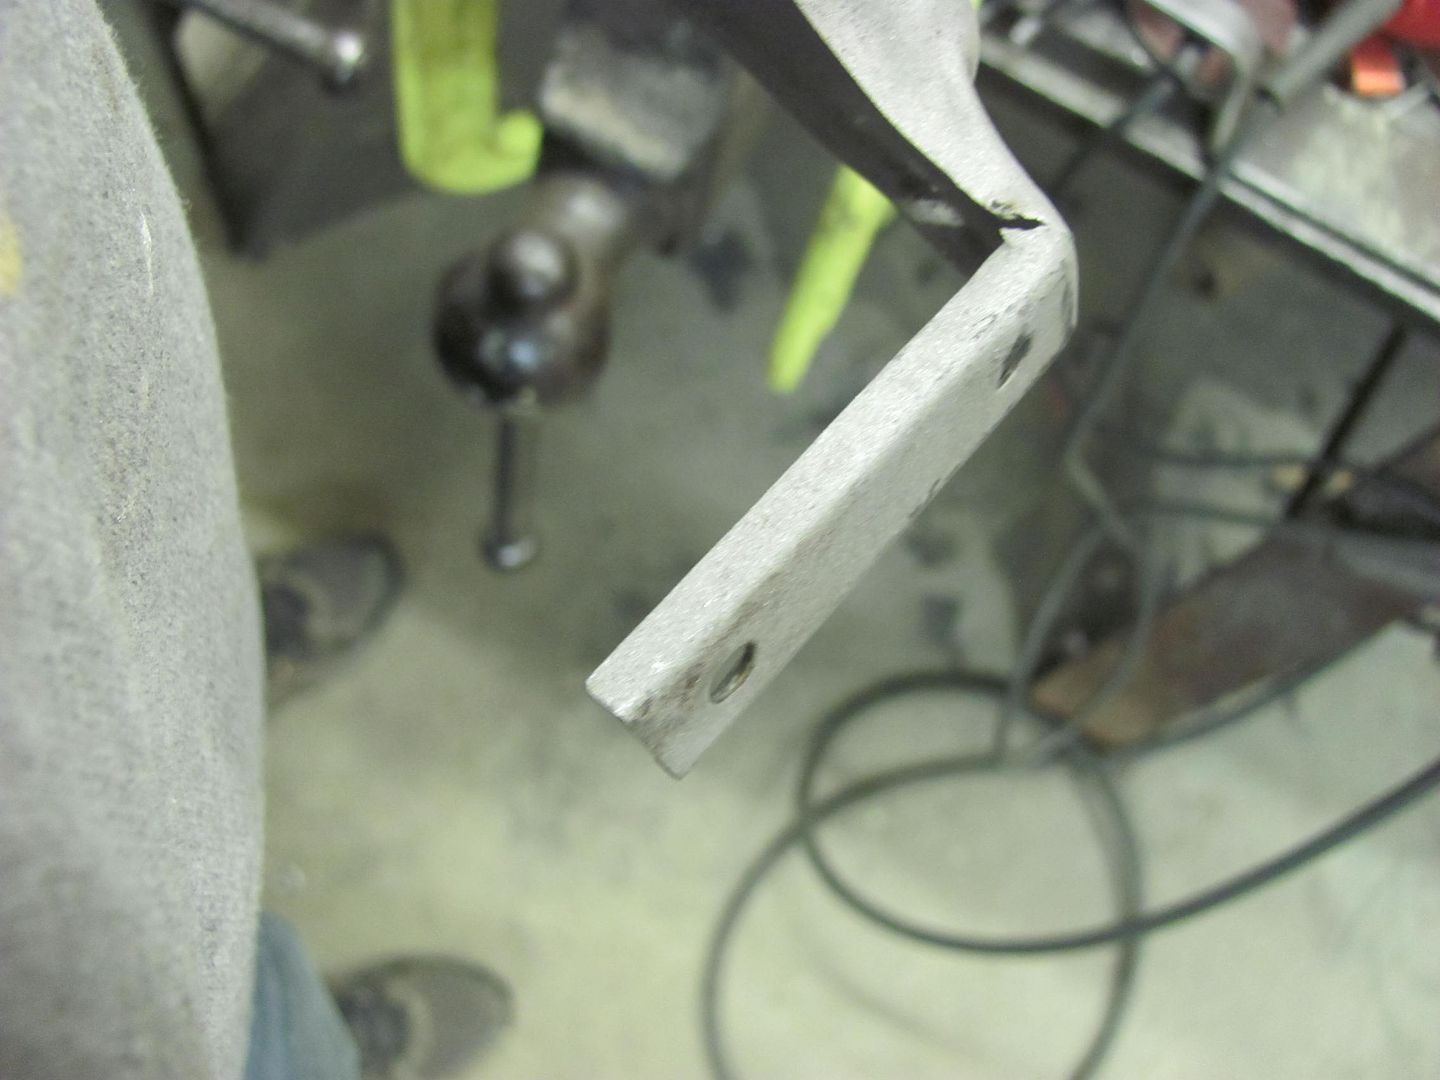 Some 16 gauge CRS was used to make some stiffeners inside the corners... 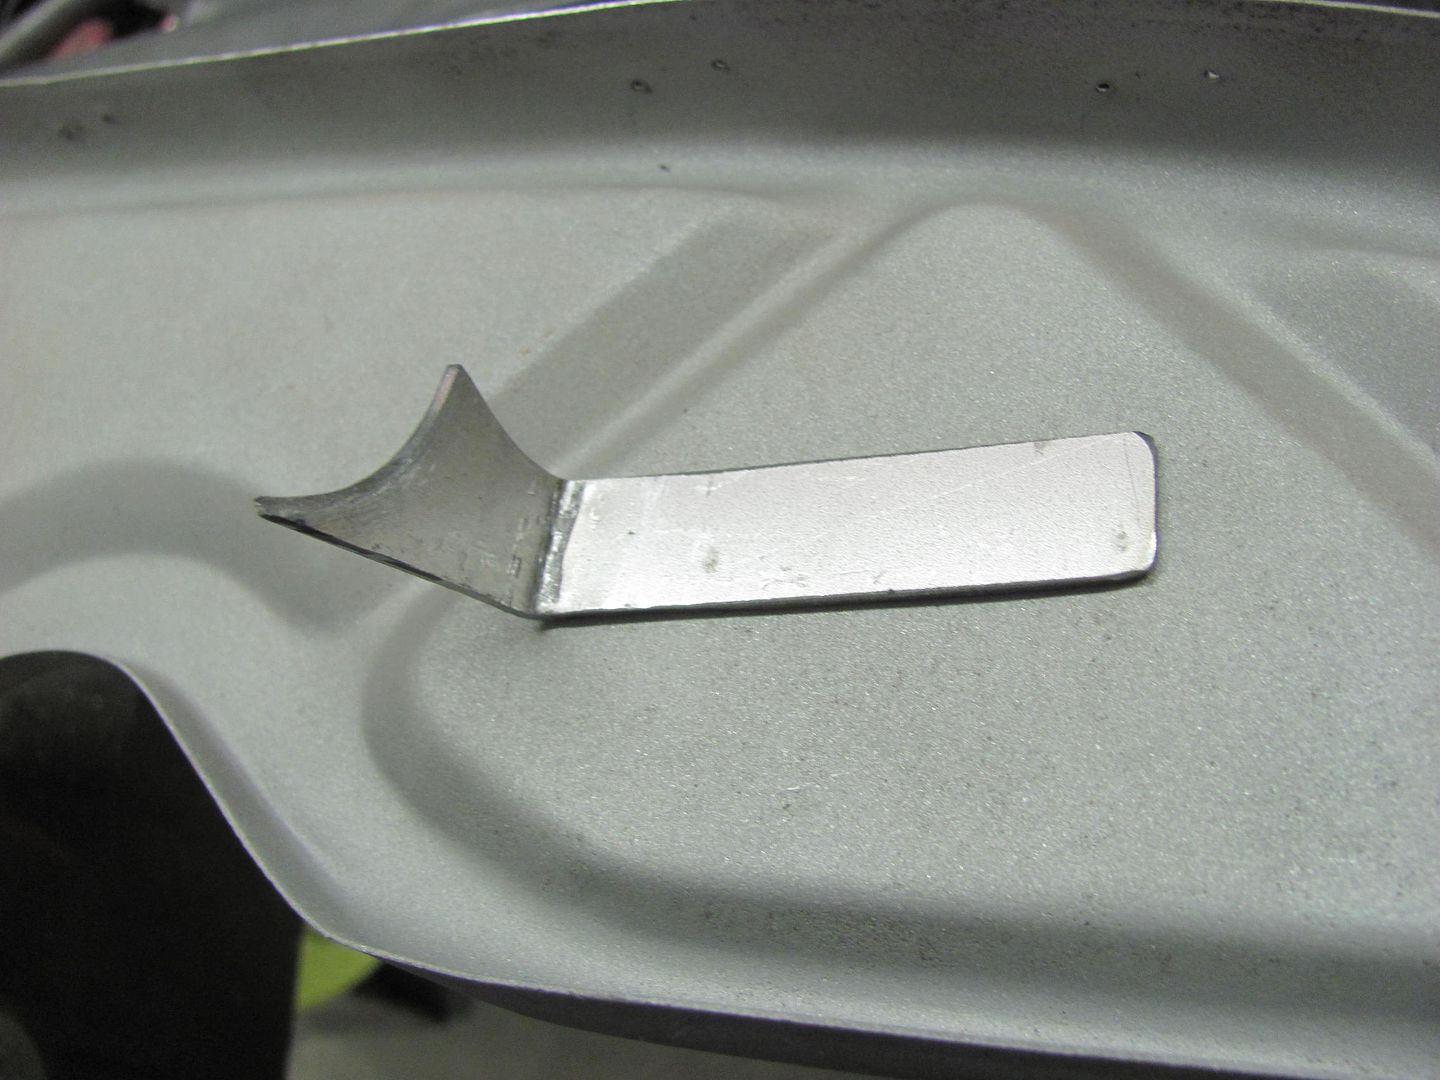 test fit.. 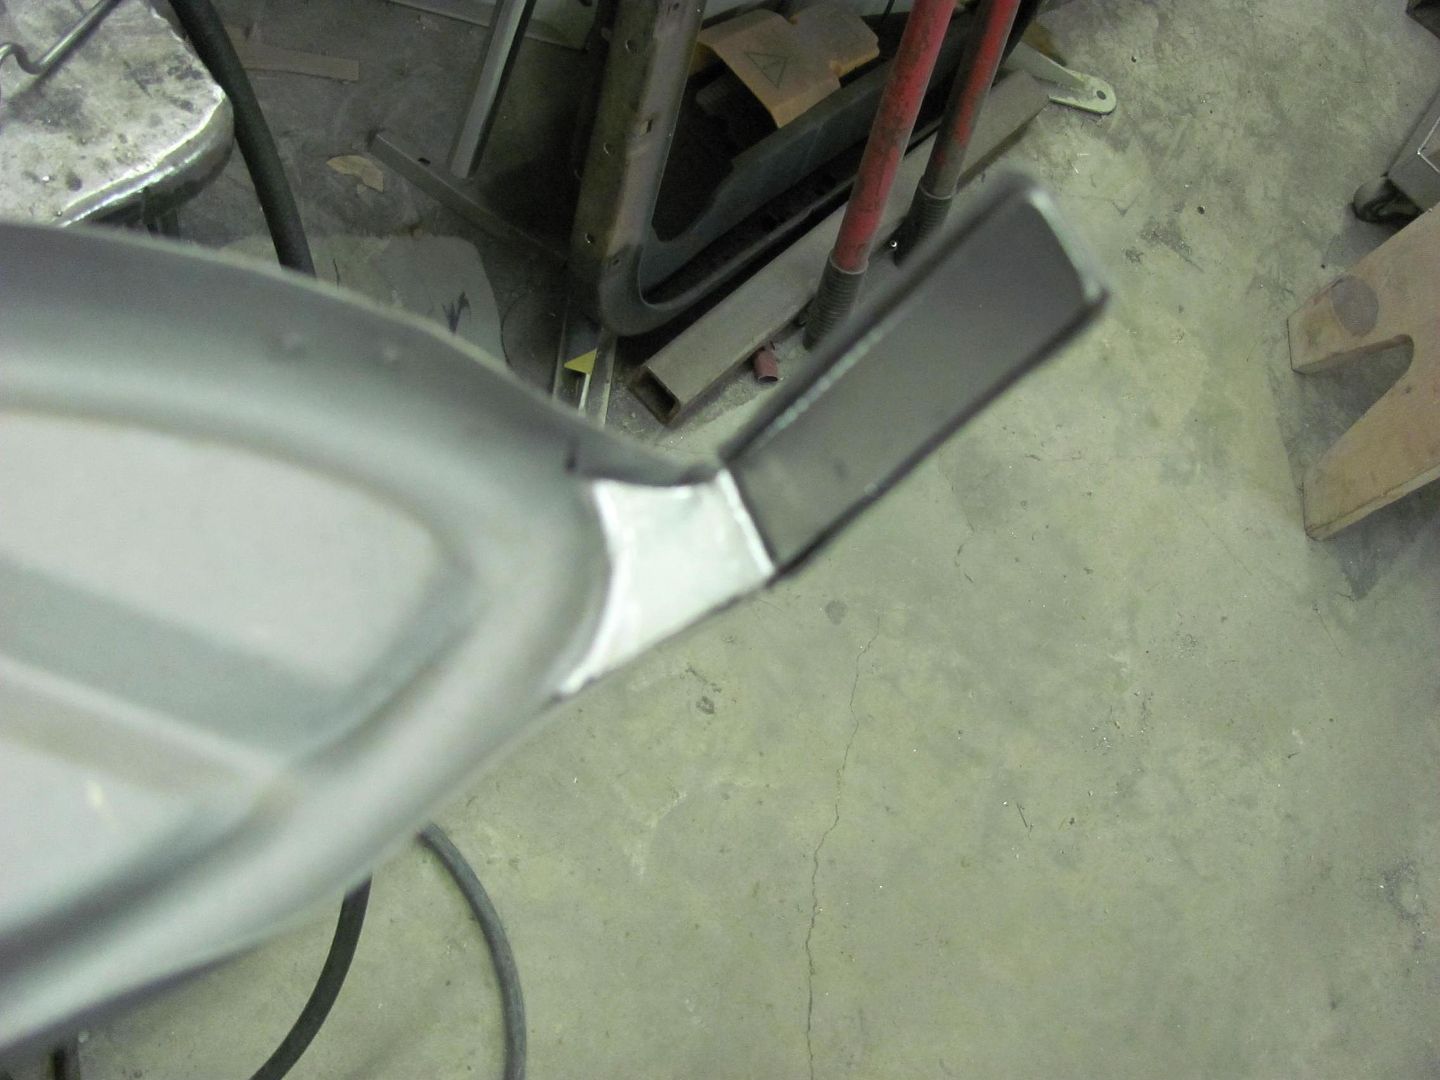 Plug welded in place and the flanges wrapped around... cracks repaired... 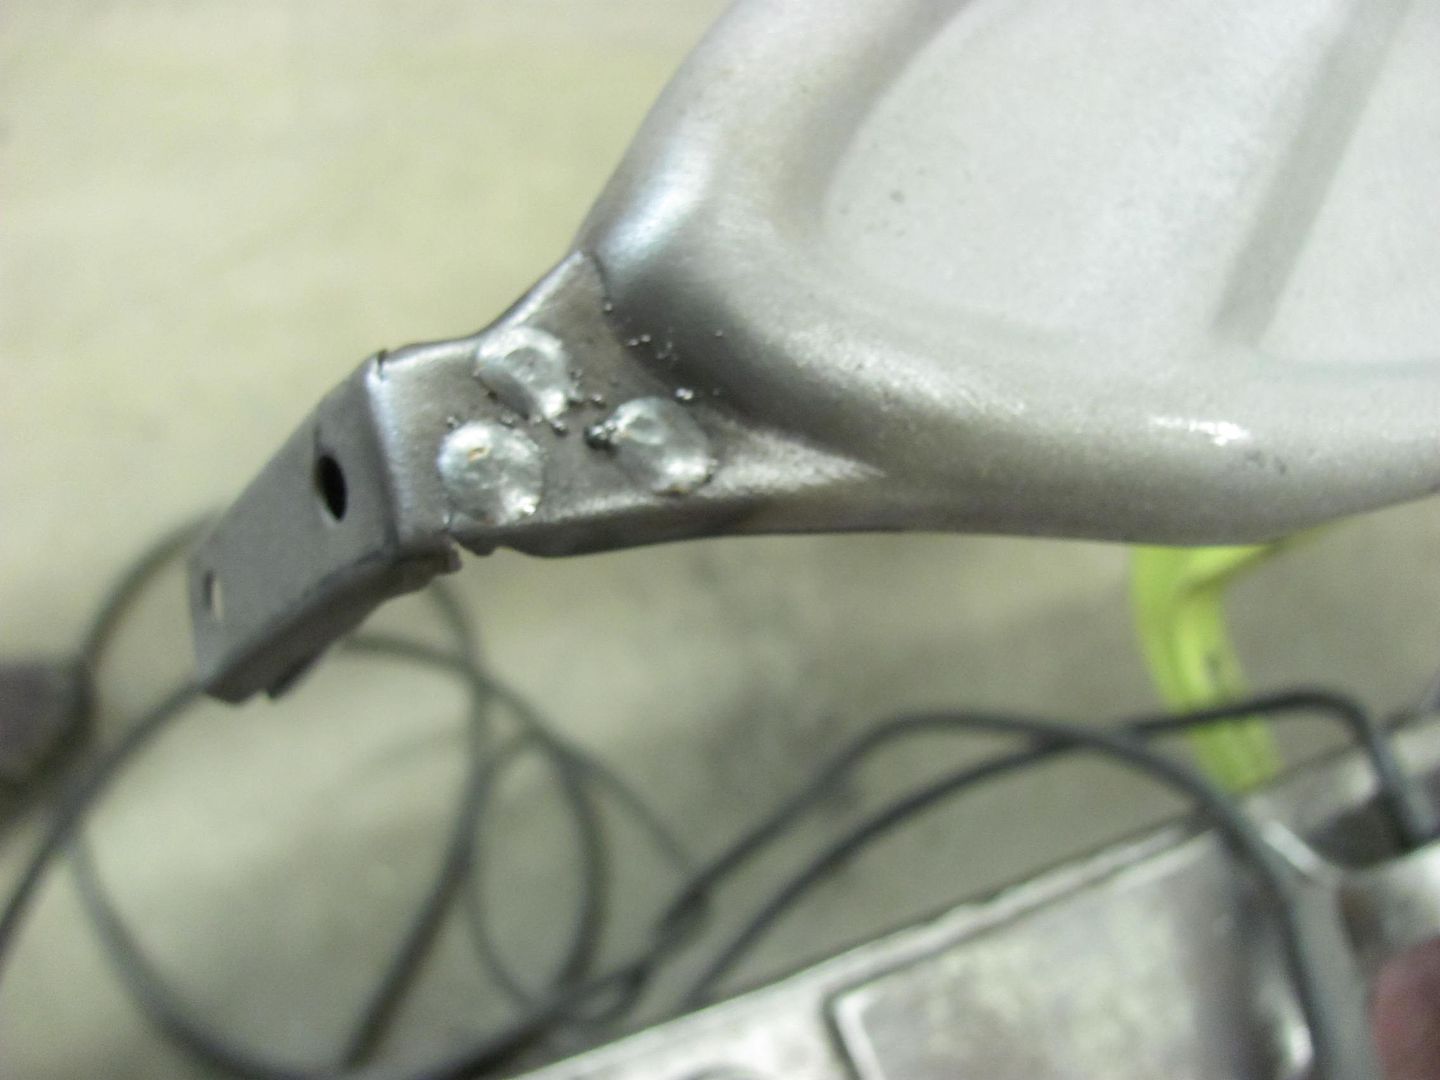 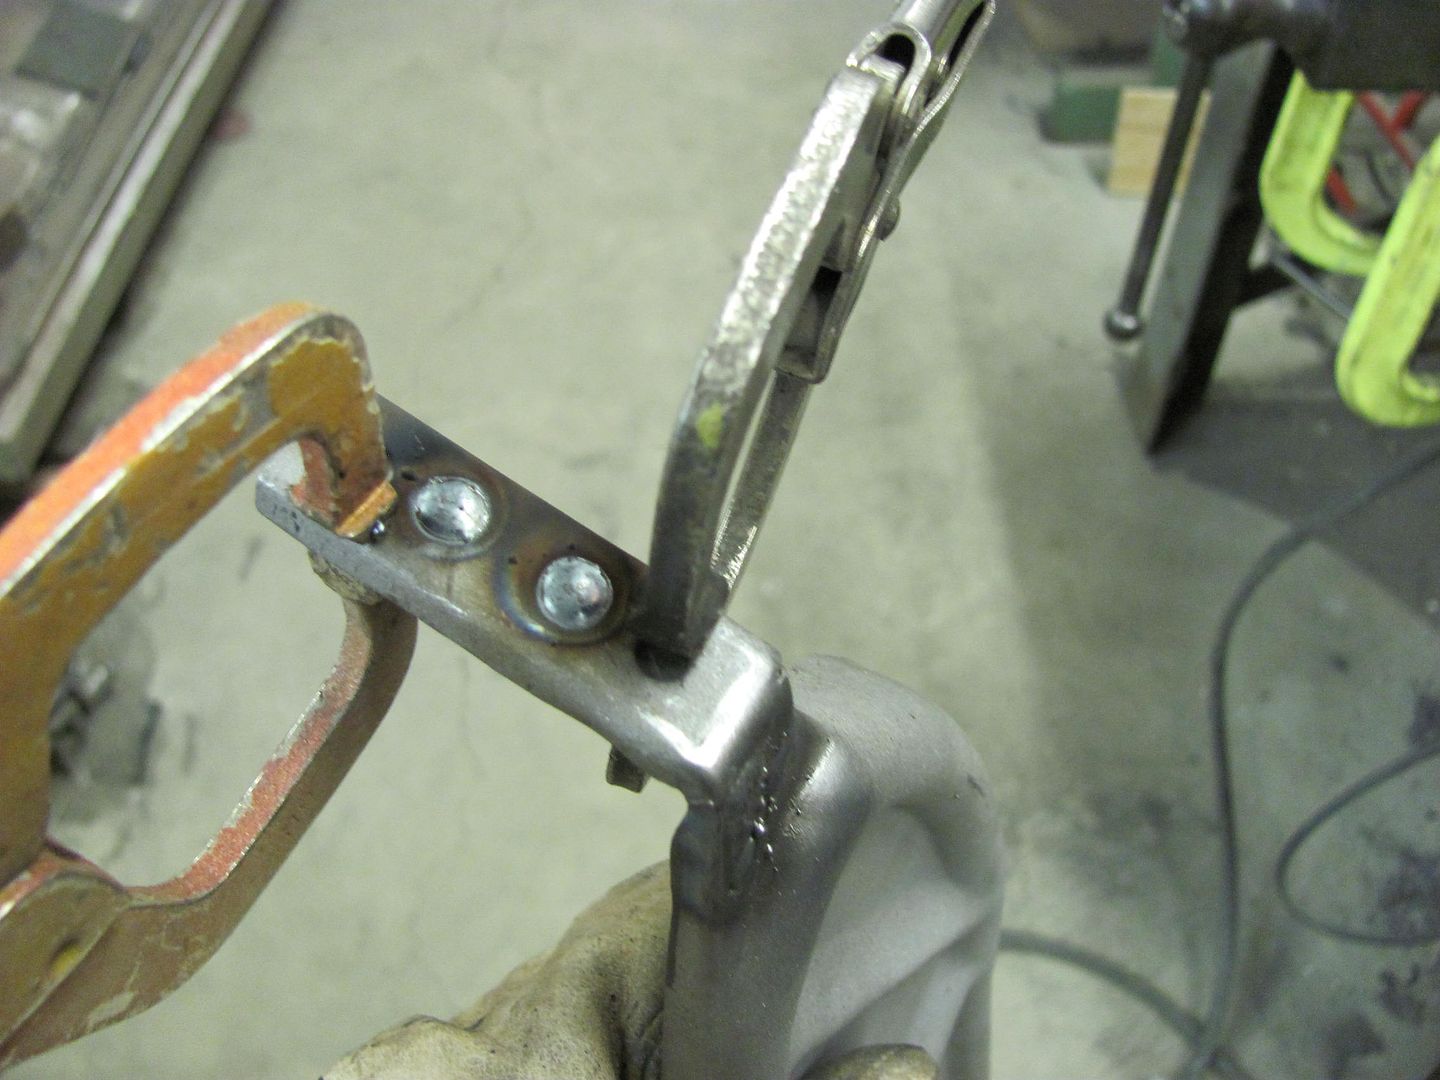 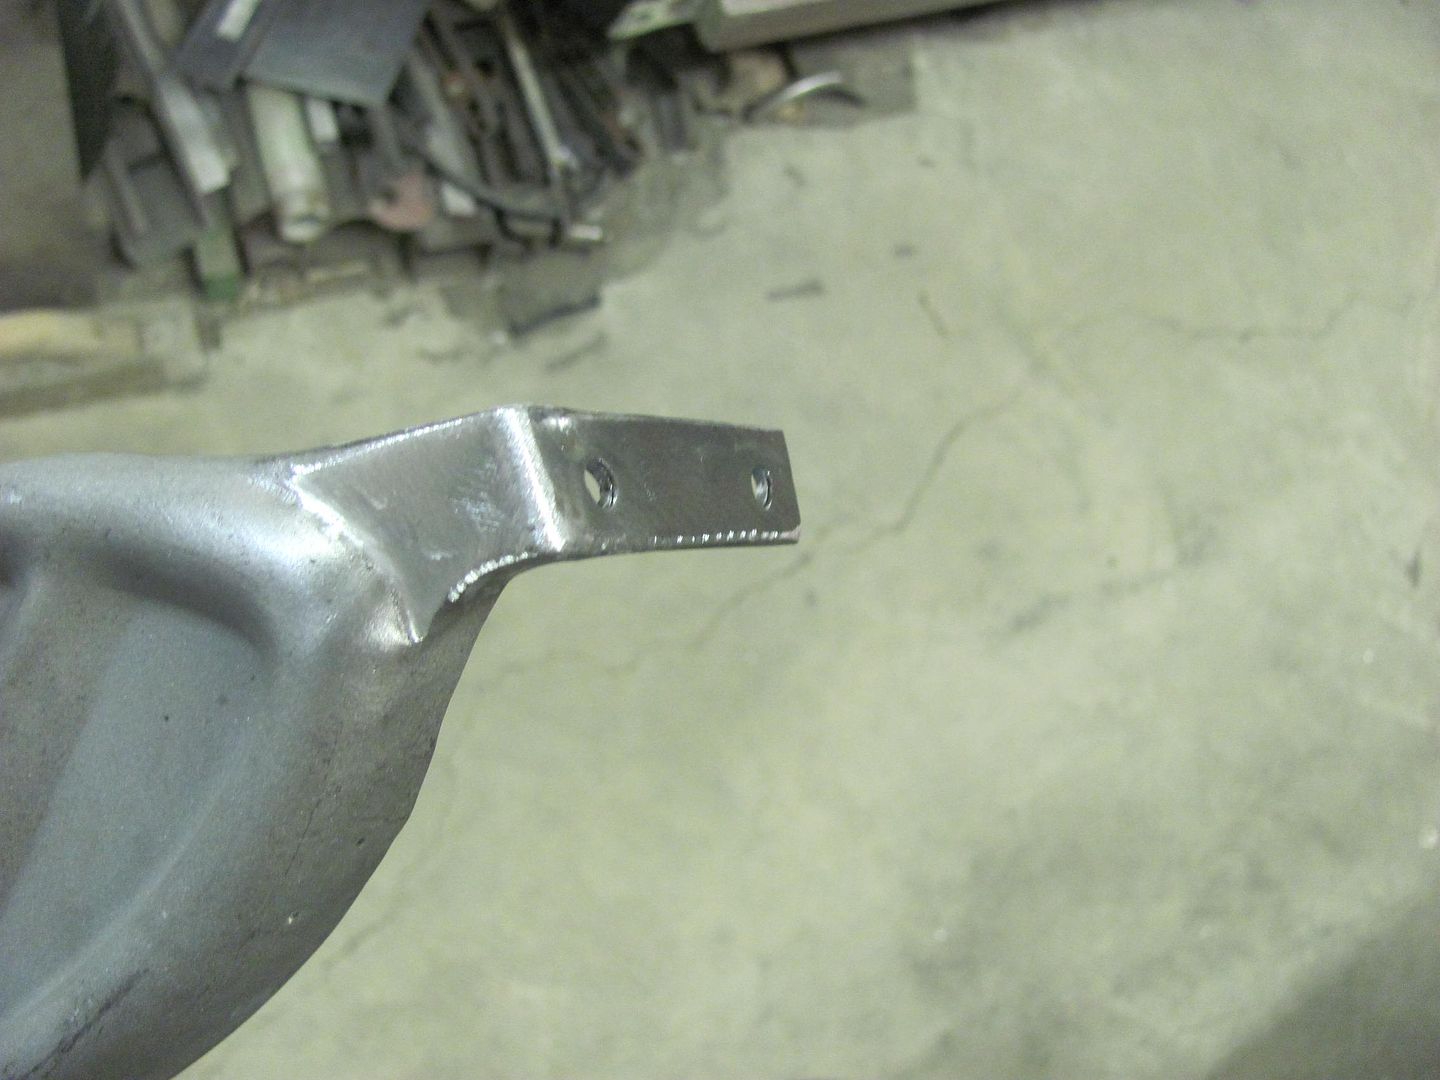 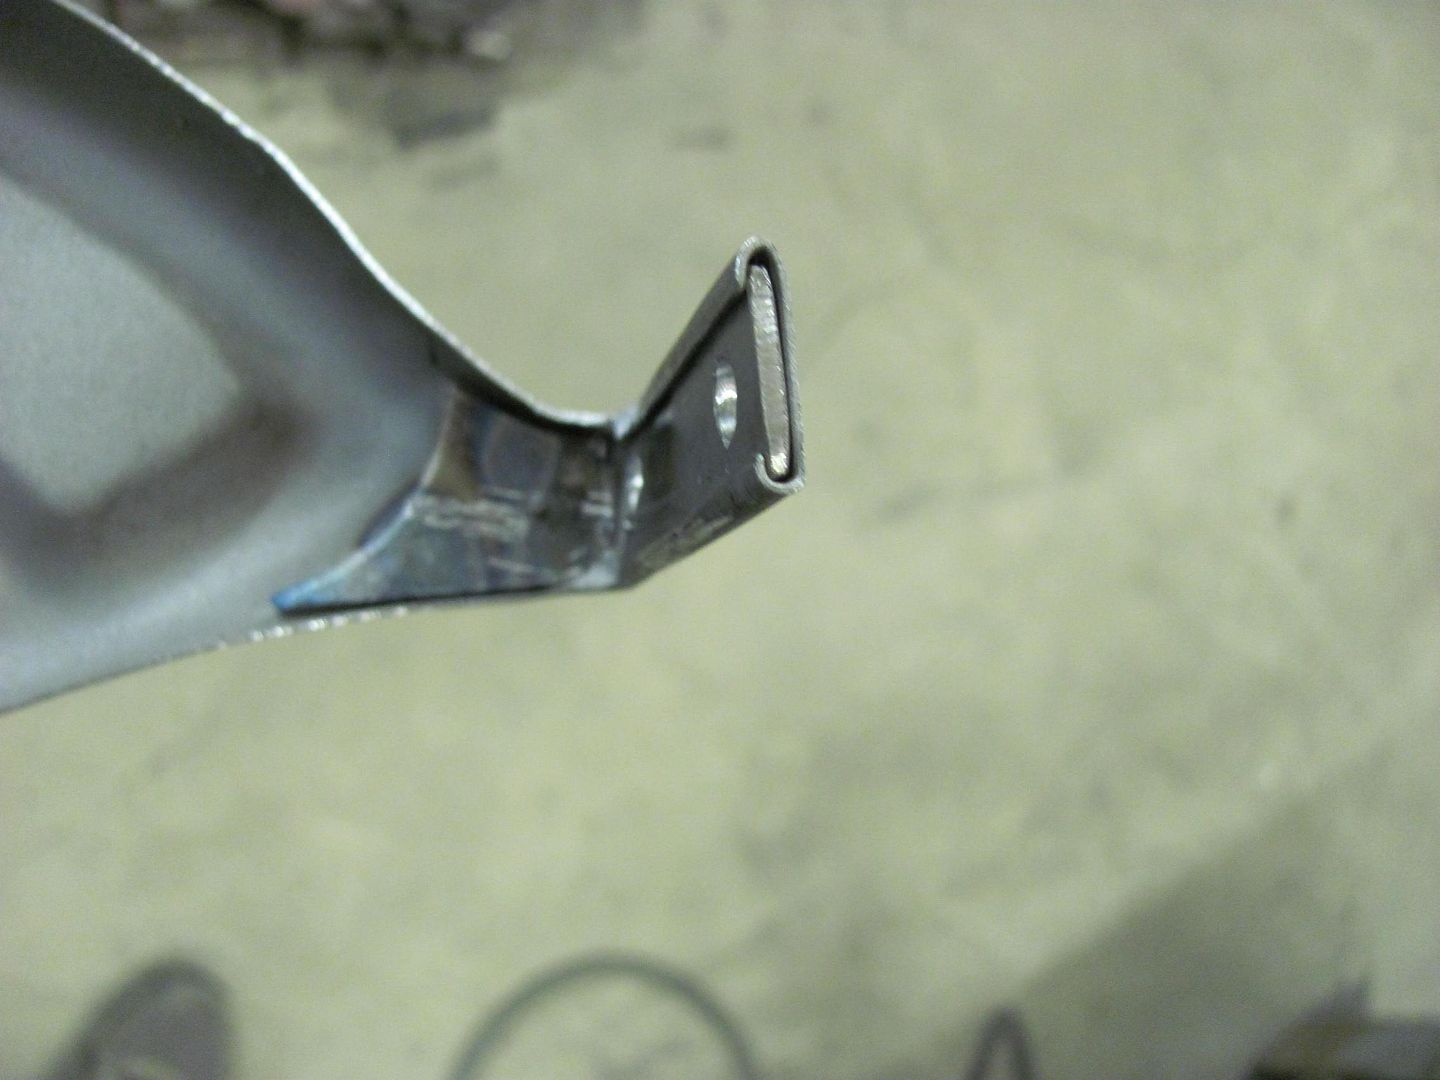 Test fit to the hood... 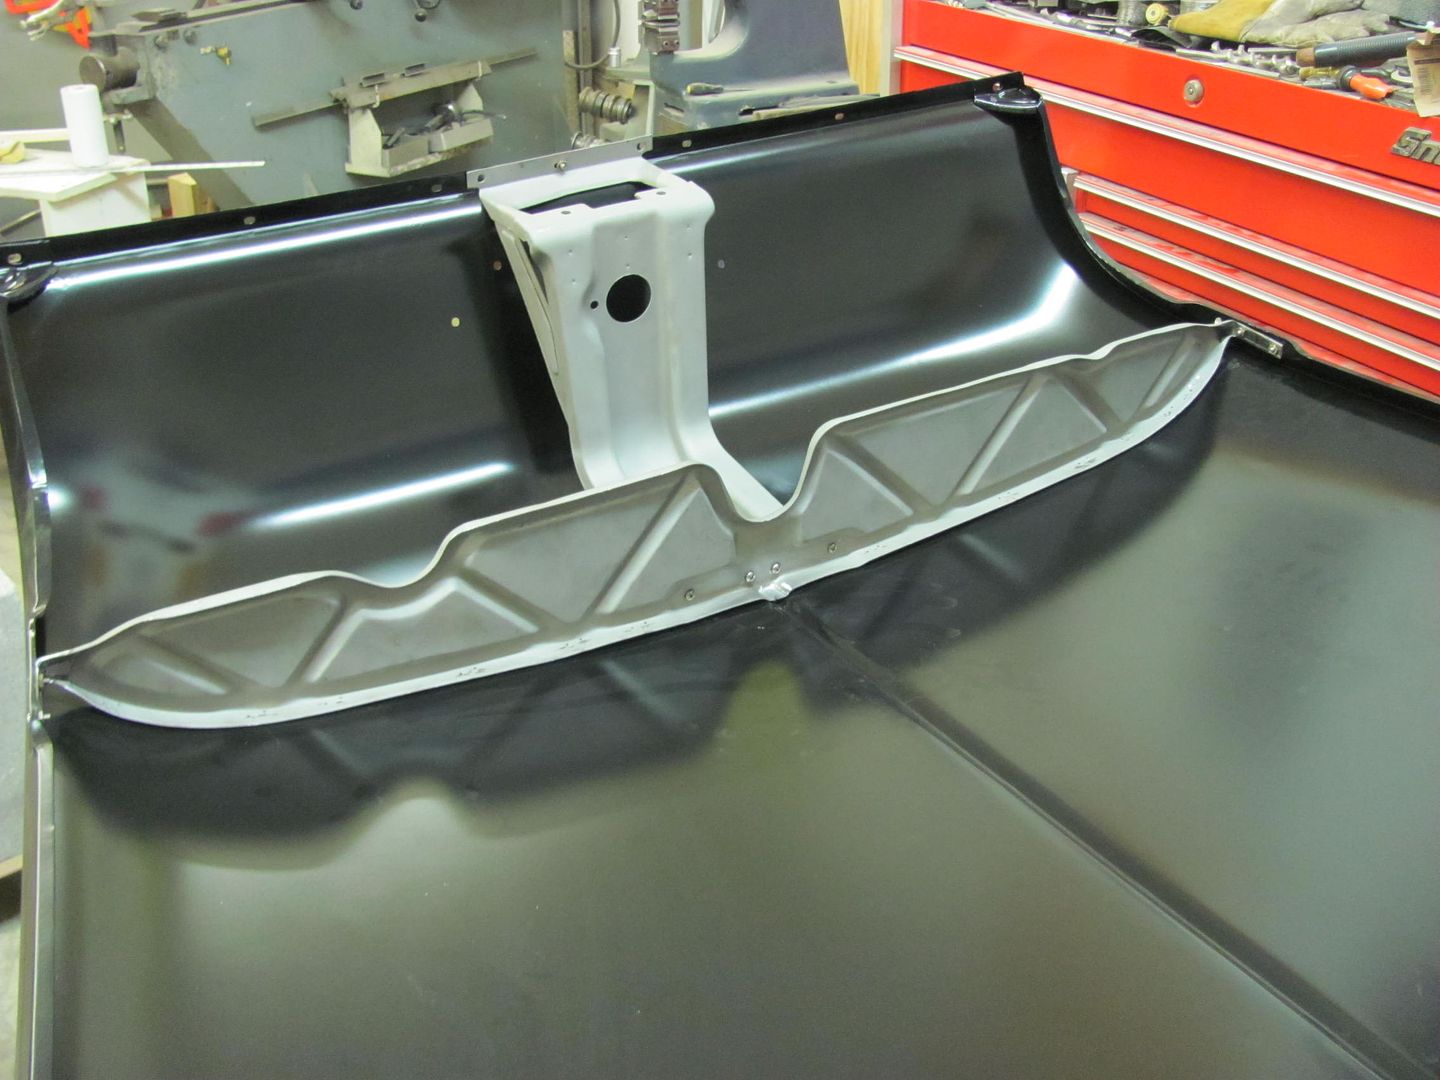
__________________
Robert |
|
|

|
|
|
#314 |
|
Registered User
Join Date: Jan 2013
Location: Leonardtown, MD
Posts: 1,648
|
Re: 55 Wagon Progress
Tonight Kyle was putting the finishing touches on prepping the passenger door for paint. Lots of nooks and crannies. We ended up moving the drill press so we could open the media blast cabinet door wide enough to put the door inside. It was a snug fit, but made easier work of cleaning the door on the ends... The rest will be done by hand...
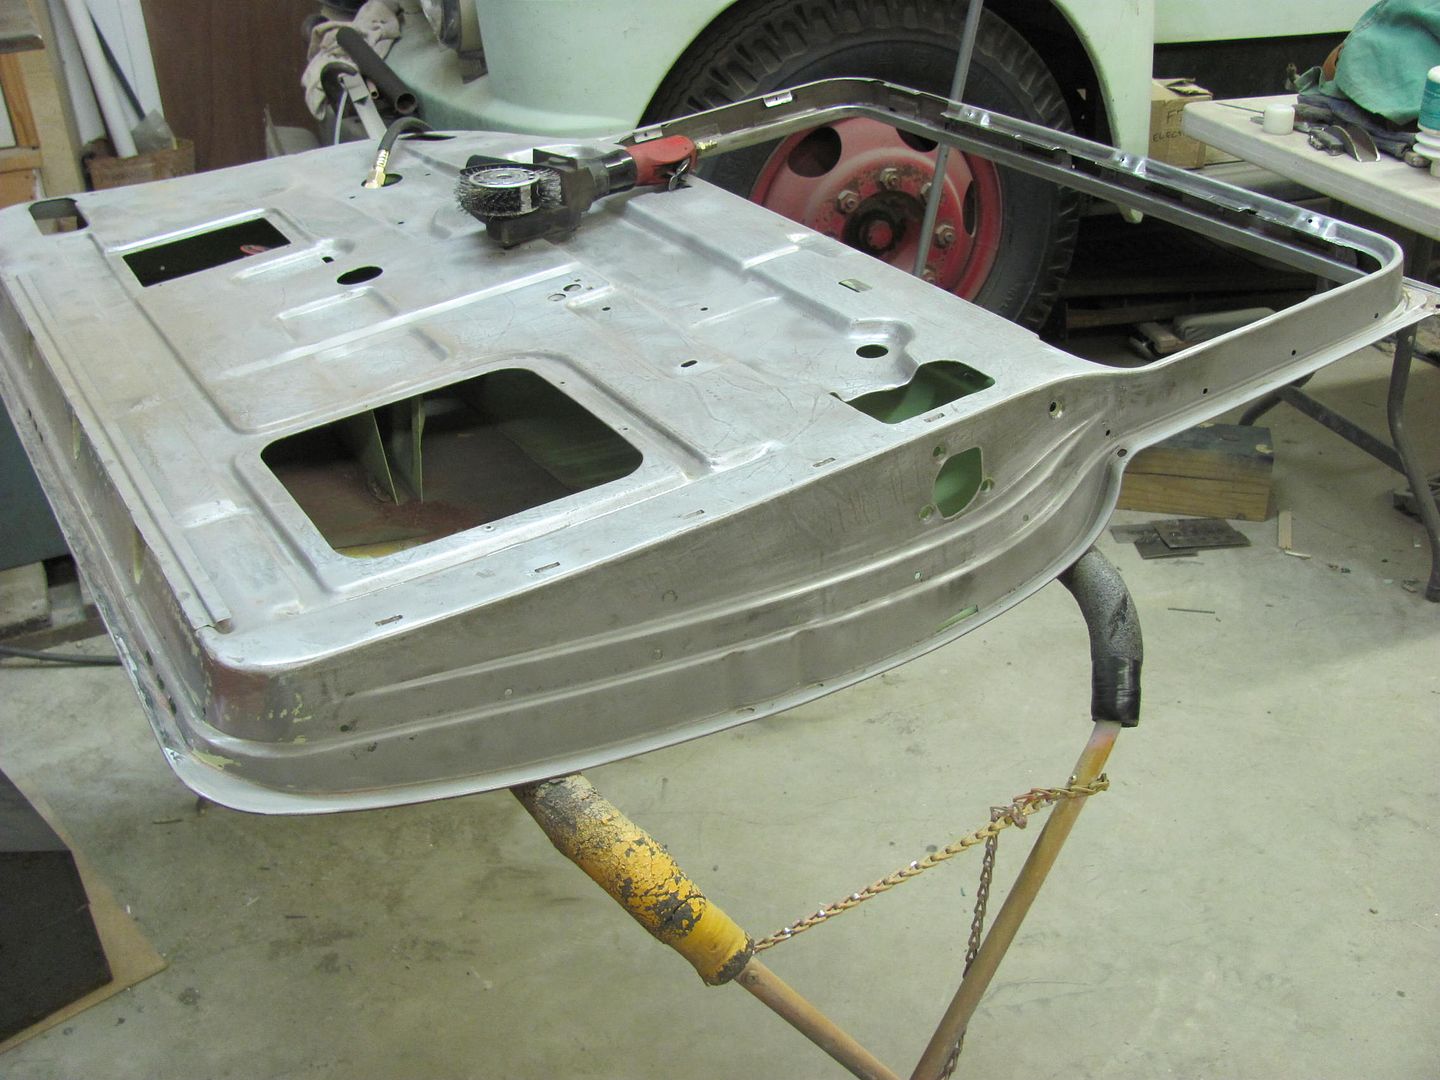  After adding the radius to the doors, it only made sense that the lift gate needed the same modification. Sorry to bore you with more of the same, just wait until we get to wet sanding  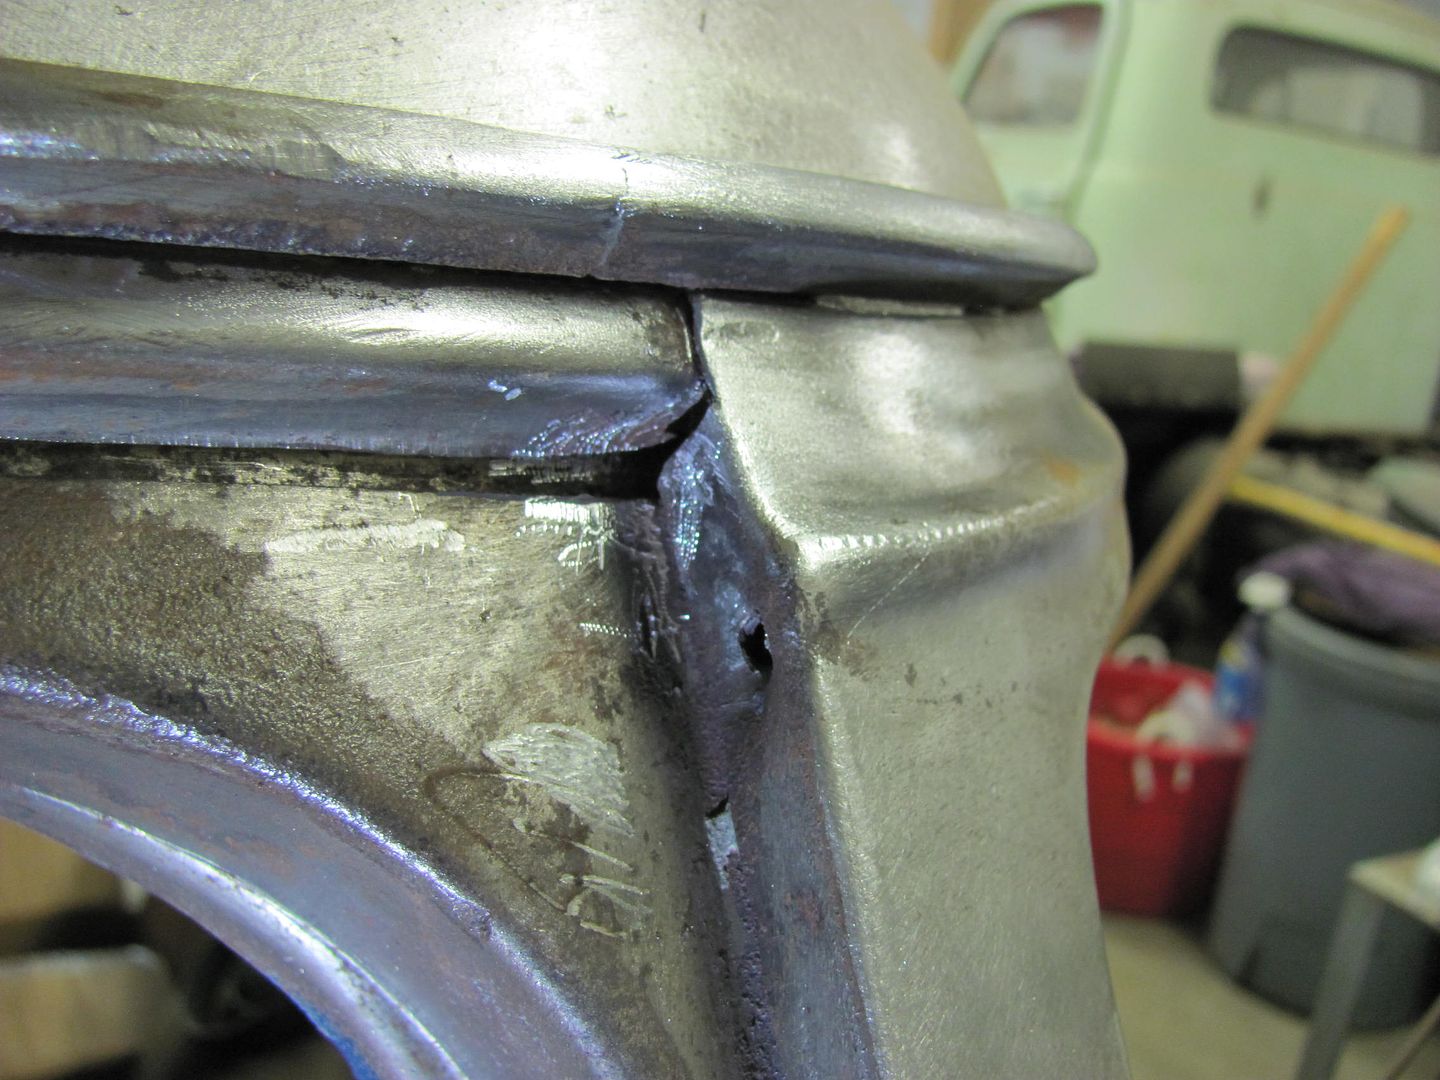 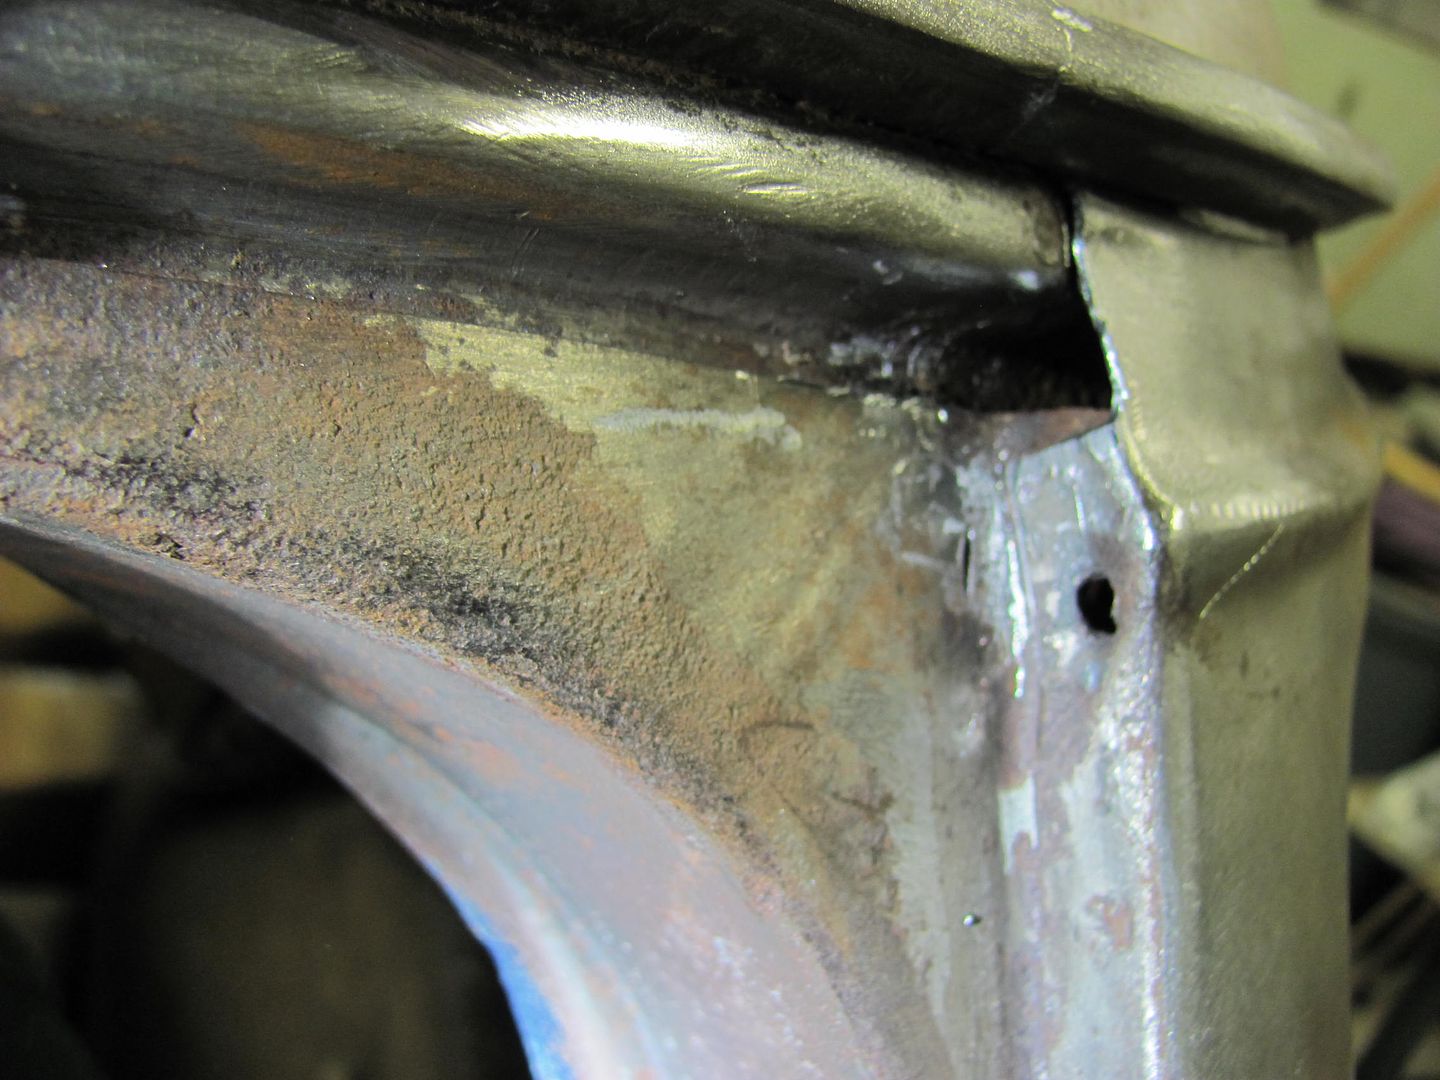 Test fit the radius... 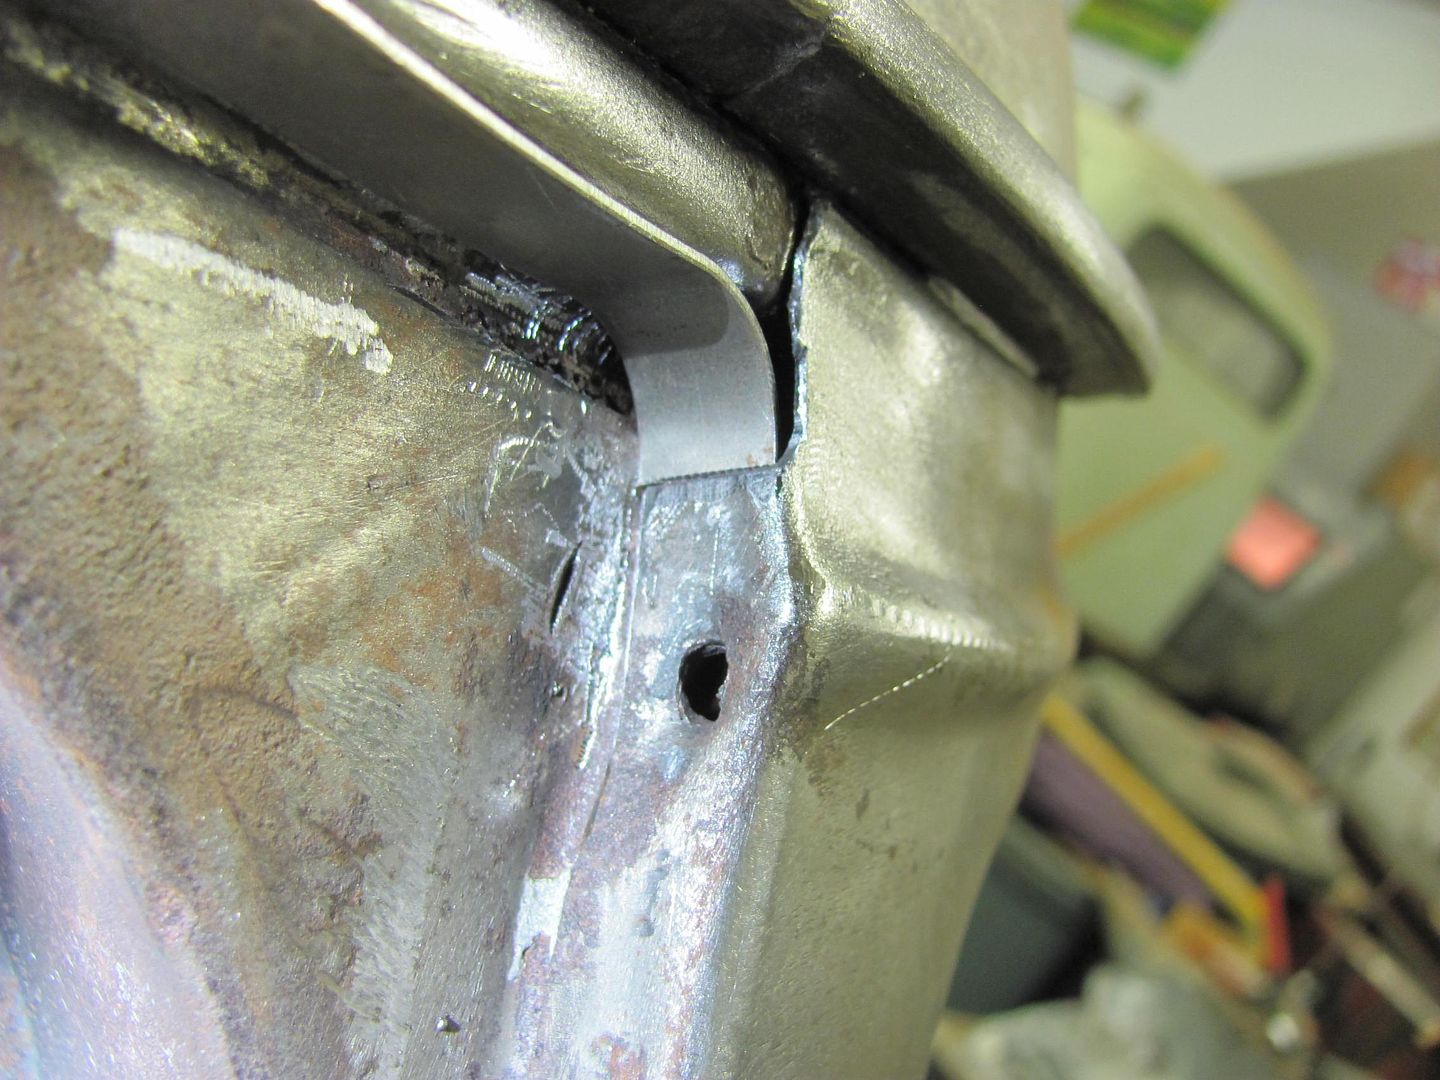 Scoring the second cut location, and tacking in place.. 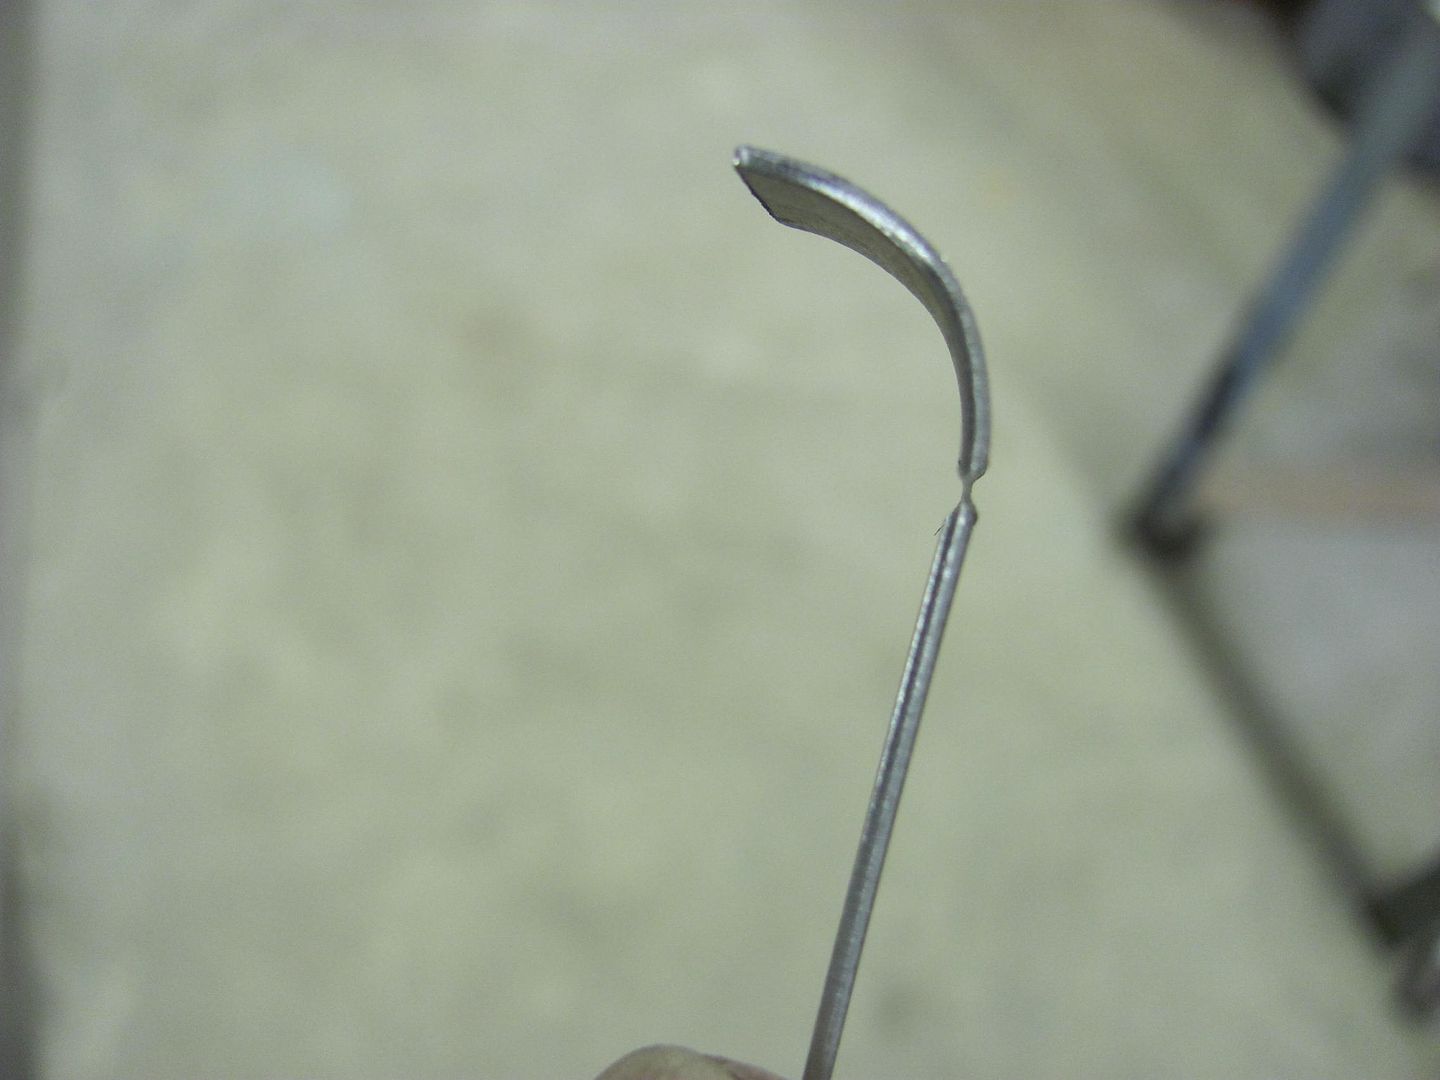 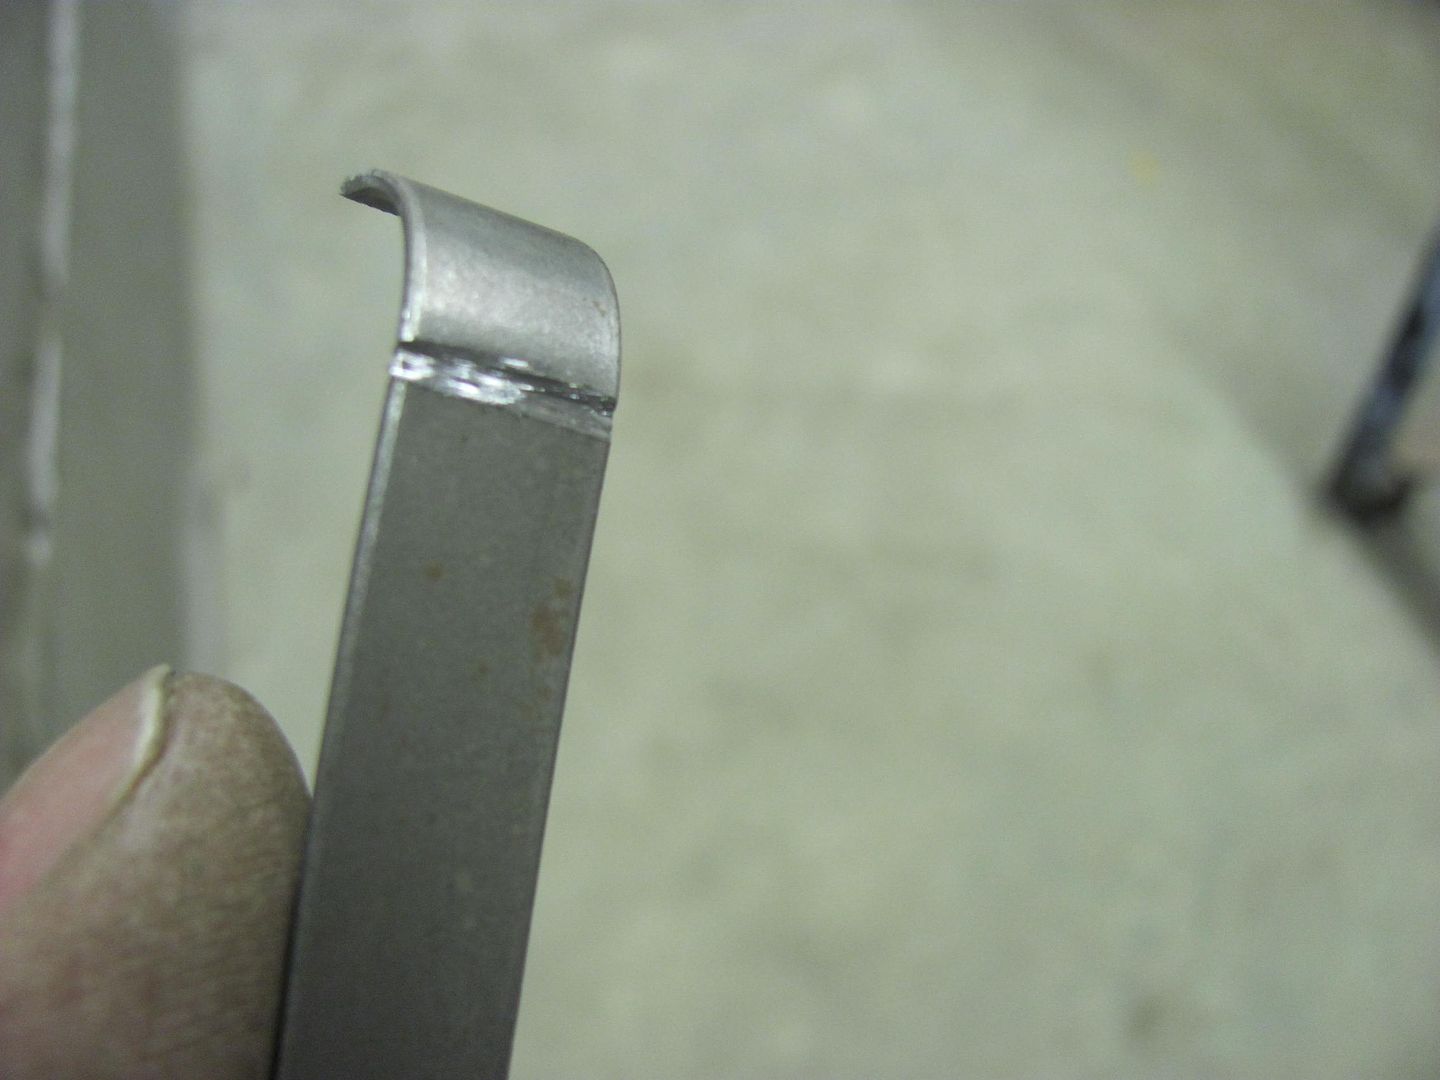 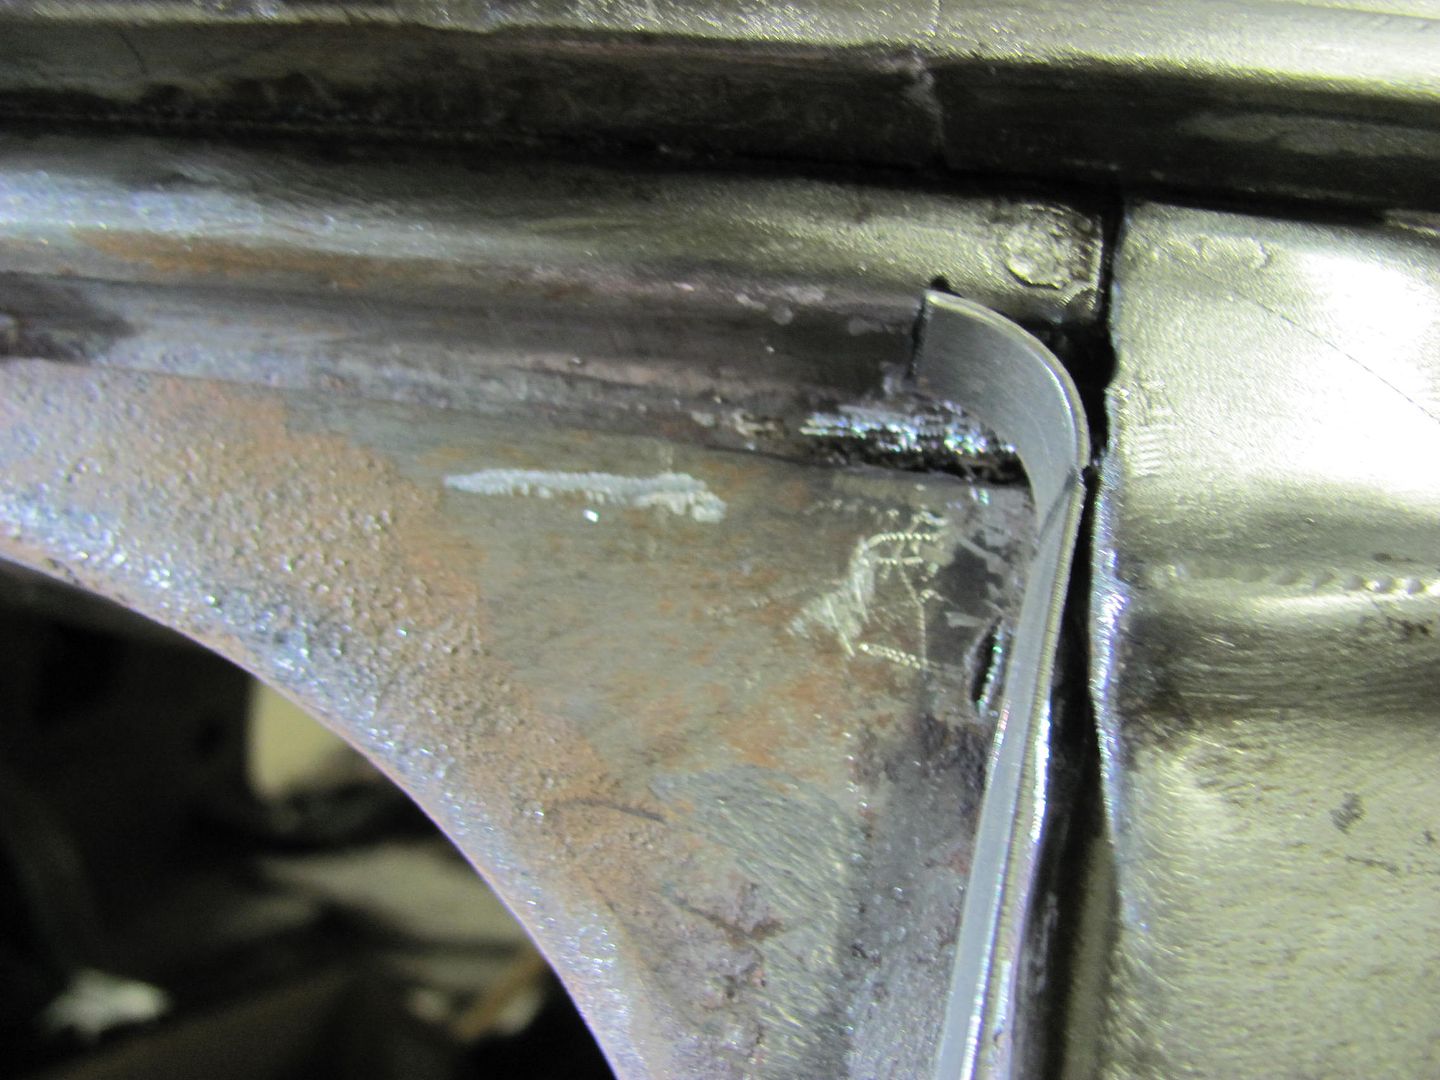 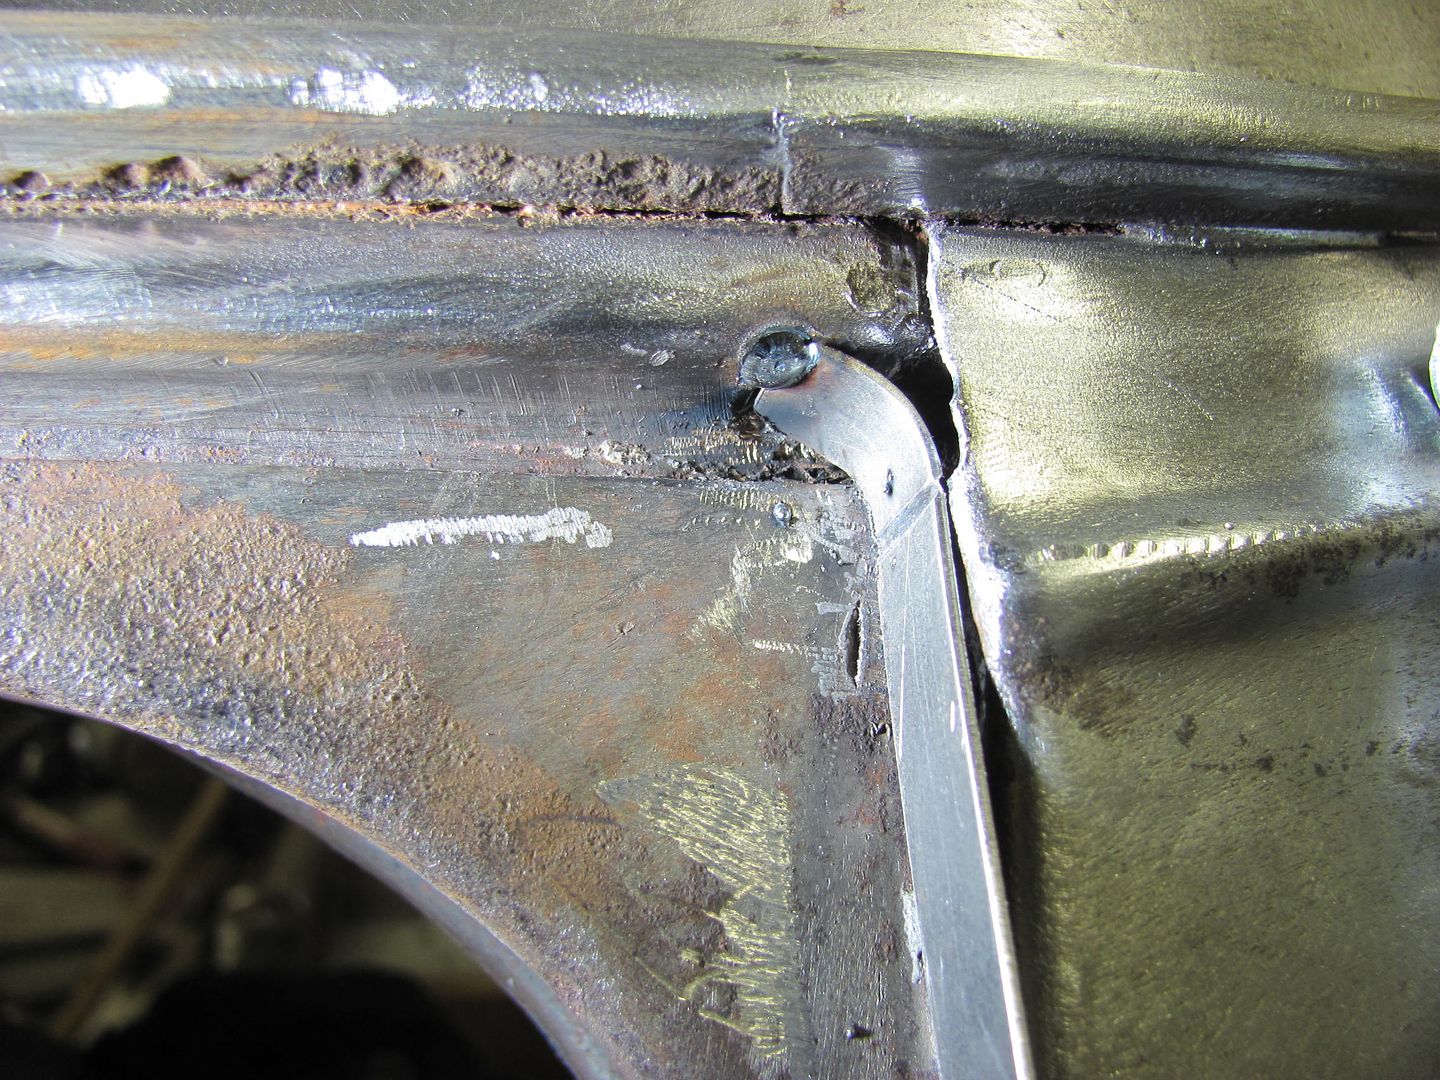 Snapped of the excess.... 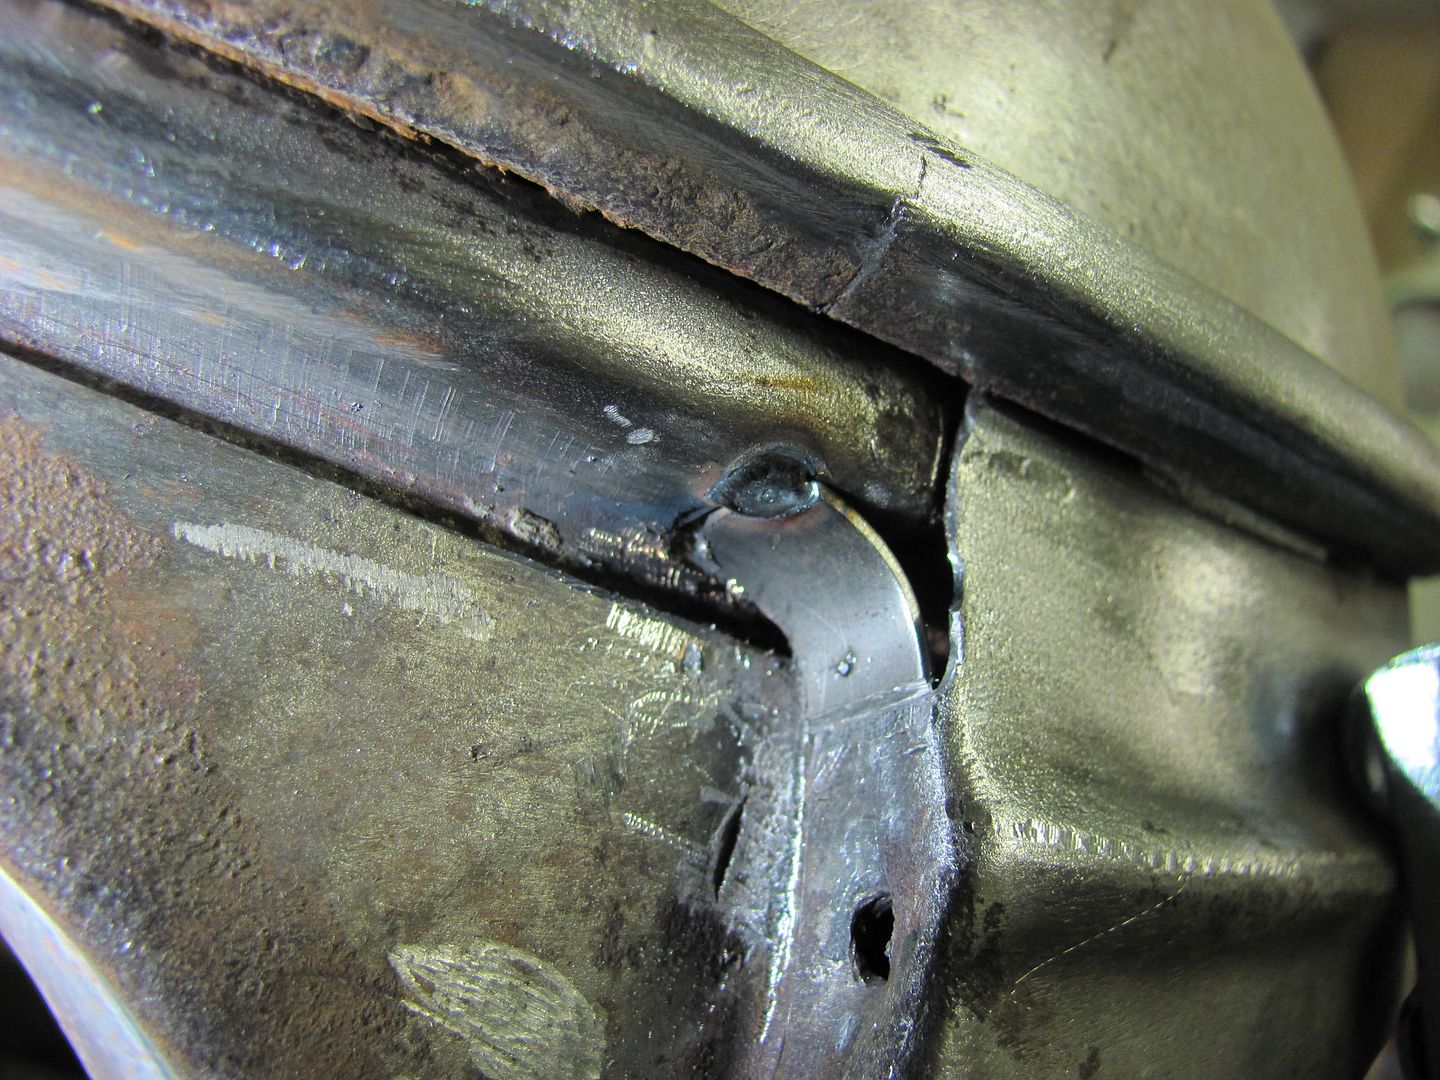 Checking the radius, and welded in and dressed... 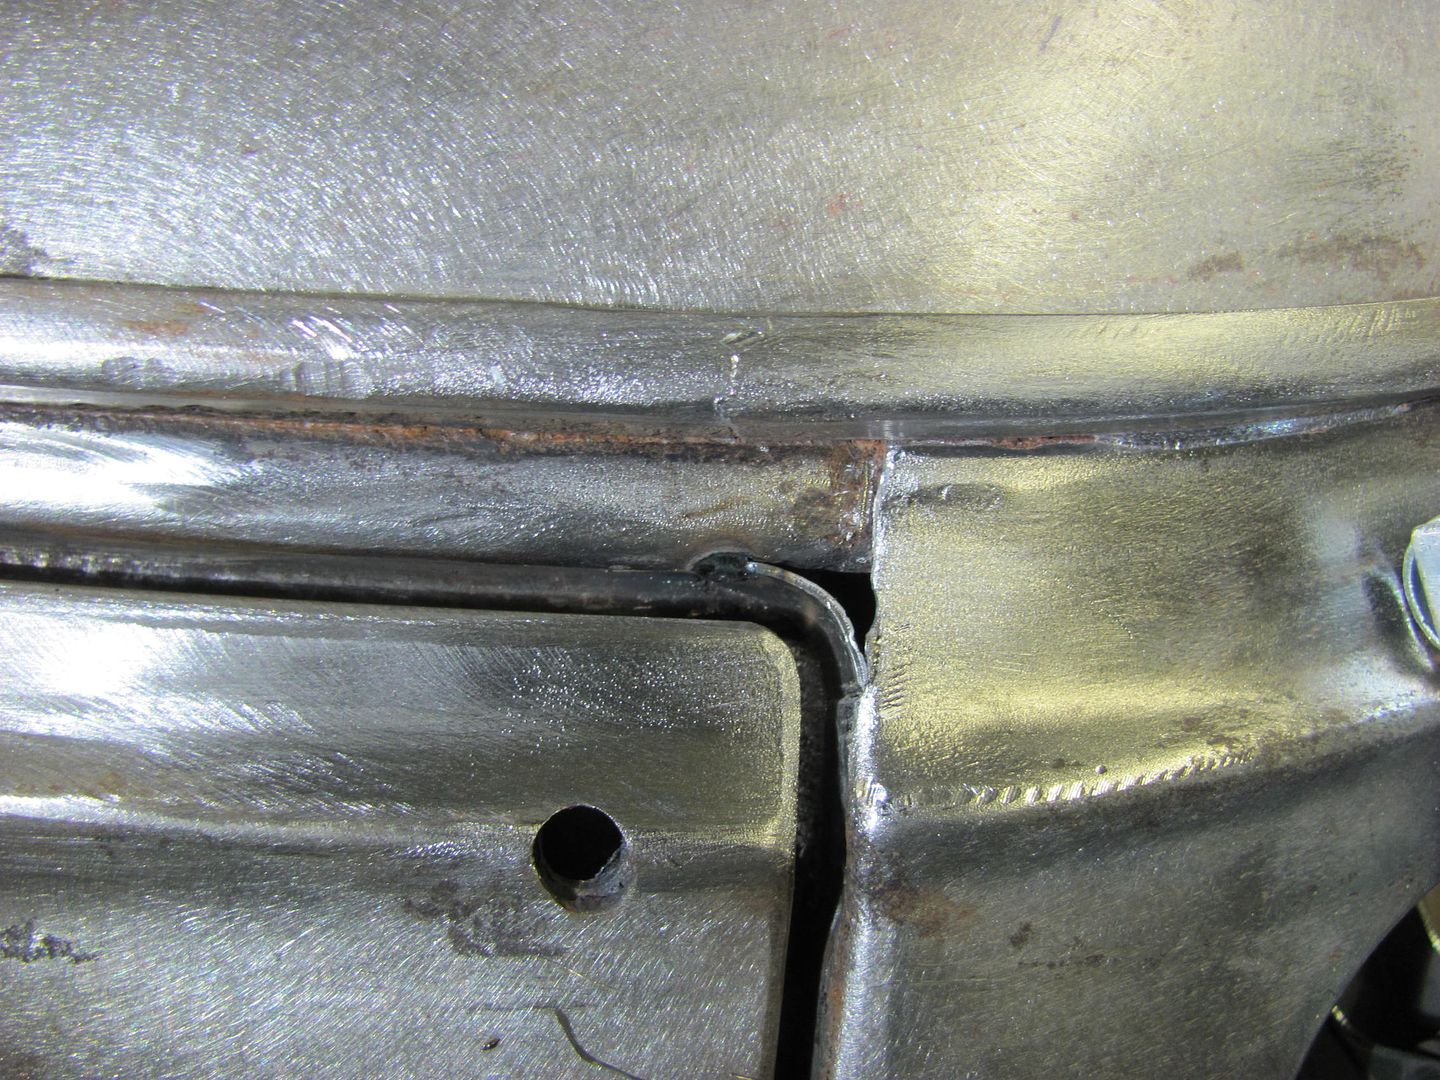 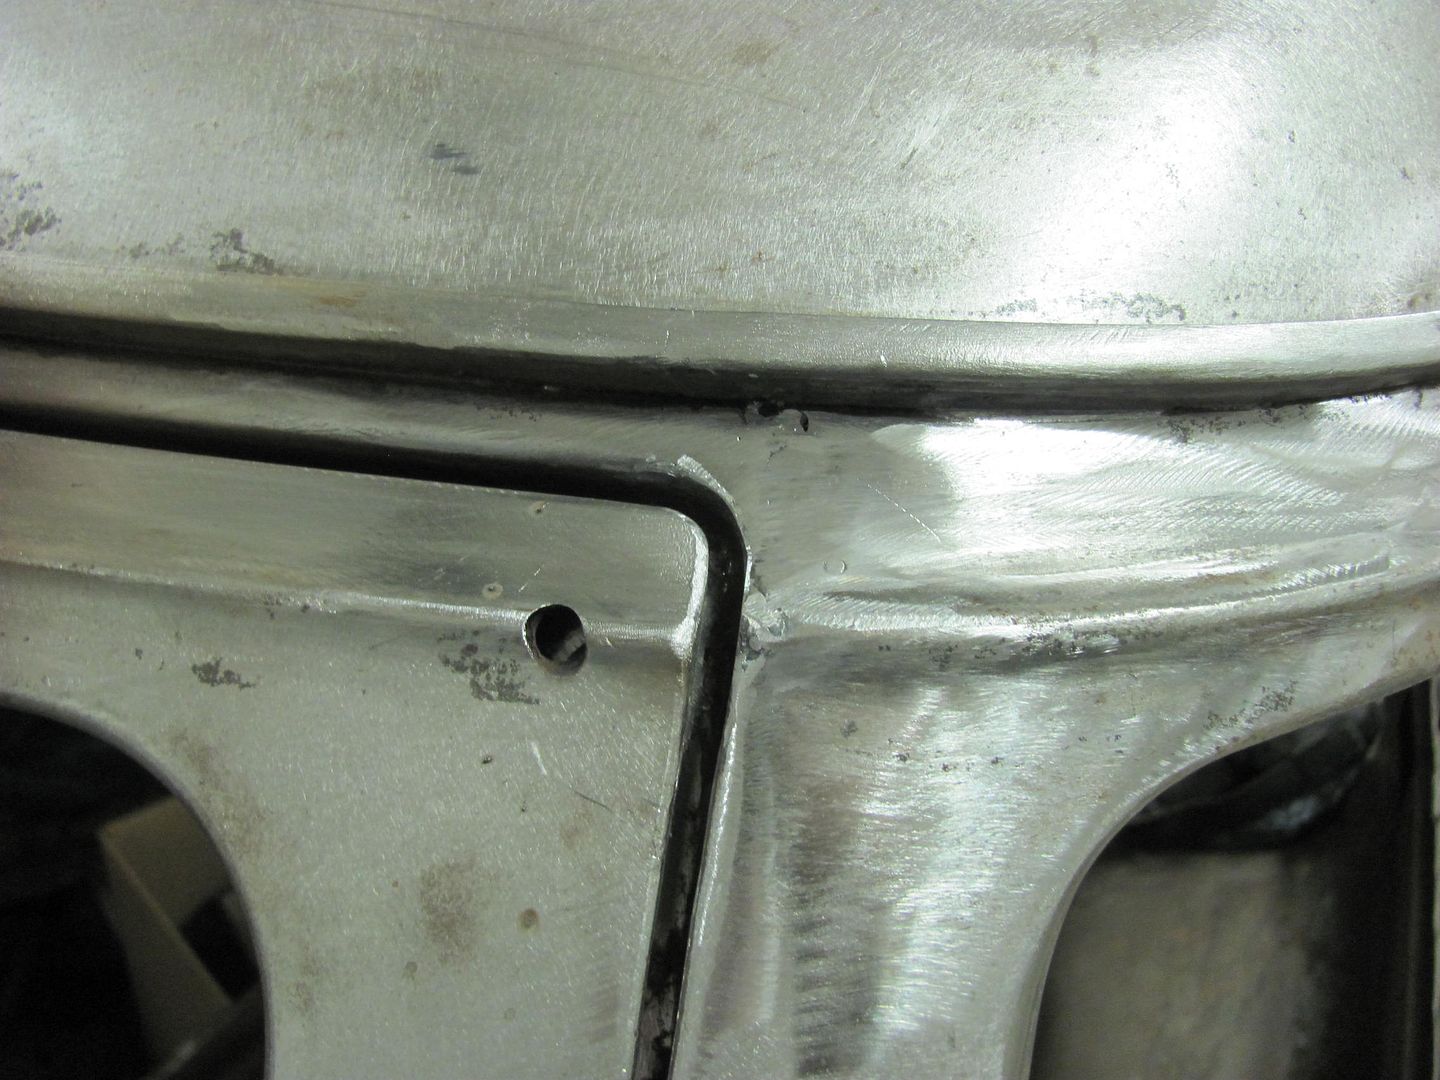 They're calling for a heat wave this weekend (in high 40's on Sunday), so we should get some more primer sprayed....
__________________
Robert |
|
|

|
|
|
#315 |
|
Registered User
 Join Date: May 2007
Location: Deale Md
Posts: 4,663
|
Re: 55 Wagon Progress
there's nothing boring in this thread, glad to see every little detail
__________________
James 63 GMC V6 4speed carryall 65 chevy swb bbw V8 auto 68 K20 327/4 speed, buddy buckets 2002 GMC CC Dually Duramax 64 GMC lwb 3/4 V6 4speed SOLD 66 GMC swb bbw buddy buckets SOLD IG duallyjams The only thing that stays the same is constant change! |
|
|

|
|
|
#316 |
|
Senior Member
 Join Date: Jul 2012
Location: Oblong, Illinois
Posts: 7,028
|
Re: 55 Wagon Progress
Me too, great work for many of us to try to aspire to.
Holy cow, how large a media blaster do you have to be able to put a 55 Chevy door in it? |
|
|

|
|
|
#317 |
|
Registered User
 Join Date: Mar 2007
Location: Scotts, Michigan
Posts: 3,774
|
Re: 55 Wagon Progress
Great work. Can I ask how many years of experience you have under your belt. Your work says MANY.
Very nice...... Marc
__________________
ÖÖÖÖ...........__________ .................. ((__|__||___\____ ..;.;;.:;:;.,;..;((_(O))____ (_(O)) 1948 Chevy Truck - Finished SOLD!! 1953 Chevy Suburban "Family Truckster" Completed: Spring of 2021 http://67-72chevytrucks.com/vboard/s...d.php?t=605484 1994 4x4 Blazer - "Field Find" https://67-72chevytrucks.com/vboard/...ferrerid=30857 |
|
|

|
|
|
#318 | ||
|
Registered User
Join Date: Jan 2013
Location: Leonardtown, MD
Posts: 1,648
|
Re: 55 Wagon Progress
Thanks for the comments and questions!
Quote:
Thanks, going on about 24 Quote:
58" wide. This one here, although I didn't pay anywhere near that for it. Bought it used.... http://www.tptools.com/1536-Champion....html?b=d*8016
__________________
Robert |
||
|
|

|
|
|
#319 |
|
Registered User
Join Date: Jan 2013
Location: Leonardtown, MD
Posts: 1,648
|
Re: 55 Wagon Progress
Kyle finishing up the prep on the door this morning, found another use for the GatorMeet radius square, here used as a sanding block to get into the tight crevices...
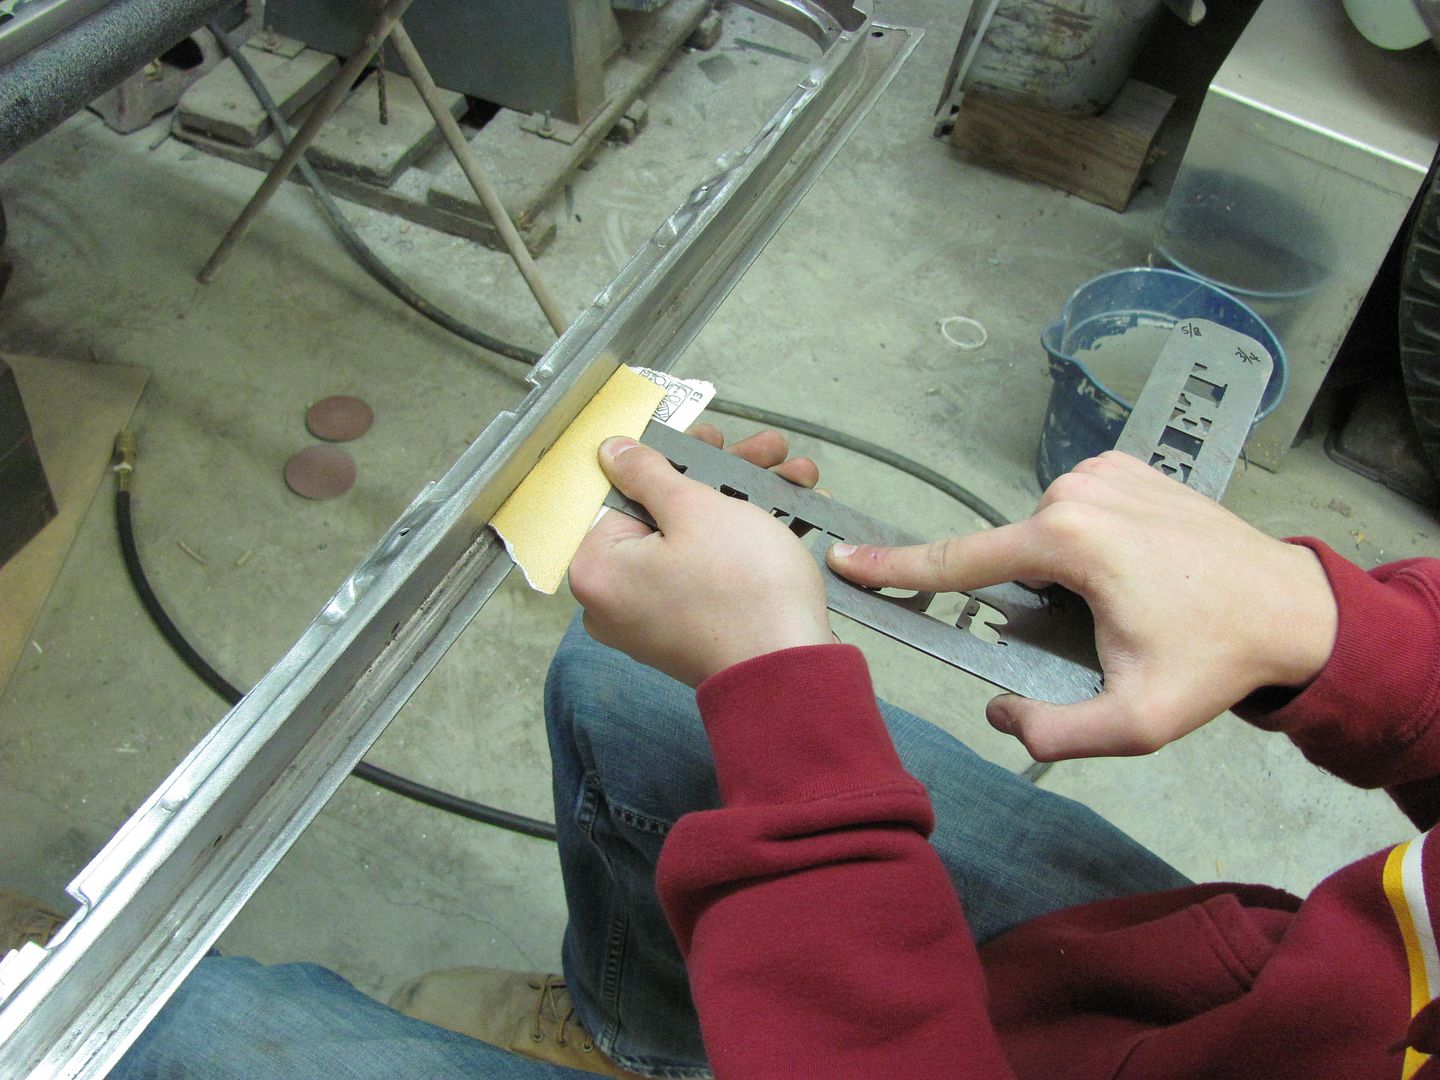 Front fenders were both prepped with DA and 80 grit.. 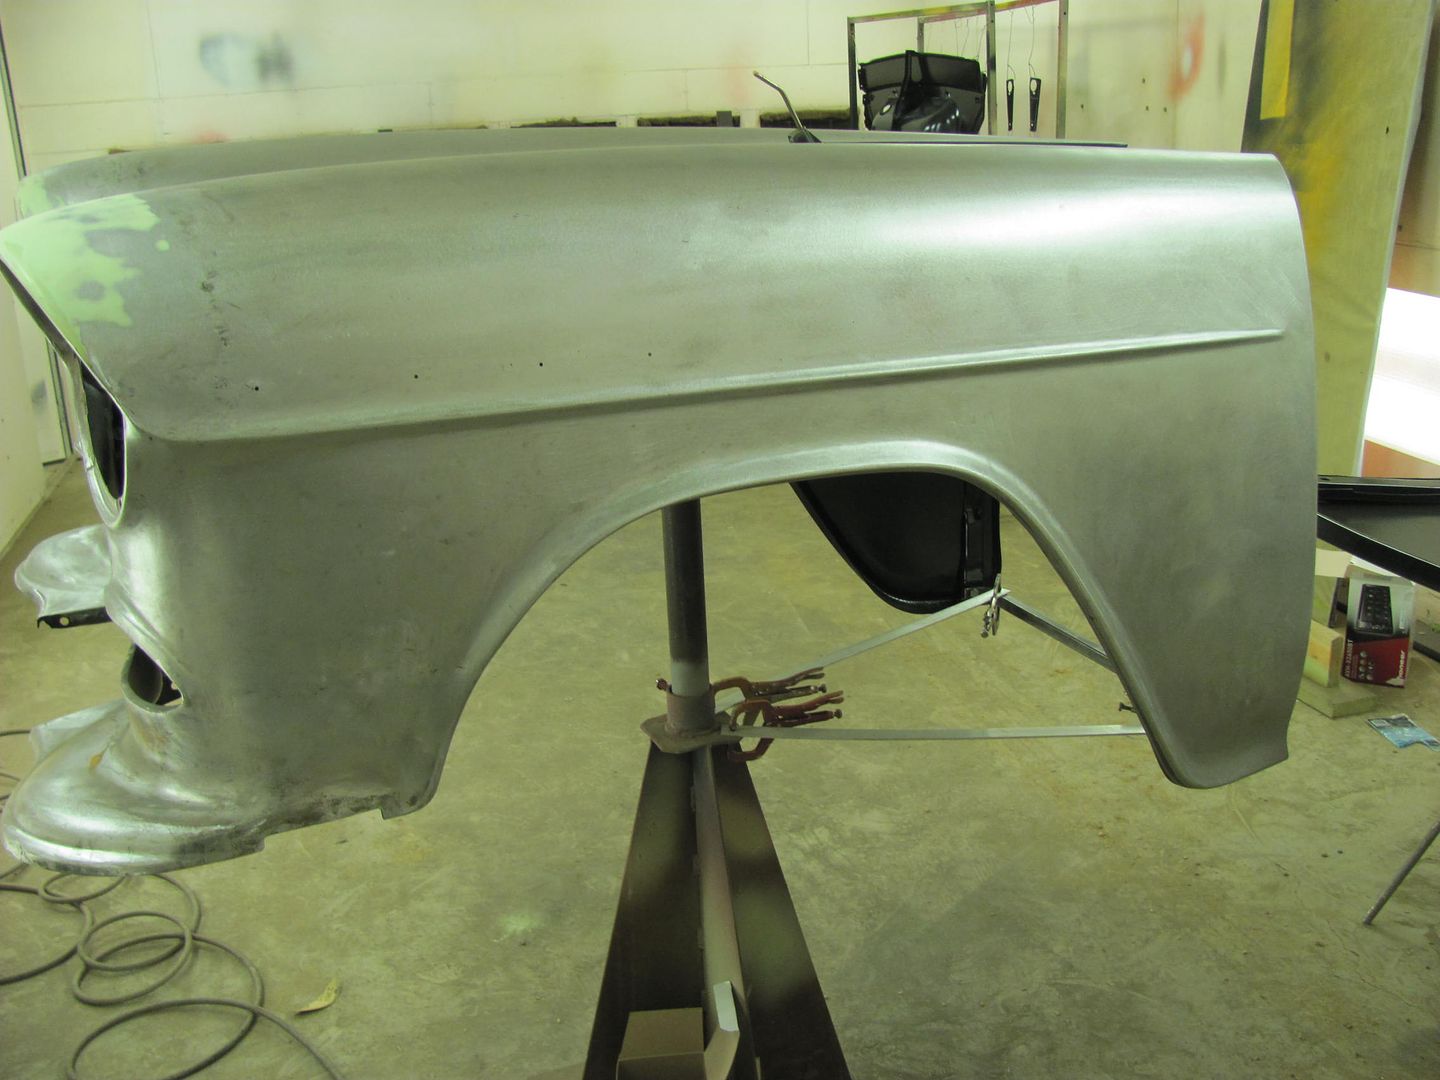 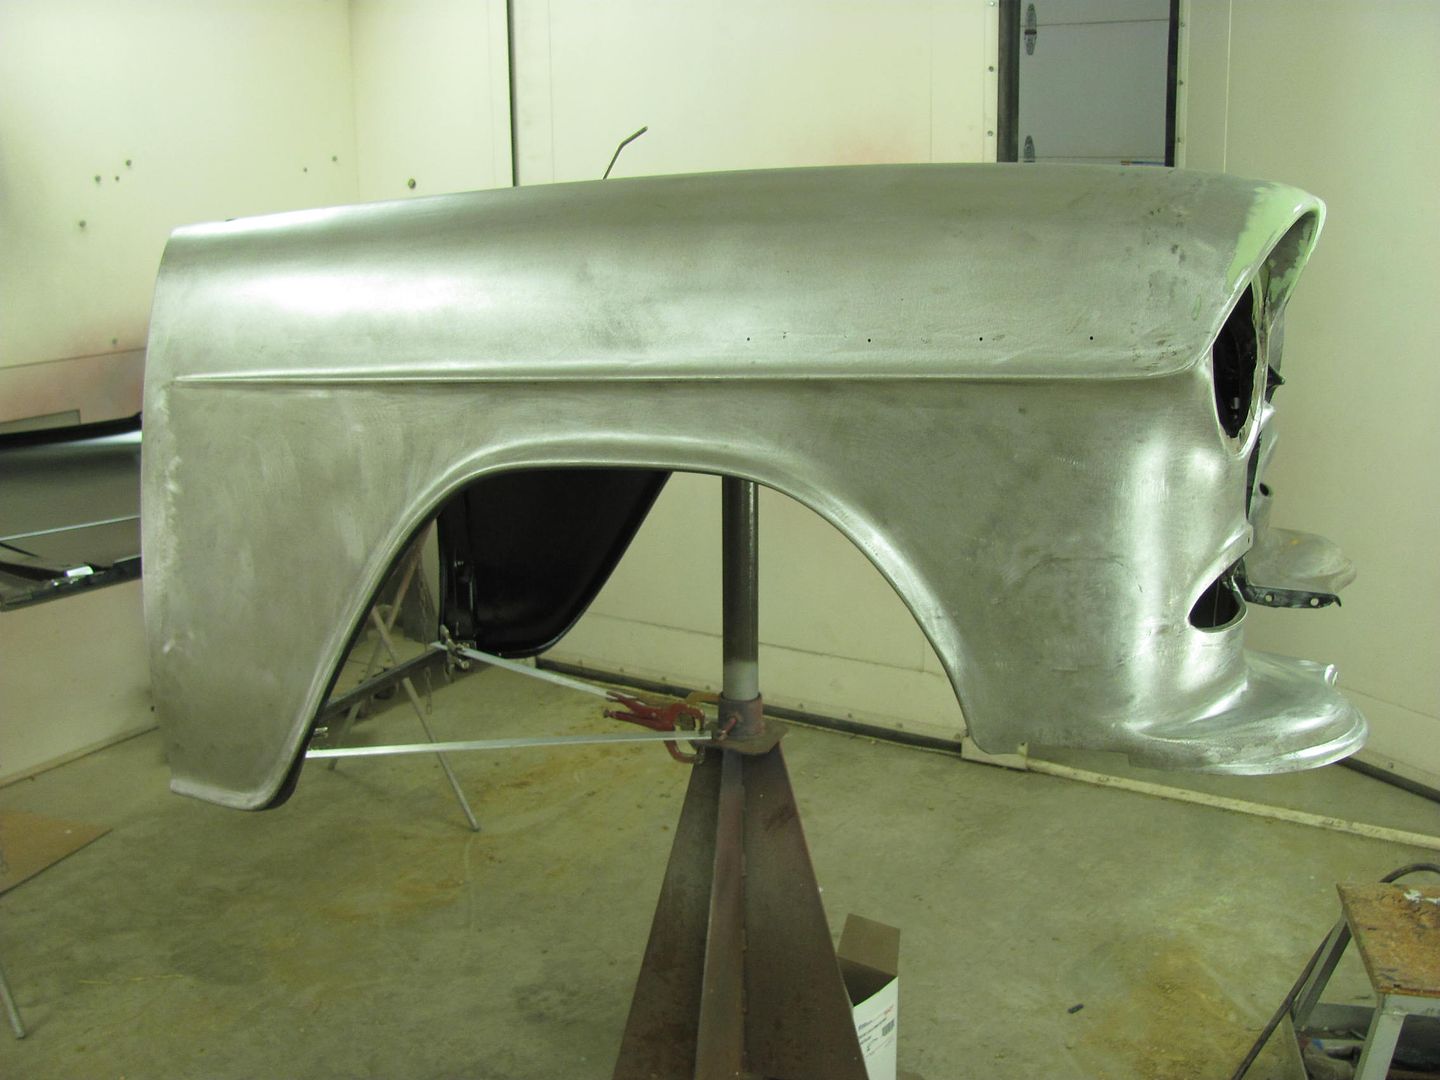 SPI Epoxy is mixed to allow for induction... 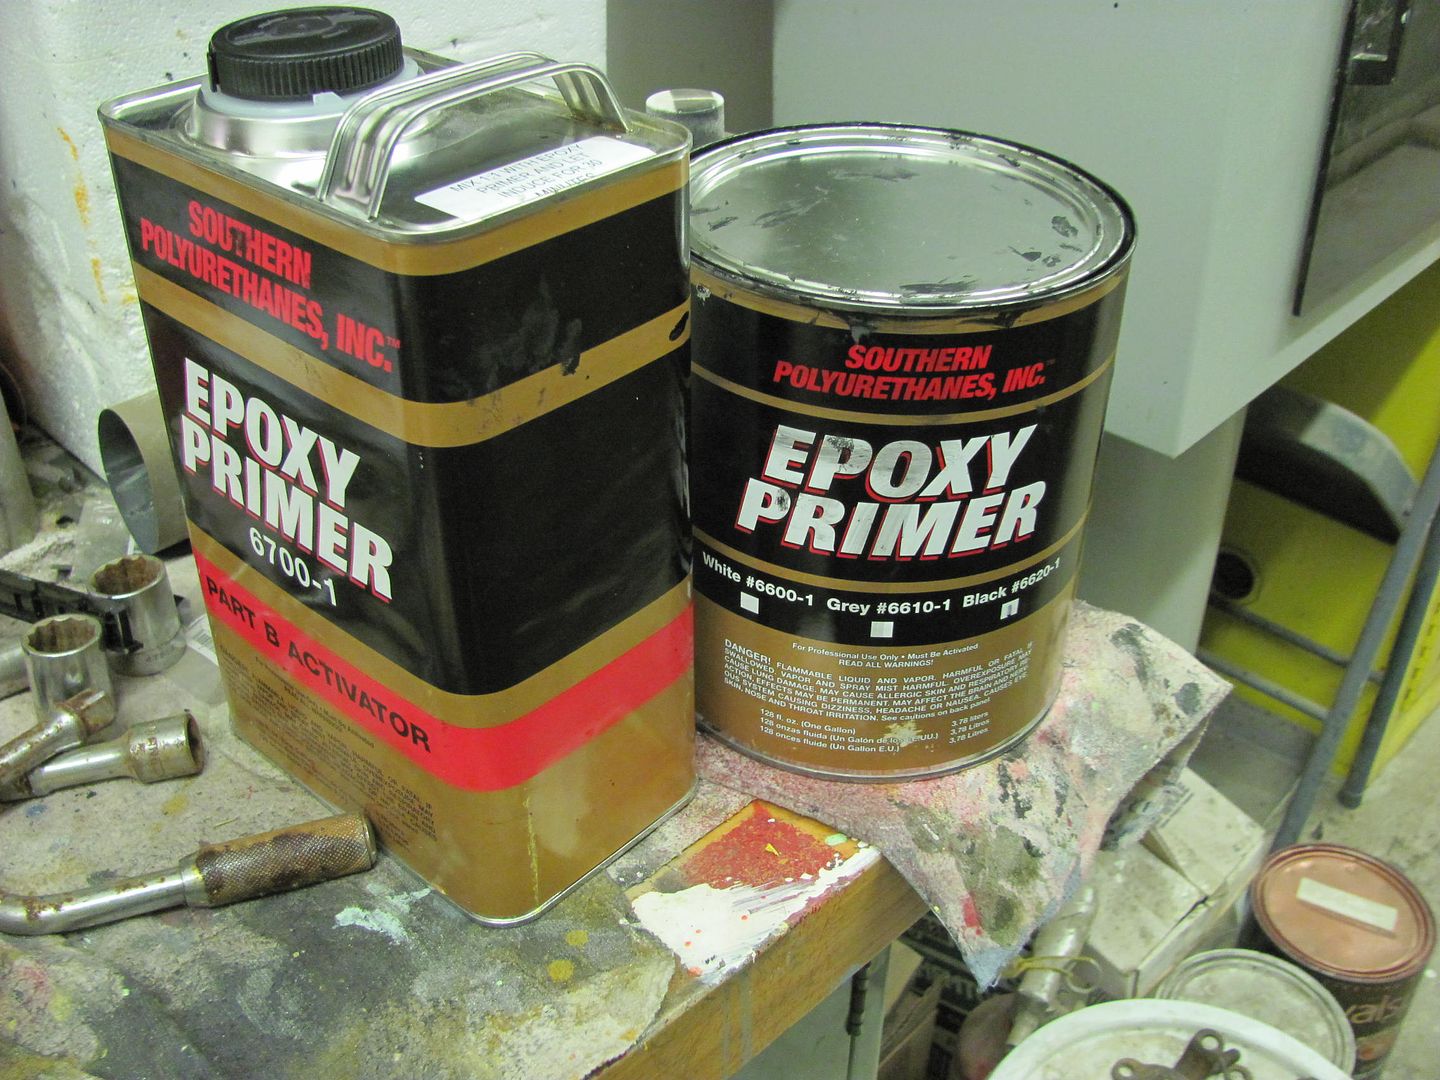 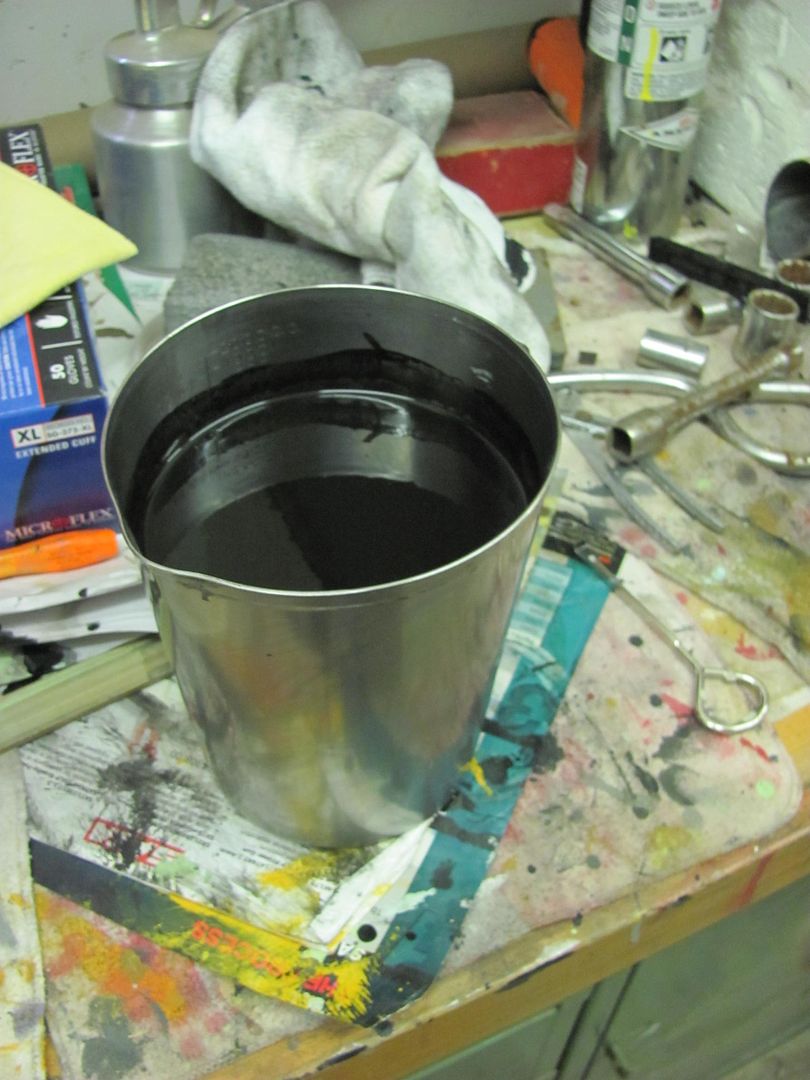 As the body parts had been soda blasted, it was cleaned with a hot soapy water (dish detergent) and a grey Scotchbrite, followed by a towel drying session.  Then this was followed up with preclean... 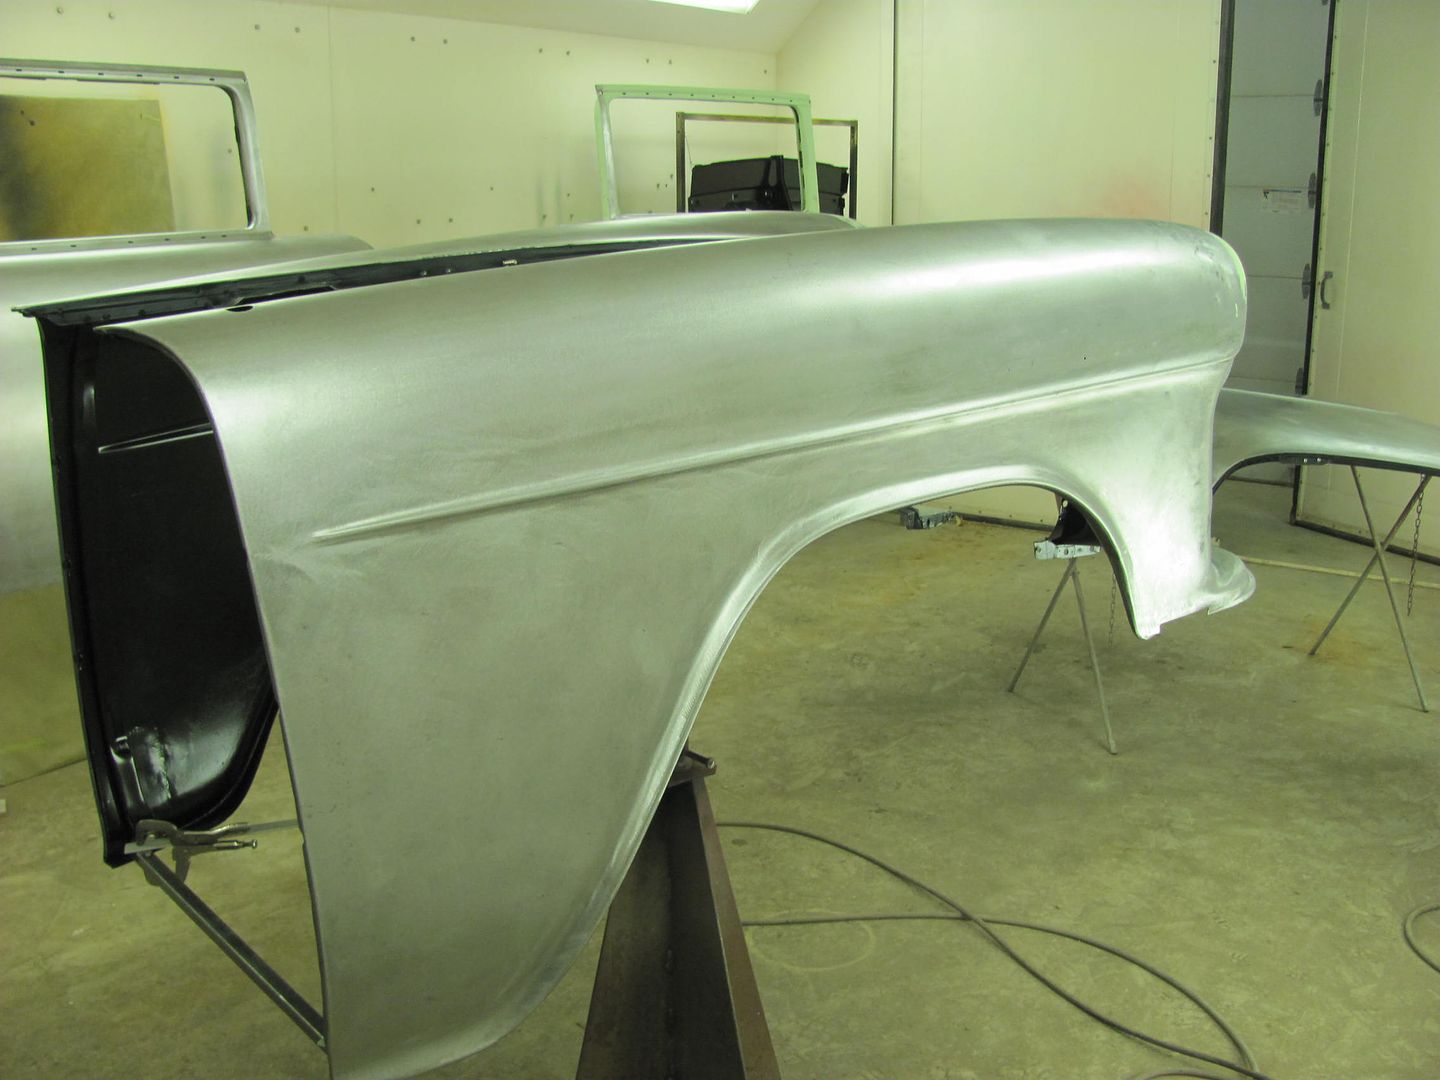 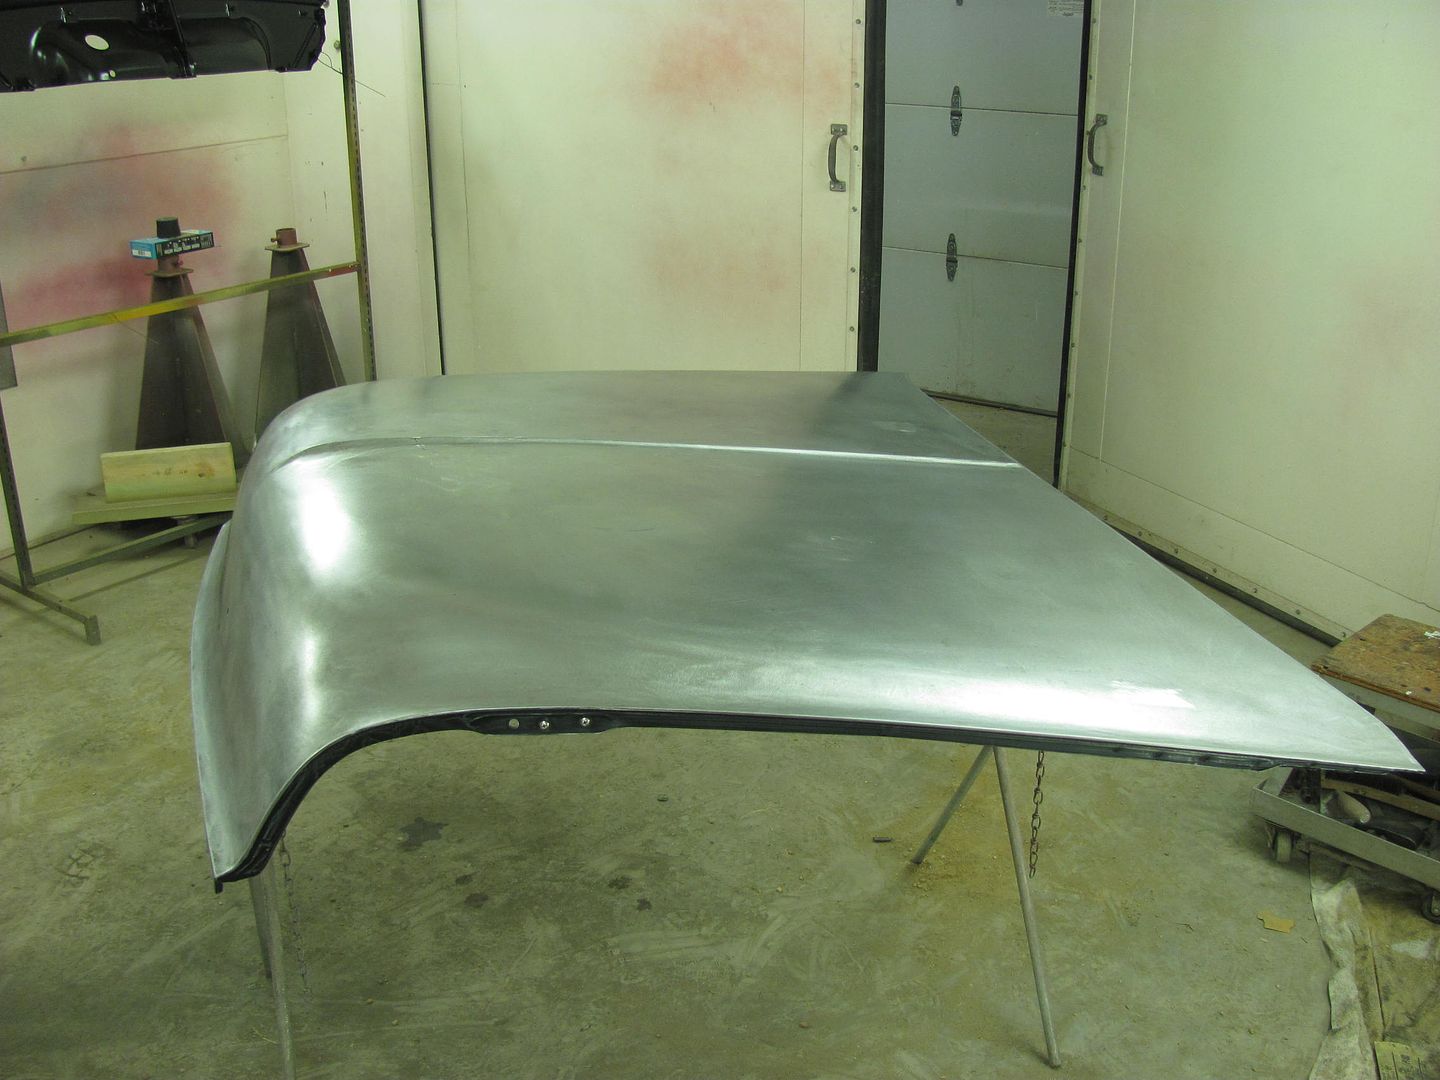 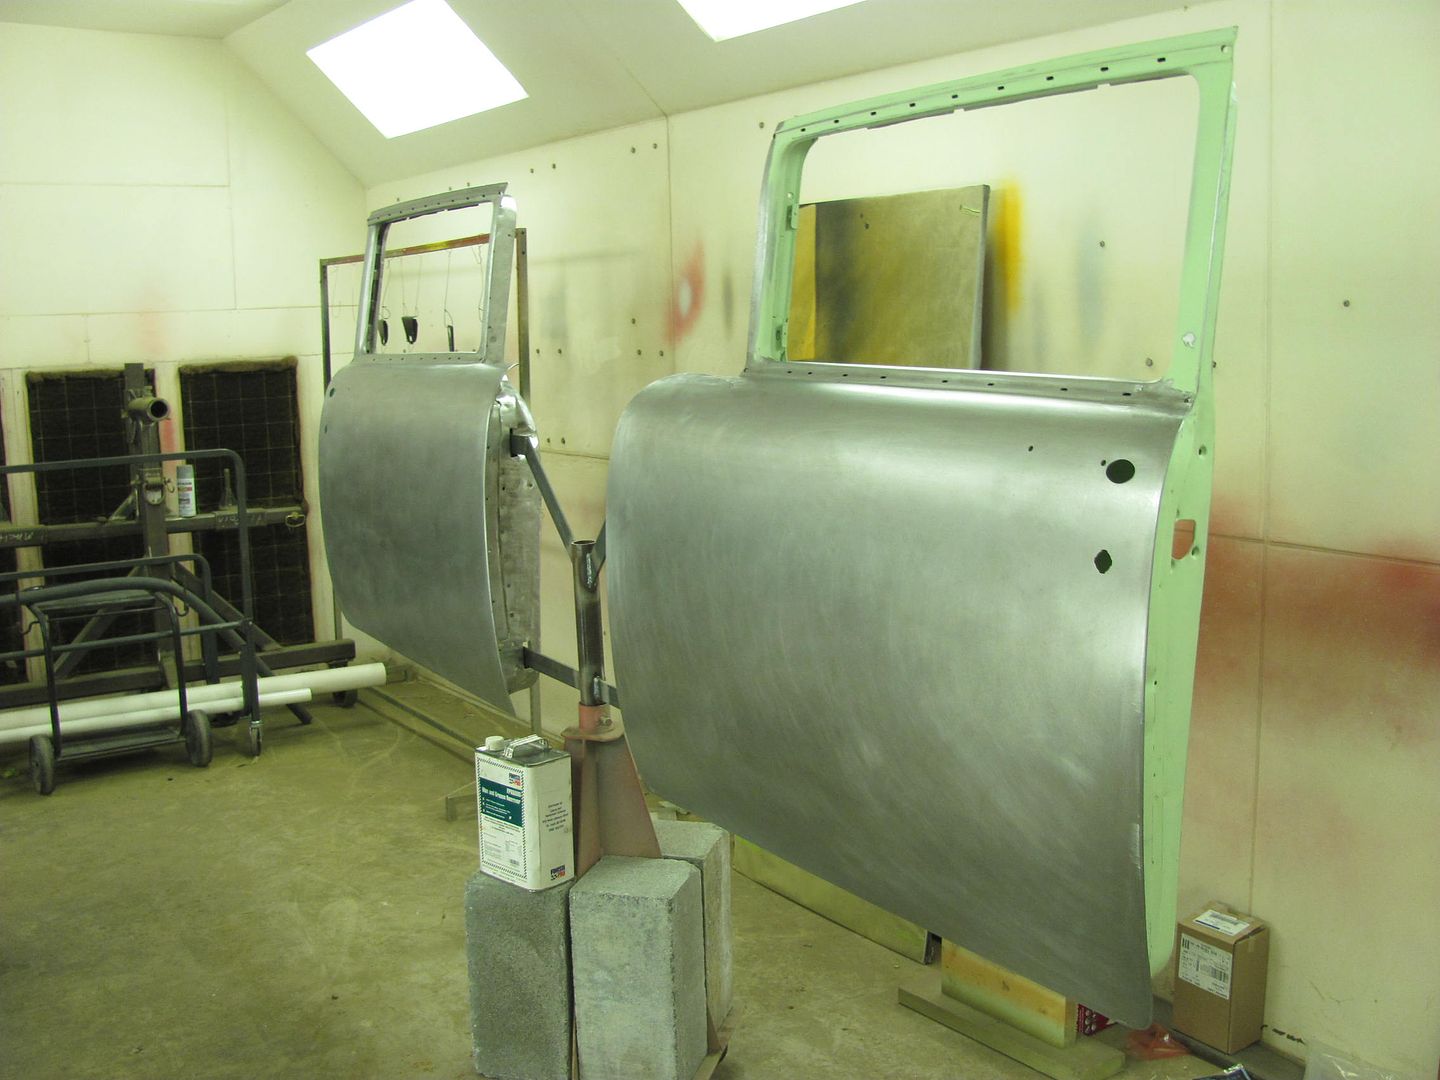 The door handle backing plates had not yet been installed on the back side of the door skins, so a coat of epoxy was sprayed on both, and then bolted together to allow to cure.. 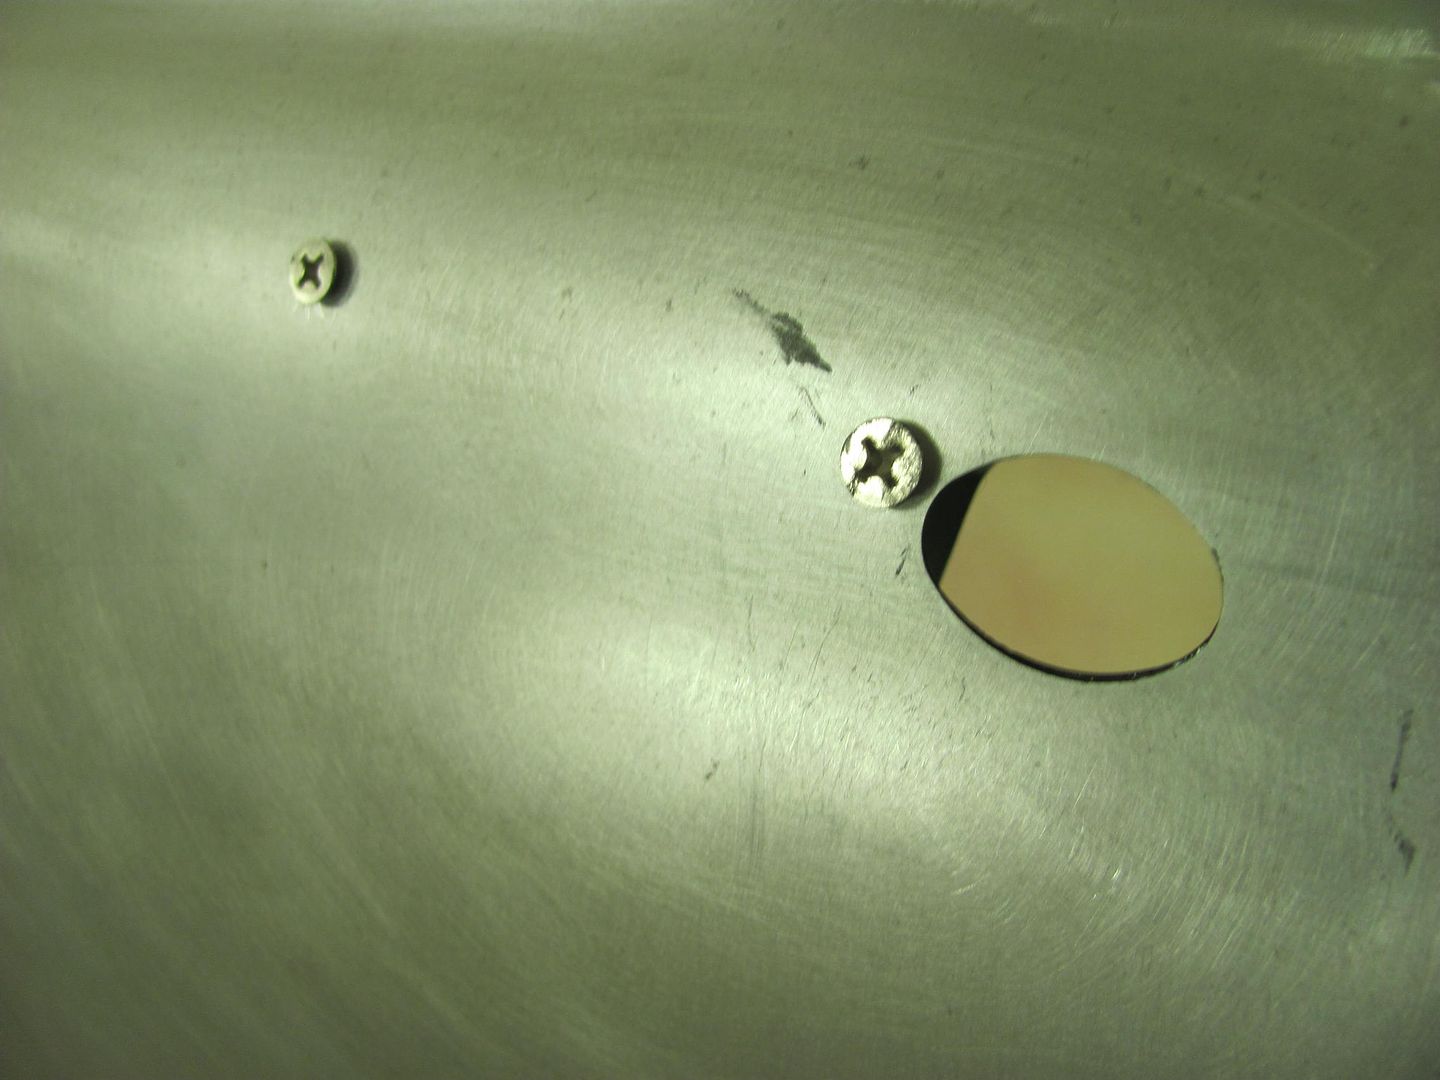 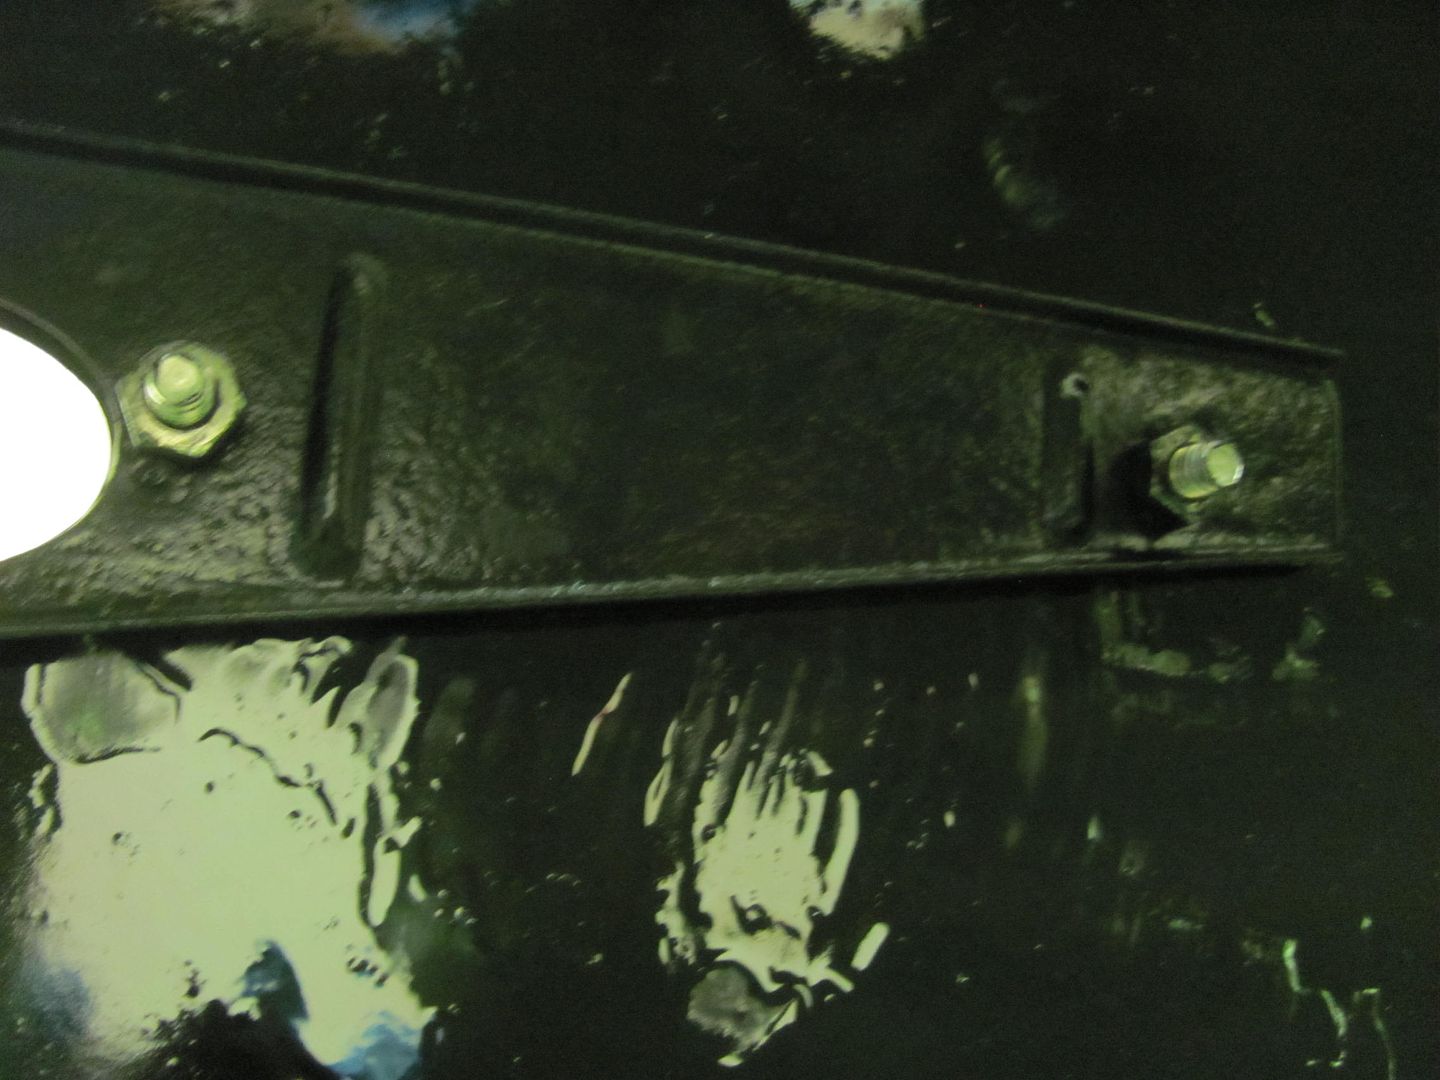 A good shot of the door paint fixture in action... 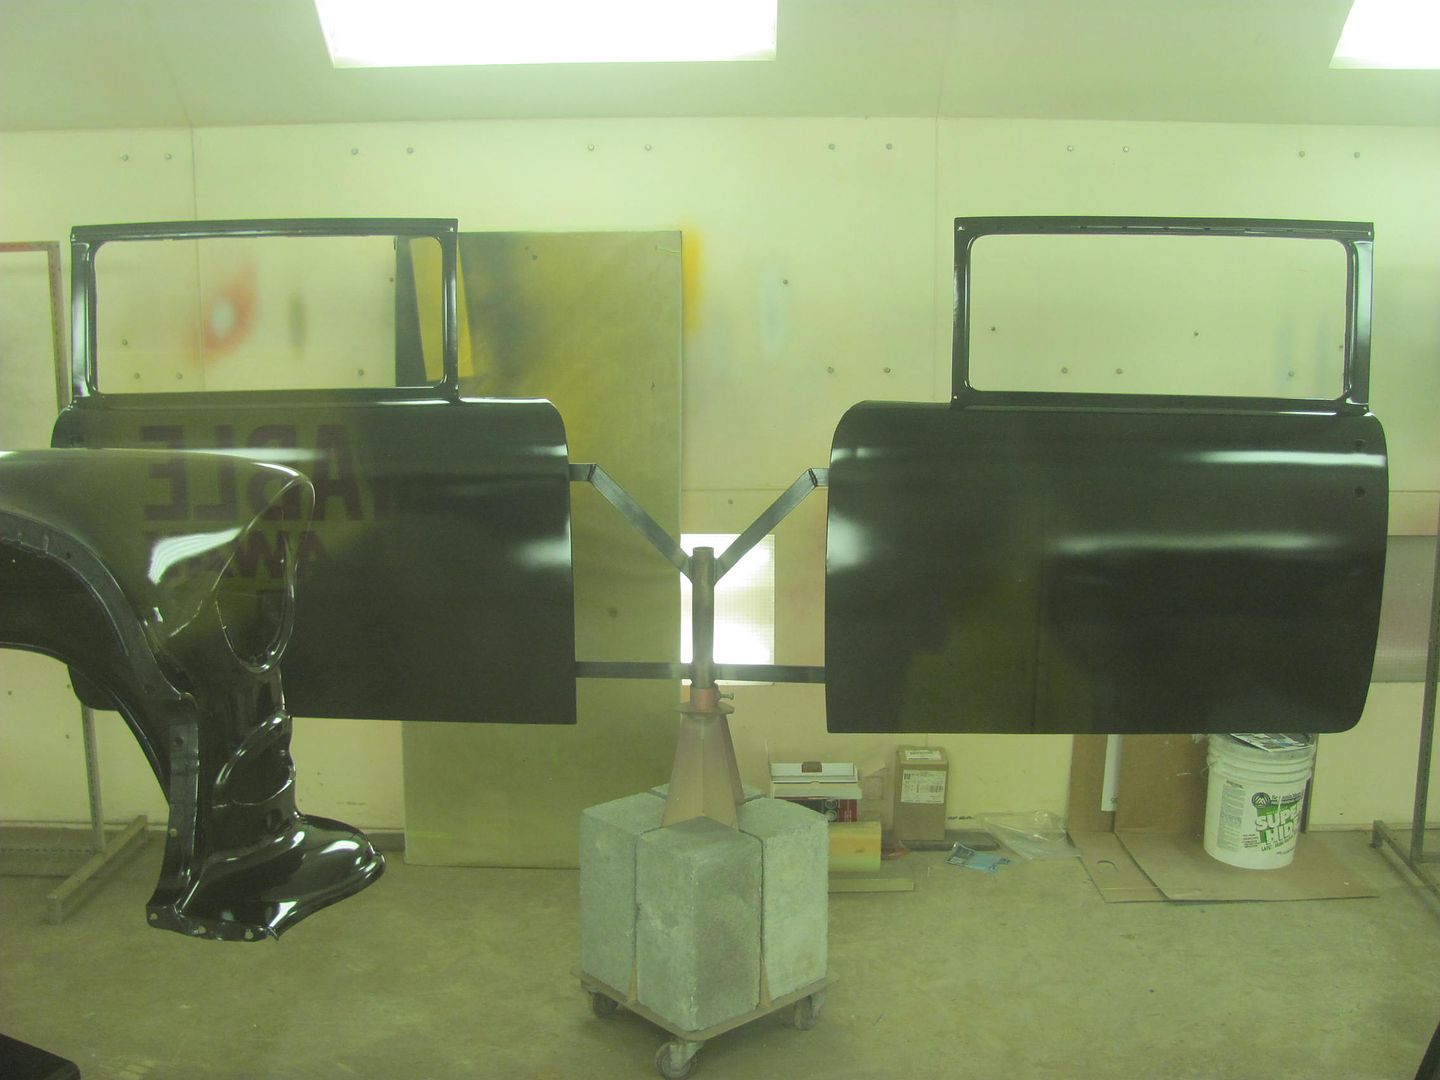 Two coats applied... 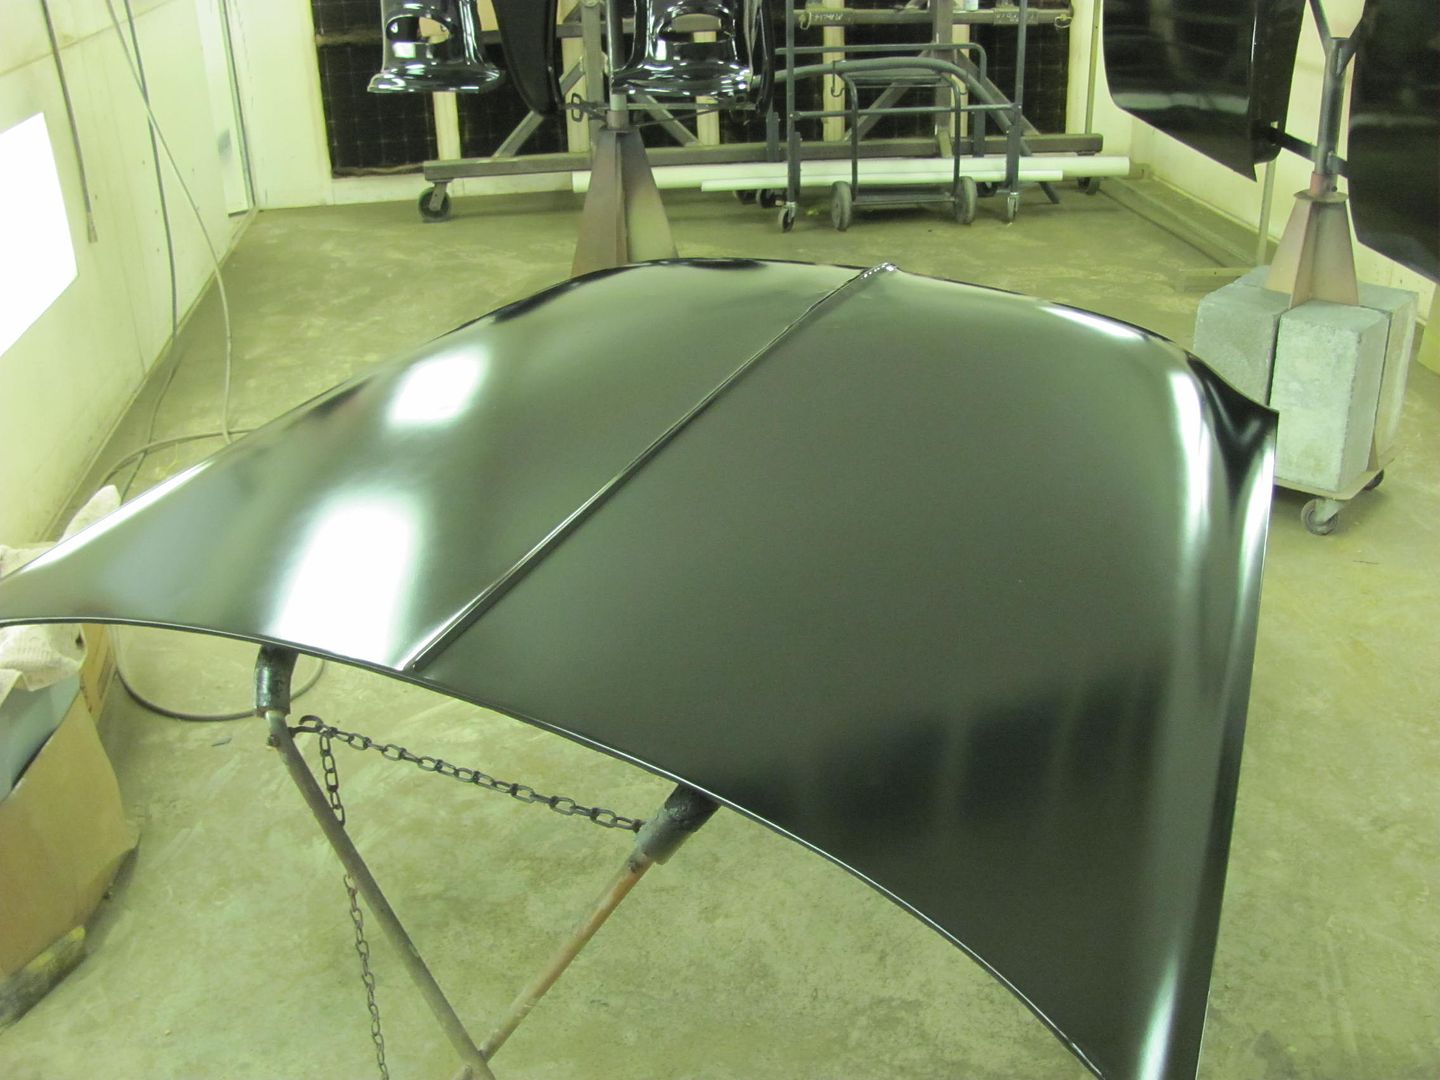 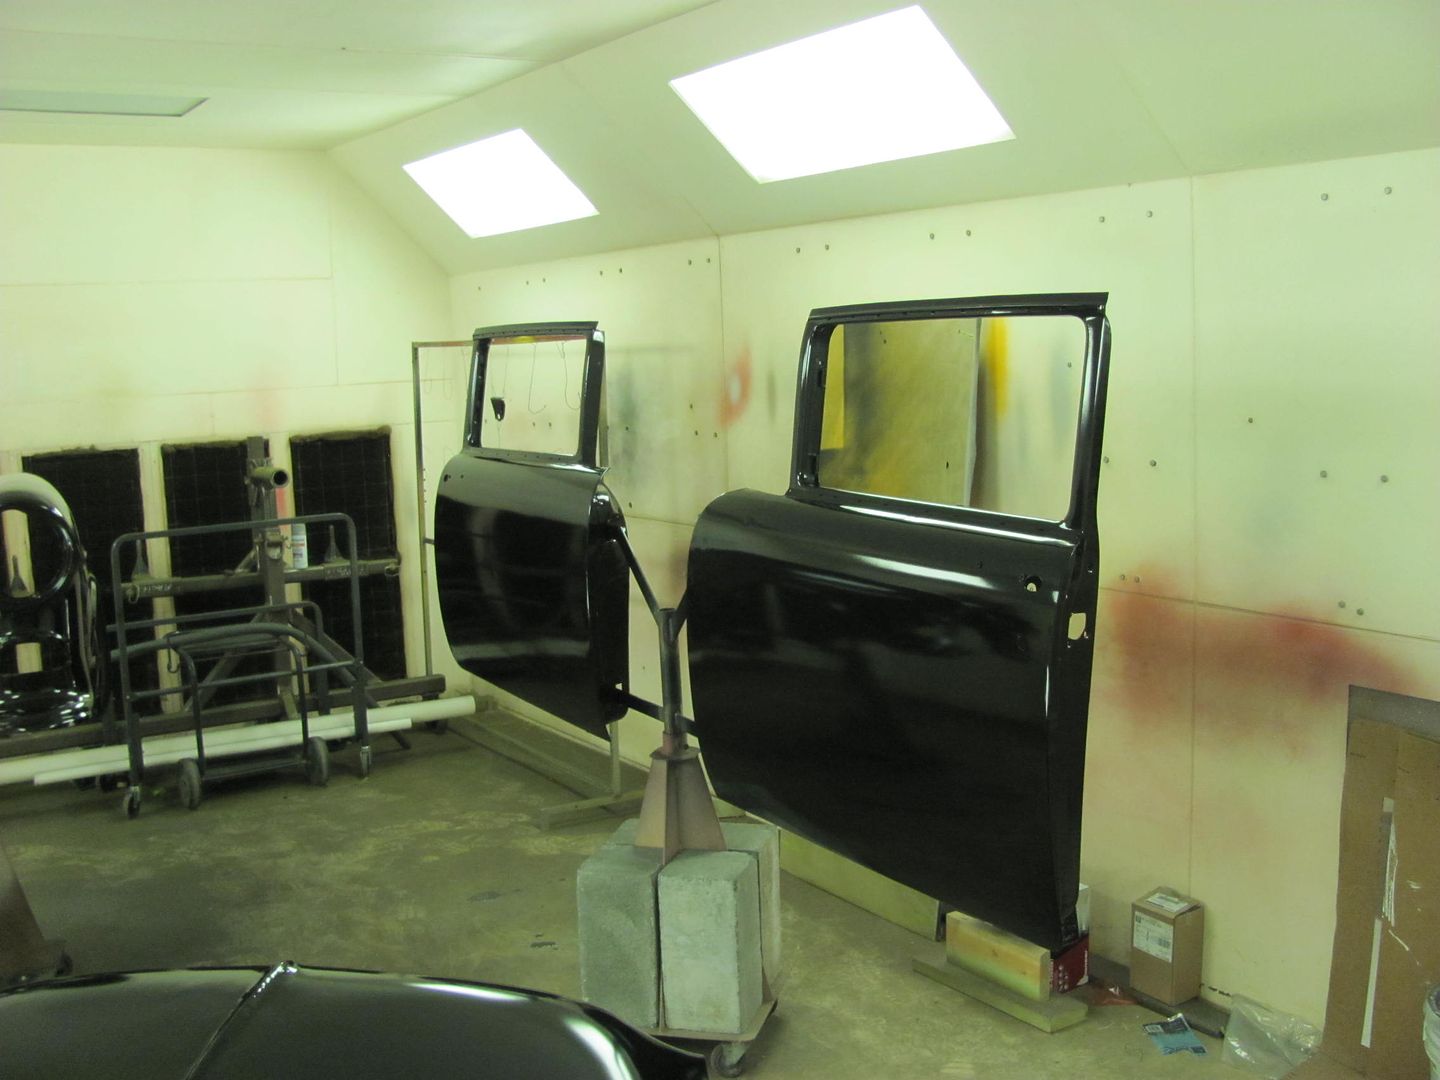 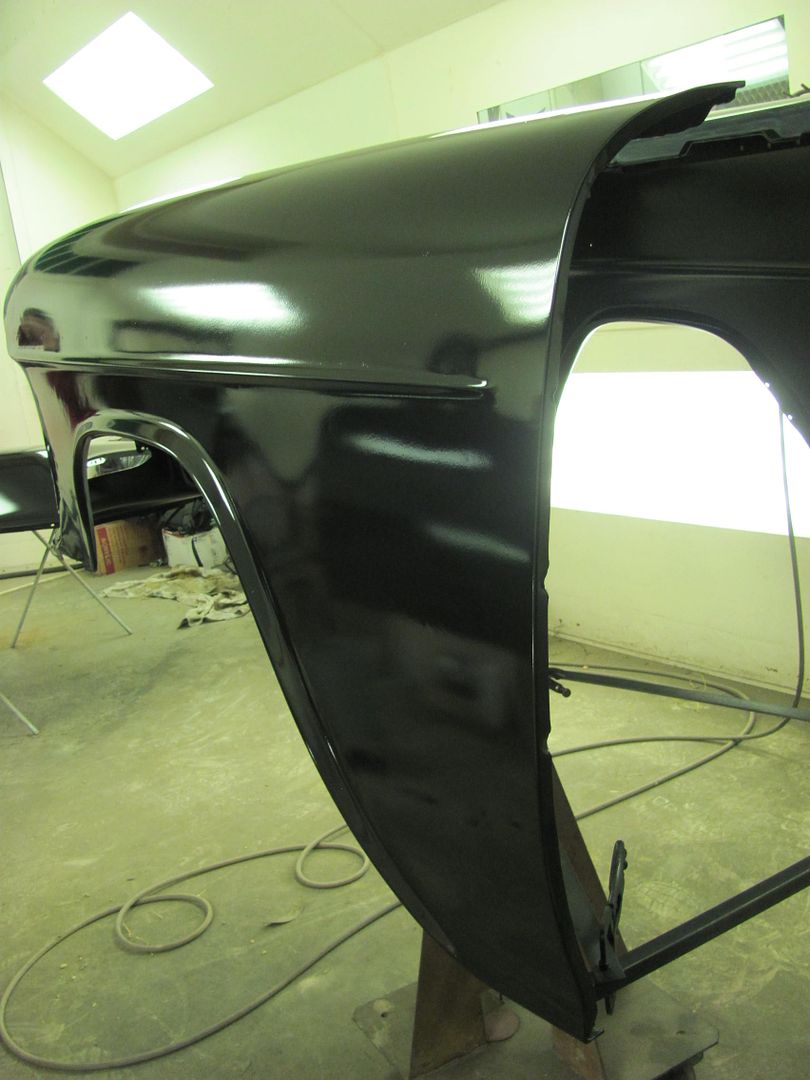 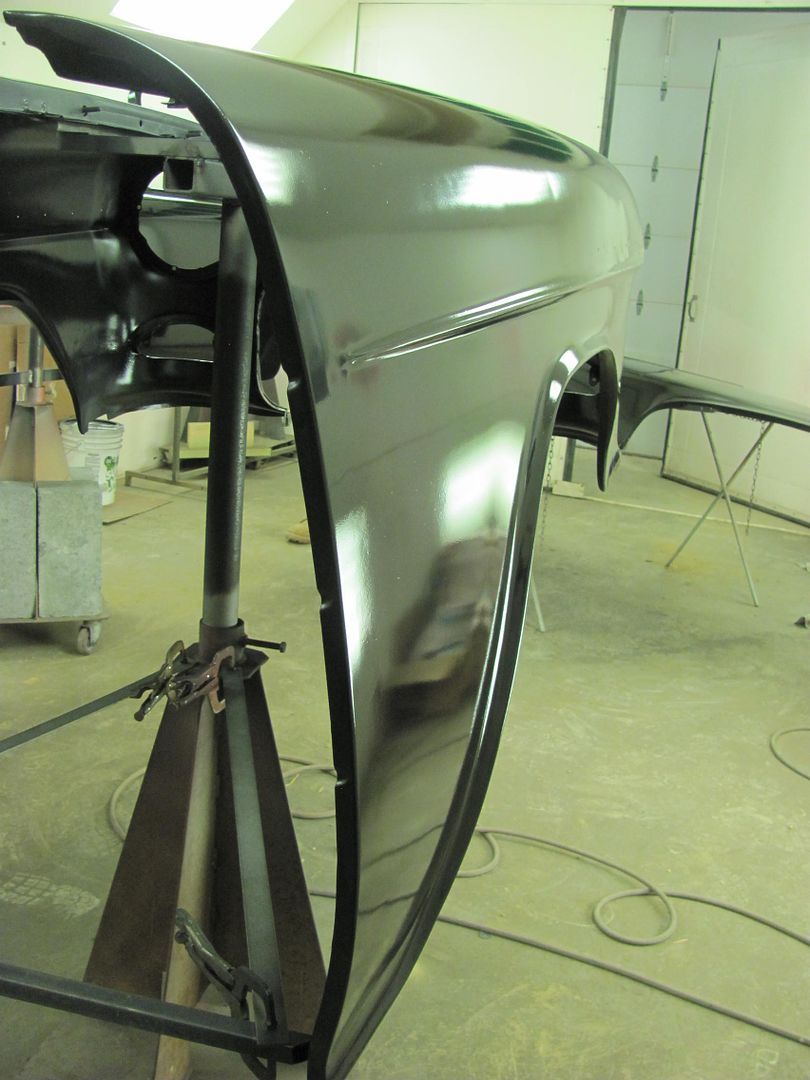
__________________
Robert |
|
|

|
|
|
#320 |
|
Registered User
Join Date: Dec 2012
Location: Rochester, KENT
Posts: 10,573
|
Re: 55 Wagon Progress
Was pointed here from my build thread in my signature as I am no welder or body worker, but need a half decent finish......
WOW WOW WOW !!! And that is only page one. I need to get to work, but this will be my reading over the next few days when I get a moment. Thank you for the detailed descriptions, they will help me, for sure.
__________________
MY BUILD LINK: http://67-72chevytrucks.com/vboard/s...585901]Redneck Express - 1966 C10 Short Fleetside MY USA ROADTRIPS http://forum.retro-rides.org/thread/...2018-humdinger IF YOU CAN'T FIX IT WITH A HAMMER, YOU'VE GOT AN ELECTRICAL PROBLEM MATE. |
|
|

|
|
|
#321 |
|
Registered User
Join Date: Feb 2007
Location: Marana, Arizona
Posts: 3,457
|
Re: 55 Wagon Progress
Oh its getting good now! Oh second thought its so cool seeing the work that is being done. I'm torn!

__________________
"I feel the need for speed!"... as soon as I am done with my nap. |
|
|

|
|
|
#322 |
|
Registered User
Join Date: Jan 2013
Location: Leonardtown, MD
Posts: 1,648
|
Re: 55 Wagon Progress
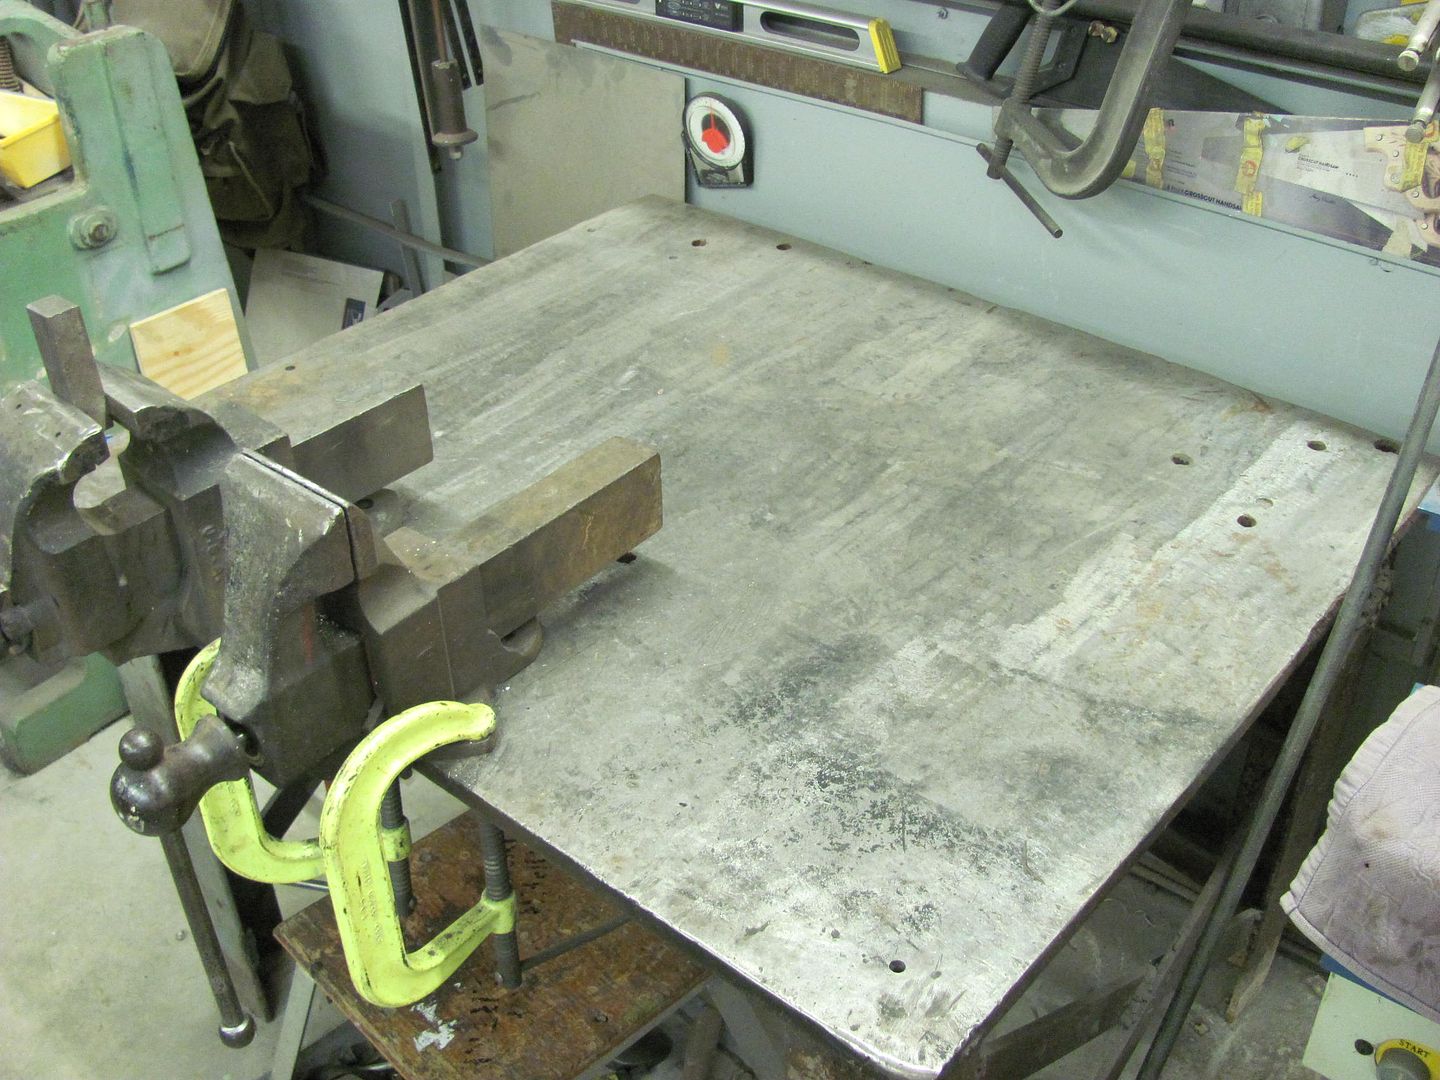
This evening while we had painted parts still lounging in the booth, we took some time to clean up and put tools away..... hey, there's that welding table!
 And found a new location for the ewheel.. Still gives plenty of room for access to the parts bins and gets it out of the way elsewhere in the shop.. 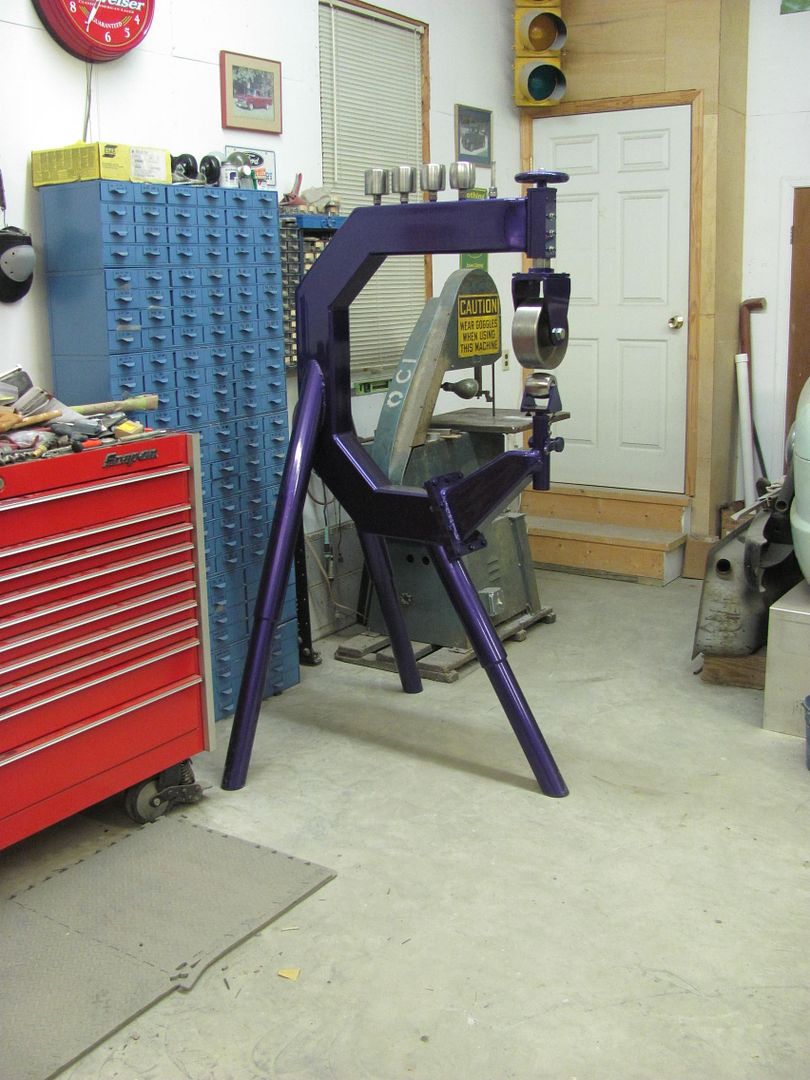 After that we worked to fix some pin holes along the passenger quarter's weld.. using a light from the back side to show the pin holes... 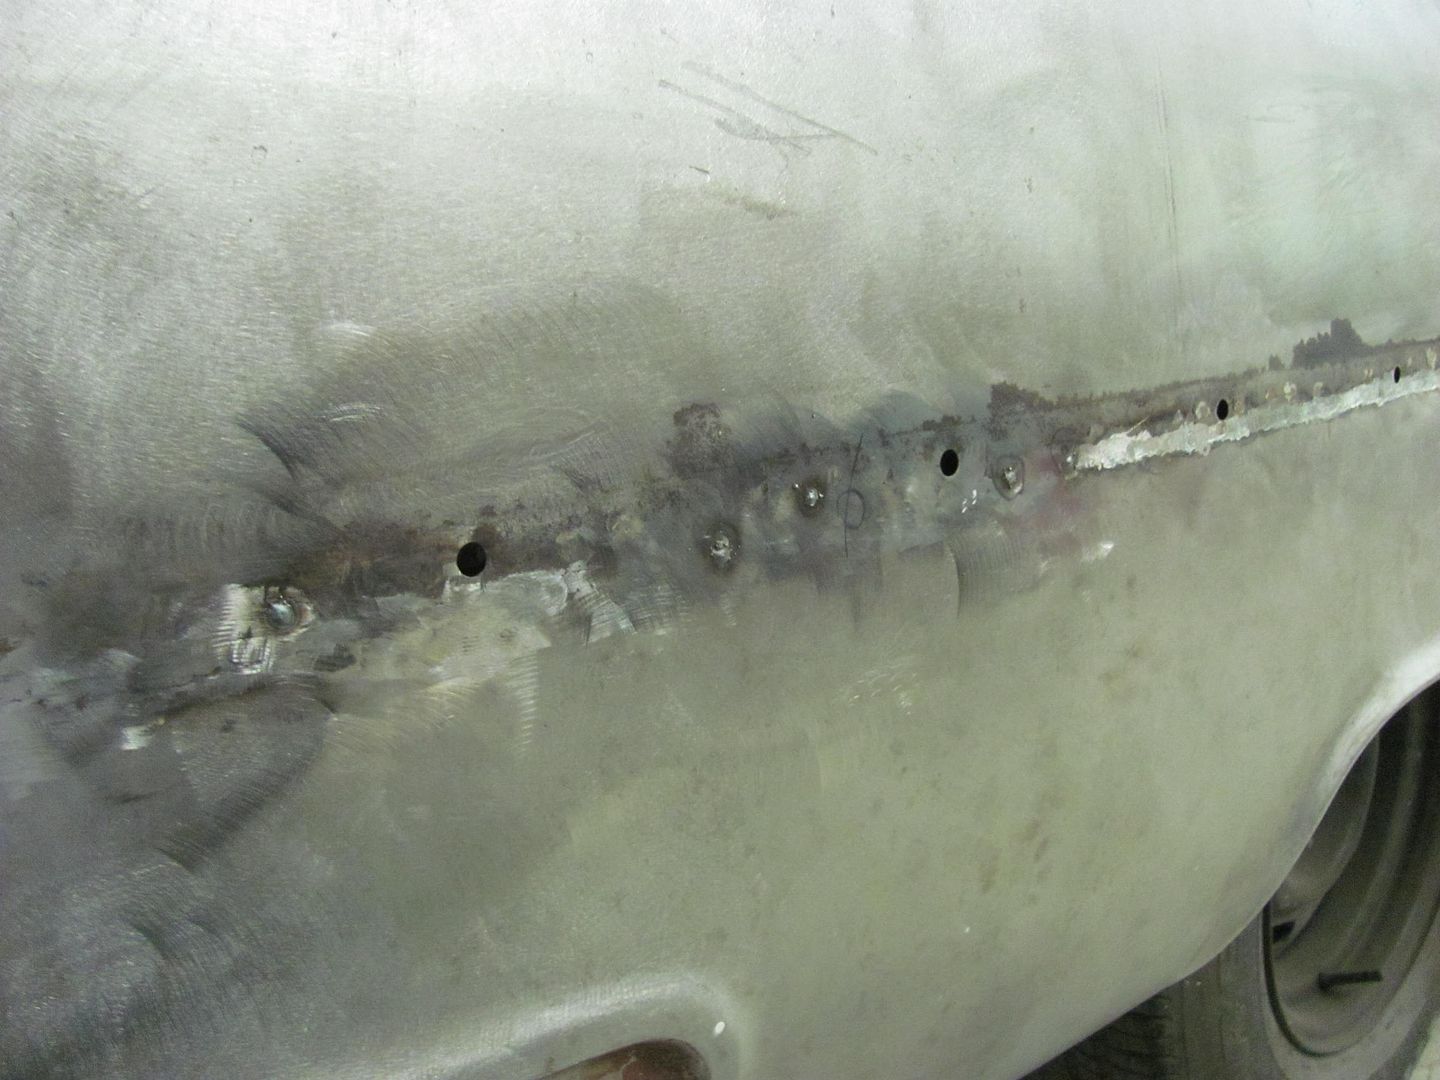 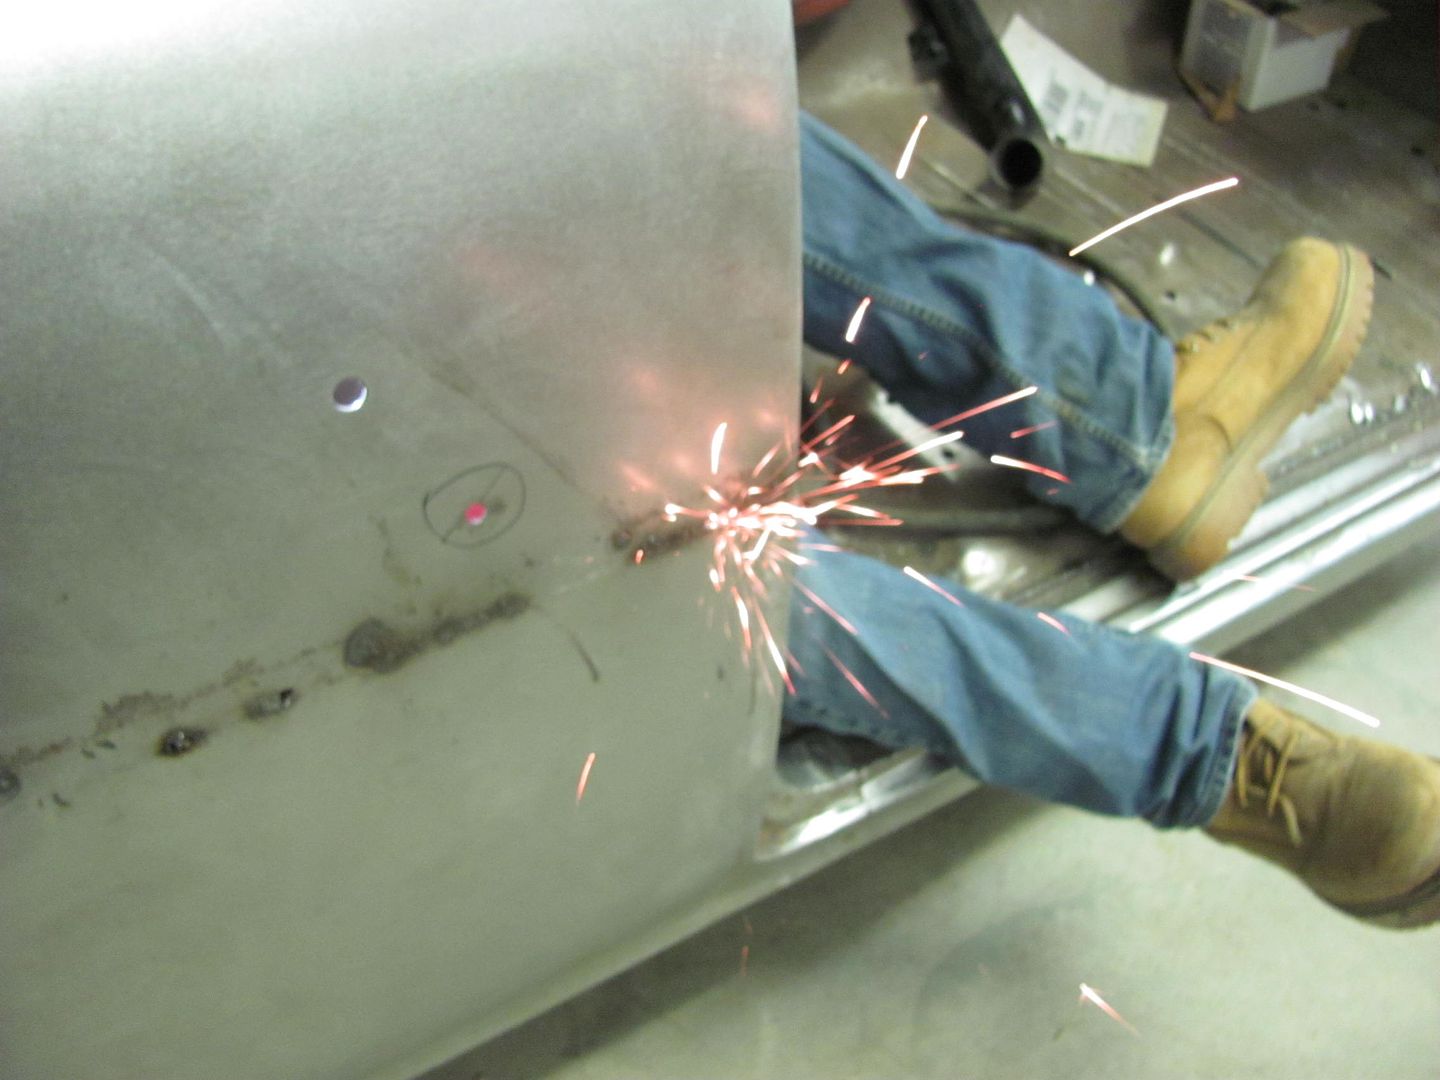 ....and this one was a pit from the back side, more of the dreaded dirt thrown from the rear tire causing rust.... 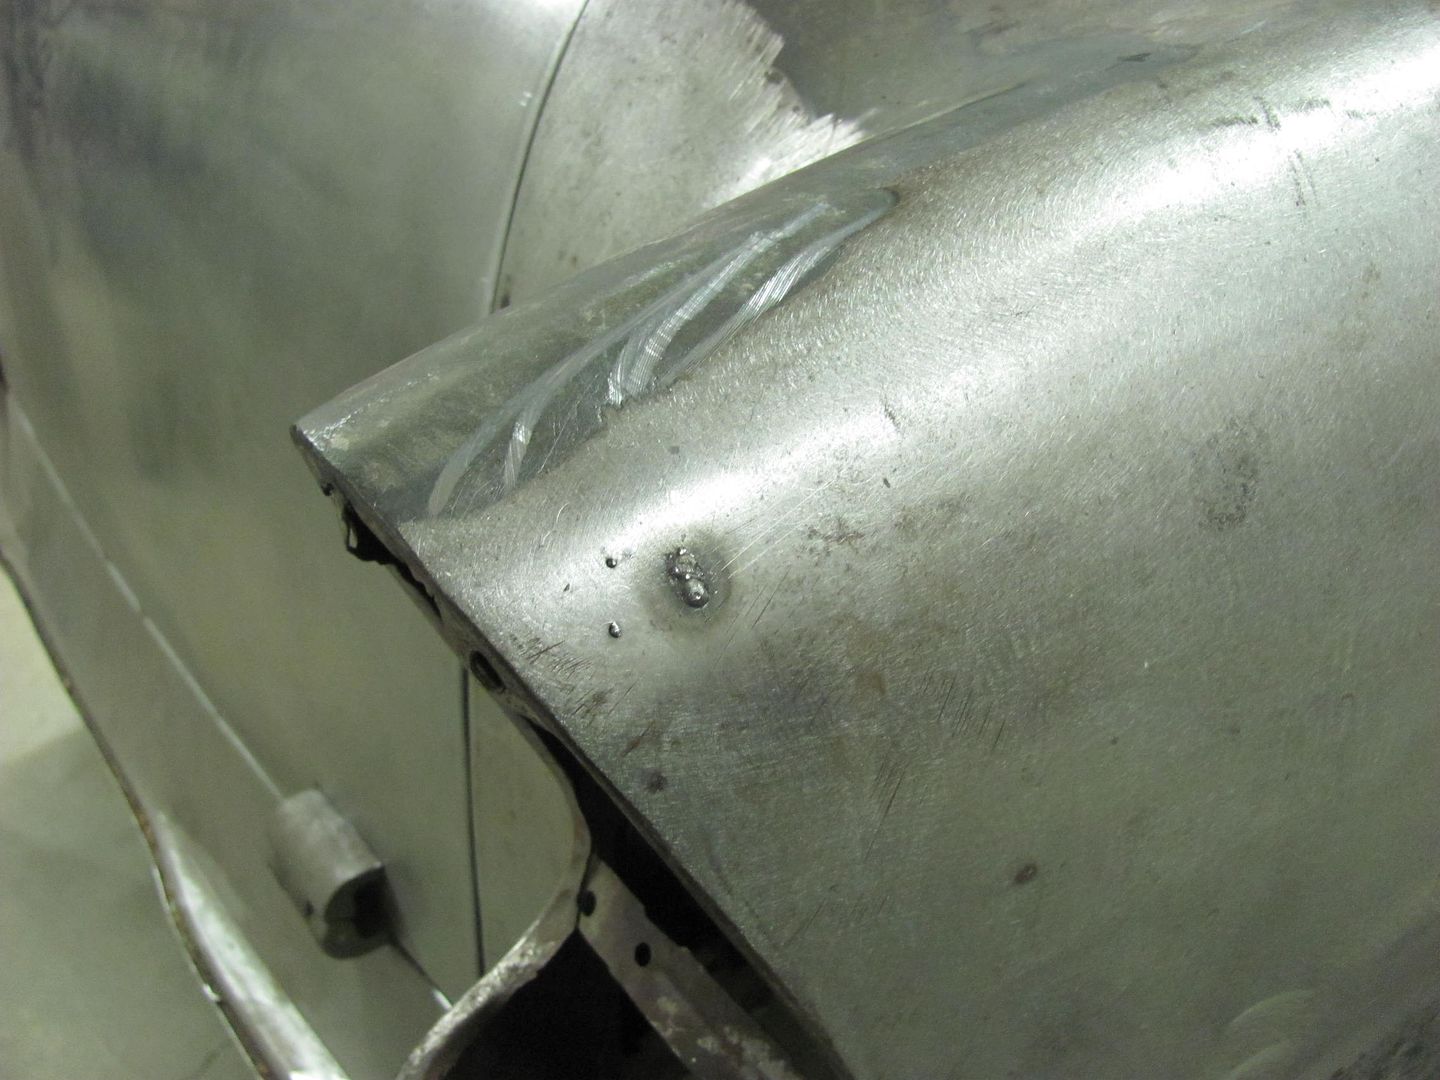
__________________
Robert |
|
|

|
|
|
#323 |
|
Senior Member
 Join Date: Jul 2012
Location: Oblong, Illinois
Posts: 7,028
|
Re: 55 Wagon Progress
Great paint work there! Barry makes a good product. We used SPI on my truck.
Shop looks good and I too found my welding table again Saturday. |
|
|

|
|
|
#324 |
|
Registered User
Join Date: Dec 2012
Location: Pendleton, Indiana
Posts: 235
|
Re: 55 Wagon Progress
Just found this site, lots of nice work and info. Where did you get your Gatormeet radius gauge?
Thanks Rick |
|
|

|
|
|
#325 |
|
Senior Member
 Join Date: Mar 2011
Location: West Plains, Missouri
Posts: 7,559
|
Re: 55 Wagon Progress
Robert, just found out you were on this site. I had been following you on the HAMB site, when you were doing the tailgate repairs. That was in 2013, then nothing. Glad I found you on here. Now I have to go back and read 13 pages of work, and I look forward to some great work to catch up on...Jim
__________________
my build thread: http://67-72chevytrucks.com/vboard/s...d.php?t=459839 Jimbo's long bed step build:http://67-72chevytrucks.com/vboard/s...t=464626<br /> |
|
|

|
 |
| Bookmarks |
| Thread Tools | |
| Display Modes | |
|
|