 |
Register or Log In To remove these advertisements. |
|
|
|
|||||||
 |
|
|
Thread Tools | Display Modes |
|
|
|
|
#1 |
|
Registered User
Join Date: Oct 2015
Location: San Tan Valley, Arizona
Posts: 313
|
Interior Heater box restoration
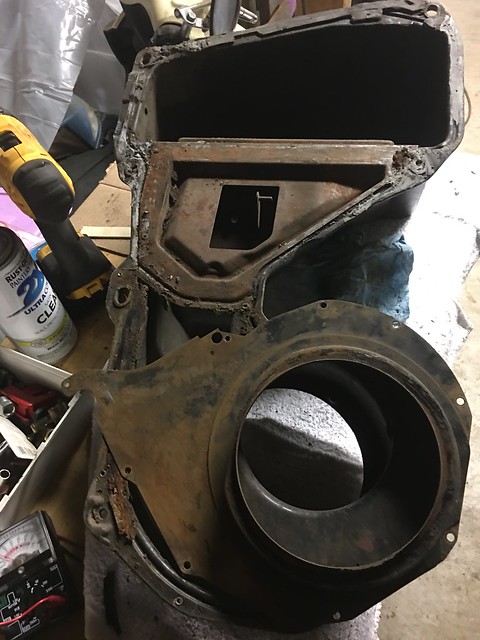
Who has refurbished the interior heater box on a non-A/C cab? I found several threads on what paint to use. Mine is a little rusty on the inside due to a mouse infestation and a leaky heater core. I was thinking of sanding it down and using POR15 or something similar on the interior. What should I do with the two flaps? They seam to have had some kind of rubber or foam on them. Can you remove them to clean them up? Should I just lubricate them with something? Thanks,
Bill |
|
|

|
|
|
#2 |
|
Registered User
 Join Date: May 2016
Location: Sackets harbor ny
Posts: 282
|
Re: Interior Heater box restoration
Hope you Fair better than I did. I brought all the parts in the house. Washed them in the kitchen sink. Needless to say the parts and myself were soon out of the house. LOL. Your parts look like mine did. I took steel wool and a wire brush. The flange area was very thin. That had small holes around it. I skim coated it with JB Weld. And lightly sanded it off. And repainted it. Came out pretty decent. It's out of sight anyway. Or I have seen them on craigslist from time to time. Good luck.
|
|
|

|
|
|
#3 |
|
Registered User
Join Date: Oct 2015
Location: San Tan Valley, Arizona
Posts: 313
|
Re: Interior Heater box restoration
Thanks for the good wishes. I actually have a spare I picked up that is in better shape. It probably just needs to be painted inside and out.
What can be done about the internal gaskets? I guess it doesn't matter that much if they leek a bit. Should I lube the flaps with something so they move easy? Sorry for so many questions. Thanks! Bill |
|
|

|
|
|
#4 |
|
Registered User
Join Date: Aug 2016
Location: Lake Forest, CA
Posts: 2,178
|
Re: Interior Heater box restoration
Id get it sand blasted and powder coated, then it will never rust again and look great forever. Shouldn't cost too much and the results you cannot beat one bit.
__________________
"Work hard, use your vacation days." 1970 C15 GMC Long Bed 1986 C20 Scottsdale 1983 K2500 Sierra Classic Suburban 6.2 Instagram: C10sofOC |
|
|

|
|
|
#5 |
|
Registered User
 Join Date: May 2016
Location: Sackets harbor ny
Posts: 282
|
Re: Interior Heater box restoration
I got the gasket kit. From LMC. Nice set for the price. Only set you back a couple of 12 packs of your favorite beer. part number 36-0564. Now if I could just fit my cat in the heater box. LOL. Good luck to you.
|
|
|

|
|
|
#6 |
|
Registered User
Join Date: Oct 2015
Location: San Tan Valley, Arizona
Posts: 313
|
Re: Interior Heater box restoration
Looking at LMC, I am now wishing I had purchased that kit. I got the one from GMC pauls and it does not seem to have the part for the flap. Anyone have ideas on what I could use? It seems to be some kind of dense foam. Maybe I could use some urethane foam sheeting? Thanks.
|
|
|

|
|
|
#7 |
|
Wide n'Low
 Join Date: Jan 2007
Location: La Center, WA
Posts: 1,511
|
Re: Interior Heater box restoration
I did mine not to long ago, and at the same time I did my kick panel vent flaps. I used the idea from this thread even though the 67-72 vents are a little different. http://67-72chevytrucks.com/vboard/s...d.php?t=434587
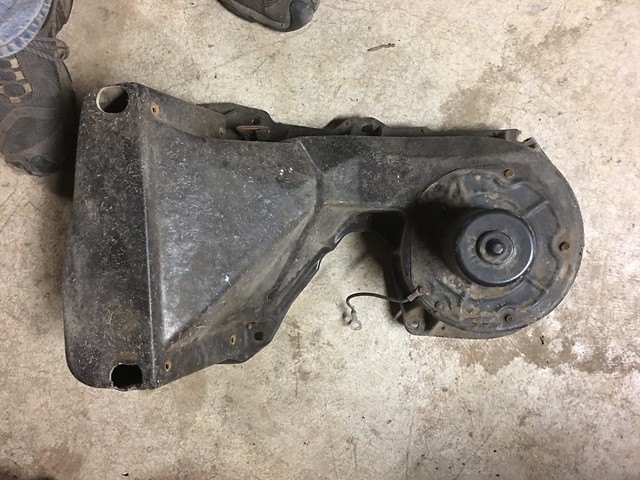
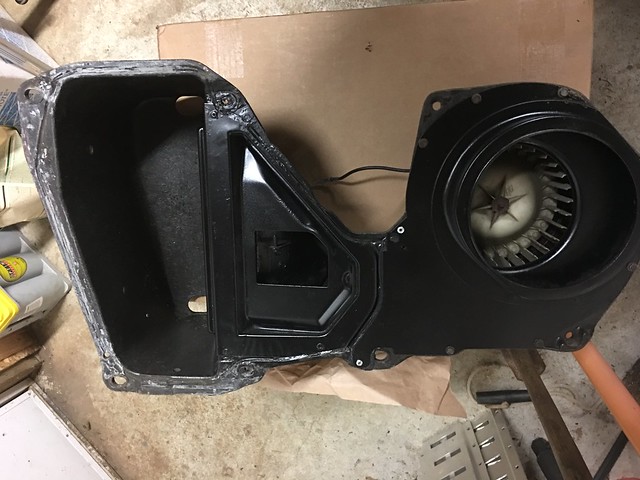
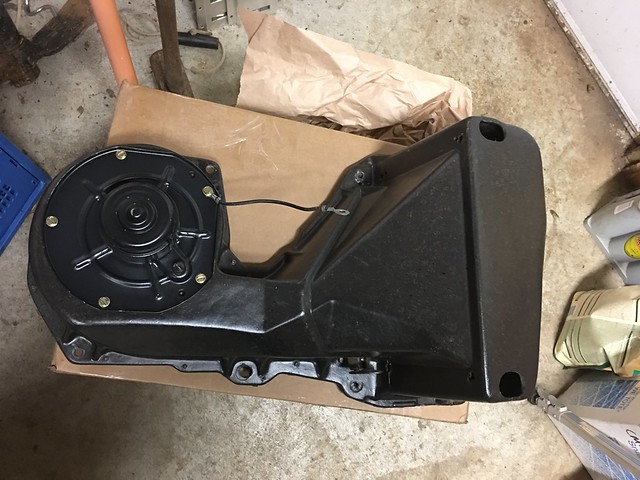
Here is a few pics of the outer heater box, never did take any of the inner components, but you get the idea. Surprising how much things cleaned up with some elbow grease. Besides the new gaskets which fit really well, I sprayed both inside and out with satin clear. Hopefully it lasts another 40+ yrs..    
__________________
Trippin Hazard.. 67 swb, Gold Member.. 68 Suburban Air Force Retired |
|
|

|
|
|
#8 |
|
Registered User
Join Date: Jul 2015
Location: Euless, Tx
Posts: 431
|
Re: Interior Heater box restoration
You should have the metal parts bead blasted. For the foam, just buy a sheet from a local crafts store and cut to fit. Originally the foam was glued and stapled. The door can be removed but its not easy. The other door with the rubber seal, forget about it. Its not available in reproduction. You'd have to find a good original
|
|
|

|
 |
| Bookmarks |
| Thread Tools | |
| Display Modes | |
|
|