
 |
|
|
|
|
#1 |
|
Registered User
Join Date: Sep 2014
Location: Toms River, NJ
Posts: 437
|
Re: My 86 Stepside
|
|
|

|
|
|
#2 |
|
Registered User
Join Date: Apr 2013
Location: wilmington nc
Posts: 492
|
Re: My 86 Stepside
Very nice job on th interior.
Witht hat way of sounddeadening, can you tell a big difference. Really liked that article you referenced and was thinking of going that route with a couple layers of lizard skin on the underside. Also, what are those seats from? Looking very clean. |
|
|

|
|
|
#3 |
|
Registered User
Join Date: Sep 2014
Location: Toms River, NJ
Posts: 437
|
Re: My 86 Stepside
Thank you. I didn't have any carpet before so I'm sure this is going to be a huge difference. I bought the seats from summit. They are scat procar pro-90 seats.
|
|
|

|
|
|
#4 |
|
Registered User
Join Date: Apr 2013
Location: wilmington nc
Posts: 492
|
Re: My 86 Stepside
Looks really nice and clean. Good work on the console.
|
|
|

|
|
|
#5 |
|
Registered User
Join Date: Sep 2014
Location: Toms River, NJ
Posts: 437
|
Re: My 86 Stepside
|
|
|

|
|
|
#6 |
|
Registered User
Join Date: Sep 2014
Location: Toms River, NJ
Posts: 437
|
Re: My 86 Stepside
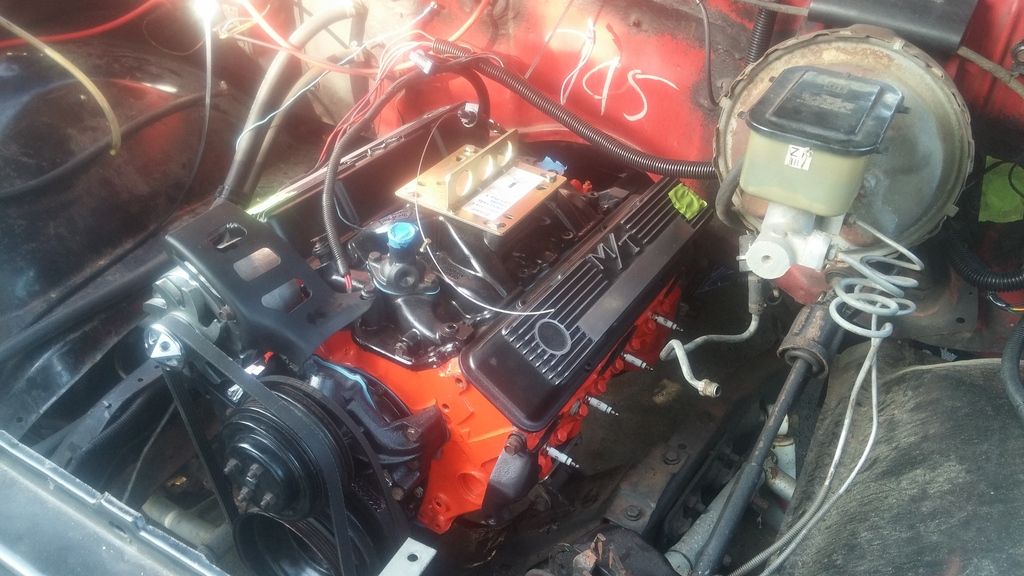
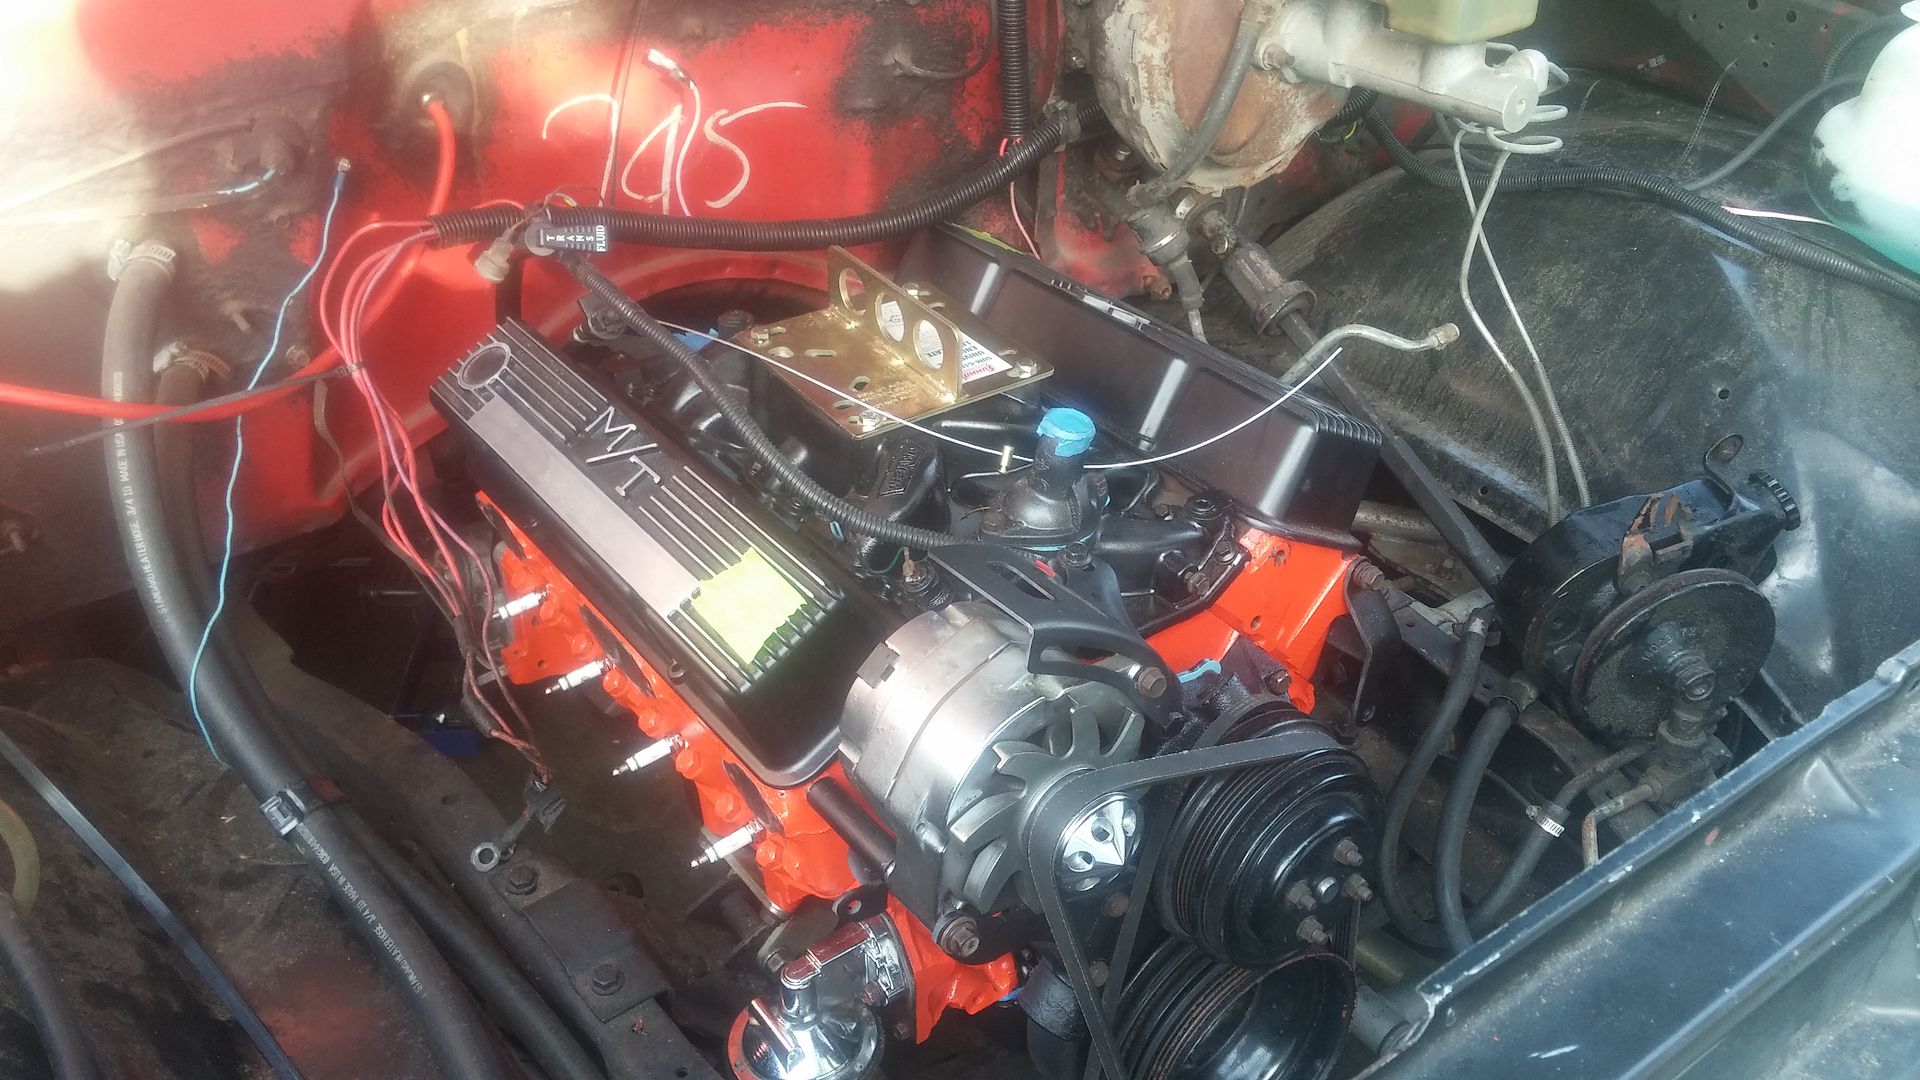
Finally got the motor and trans installed. Took me a while since I've never done it before. Also, we couldn't get the motor to go far back enough to line up with the motor mounts. I ended up wrapping a chain around the tailshaft of the trans, hooking it up to a ratchet strap, hooking the ratchet strap up to a bed support and pulling it back that way. Worked like a charm. Now I just have to hook EVERYTHING up, fill it with fluids, set timing, and she'll be a runner.
|
|
|

|
|
|
#7 |
|
Registered User
Join Date: Oct 2015
Location: Oxford, Ms
Posts: 28
|
Re: My 86 Stepside
Very impressed with your build.
|
|
|

|
|
|
#8 |
|
Registered User
Join Date: Sep 2014
Location: Toms River, NJ
Posts: 437
|
Re: My 86 Stepside
Thank you. I've had a couple hiccups and with the weather it still isn't running. I've gotten it started but the timing is way off and i had a nice little backfire in the carb. Waiting for the weather to change to get it squared away and I'll post a video of it running.
|
|
|

|
|
|
#9 |
|
Registered User
Join Date: Sep 2014
Location: Toms River, NJ
Posts: 437
|
Re: My 86 Stepside
Just had to do some interior work to make the dash speakers fit correctly. I posted this in the audio section, but it doesn't get many visitors and I wanted it here for reference. The 3.5" Infinity speakers sound great but the dash doesn't fit without rubbing them when they are mounted in the stock location. I was lucky to be able to just flip one bracket and mount the speaker from the underside. The driver's side was a little more difficult and I had to get somewhat creative with the limited space I had to work with.
Before: 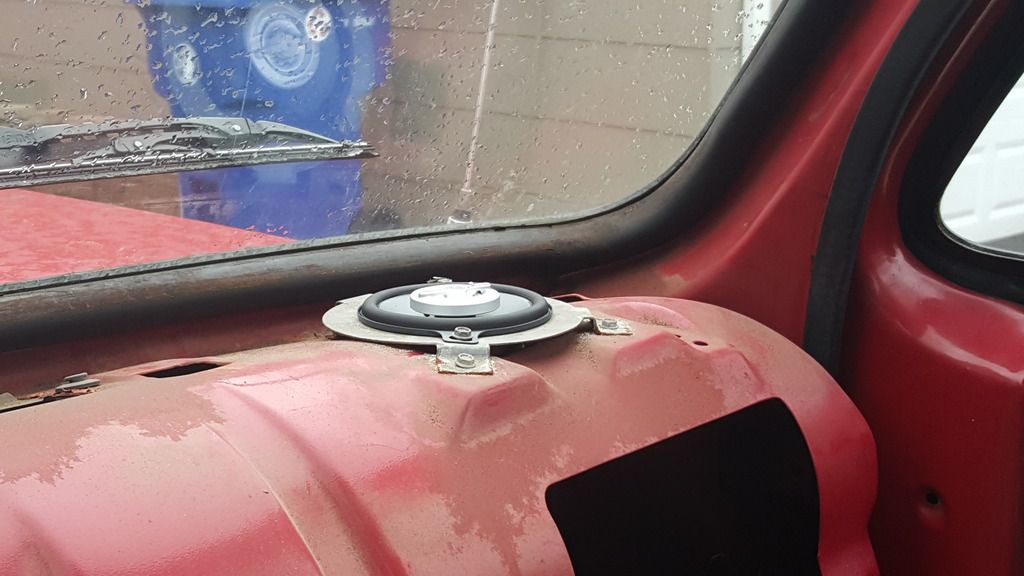 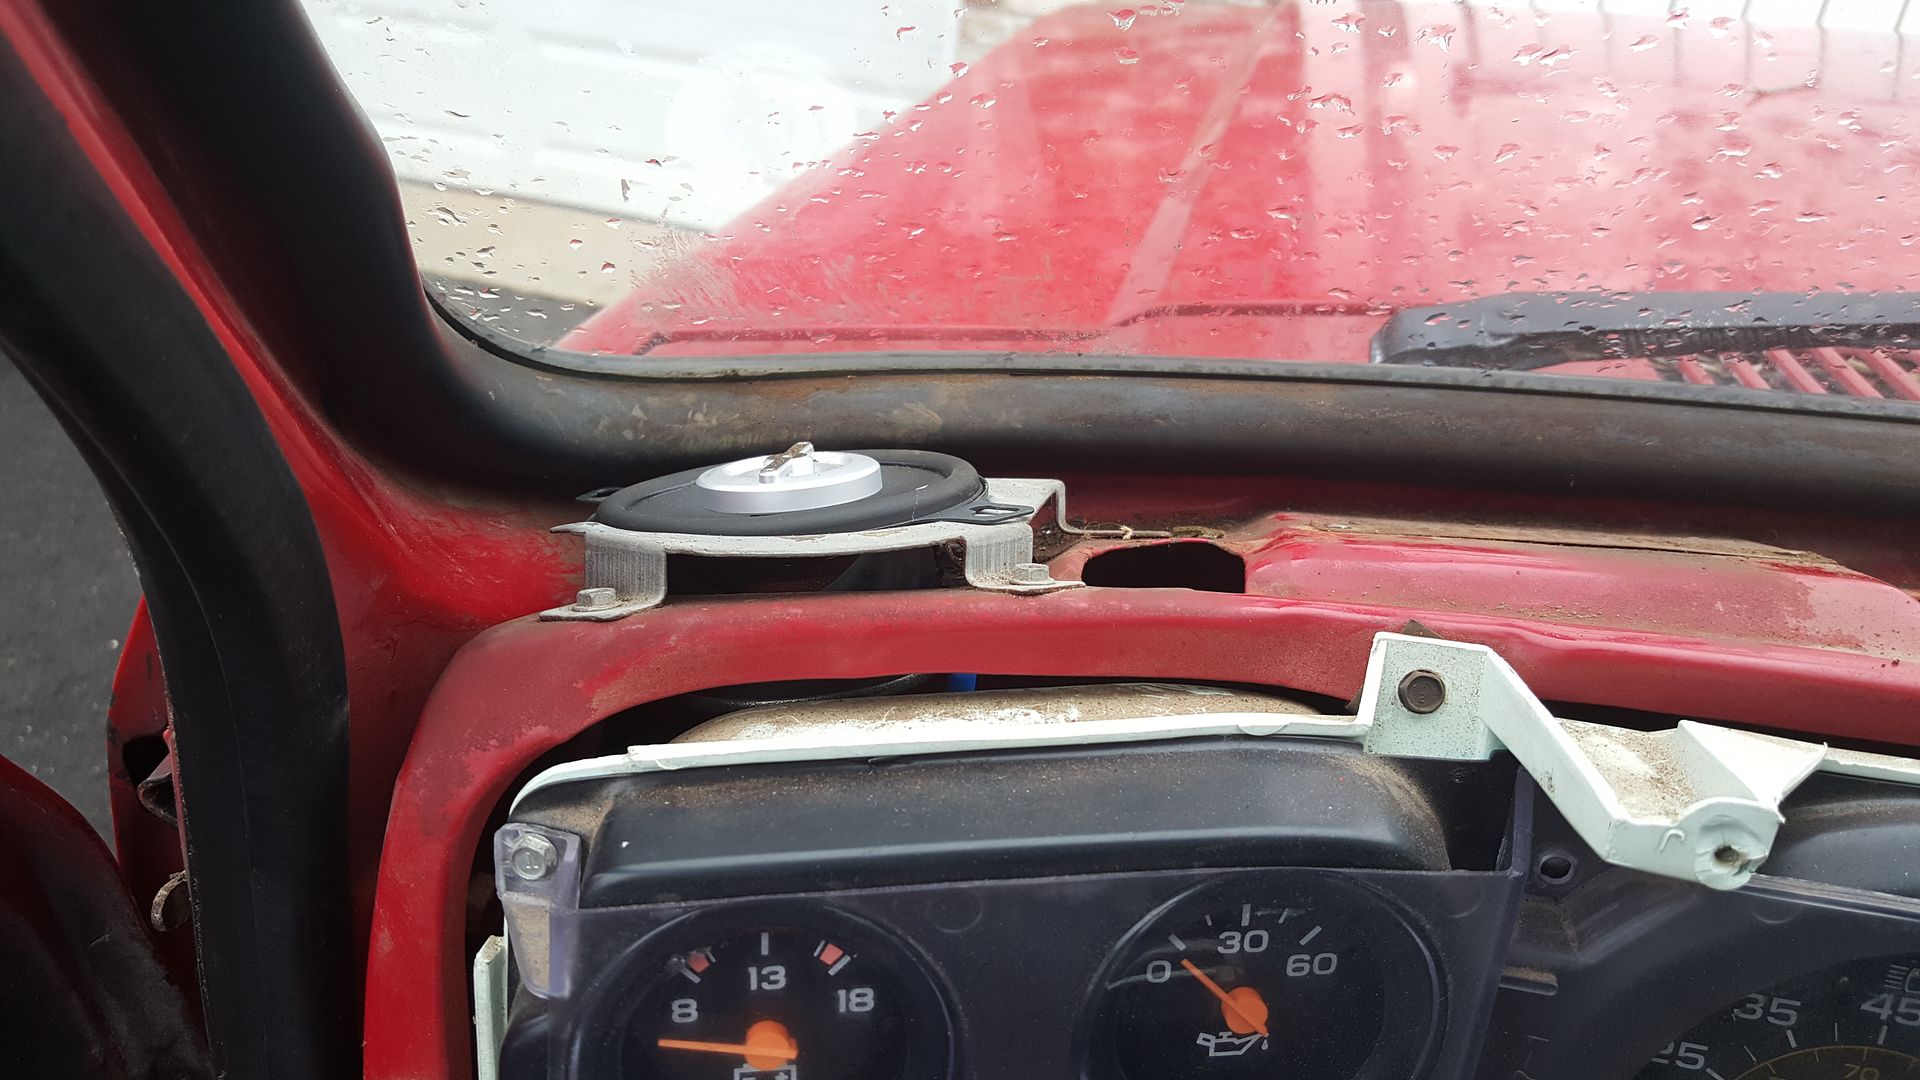 After: 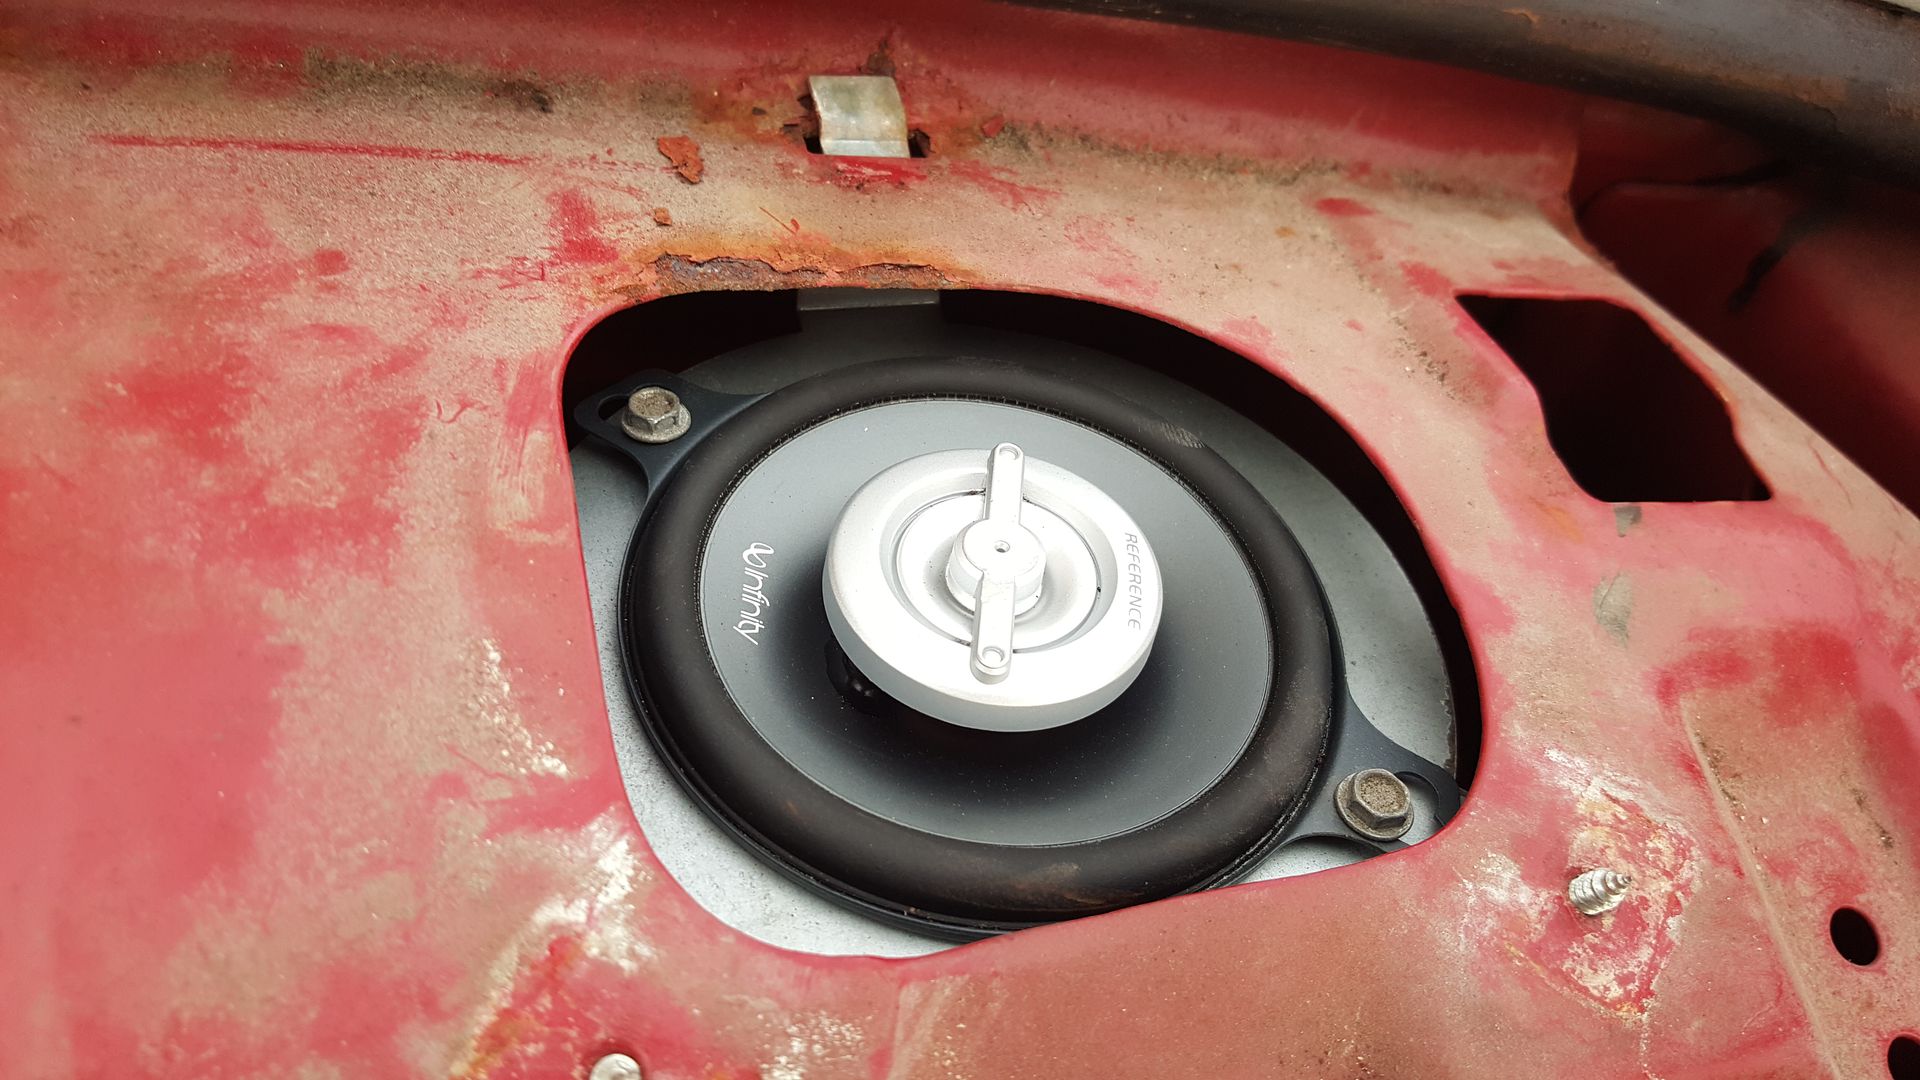 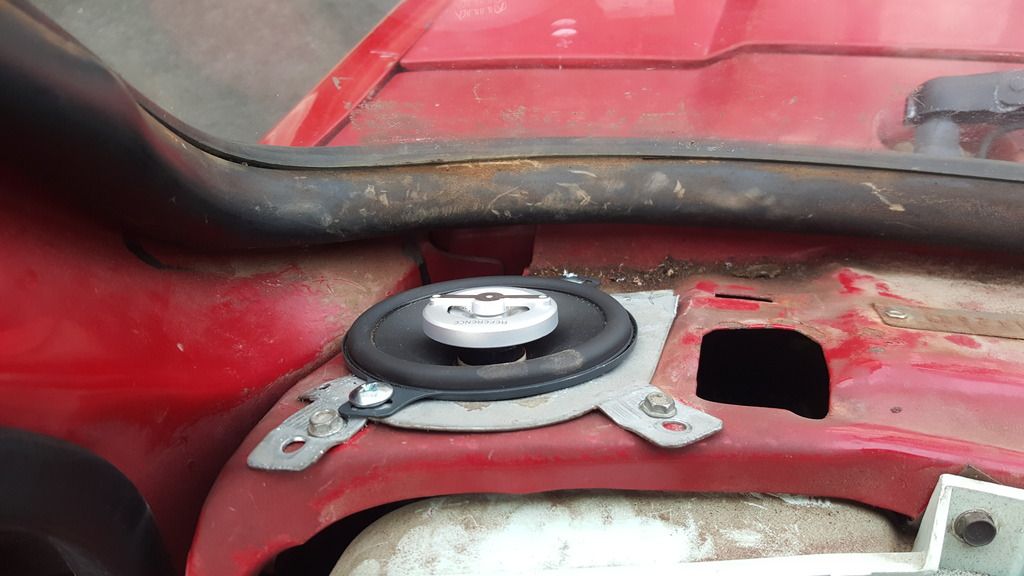
|
|
|

|
|
|
#10 |
|
Registered User
Join Date: Nov 2015
Location: Smethport, PA
Posts: 1,213
|
Re: My 86 Stepside
The truck is coming out great. You keep saying that you are new to this, but your work does not show it. Patience and attention to detail are what get you a great result. You appear to have those characteristics. The center console is really nice, I have been thinking about building something similar for my crew cab eventually.
__________________
85 K30 crew cab dually - Project http://67-72chevytrucks.com/vboard/s...d.php?t=694939 87 Wrangler Rock Crawler - Reason for the project http://www.wranglerforum.com/f330/da...ld-122601.html 04 1500 crew cab http://67-72chevytrucks.com/vboard/s...d.php?t=786514 |
|
|

|
|
|
#11 | |
|
Registered User
Join Date: Sep 2014
Location: Toms River, NJ
Posts: 437
|
Re: My 86 Stepside
Quote:
The console I honestly did get pretty lucky with for a couple of my cuts. I had to make a couple cuts on the side pieces so that they sit flush on the cab floor. I loved making it, but I'm not sure if I would enjoy making another one lol. I really think anyone can do it though. There are so many resources out there. Pretty soon I'll try my hand with fiberglass. That should be interesting. |
|
|
|

|
|
|
#12 |
|
Registered User
Join Date: Nov 2015
Location: Ionia Michigan
Posts: 336
|
Re: My 86 Stepside
Wow, nice thread! I also have a stepside, your build is pretty inspiring to get my lazy butt back out into the garage lol.
__________________
J.R. Link to Daryl's build, http://67-72chevytrucks.com/vboard/s...10#post8443010 Link to my Youtube channel with build info, https://www.youtube.com/thedrivewayengineer |
|
|

|
|
|
#13 |
|
Registered User
Join Date: Sep 2014
Location: Toms River, NJ
Posts: 437
|
Re: My 86 Stepside
Thank you! Lol yeah every time I look back at this thread or the pics on my computer I want to get out and finish it. Unfortunately a full-time overnight job and watching my kids 5 days a week while my wife works prevents that most of the time.
|
|
|

|
|
|
#14 |
|
Registered User
Join Date: Nov 2015
Location: Ionia Michigan
Posts: 336
|
Re: My 86 Stepside
Yeah I work afternoon/evening's myself, it's difficult to get much done when I'm getting home at 3-4am and I live in the city limits lol. People like old trucks, but no one likes to here a 60 gallon air compressor hammering away at 4:30 lol. Then on the weekends, I don't wake up until noon or so and blow half the day away lol.
__________________
J.R. Link to Daryl's build, http://67-72chevytrucks.com/vboard/s...10#post8443010 Link to my Youtube channel with build info, https://www.youtube.com/thedrivewayengineer |
|
|

|
|
|
#15 |
|
Registered User
Join Date: Sep 2014
Location: Toms River, NJ
Posts: 437
|
Re: My 86 Stepside
Well as it turns out, I'm an idiot. I got it to TDC, checked with a piston stop this time, and set the rotor to point at #1, and made sure #1 plug wire was over the rotor. Fired it up and it took off on me again like I had the pedal to the floor. I swore it was a vacuum leak because everything else was good.
Tightened everything down, and when I was getting another 1/4 turn on my carb studs...SNAP! bolt broke off in the manifold. Clean break right at the top of the thread. I busted out the drill and the extractor and wouldn't you know, it worked like a charm. Literally the first time in my life I ever had an extractor work correctly. While putting the carb back on I noticed how tight my throttle cable was and how it was moving the linkage back. Well, this is where the stupidity comes in. The reason the truck was revving so high when I started it was because the throttle cable was too tight and pulling the linkage back. It wasn't WOT, but it was enough. Weird to me because on the old motor I had the same intake and carb and the throttle cable wasn't too short. I'm thinking it's the BTO TV Made EZ kit that caused the issue. So, I removed the cable entirely, jumped in and turned the key. Started right up and ran fine. I need to dial in the timing and mess with the idle screws that I had played with when I was trying to figure out the issue initially. Man, what a good feeling though. Here's a video. http://vid1192.photobucket.com/album...psl3acurc4.mp4 |
|
|

|
 |
| Bookmarks |
|
|