
 |
Register or Log In To remove these advertisements. |
|
|
|
|||||||
 |
|
|
Thread Tools | Display Modes |
|
|
|
|
#1 |
|
Registered User
Join Date: Jul 2013
Location: Essex
Posts: 950
|
Re: Grizz's Redneck Express 1966 Chevy Short Fleetside RESTO-GO!
Good work as always Rian but, a very small but, why have you go the engine loom going through the bulkhead at such a height?
Also... Why not fit the battery where the air box is and then run the airbag through into the cabin so you get all that wonderful indication roar! Will drop over in the next week or so to collect the cab lifter so looking forward to my first ride out in it.... P. 
__________________
Woody's Build - http://67-72chevytrucks.com/vboard/s...d.php?t=658621 If it goes wrong, I blame the Internet... |
|
|

|
|
|
#2 | |
|
Registered User
Join Date: Dec 2012
Location: Rochester, KENT
Posts: 10,584
|
Re: Grizz's Redneck Express 1966 Chevy Short Fleetside RESTO-GO!
Quote:
partly replicating what was in the MX5 and partly working with the tight looms. Induction roar…… nahhhh. You also have a blasting pot here. And a Jeep Cherokee fuel tanl. Who knows what else. Craig should be here on Saturday morning, en route to Shropshire from Guildford.
__________________
MY BUILD LINK: http://67-72chevytrucks.com/vboard/s...585901]Redneck Express - 1966 C10 Short Fleetside MY USA ROADTRIPS http://forum.retro-rides.org/thread/...2018-humdinger IF YOU CAN'T FIX IT WITH A HAMMER, YOU'VE GOT AN ELECTRICAL PROBLEM MATE. |
|
|
|

|
|
|
#3 |
|
Registered User
Join Date: Dec 2012
Location: Rochester, KENT
Posts: 10,584
|
Re: Grizz's Redneck Express 1966 Chevy Short Fleetside RESTO-GO!
Report tonight from Nick Wheeler.
He took the steering parts with him yesterday……… Reporting thus tonight. Pictures aren't in any particular order: Knocking the Mazda shafts apart because I can't get the assembly in the lathe  Knocking the Mazda shafts back together 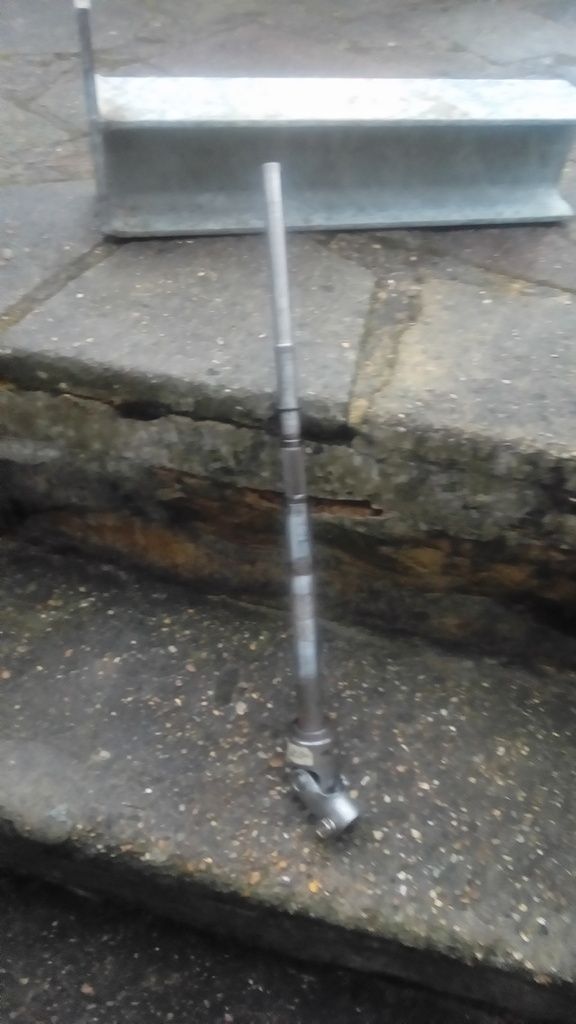 Mazda shaft in the lathe 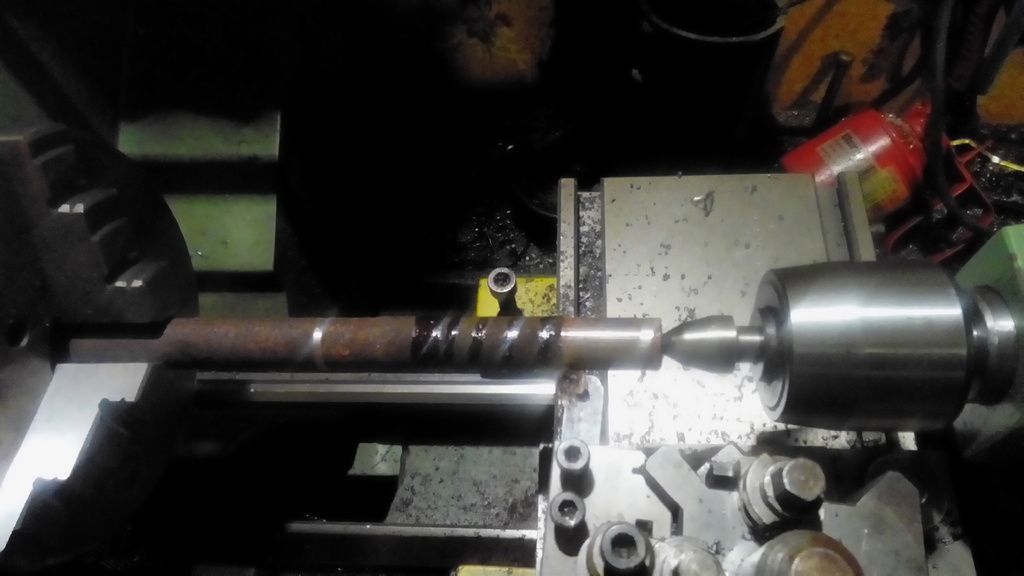 New shaft turned down, with the joining sleeve 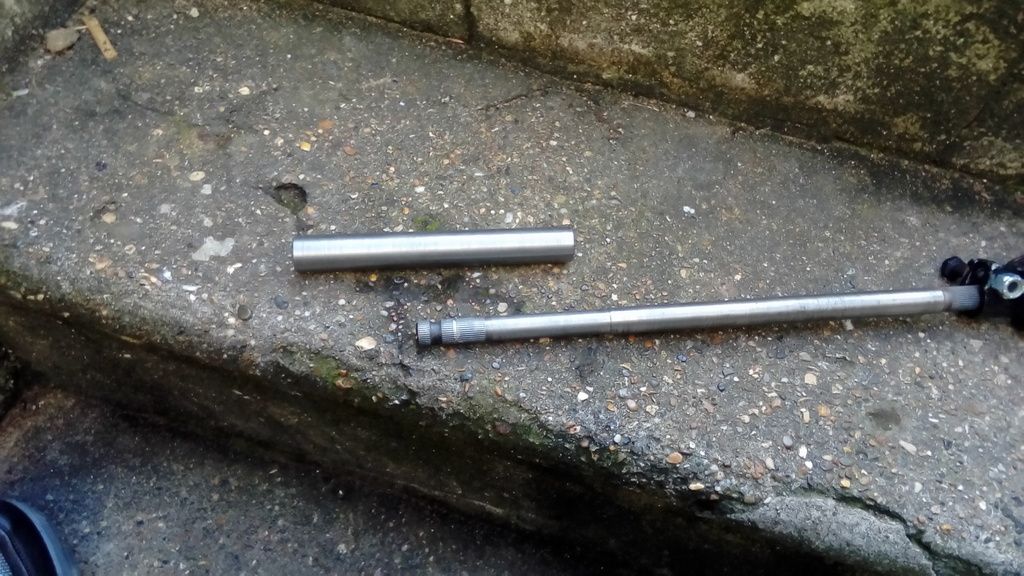 Sleeve slid onto the new shaft 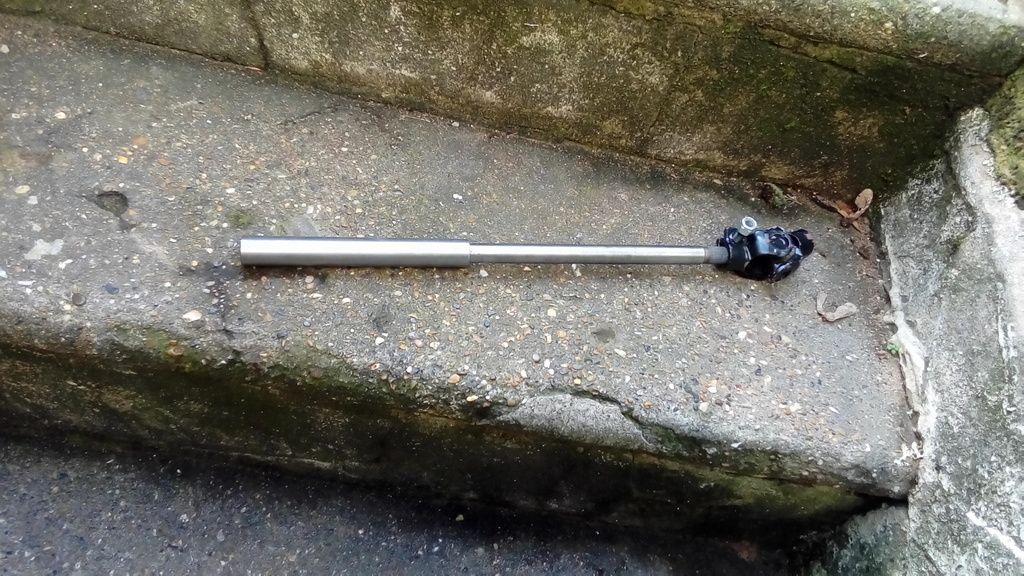 All 3 parts slotted together; we need to shorten the new and old ones slightly to get the right length, and weld the sleeve to both 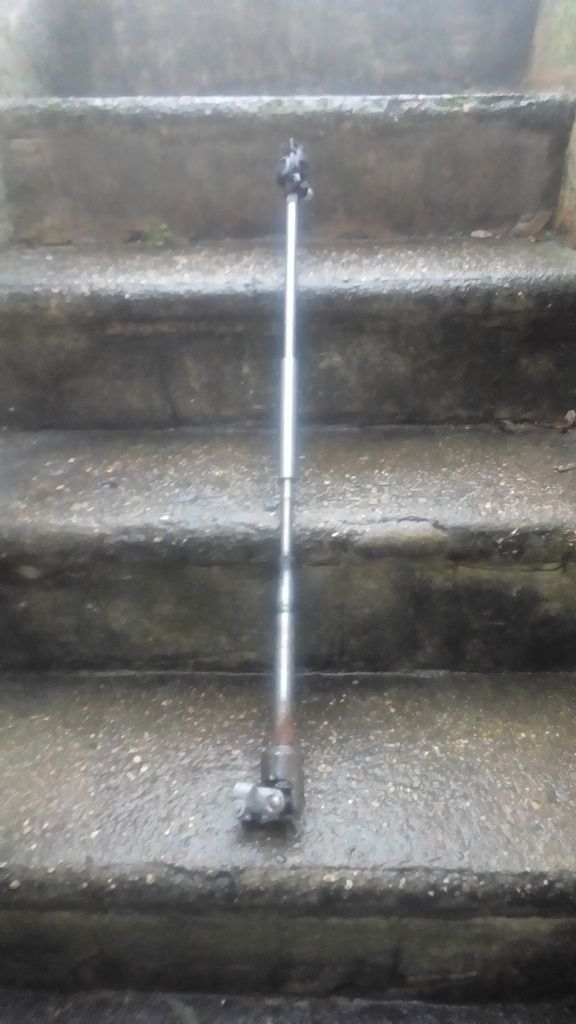 And an explanation: We need the joint that matches the steering column and one that matches the rack to be joined together via a longer shaft. the new shaft and black u-joint are the standard Ford/European 9/16 23(I think)spline fittings. Sleeve is thickwall CDS that is almost 9/16 bore and about 150mm long for a strong connection. Certainly stronger than the original modified Cortina shaft that seems to be a piece of rod butt-welded in between the original ends. The Mazda shaft doesn't use those UJ fittings, and is different at each end for some reason. I turned about 100mm of the new shaft down until it was a slip fit into the sleeve. The Mazda shaft was too short to fit in the lathe with the UJ fitted. I wasn't sure how the parts were joined; the UJ is attached with a staked pin, and it turns out the two shafts are just splined inside each other which is probably for crash protection. I knocked them apart and turned some of the loose shaft down to match the new one. Then I knocked them back together with a new O-ring. I still need to drill some cross holes into the sleeve for some belt-and-braces plug welds. We will shorten each shaft by about 20mm, fit the relevant UJs to the column and rack and weld both shafts to the sleeve. That will complete the steering, and allow us to fit the other components that need to go in the same area.[/quote]
__________________
MY BUILD LINK: http://67-72chevytrucks.com/vboard/s...585901]Redneck Express - 1966 C10 Short Fleetside MY USA ROADTRIPS http://forum.retro-rides.org/thread/...2018-humdinger IF YOU CAN'T FIX IT WITH A HAMMER, YOU'VE GOT AN ELECTRICAL PROBLEM MATE. |
|
|

|
 |
| Bookmarks |
|
|